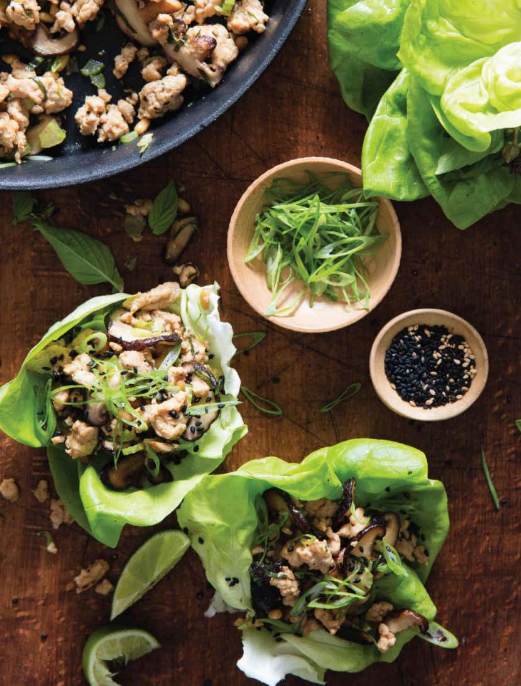
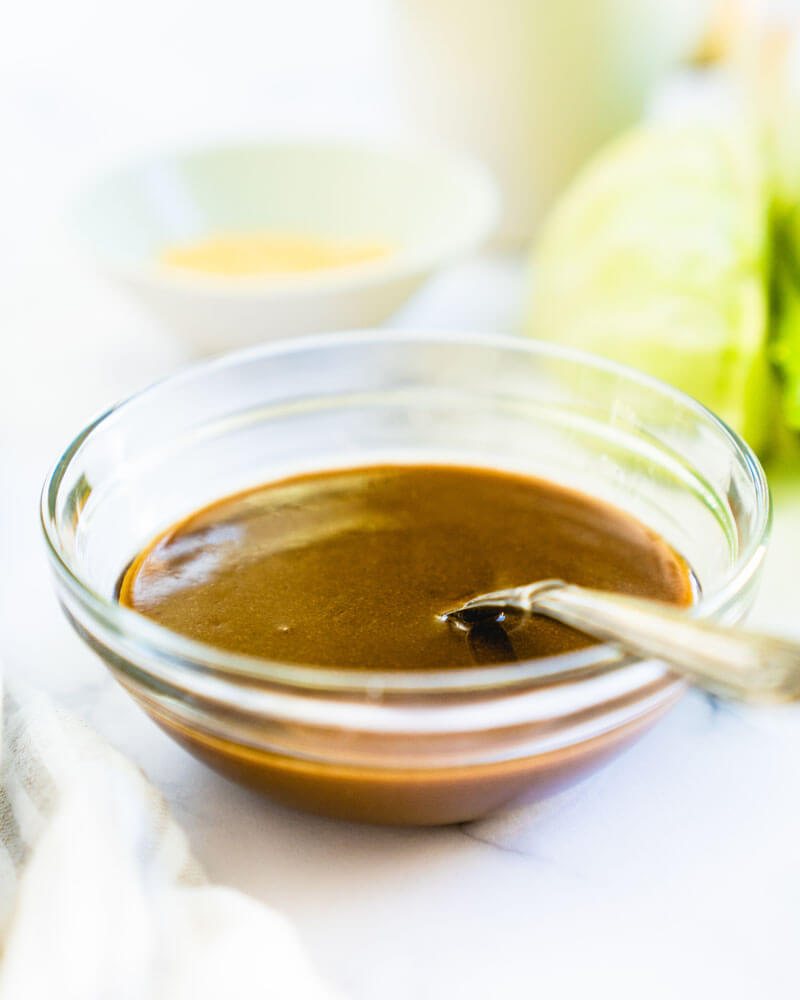
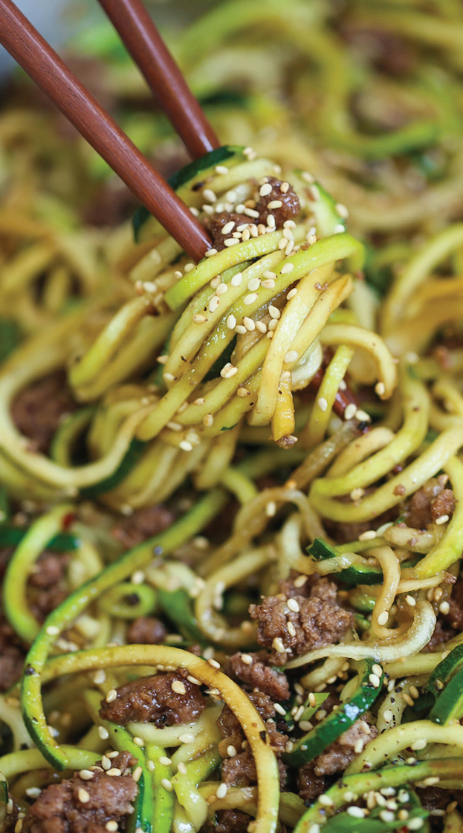
Chicken in Lettuce Cups with Crispy Pine Nuts and Lime
2 T. coconut aminos
1 T. fresh lime juice, plus more as needed, and lime wedges for serving
2 tsp. fish sauce, plus more as needed
3 T. toasted sesame oil
1 large celery stalk, finely diced
2 T. pine nuts
2 green onions, white and light green parts only, sliced, plus more for garnish
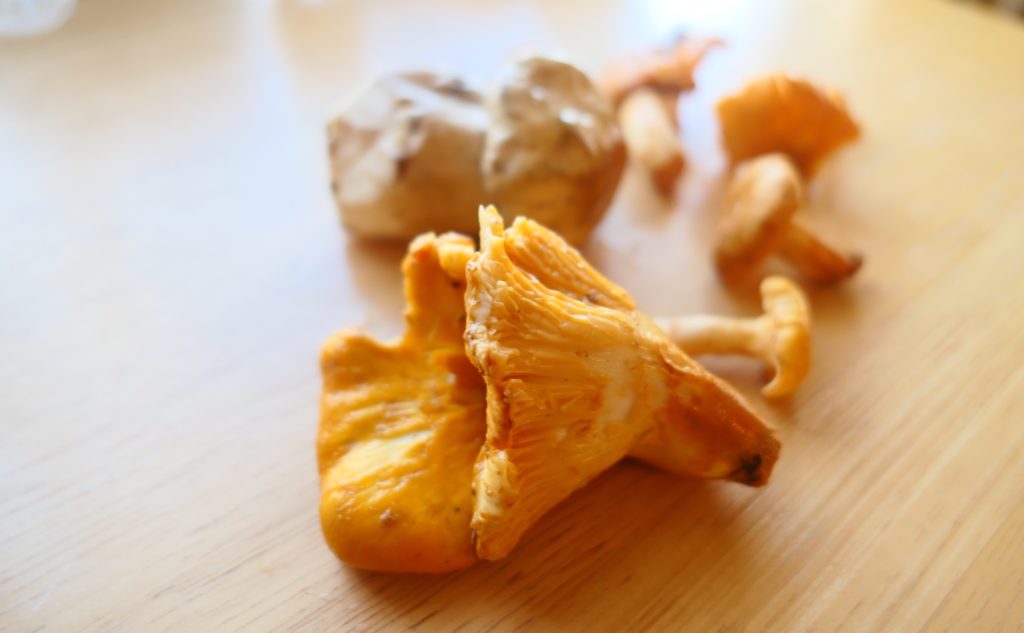
5 oz [140 g] shiitake mushrooms, stemmed and sliced
2 garlic cloves, minced
1 tsp. grated fresh ginger
1 lb. [455 g] ground chicken thigh meat
Kosher salt
¼ C. [10 g] thinly sliced fresh basil
12 inner leaves iceberg or butter lettuce, trimmed and chilled
Black sesame seeds for garnish
In a small bowl, whisk together the coconut aminos, lime juice, and fish sauce. In a large wok or nonstick skillet over medium-high heat, heat 2 T. of the sesame oil. Add the celery and pine nuts and cook, stirring frequently, for 2 minutes, or until the pine nuts are just starting to brown. Add the green onions and mushrooms, and cook until the mushrooms start to soften, 2 to 3 minutes longer. Add the garlic and ginger, and cook until fragrant, about 1 minute. Transfer the vegetables to a bowl, and return the pan to the stove. When the pan is very hot, add the remaining 1 T. sesame oil. Add the chicken and a generous pinch of salt. Stir constantly, breaking up the meat with your spatula, until it’s barely cooked through, 3 to 5 minutes. Turn off the heat, return the vegetable mixture to the pan, and pour in the coconut aminos mixture. Stir to coat. Taste, adding salt, fish sauce, or lime juice as needed. Stir in the chopped basil. Place a generous scoop of the chicken mixture inside each lettuce cup. Sprinkle with sliced green onions and sesame seeds. Serve with lime wedges on the side.


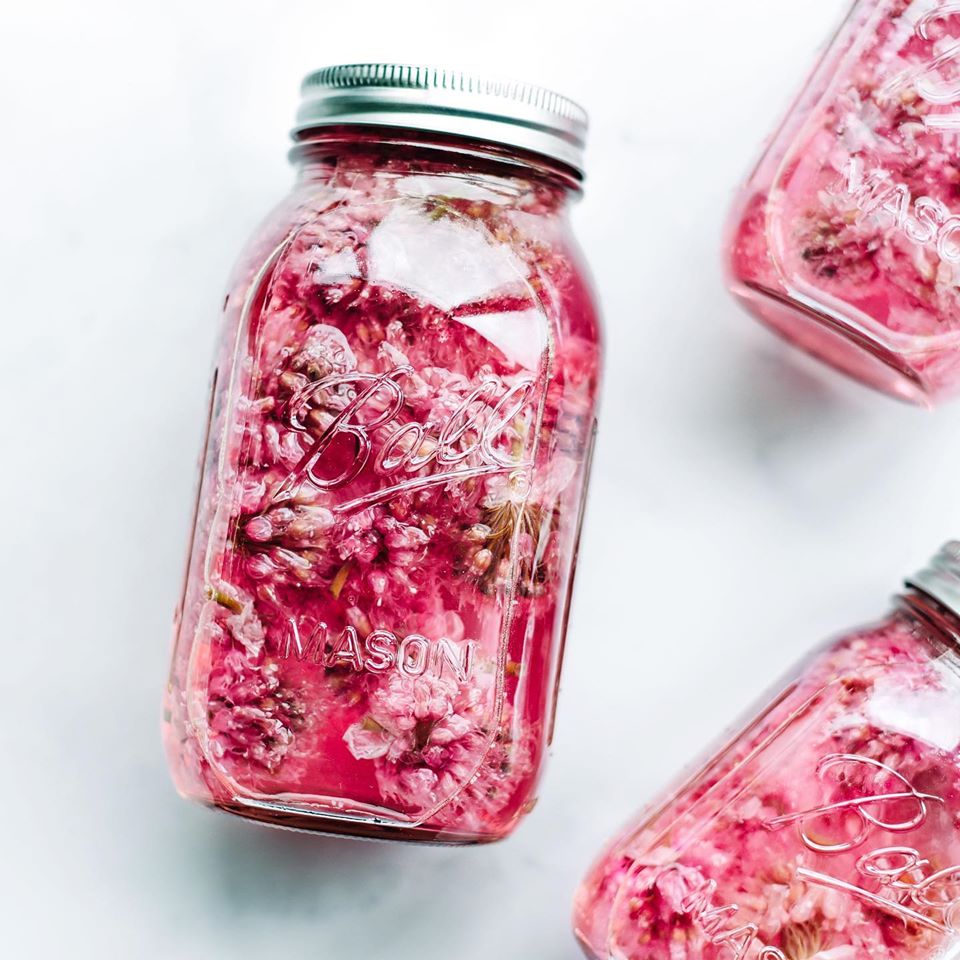


 Sweet Cherry Lemonade
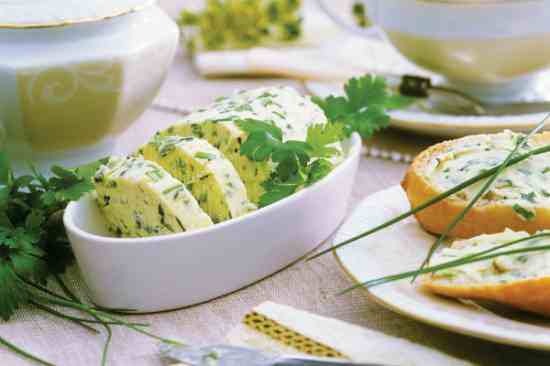
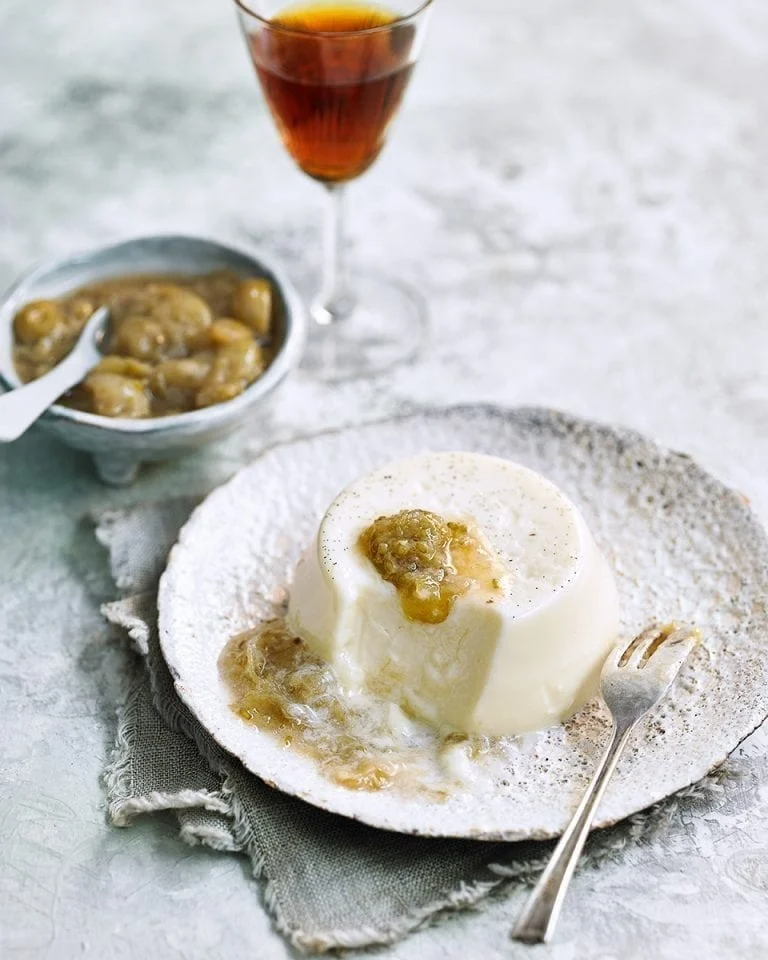
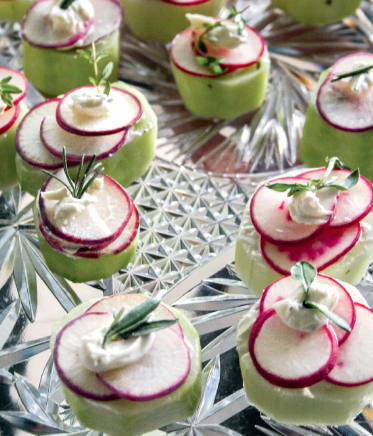 Herbed Cucumber Bites
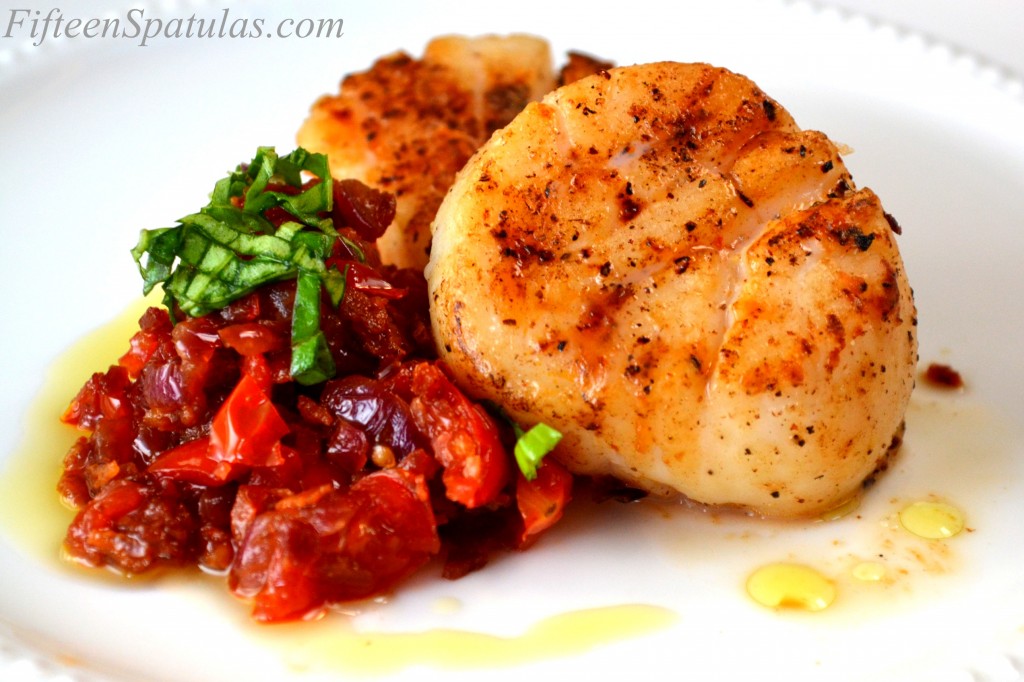
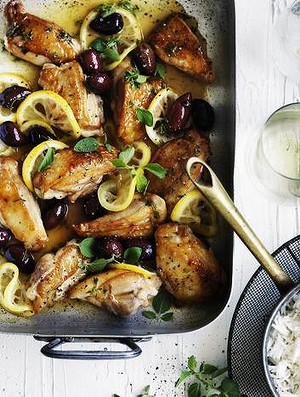
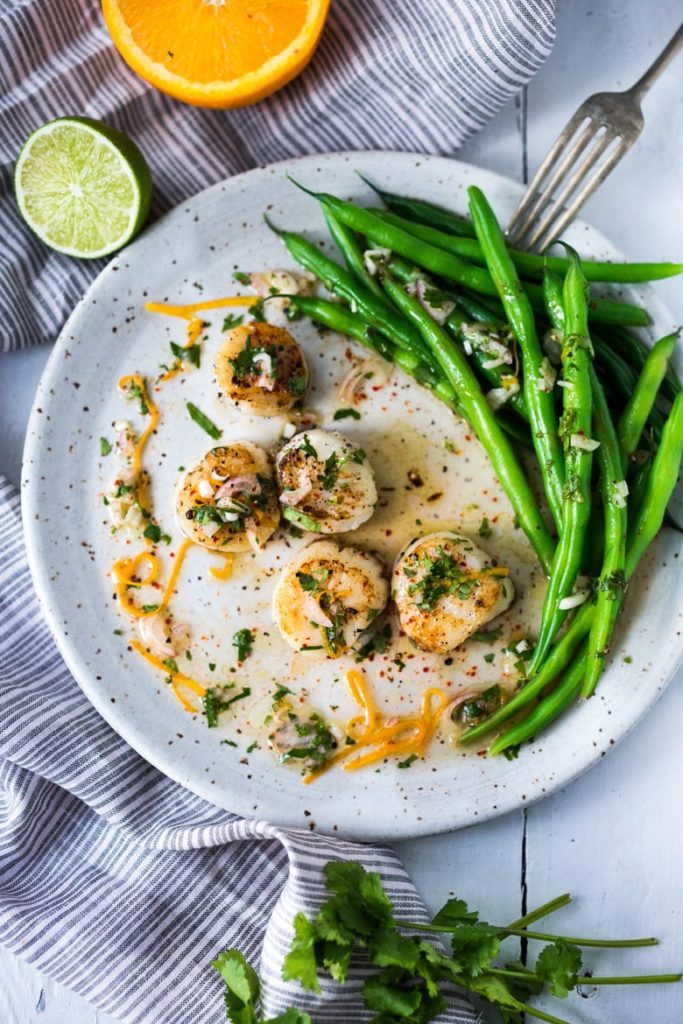 Pan Seared Scallops with Citrus Sauce