Upside-Down Salted Caramel Apple Pecan Cake
 Upside-Down Salted Caramel Apple Pecan Cake
3 medium Honeycrisp Apples, peeled and thinly sliced
1 1/2 C. all purpose flour
1/2 C. salted butter, softened
1/3 C. of chopped pecans
1 tsp. baking powder
1/4 C. granulated sugar
3/4 C. dark brown sugar
2 eggs
1/2 C. of milk of choice (almond, skim, etc)
2 T. sour cream
1 1/4 tsp. vanilla
3/4 tsp. of cinnamon
Pinch of nutmeg
Brown sugar for dusting
Coarse Sea Salt for sprinkling
1/2 C. of unsalted butter (1 stick)
3/4 C. of packed dark brown sugar
1/2 tsp. of sea salt
Preheat the oven to 350 degrees F. Generously grease the sides of a 9-inch cake pan with butter or non stick cooking spray. Peel and thinly slice apples, set aside. For the salted caramel sauce: Melt 1 stick of butter in saucepan over medium heat, add 3/4 C. of dark brown sugar and stir until bubbling. Add 1/2 tsp. of sea salt and stir for 30 seconds then turn off heat. Spread caramel mixture in cake pan and layer with apples and pecans. For the cake, in small bowl mix flour, baking powder, cinnamon and nutmeg; set aside. In medium bowl beat 1/2 C. of softened butter and both sugars until creamy. Add eggs, vanilla, and beat until fluffy, about 3 minutes. Alternate adding flour mixture and almond milk. Beat about 2 minutes until smooth, then add in sour cream and mix until well combined. Pour cake batter on top of the apples. Generously sprinkle brown sugar all over top of cake batter. Bake 45-55 minutes, or until a toothpick put into center comes out clean. Cool 15-20 minutes then run a knife along the outer edge of the cake to loosen and place on platter then flip over to remove cake from pan. Sprinkle top of cake with sea salt. Let the cake cool for an additional 10 minutes. Serve warm with vanilla bean ice cream.
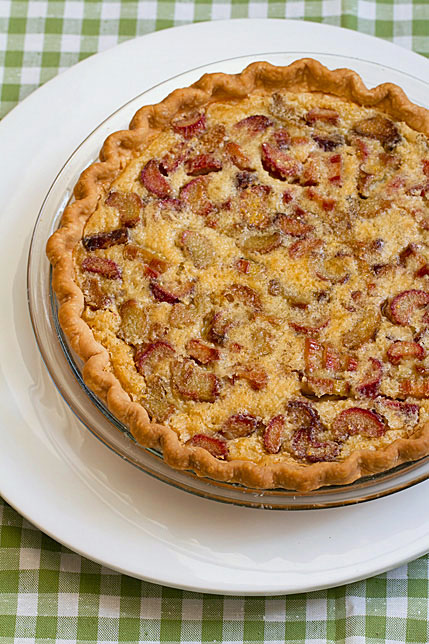 Rhubarb Chess Pie
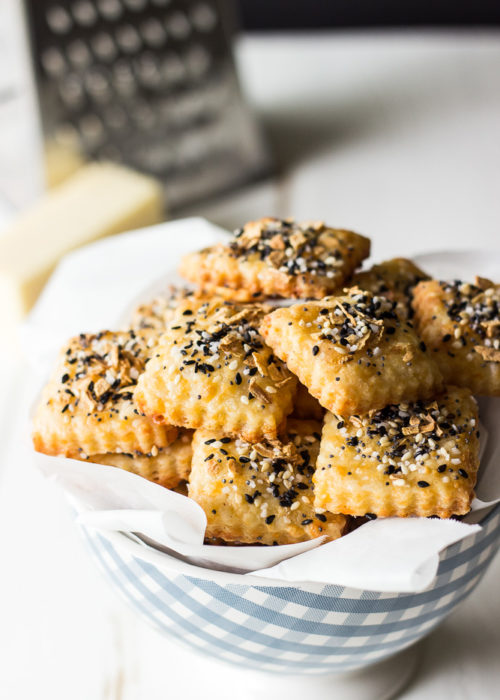 Spicy Everything Bagel Cheddar Cheese Crackers
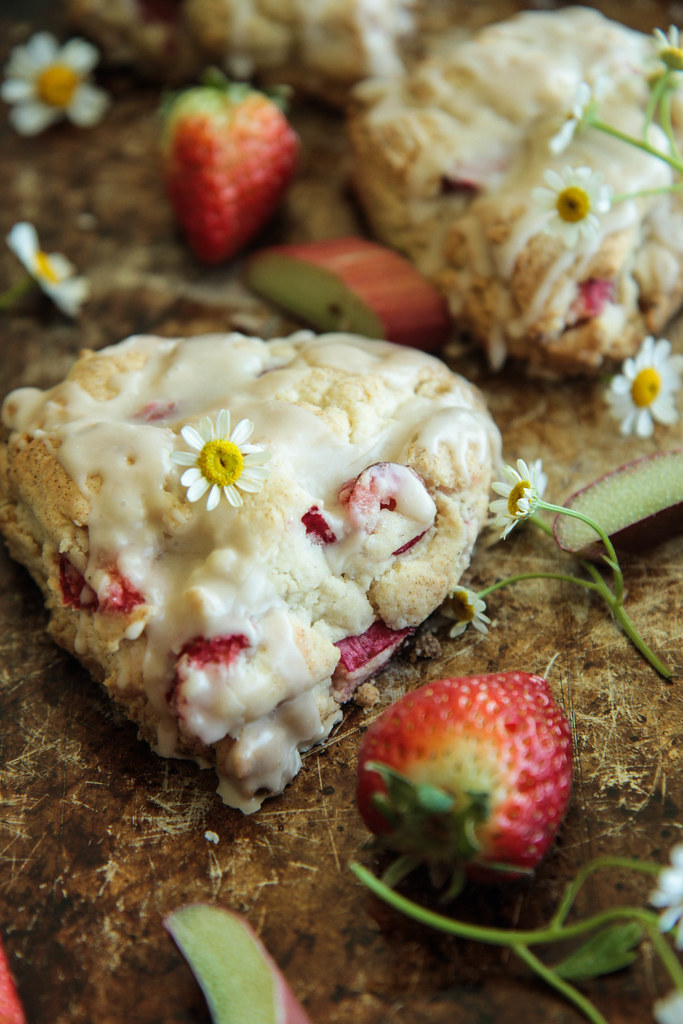
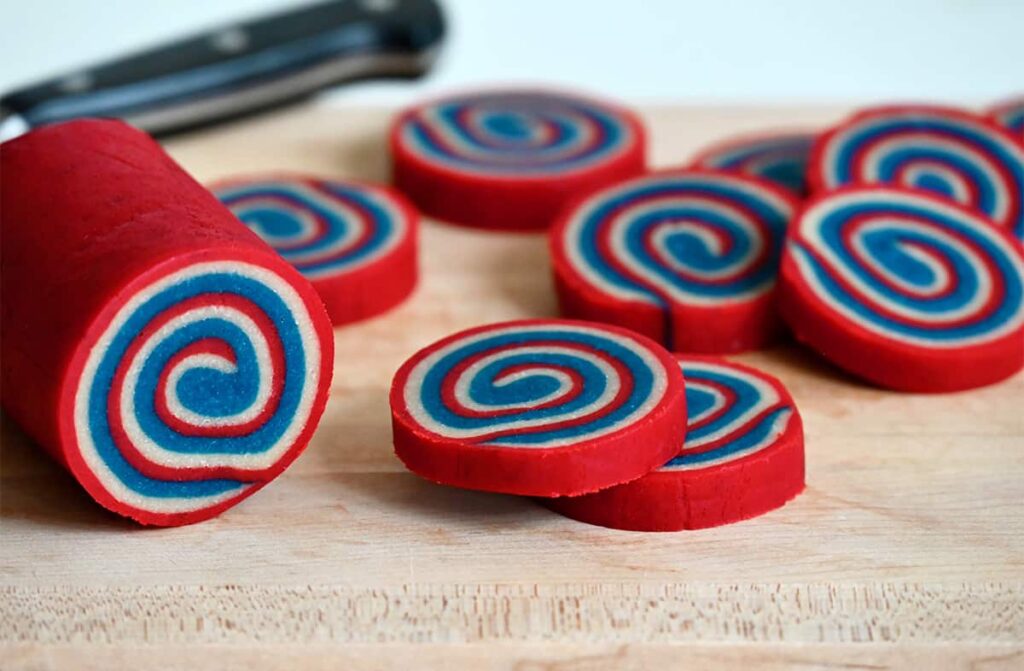 Red, White and Blue Pinwheel Icebox Cookies
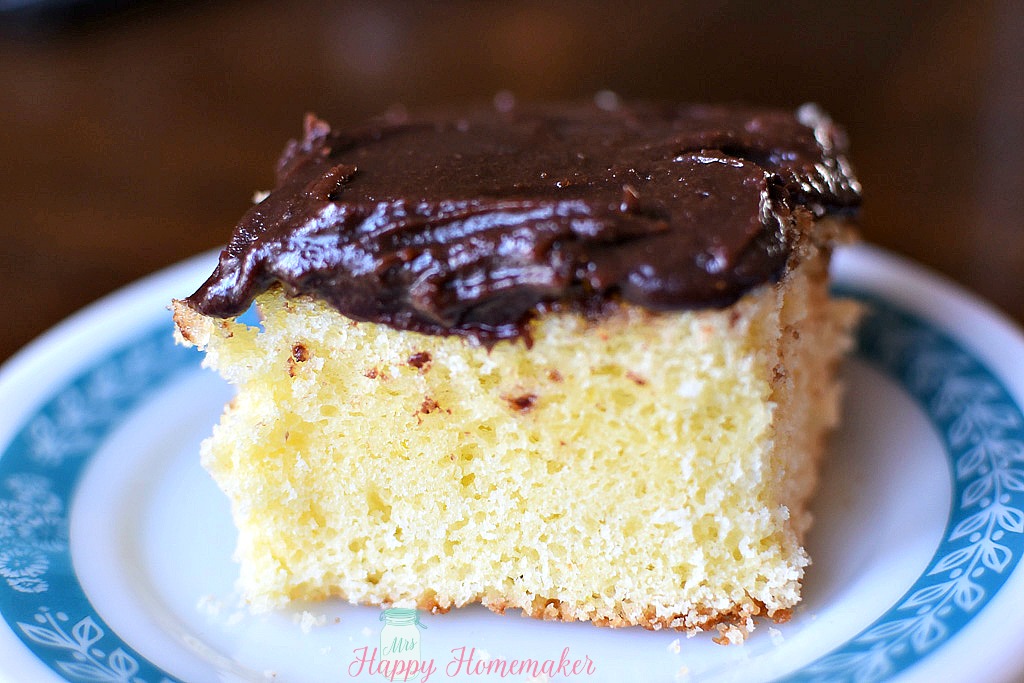 Gram’s Hot Milk Cake
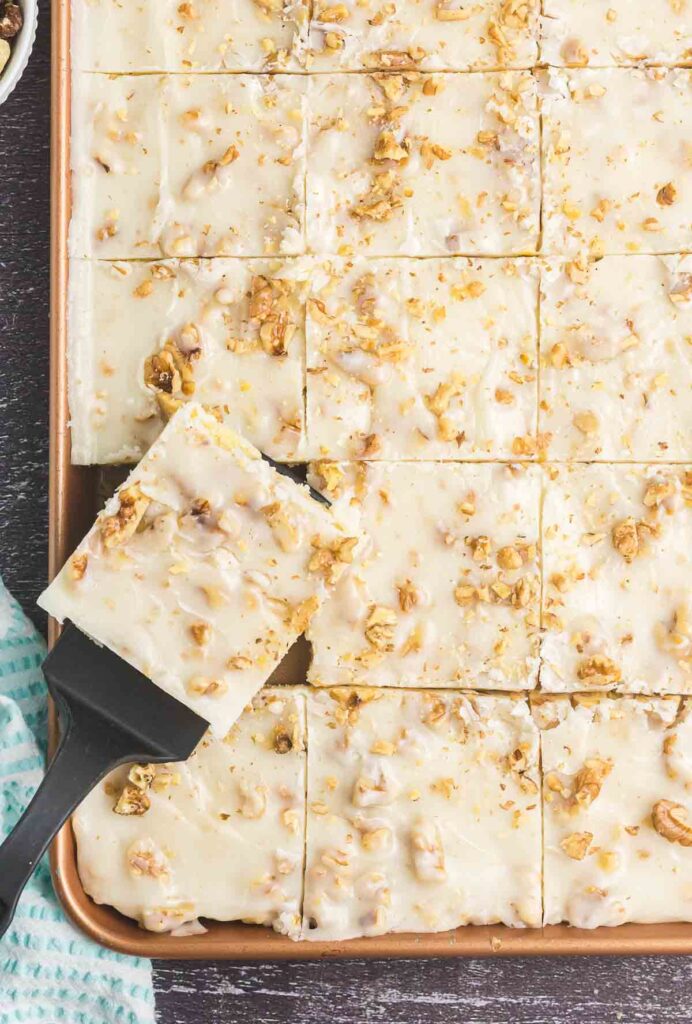 White Texas Sheet Cake
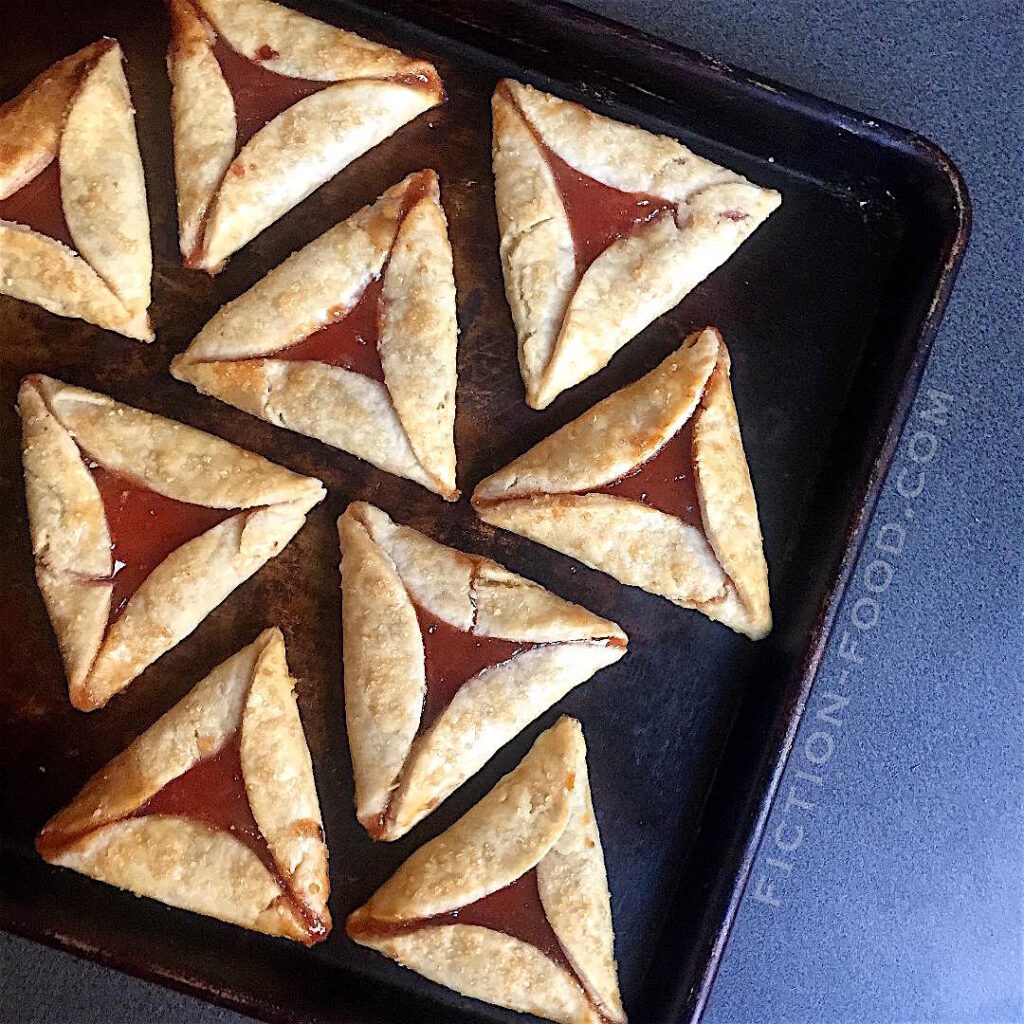 Persimmon Jelly Tarts
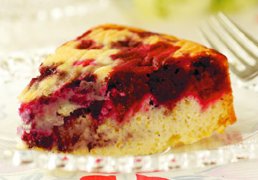 Blackberry Upside-Down Cake:
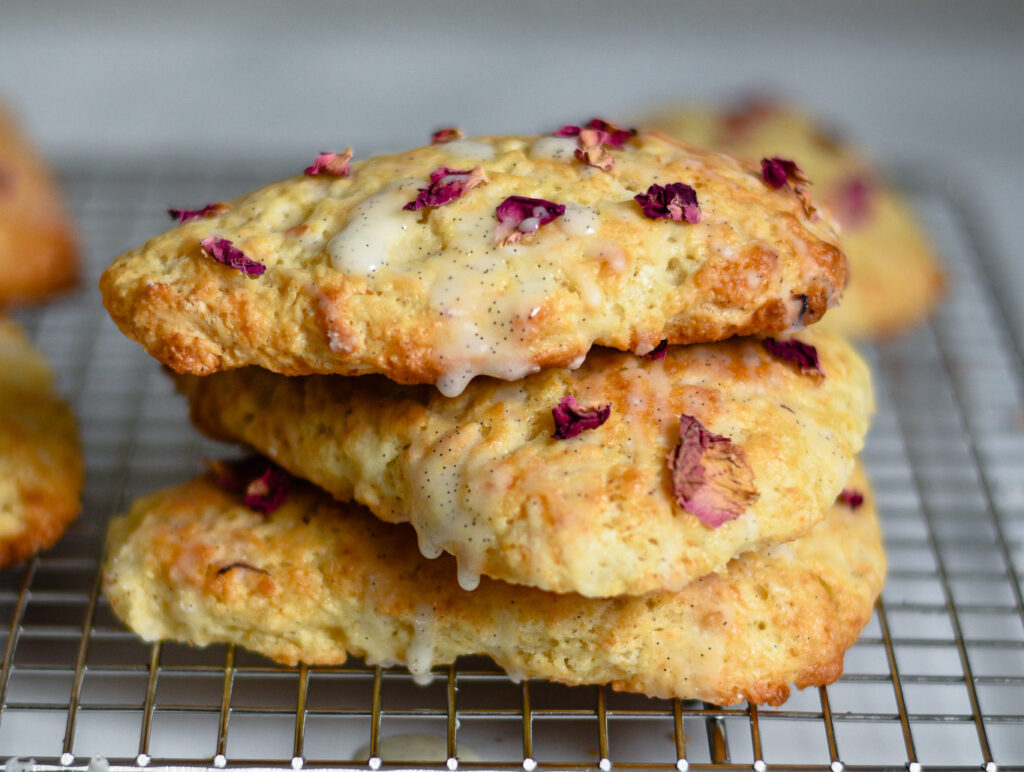 Vanilla Rose Scones
 Soft Amish Sugar Cookies
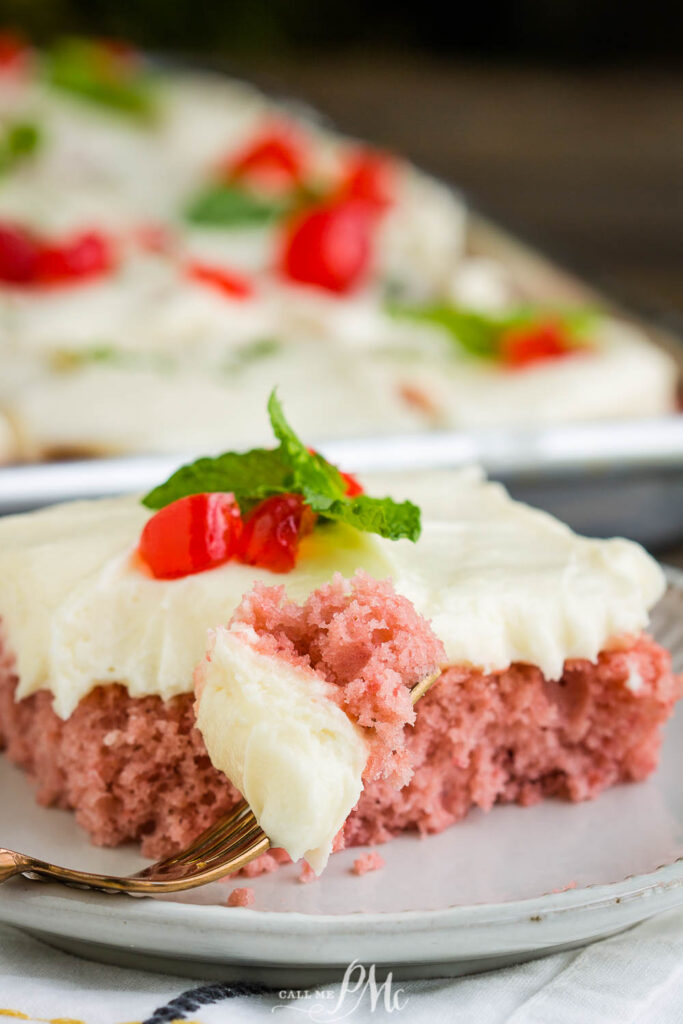 Cherry Sheet Cake
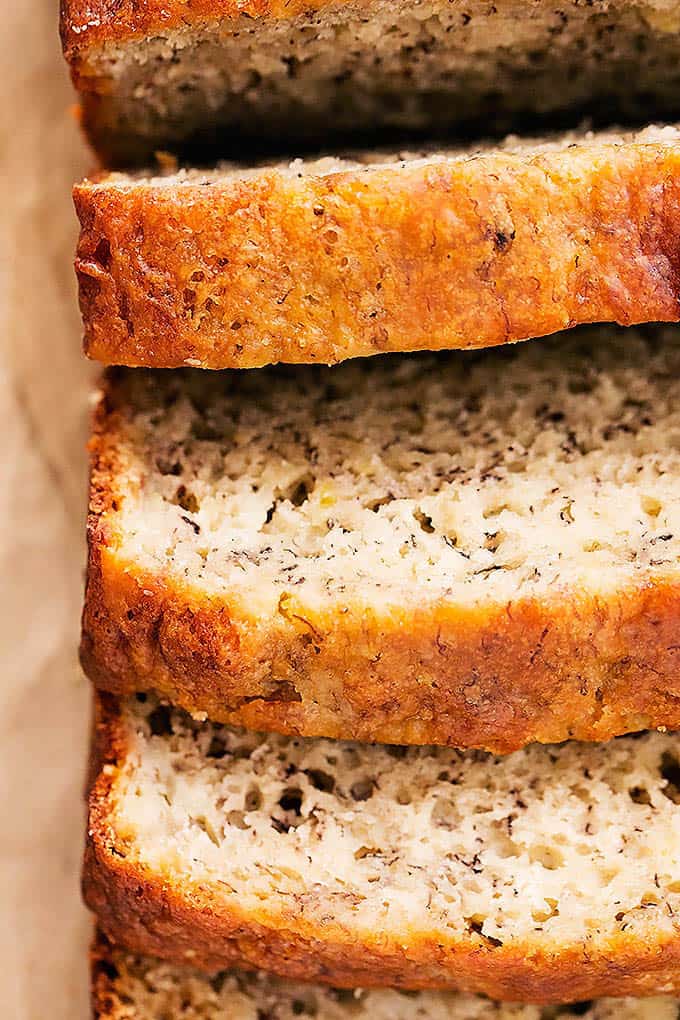 Best Easy Moist Banana Bread
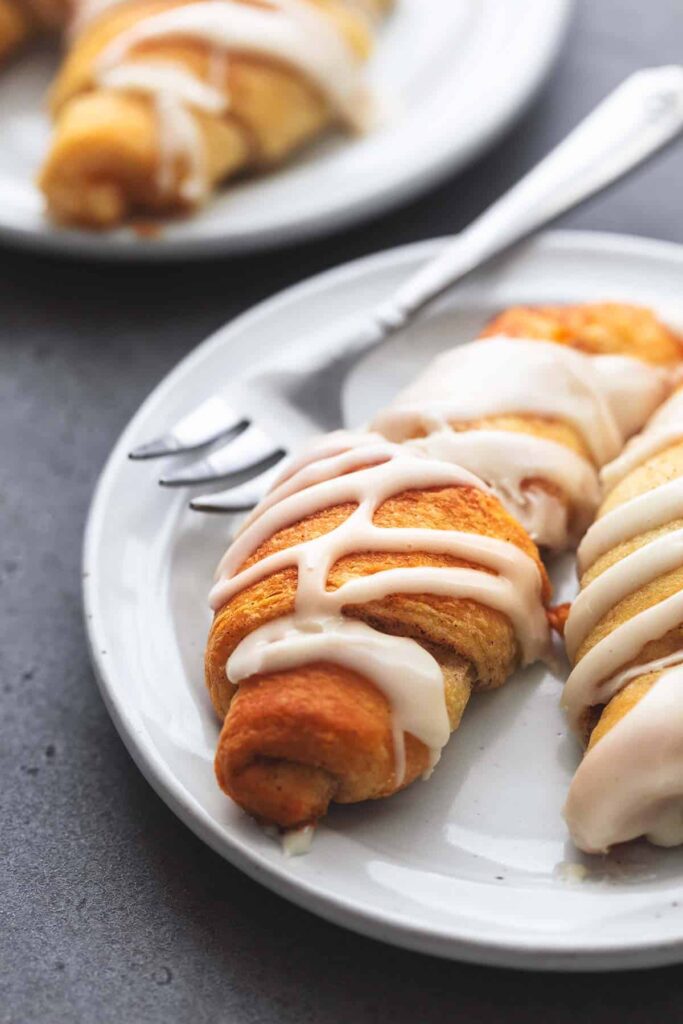 Cinnamon Roll Ups
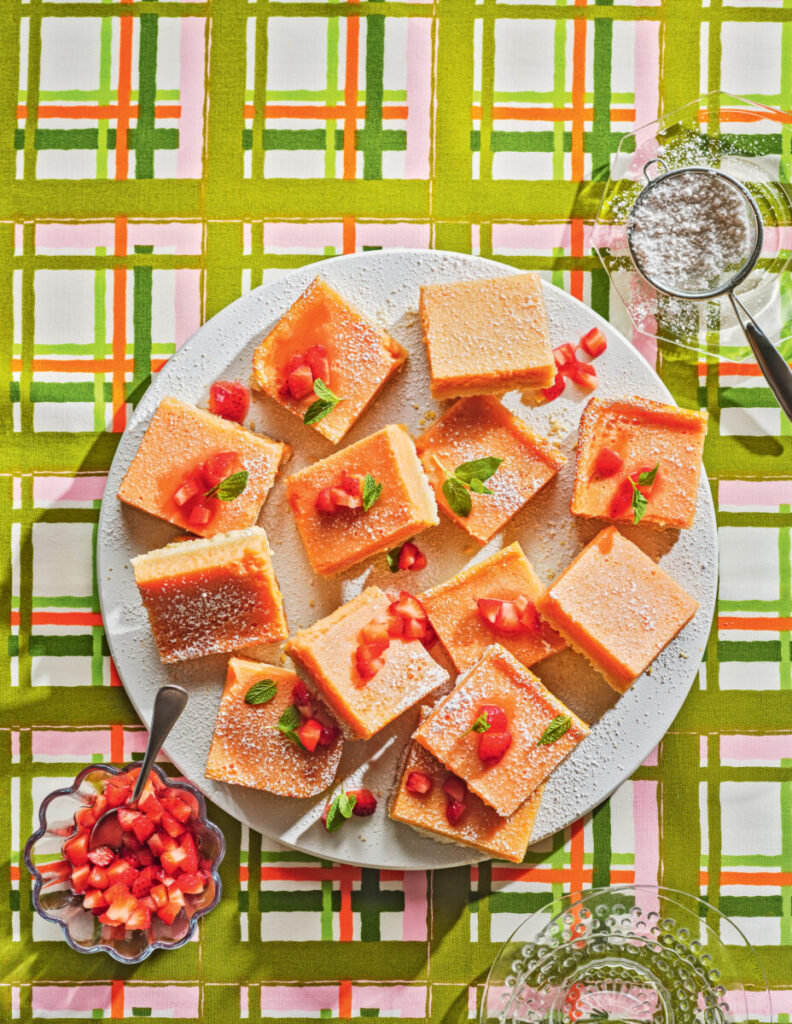 Strawberry-Lemon Bars
 Blueberry Buttermilk Pie
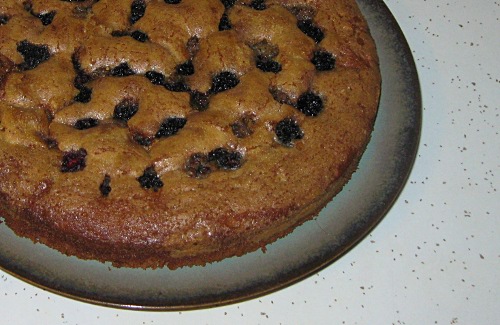 Mulberry Honey Cake
 Strawberry Shortcake with Lemon-Pepper Syrup
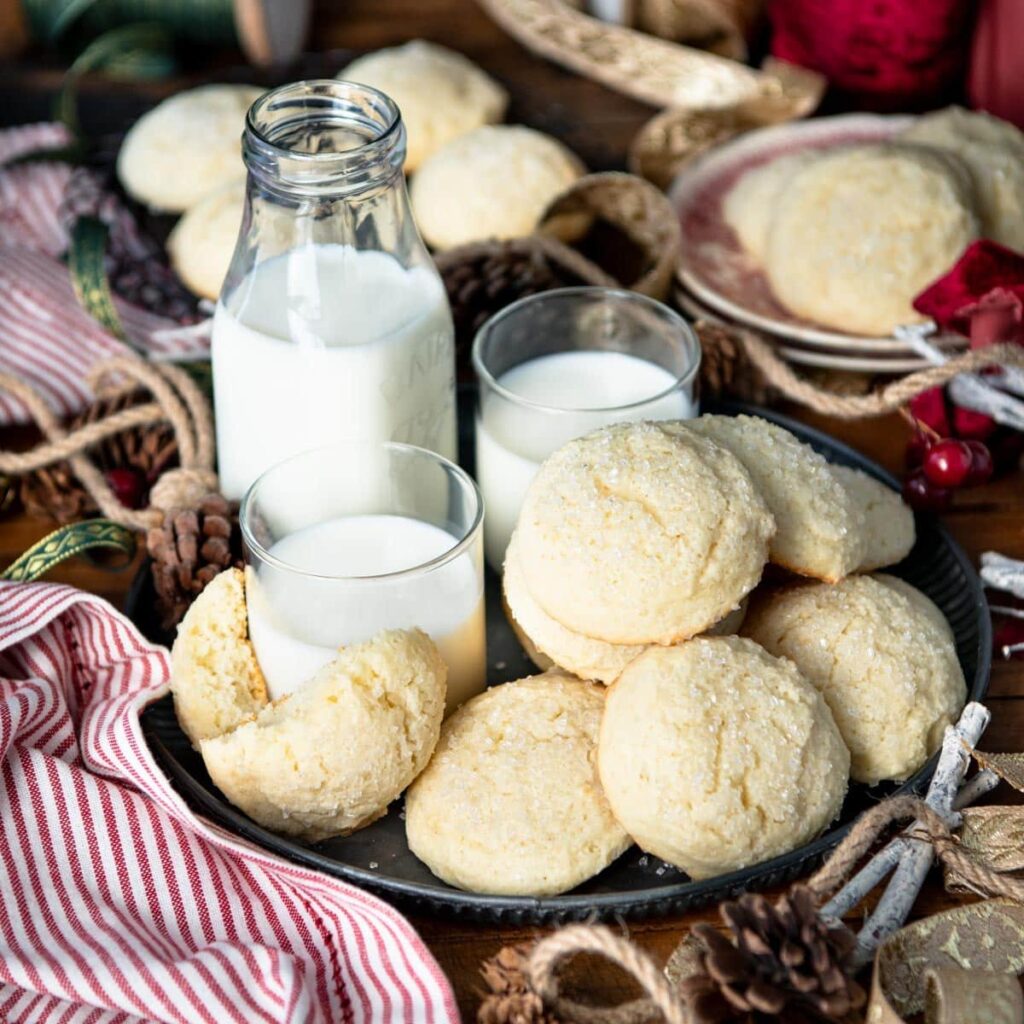 Amish Drop Sugar Cookies
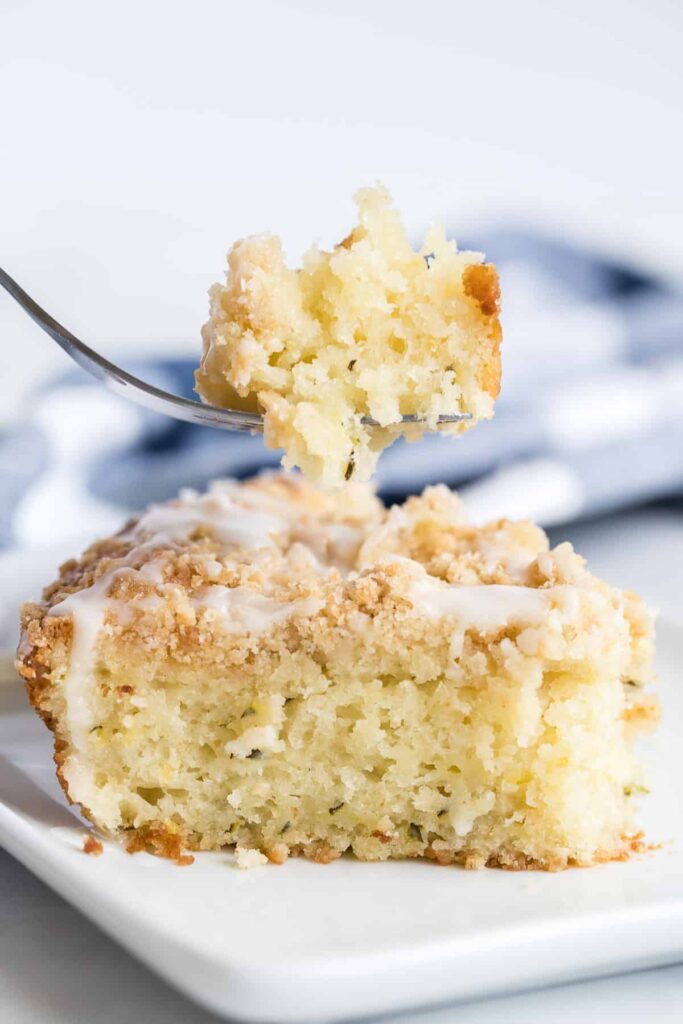 Lemon Zucchini Coffee Cake
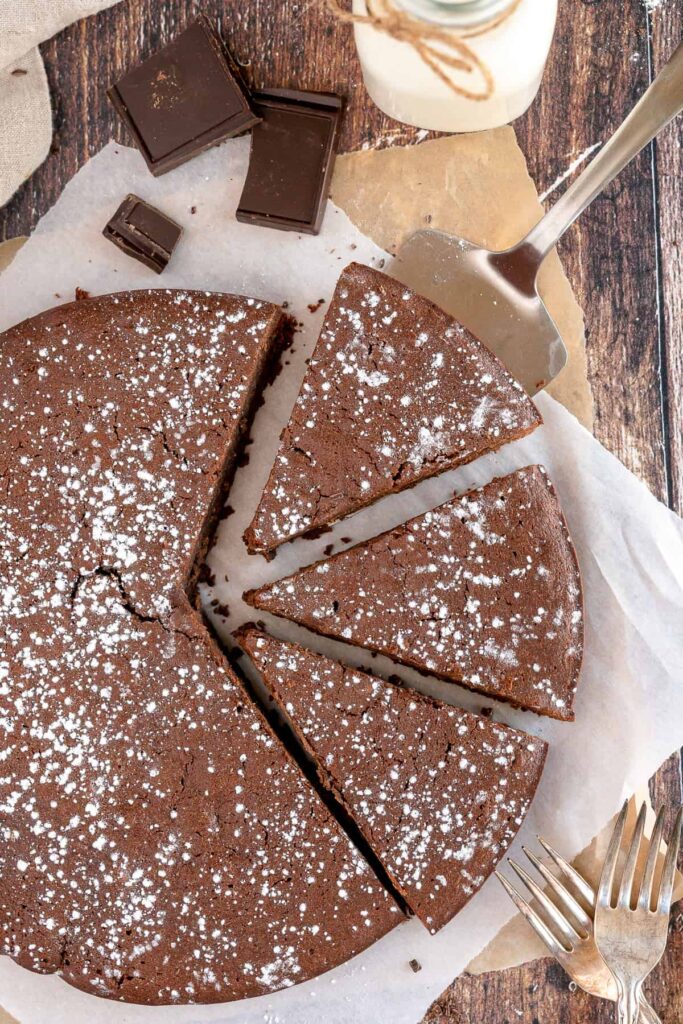 French Chocolate Cake
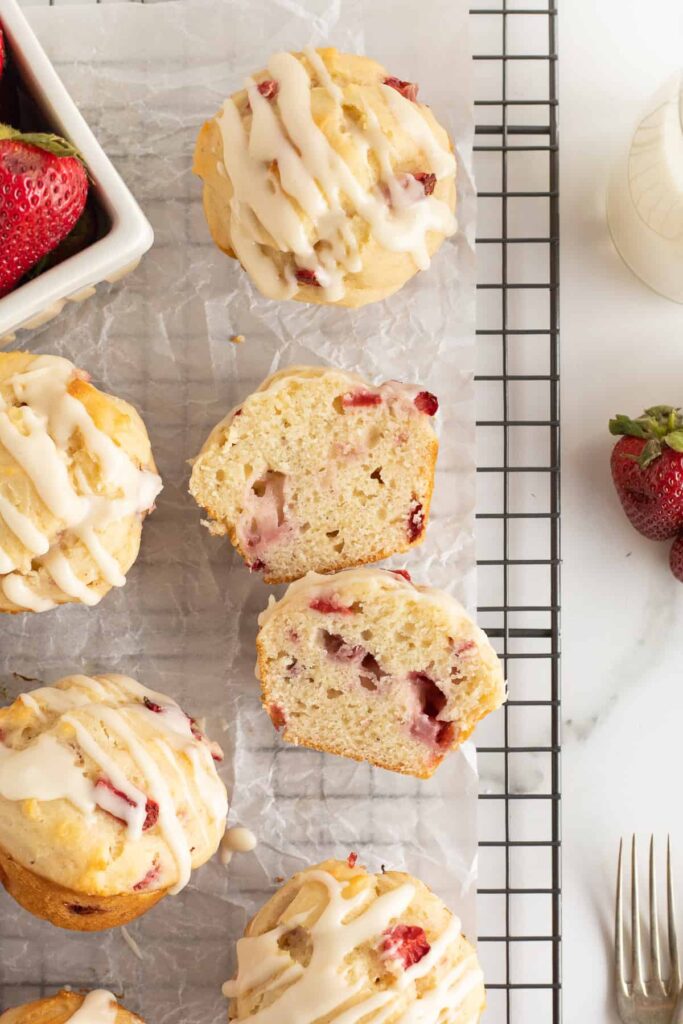 Strawberry Muffins
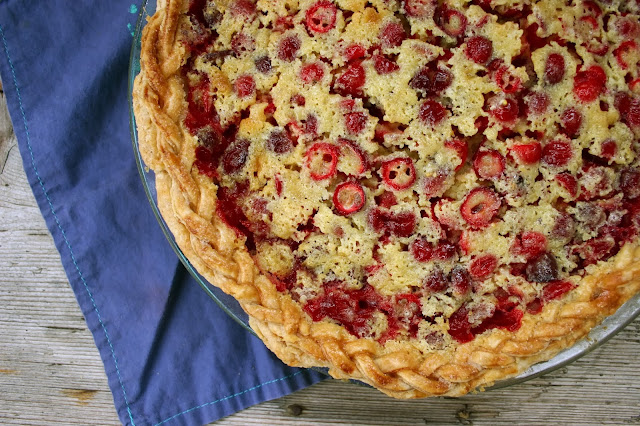 Cranberry Chess Pie
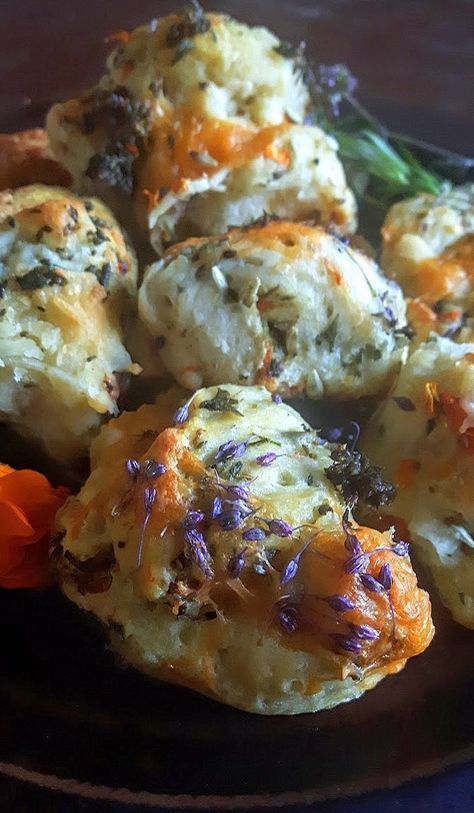 Herbalicious Lammas Loaf Biscuits
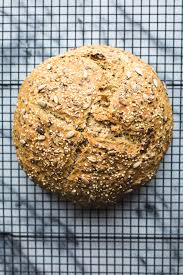 Easy Artisan Seedy Soda Bread
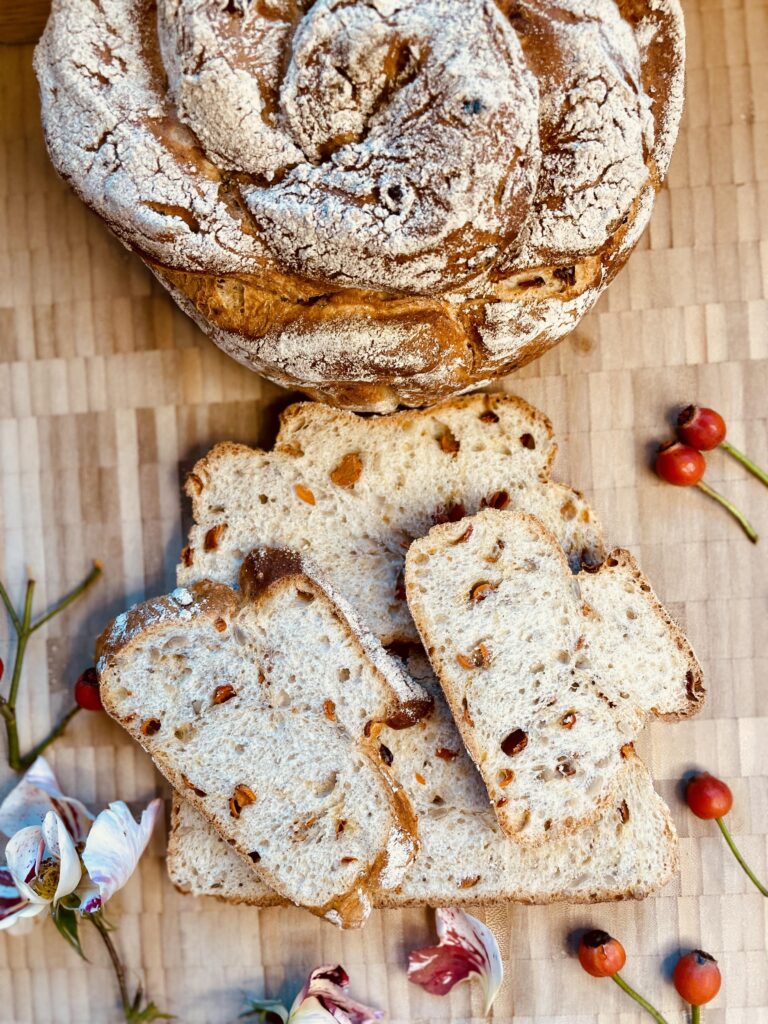 Sweet Briar Rose Hip Nut Bread
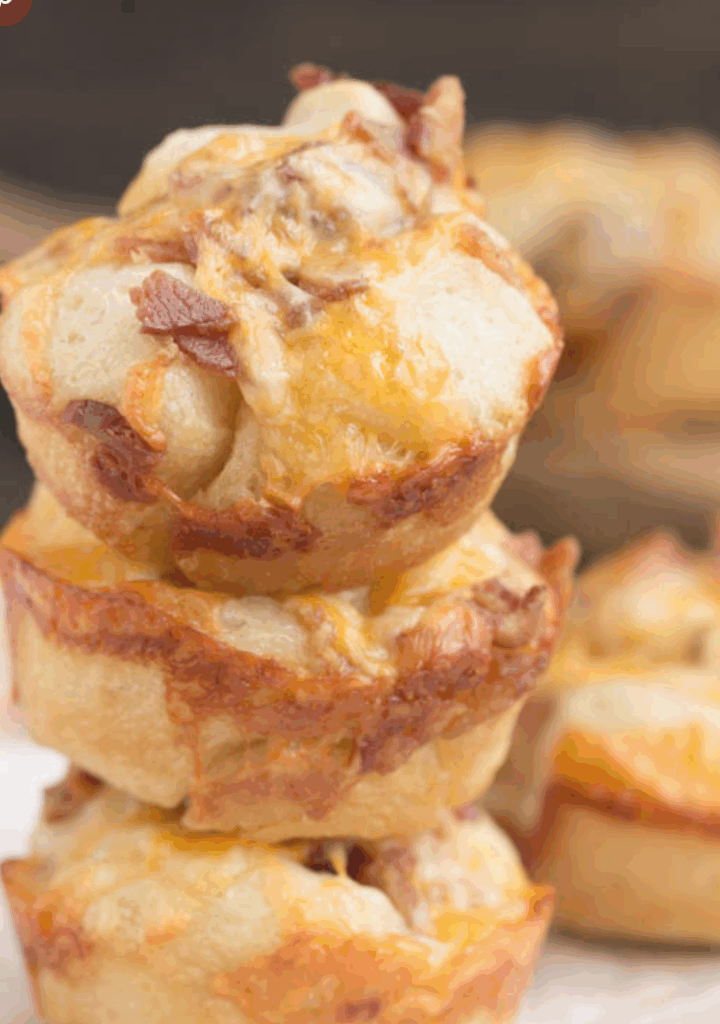 Short-cut Bacon Cheddar Rolls
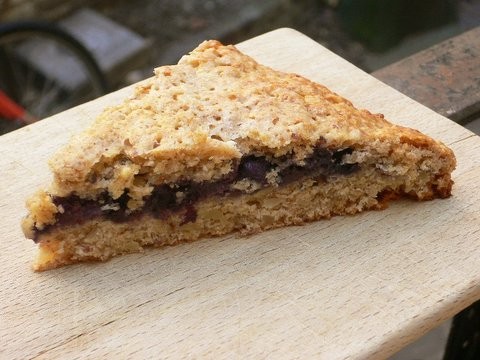 Blueberry Bannock Scone
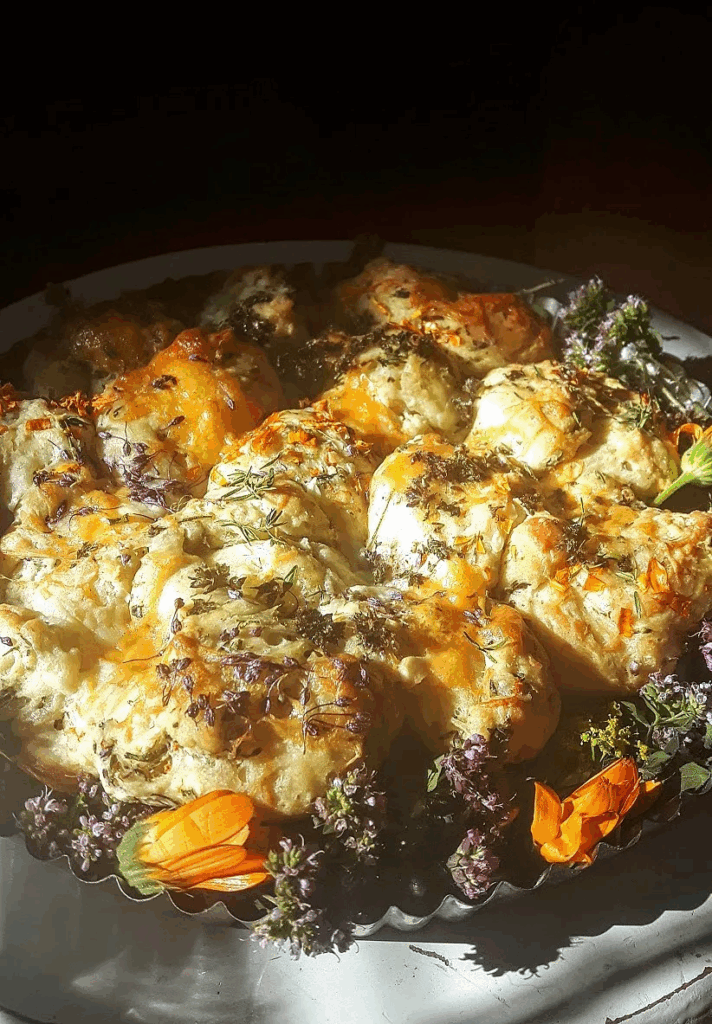 Herbalicious & Cheesy Lammas Biscuit Loaf
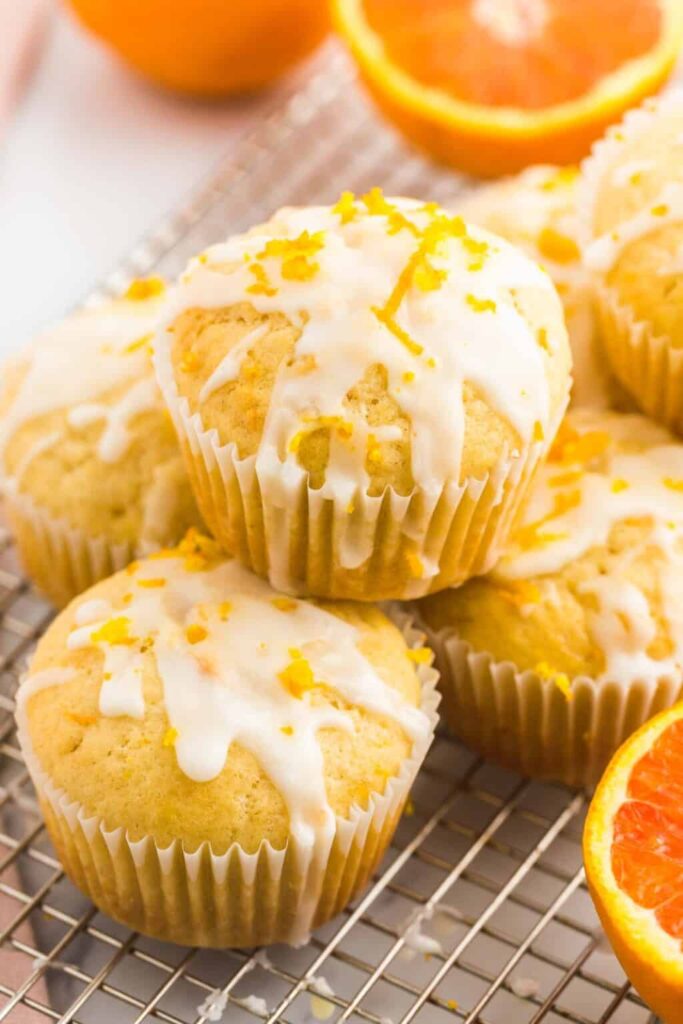 Orange Muffins with Orange Glaze
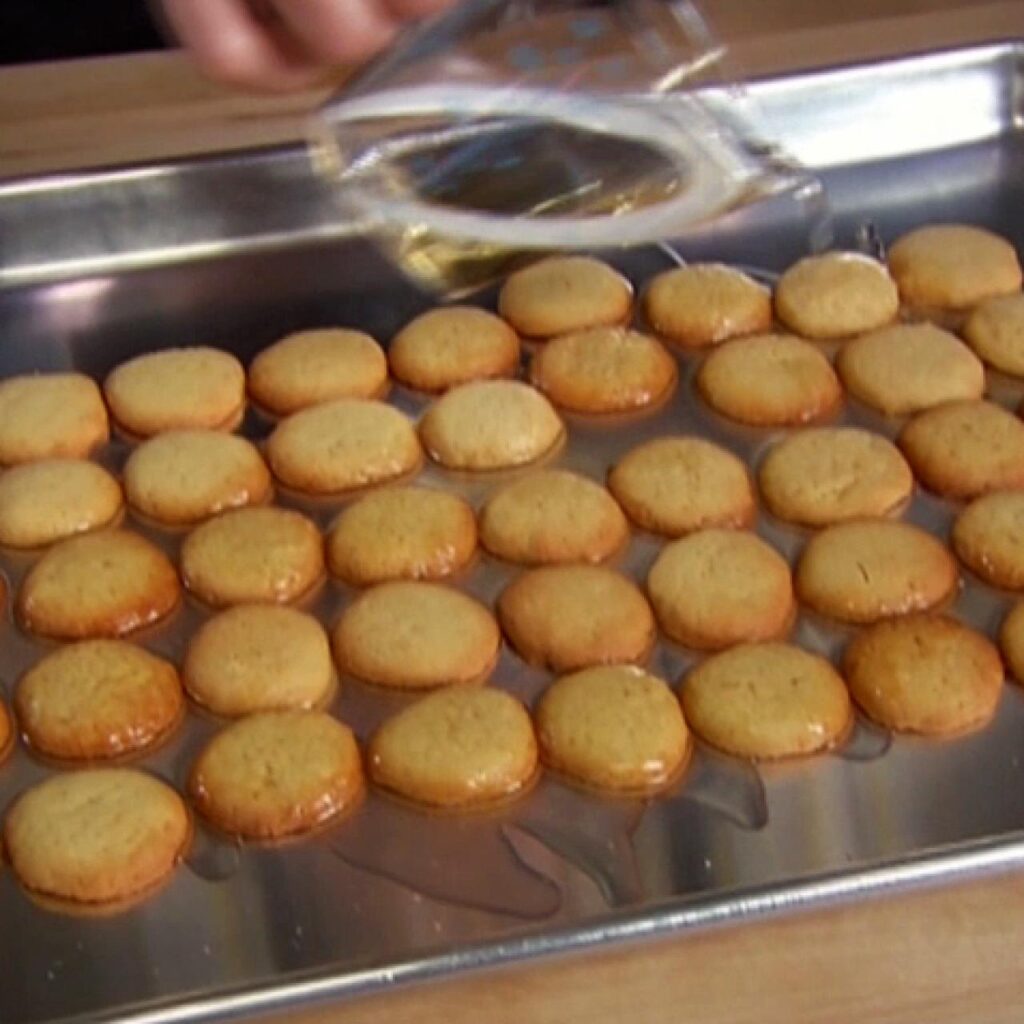 Vanilla Wafer Cookies
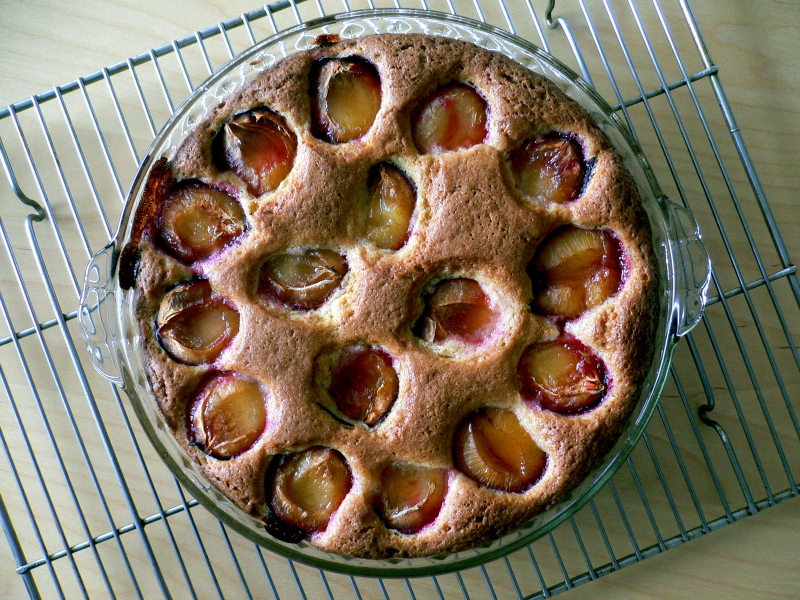 Dimply Plum Cake
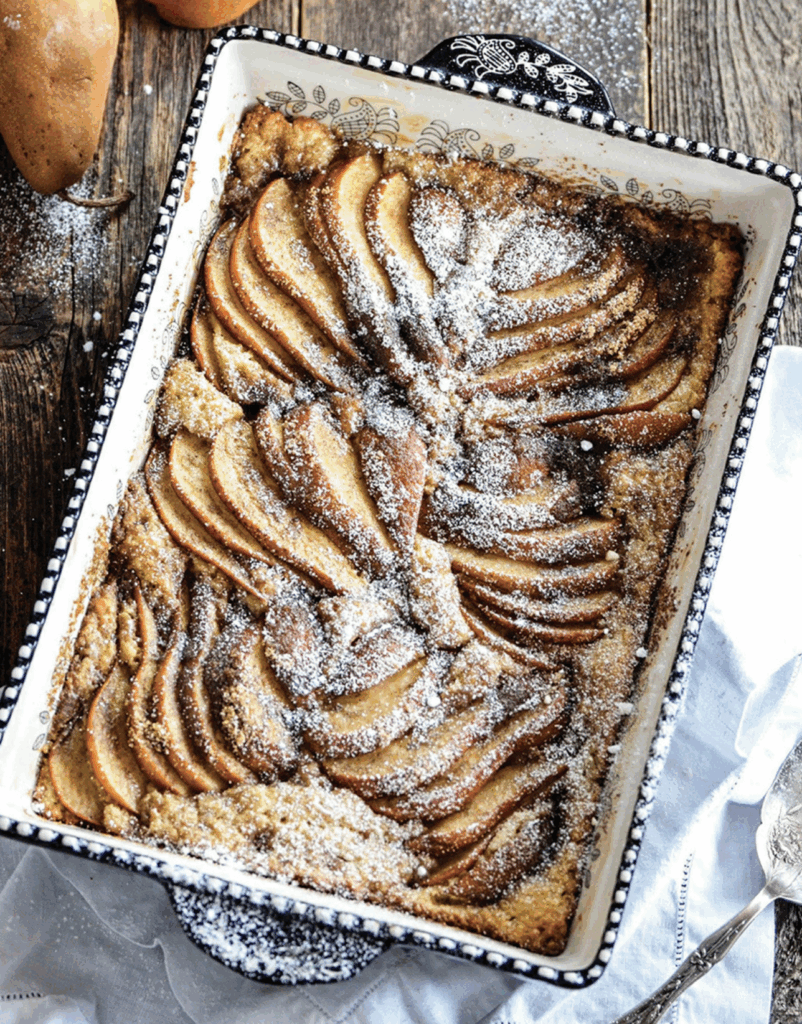 PNW Pear and Cardamom Cobbler
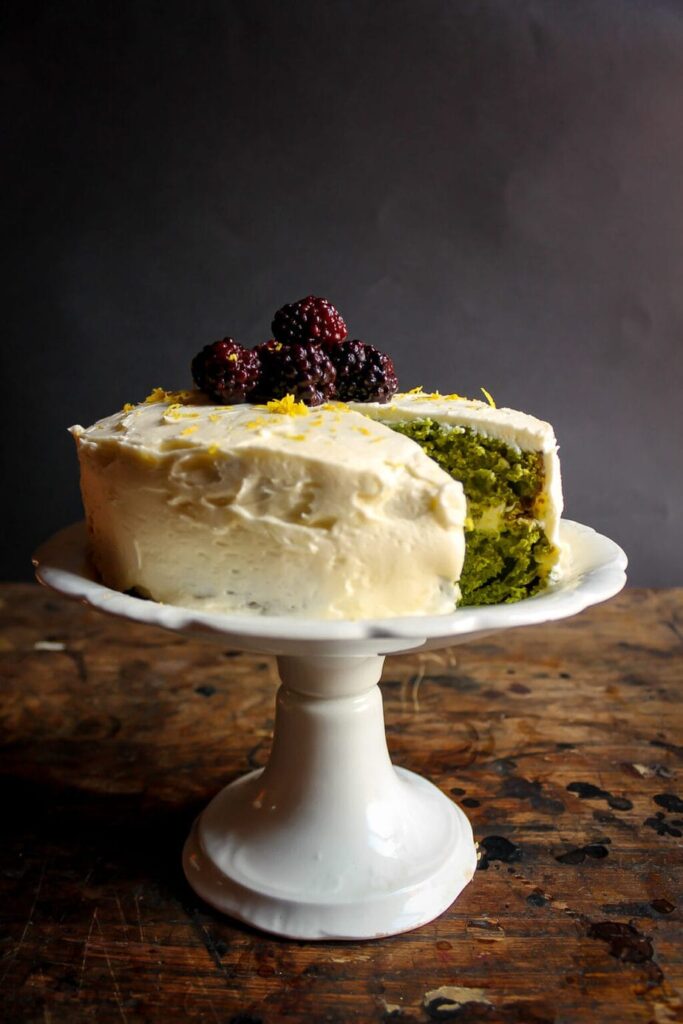 Lemon Stinging Nettle Cake
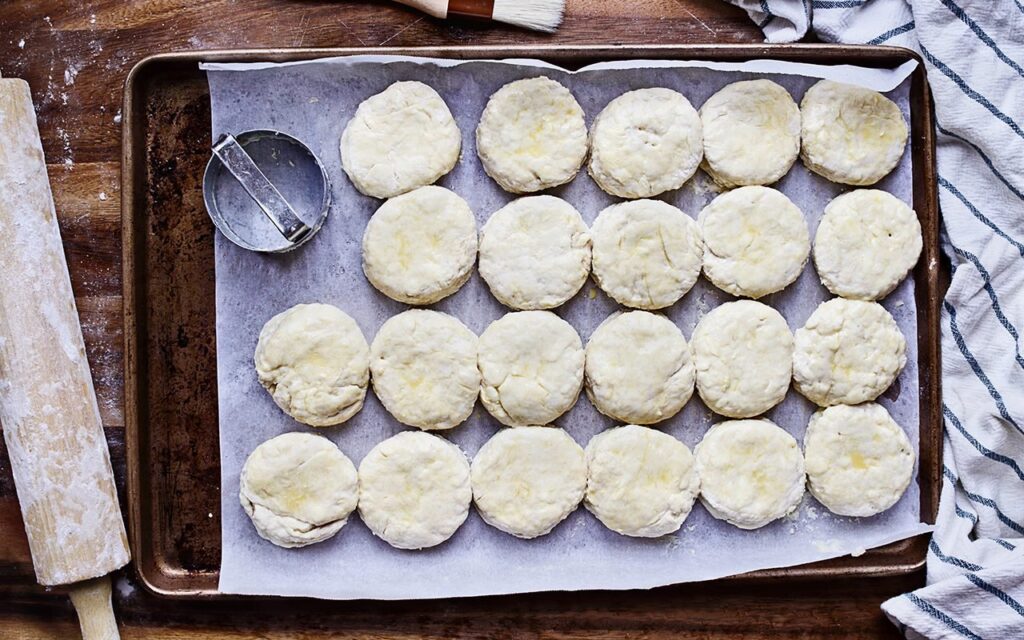 OAMC Buttermilk Biscuits
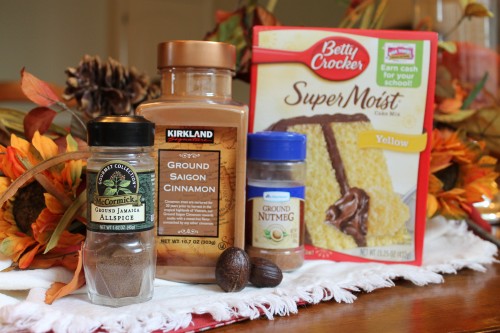 Spice Cake from Yellow Cake Mix
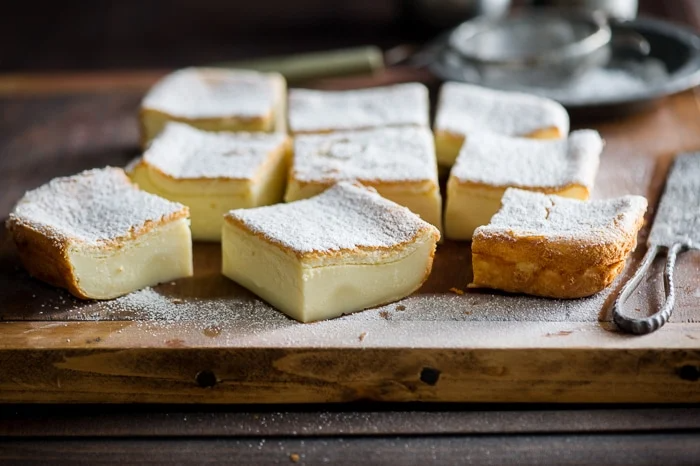 Magic Custard Cake
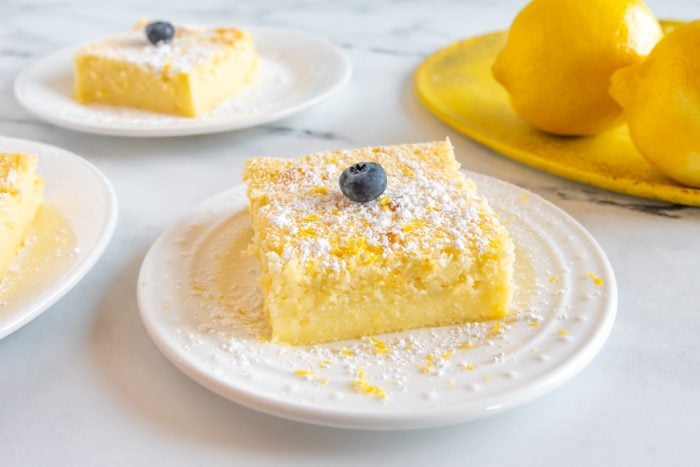 Lemon Custard Magic Cake
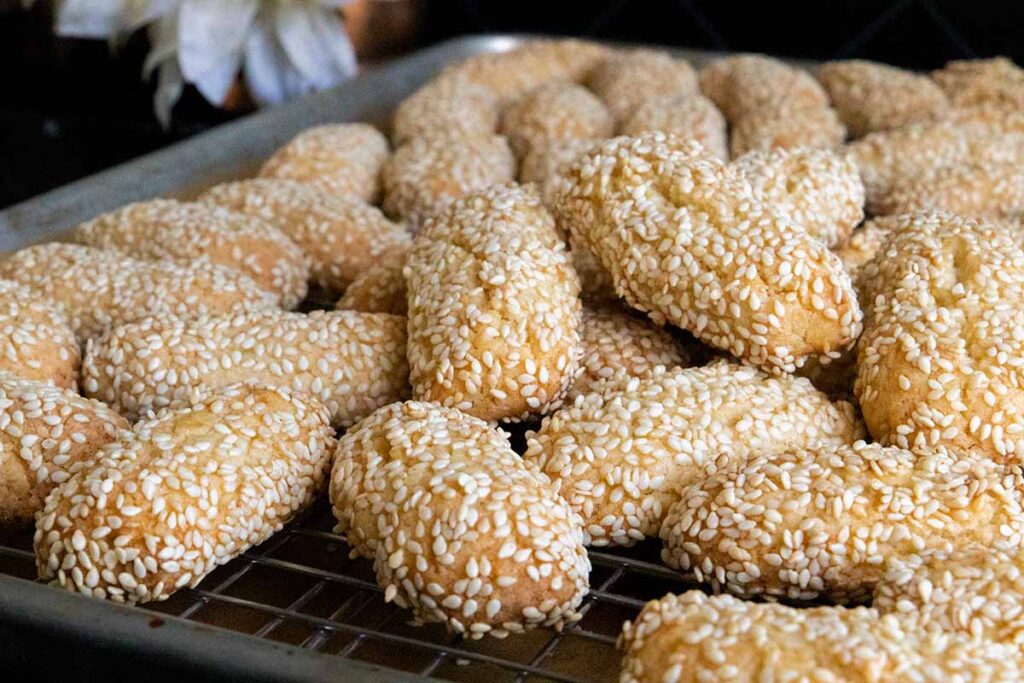 Italian Sesame Seed Cookies