Soda Syrups
 Soda Syrups
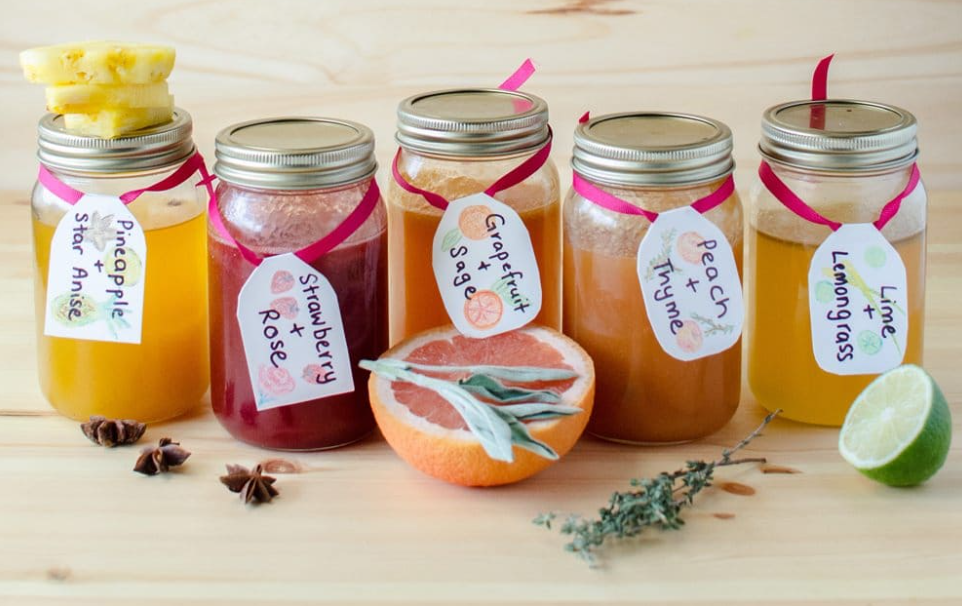
Grapefruit and sage syrup – A beautiful citrus syrup with the sweet and sour notes of grapefruit and the fresh sourness of sage work together to make a really beautiful, smooth syrup.
1 ⅔ C. grapefruit juice about 3-4 grapefruits
Peeled zest of the grapefruits
7 oz/ 200g white sugar
½ C. 120 ml water
10 sage leaves with stalks
Place all the ingredients in a saucepan. Heat over medium-heat until the sugar has dissolved and the mixture comes to a gentle boil. Lower the heat and simmer for about 20 minutes, till the juice has a simple syrup-like consistency. Pour the syrup through a sieve to remove the pulp, zest, and sage leaves. Squeeze as much of the syrup out as possible using the back of a spoon. Pour this syrup into a sterilized heat proof glass bottle or a mason jar.
Peaches and thyme syrup – A sweet fruity syrup with the earthiness of thyme! A slightly thicker syrup because of the peach nectar. Perfect even as an ice cream topping! (trust me, we’ve tried it with vanilla ice cream and it’s fantastic!). You could also make a peach shrub syrup, which is a great way to use up bruised, overripe peaches.
18 oz / 500g peaches seeds removed, cut to chunks
4 sprigs of thyme
3.5 oz / 100 ml water
3.5 oz/ 100g white sugar
pinch of salt
Place all the ingredients in a saucepan. Heat to dissolve the sugar. Cover with a lid and let the peaches “poach” in the liquid and soften for a few minutes. Simmer on low heat, uncovered for about 20-30 minutes till the liquid becomes syrupy. Remove the thyme sprigs and puree the peaches. Place the puree on a double layer of cheesecloth and strain the liquid out. Gently squeeze the pulp to get as much liquid from the puree, and pour the syrup into a sterilized bottle or jar.
Strawberry and rose syrup – The sweet strawberry flavors and the floral sweetness of rose water make for a refreshing drink that’s beautifully bright in both color and flavor! Or make a strawberry shrub syrup with overripe strawberries.
1 lb strawberries washed
⅓ C. rose water
¼ C. water
3.4 oz/ 100g white sugar
pinch of salt
Place all the ingredients in a saucepan. Heat until the sugar is dissolved and the liquid is boiling. Lower the heat and simmer for 15 minutes. Puree the strawberries and pass the puree through a double cheesecloth. Squeeze gently to get as much liquid out as possible and discard the pulp.Pour the syrup in a sterilized glass bottle or jar
Pineapple and star anise syrup – Pineapple has such a unique, tropical flavor! It can be deliciously sweet and tart at the same time – something only a very few fruits can achieve. I wanted to pair this with Star Anise which in turn imparts a wonderful licorice fragrance and flavor, that you can make as subtle or as strong as you like (I preferred it a little subtle).
23 oz/ 650g pineapple peeled and cut 1 pineapple
7 oz/ 200g white sugar
2 star anise
½ C. water
pinch of salt
Place all the ingredients in a saucepan and heat until the sugar dissolves. Bring it to a boil and then lower the heat to simmer until the pineapple softens. Turn off the heat and let the star anise steep in the pineapple juices for about 30 minutes. Remove the star anise and puree the pineapple. Place the puree on a double layer of cheesecloth to strain the liquid. Gently squeeze to get all the liquid out, then discard the pulp. Pour the pineapple syrup into a sterilized glass bottle or jar.
Lime and lemongrass syrup – Lime syrup is nothing new and it’s something I LOVE having at home (along with lemon syrup) because it makes for a perfect addition to any kind of drink. I love adding it to Vodka, tequila or just mix it with some ice and water. I decided to enhance the sour, citrus flavor with lemongrass! It adds a delicious warmth to the syrup.
½ C. lime juice
Zest of the lime
2 lemongrass stalks
½ C. of water
8.5 oz / 240g white sugar
¼ tsp salt
Bruise the lemongrass stalks (by hitting the stalk along the length of it with the blunt side of a knife). Cut the stalk into 2-3 pieces. Place all the ingredients in a saucepan and heat until the sugar dissolves. Bring the liquid to a boil and lower the heat to simmer until it achieves a syrup-like consistency. Pour the liquid through a fine sieve to remove the pulp, lemongrass and zest. Pour syrup into a sterilized bottle or jar.
To Sterilize
Preheat oven to 250°F/ 120°C. Place the lids on the syrup filled jars loosely (don’t screw them on tightly). Place the bottles on a baking tray, making sure they don’t touch each other. Place the baking tray in the preheated oven and keep the syrup filled jars in the oven for at least 30 minutes up to one hour. While wearing oven mittens, take out the baking tray and carefully screw on the lids tightly on the bottles/jars, while they are still hot (PLEASE BE VERY CAUTIOUS AS THEY WILL BE VERY HOT). Leave them to cool completely to room temperature and store in the fridge overnight. Use the syrup with Seltzer water/club soda to make homemade sodas or mix them with spirits for cocktails, or use as a cordial to mix with water and ice for a refreshing drink.
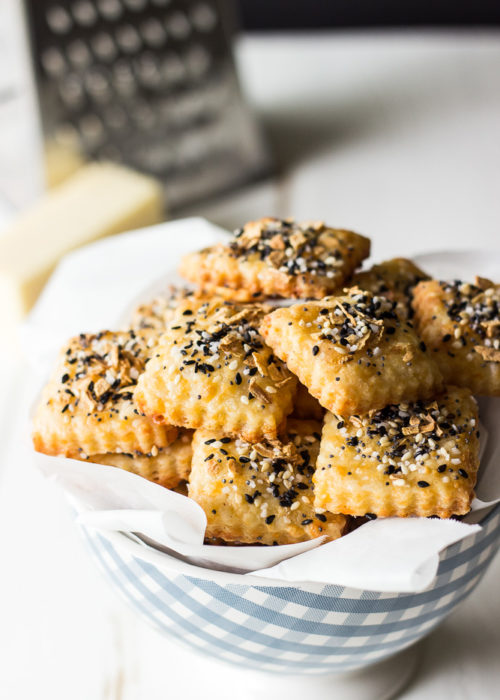 Spicy Everything Bagel Cheddar Cheese Crackers
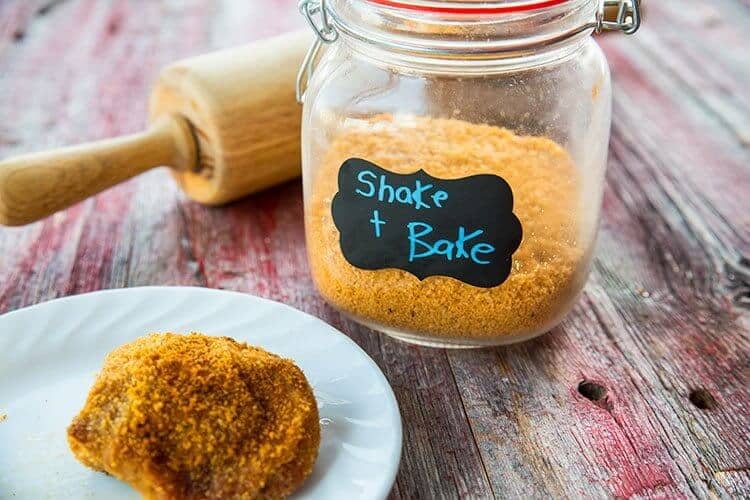 DIY Shake and Bake
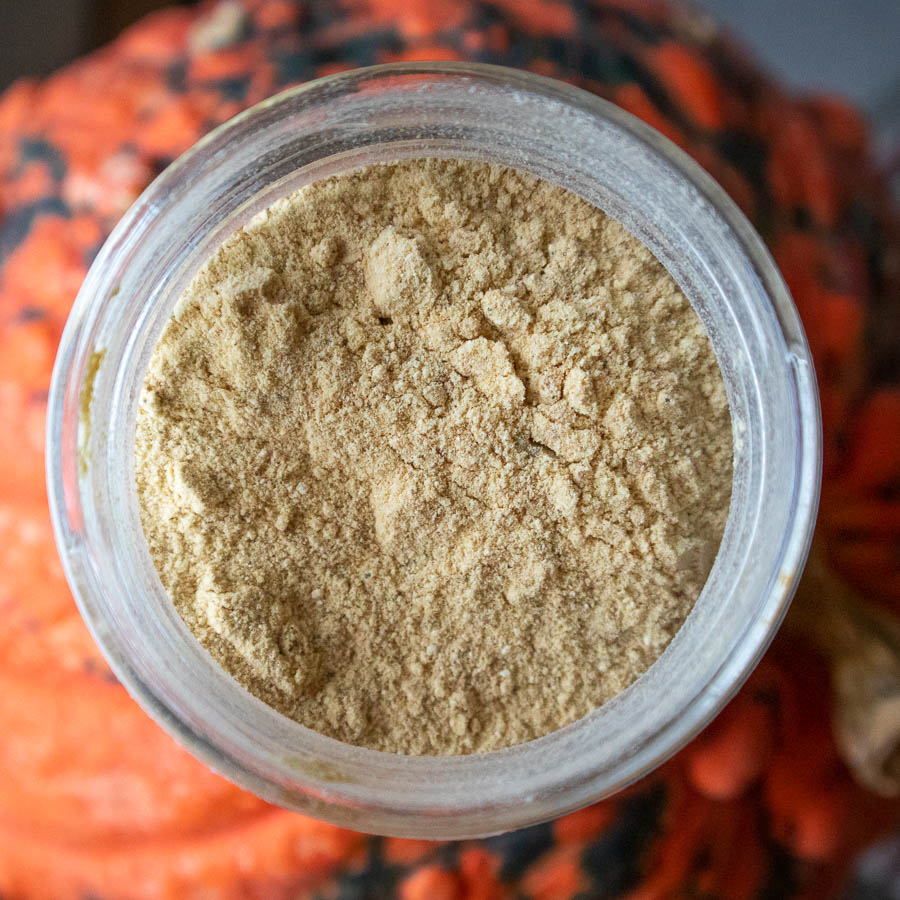 Chicken of the Woods Bouillon
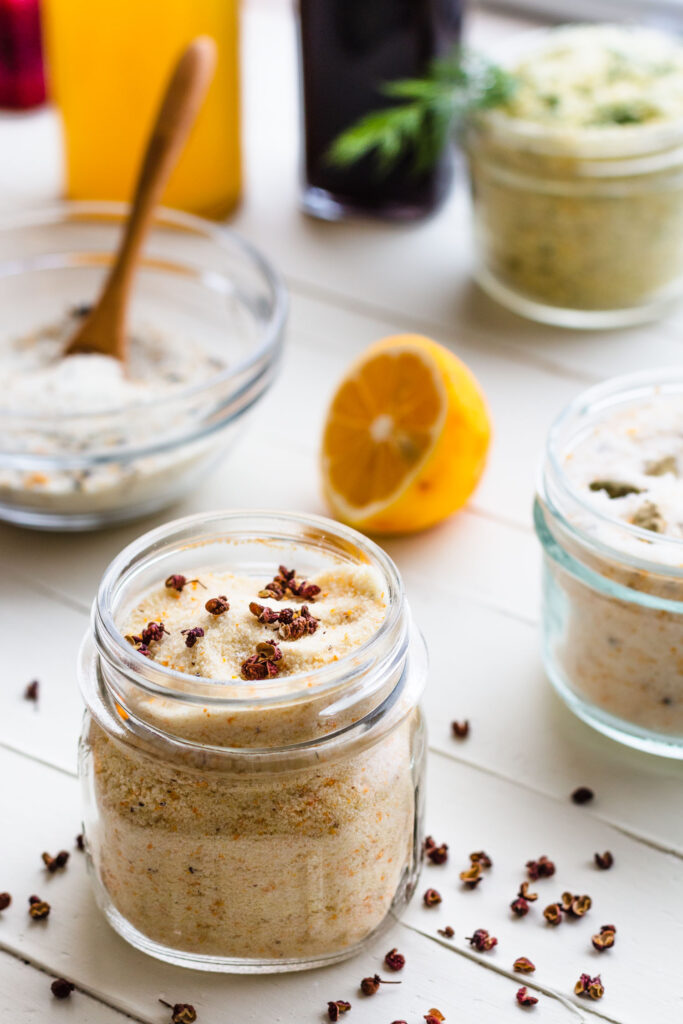 Orange Sugar with Szechuan Peppers
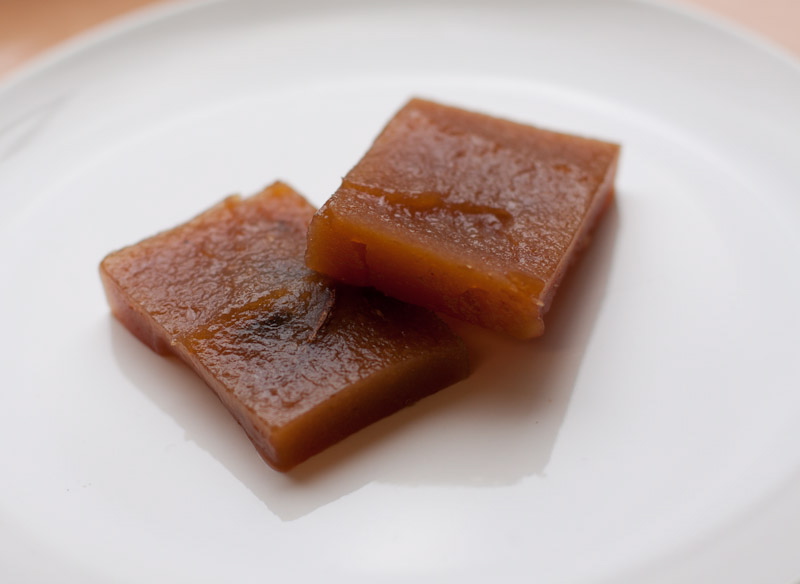
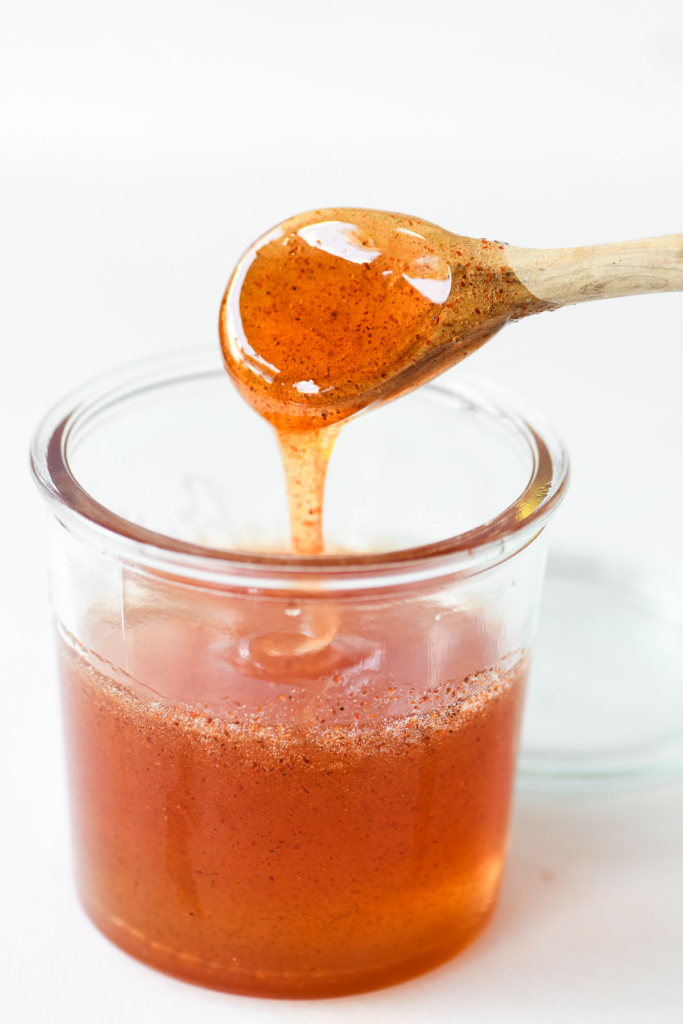 Hot Honey
 Wild Spice Infused Honey
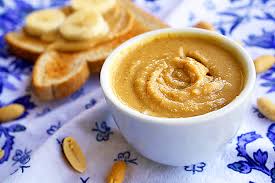 Homemade Vanilla-Honey Peanut Butter
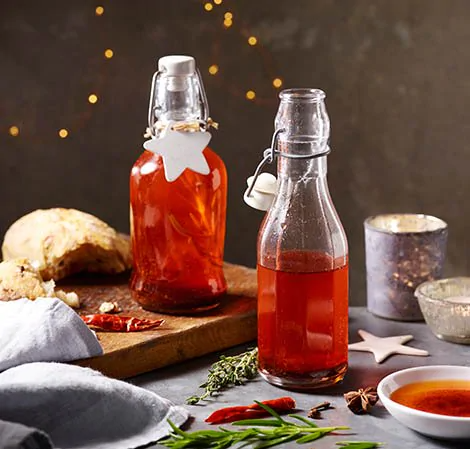 Chili Oil
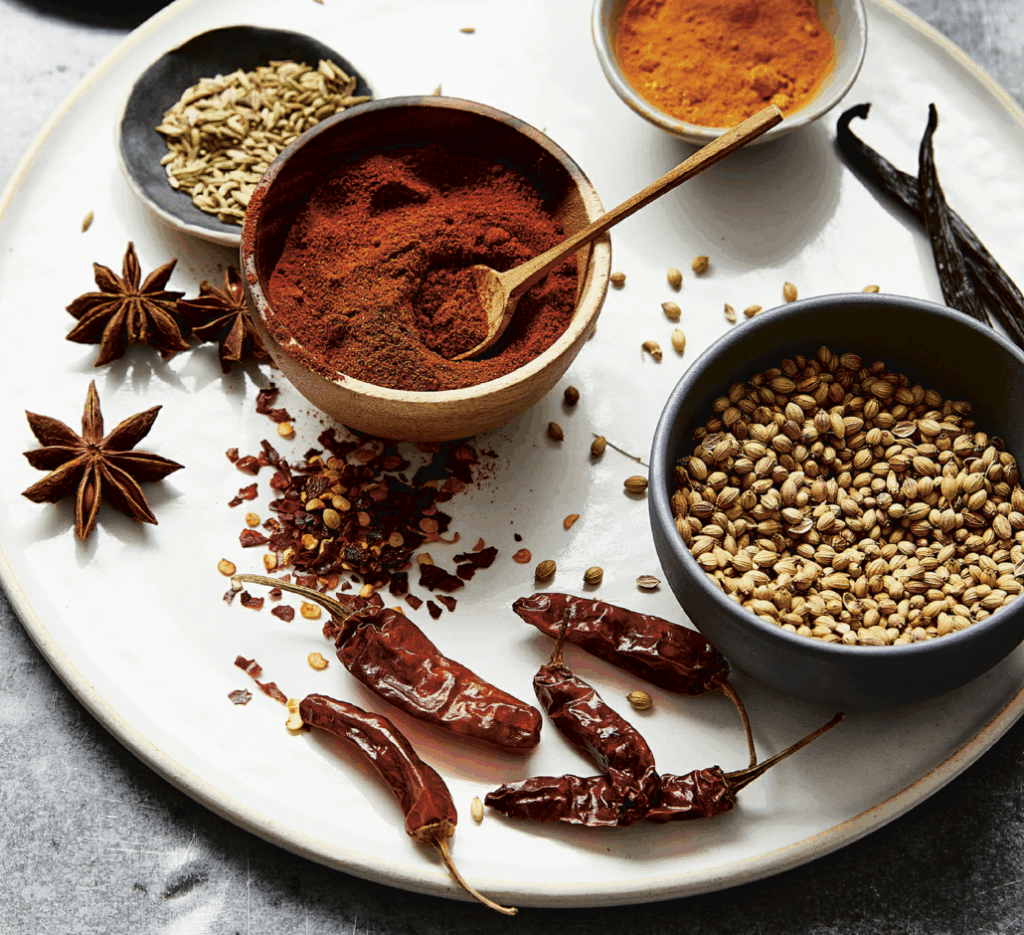 Chili Powder
 Vanilla Wafer Cookies
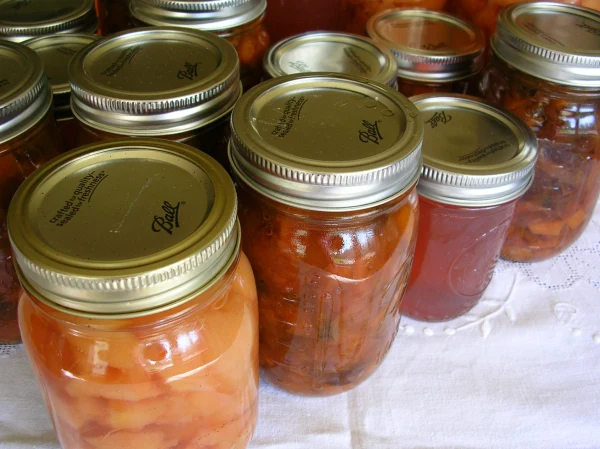 Spiced Quince Sauce
 Cream of Anything Soup
 Crab Apple Jelly
 Homemade Cream Cheese
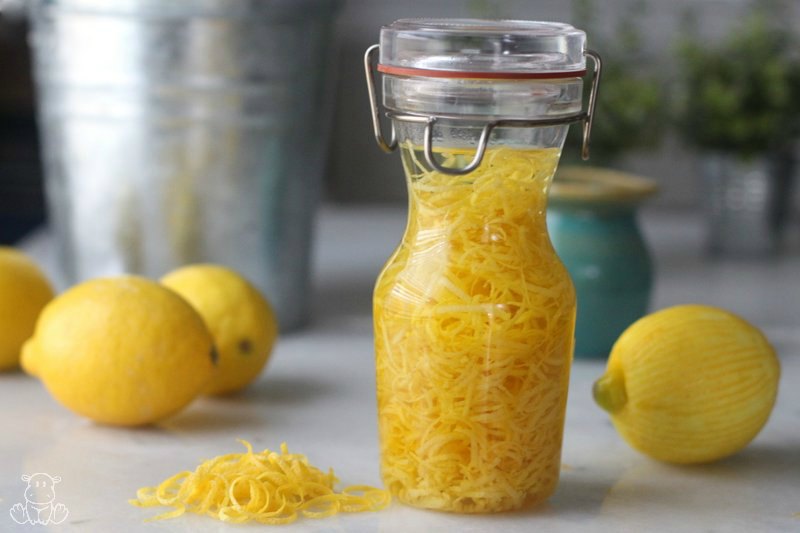 Lemon Extract
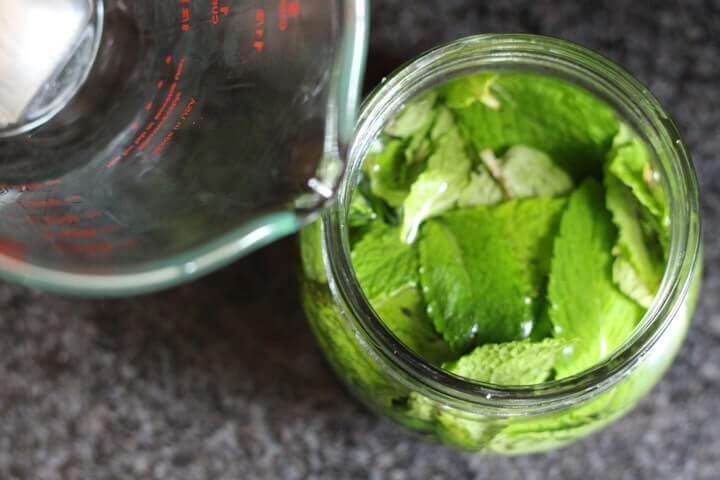 Mint Extract
 Peppery Nasturtium Vinegar
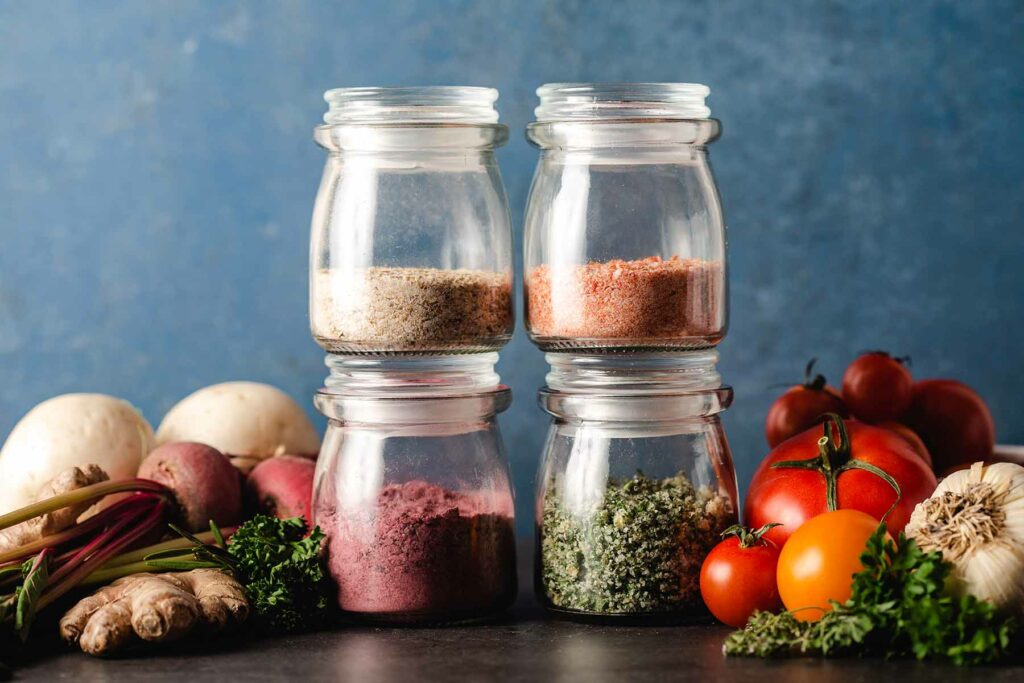
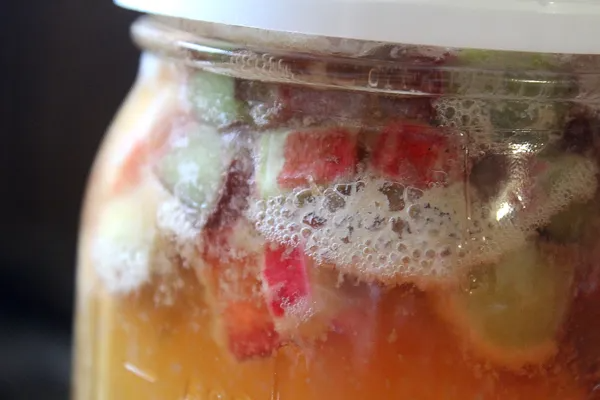 Rhubarb Mead (Honey Wine)
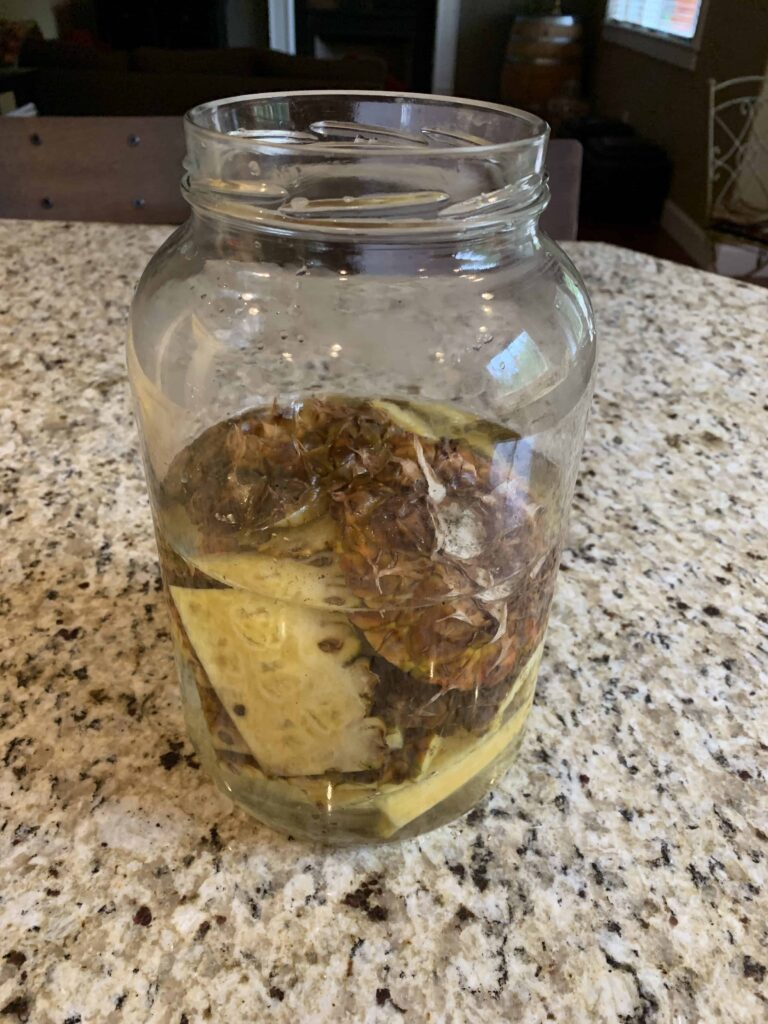 Pineapple Scraps Vinegar
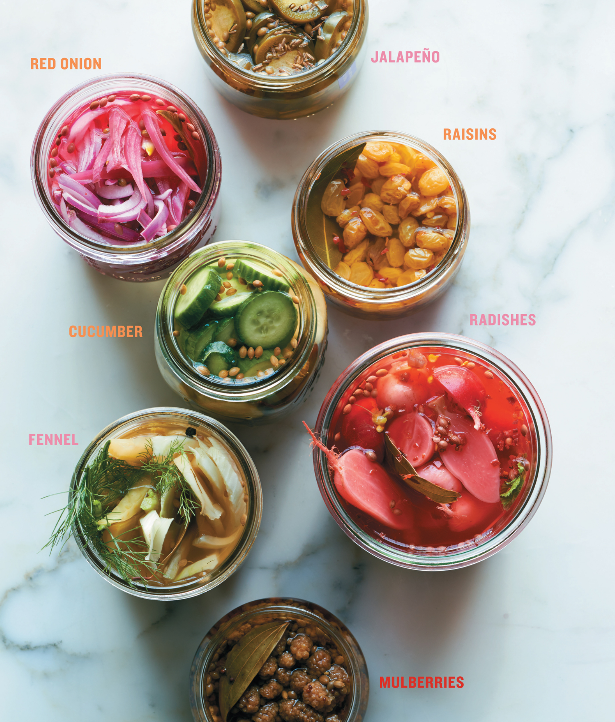 Quickles
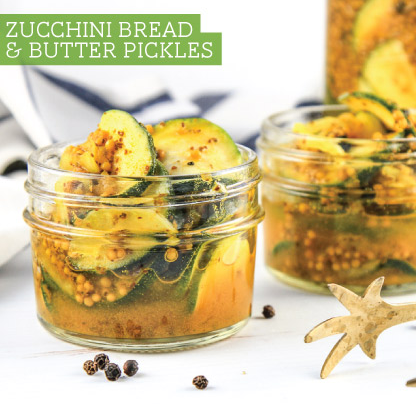 Zucchini Bread & Butter Pickles
 DIY “Instant” Oatmeal
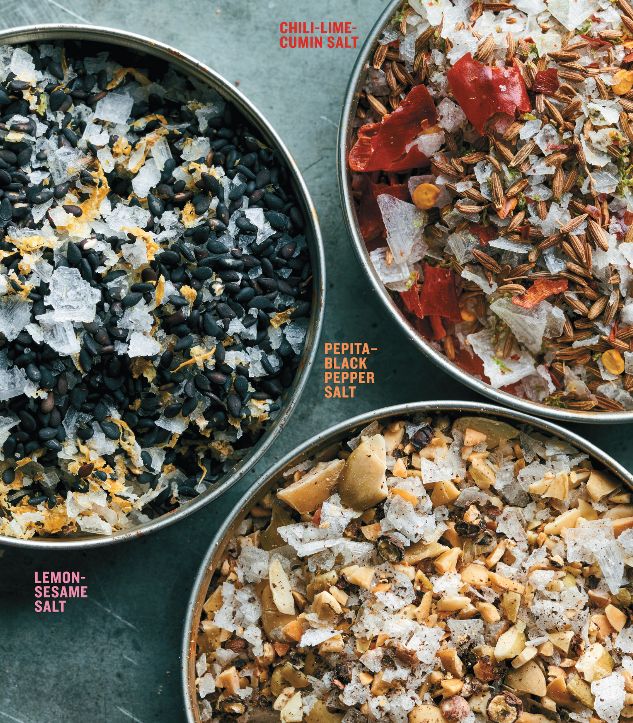 Finishing Salts
 Za’atar Blend
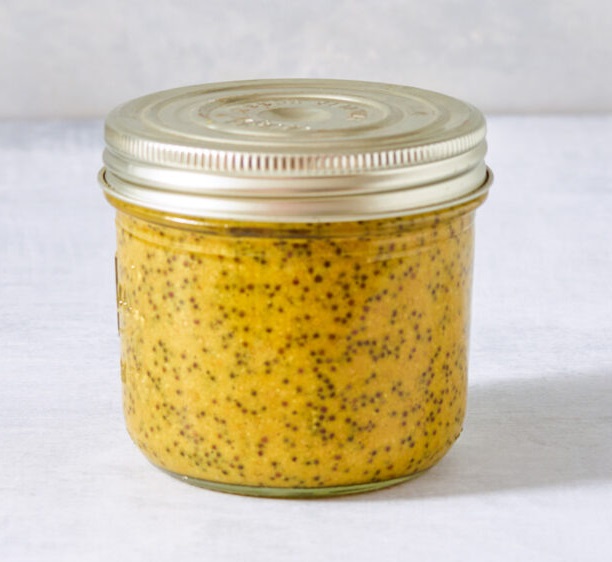 Seedy Mustard
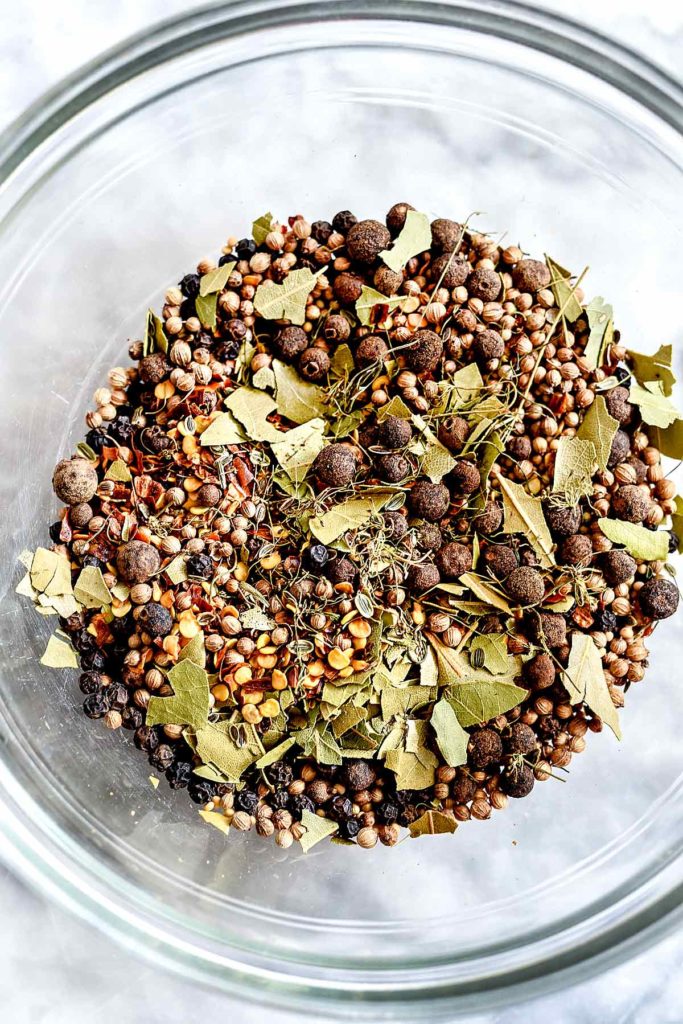 Pickling Spice Blend
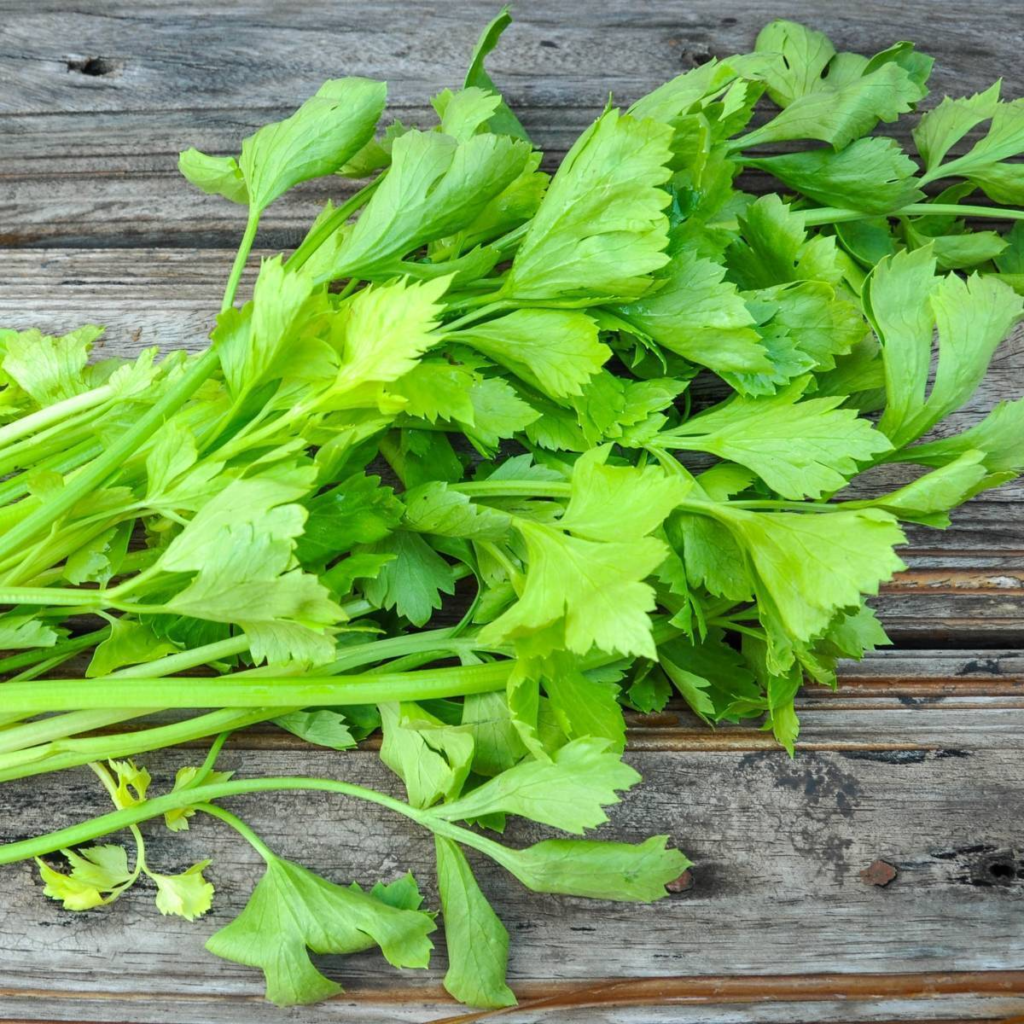 What to do with Celery Leaves
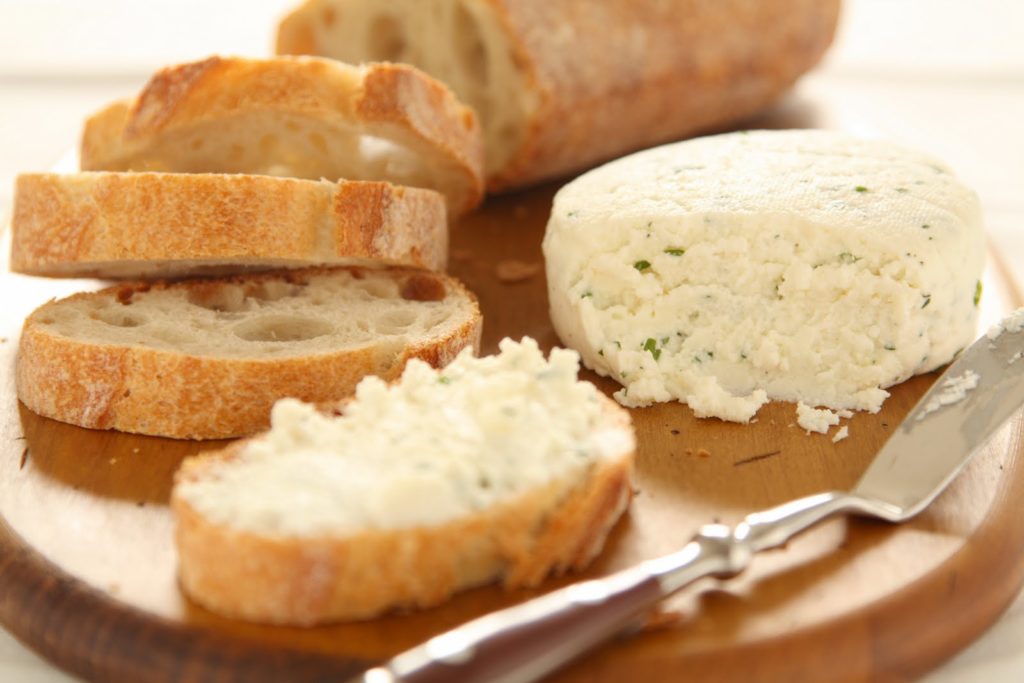
 Black Currant Sun Jelly
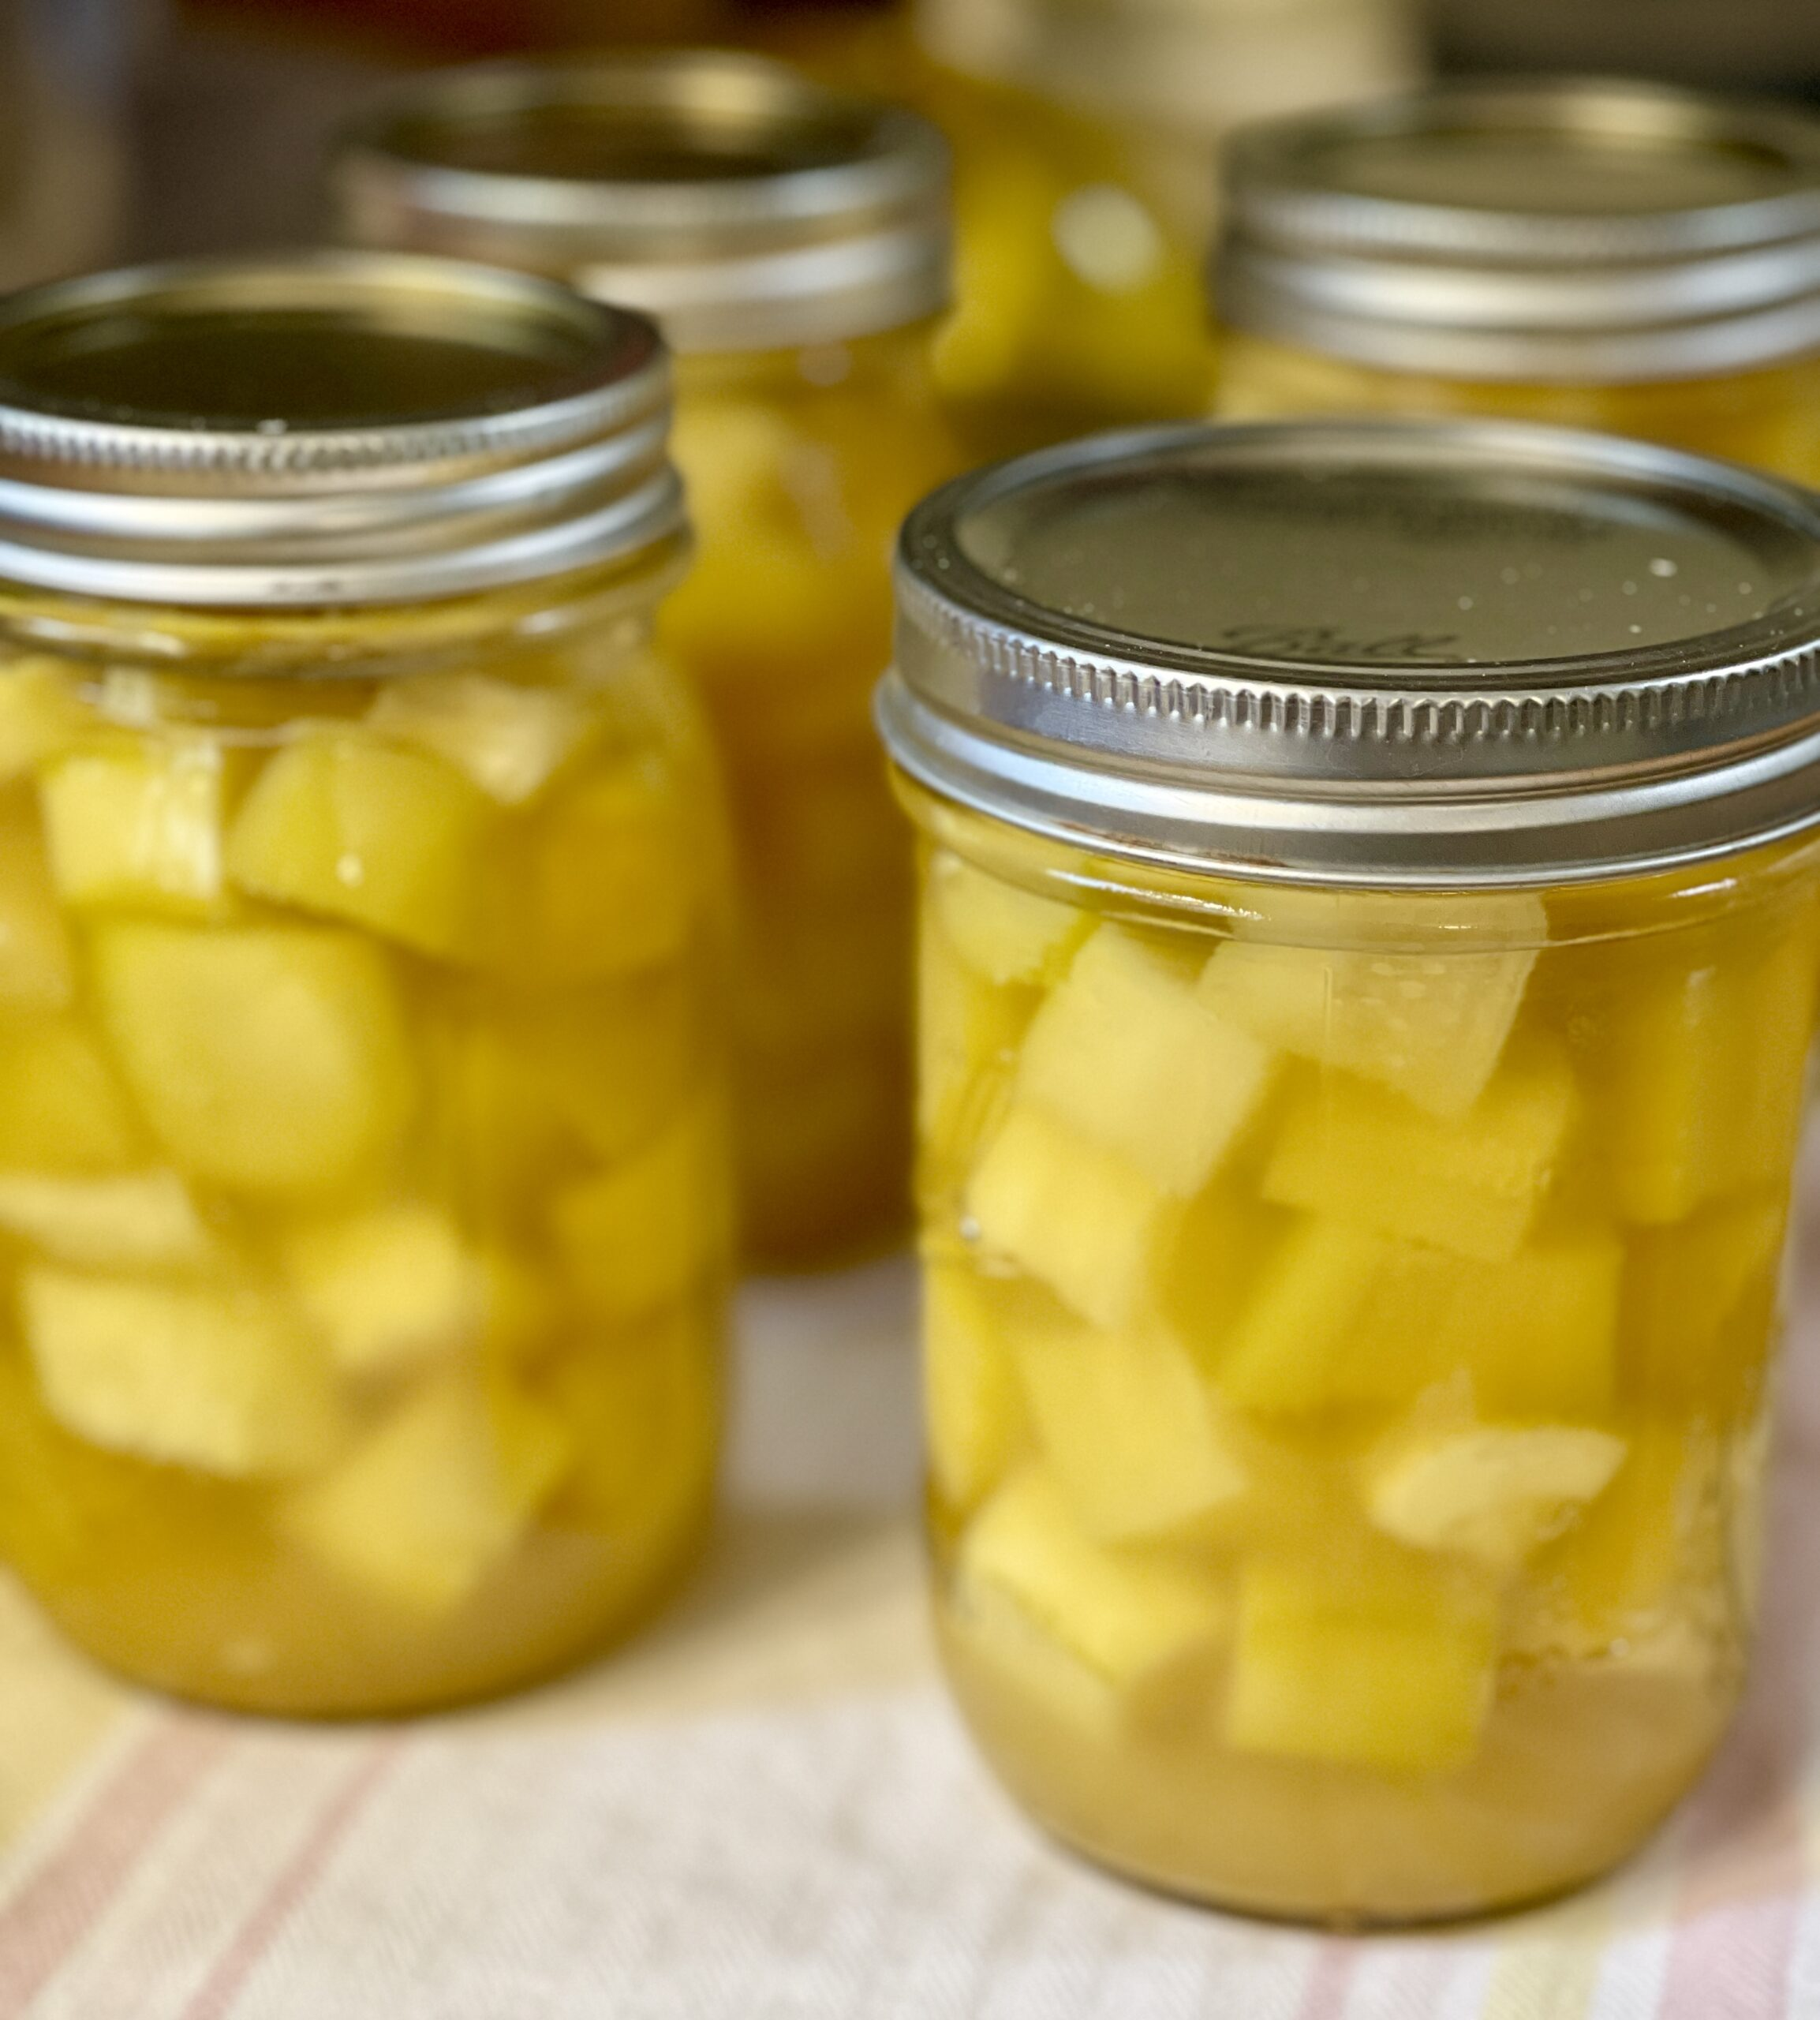 Zucchini “Pineapple”