Blueberry Basil Jam
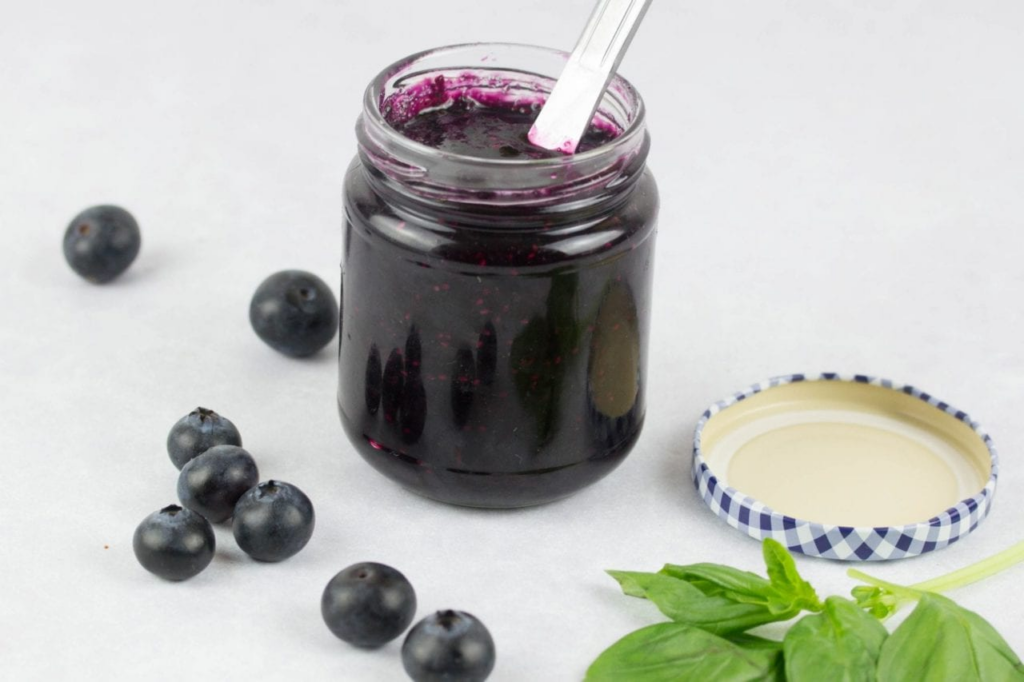 Blueberry Basil Jam
¼ cup packed fresh basil leaves
¼ cup freshly squeezed orange juice
2 T. freshly squeezed lemon juice
4 cups granulated sugar
5 lb. fresh blueberries (or substitute frozen)
1 T. apple pectin
Combine basil with orange and lemon juice in a Vita-Prep or other high-speed blender. Blend 1 to 2 minutes on high until fully incorporated. Add basil mixture to a large saucepan with the sugar and blueberries and bring to a boil, stirring frequently. As berries are heating, purée mixture using an immersion blender. You want to purée about half of the berries, leaving the other half intact. Cook until soft, 3 to 4 minutes. Slowly add pectin while whisking vigorously and bring back to a boil for another 5 minutes. Turn off heat and cool. Store in the refrigerator for up to 2 weeks.
 Creamy Garlic Sauce
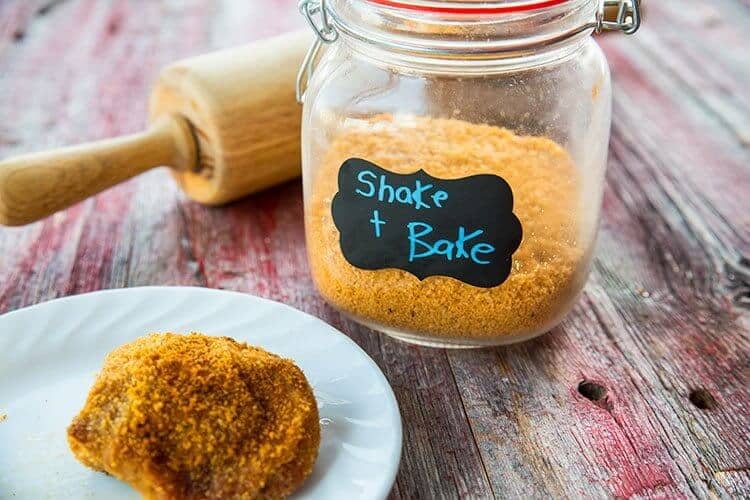 DIY Shake and Bake
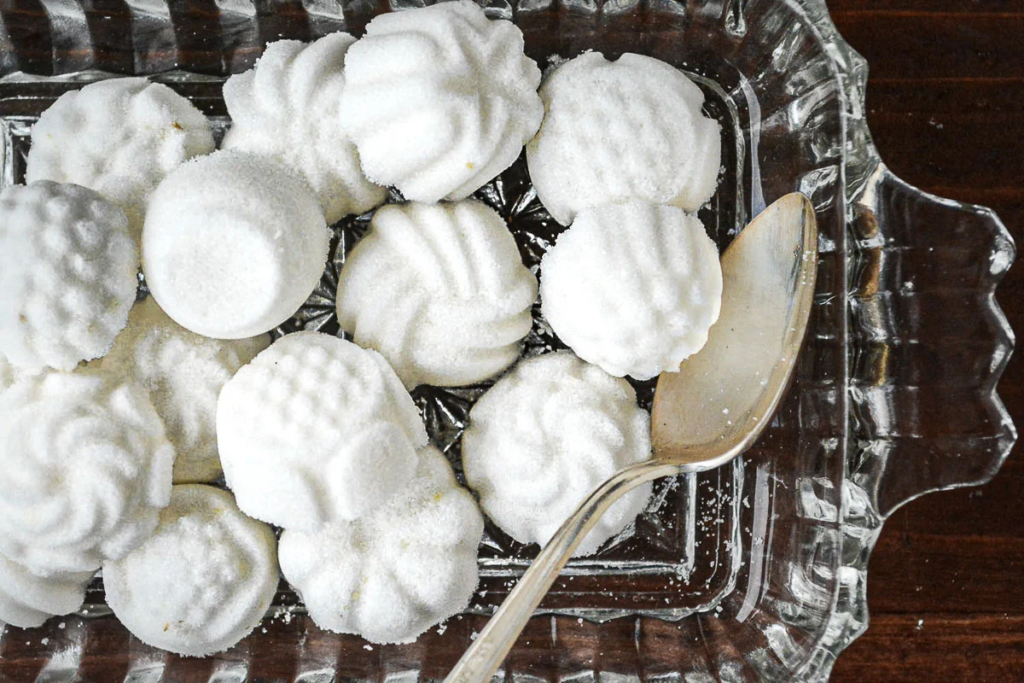 Fancy Sugar Cubes
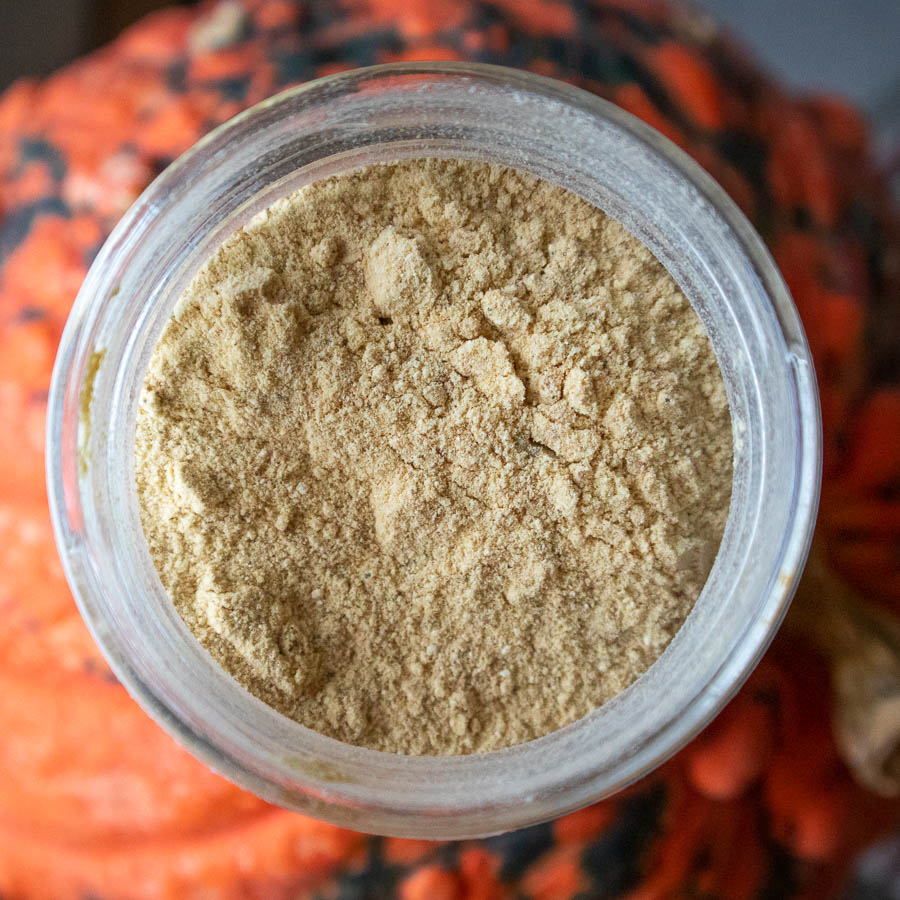 Chicken of the Woods Bouillon
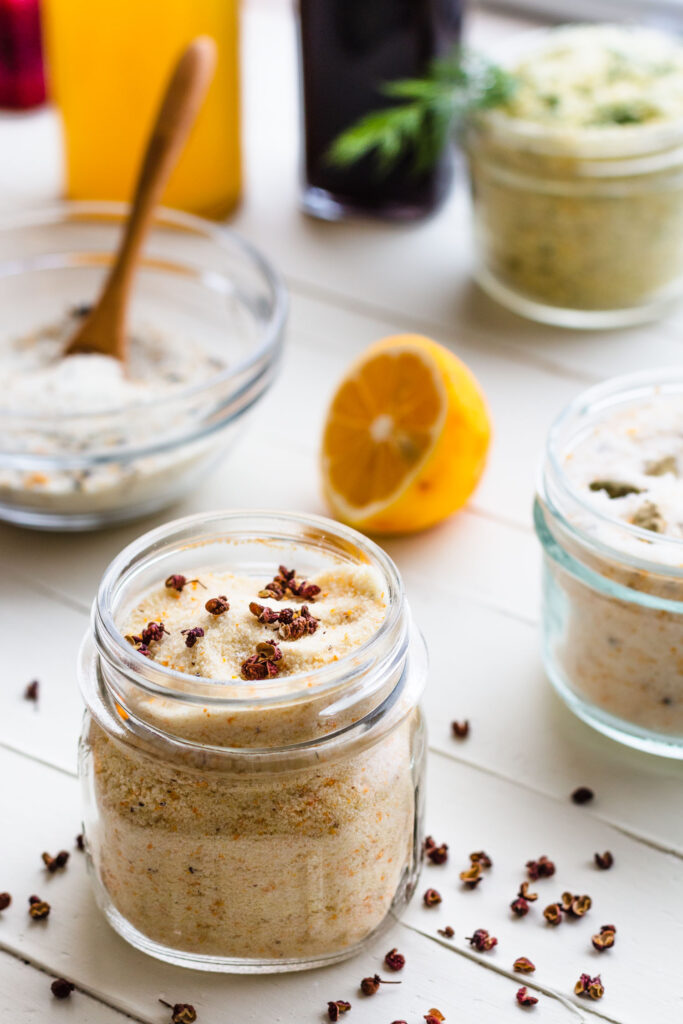 Orange Sugar with Szechuan Peppers
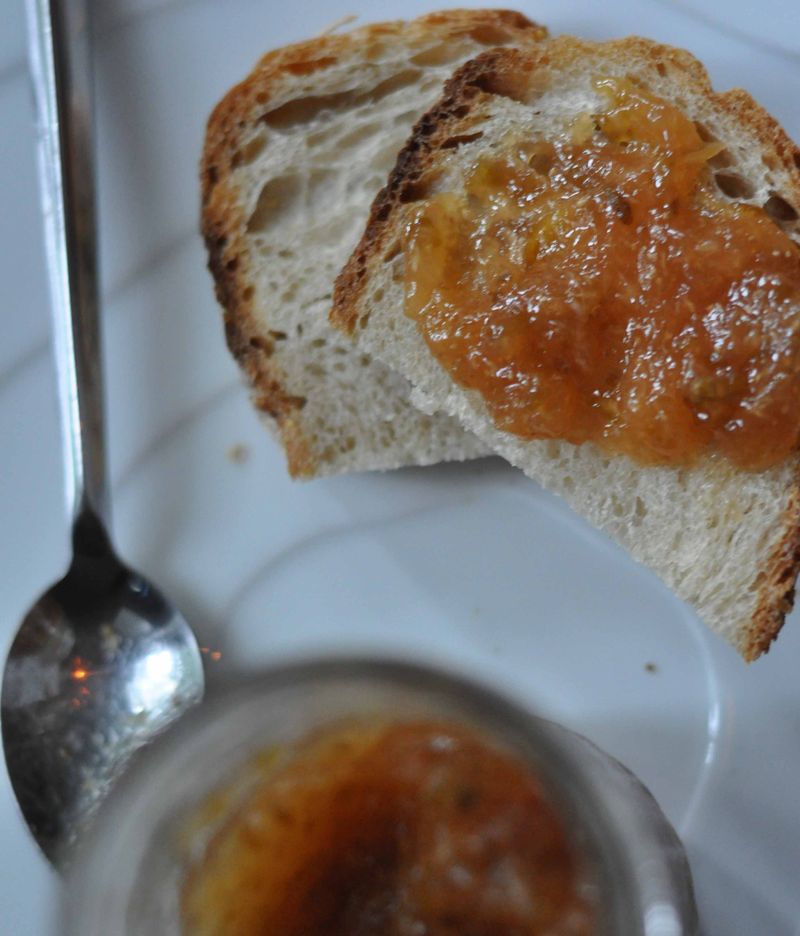 Fig, Lemon, and Thyme Jam
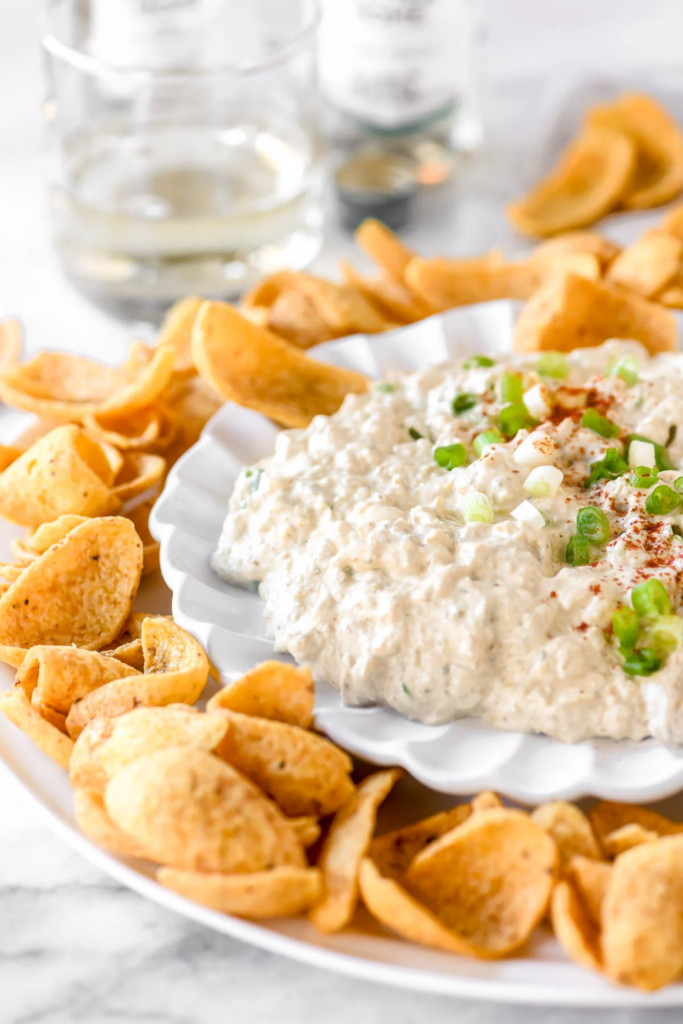 Clam Dip
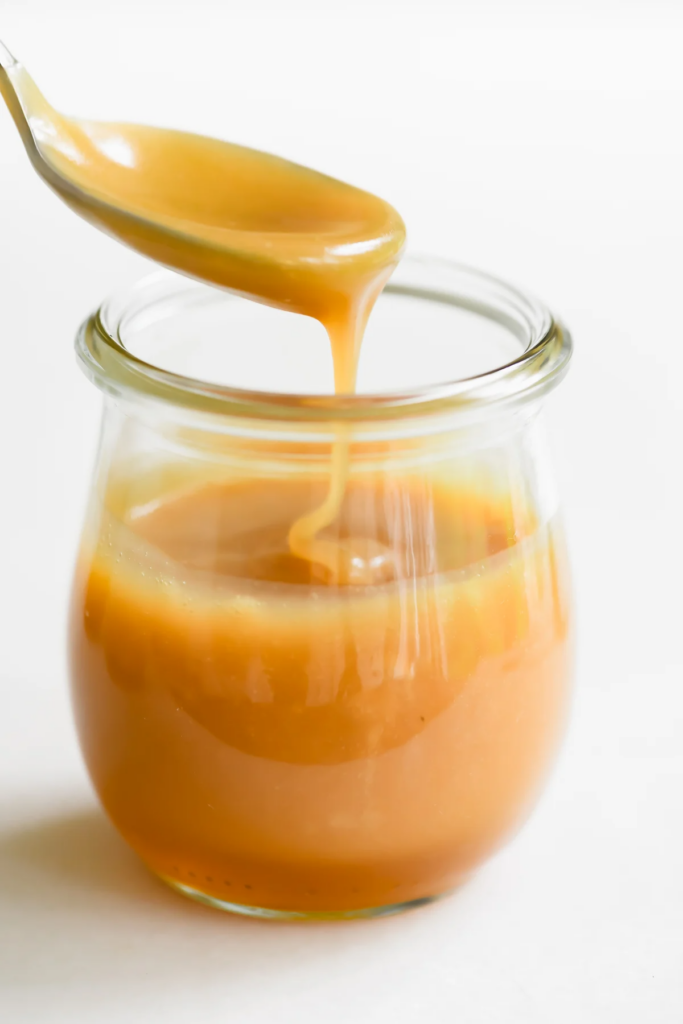 Honey Caramel Sauce
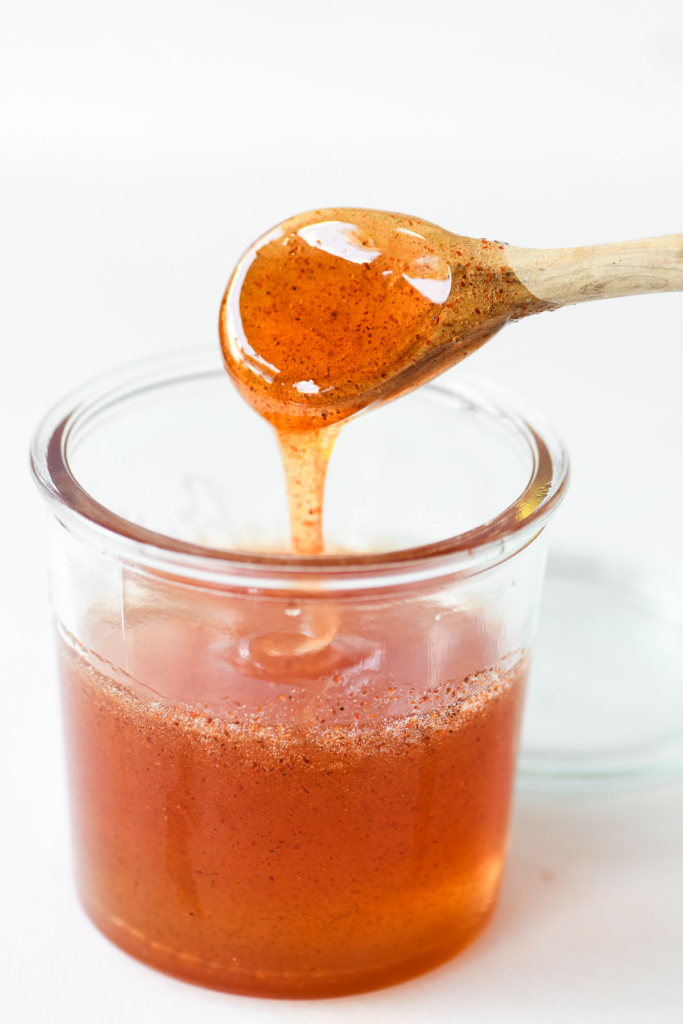 Hot Honey
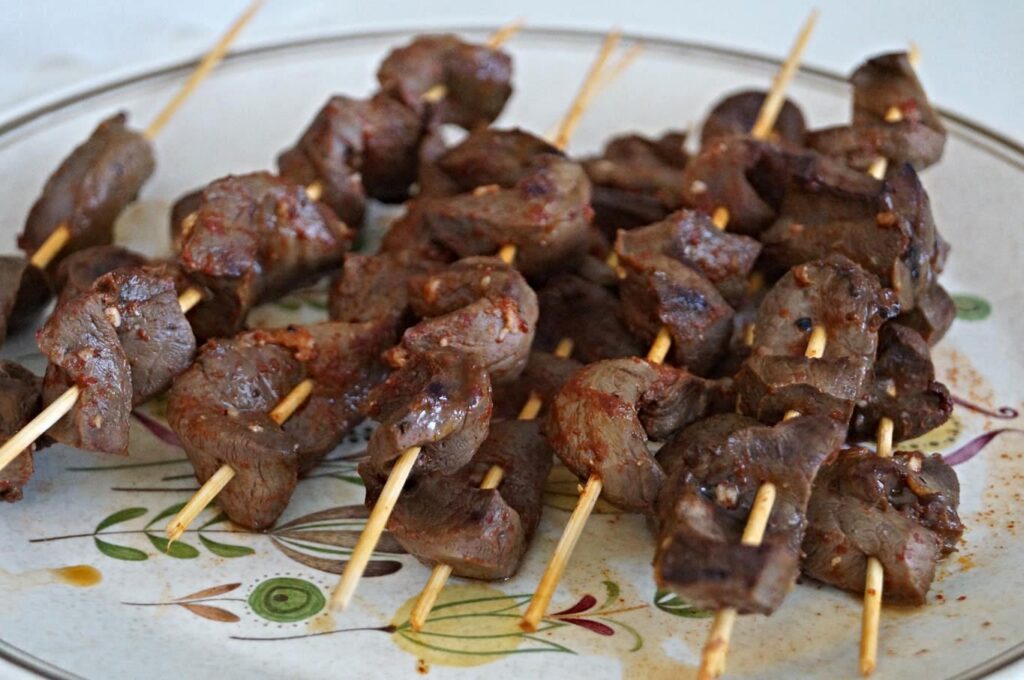 Las Primas Anticucho Marinade
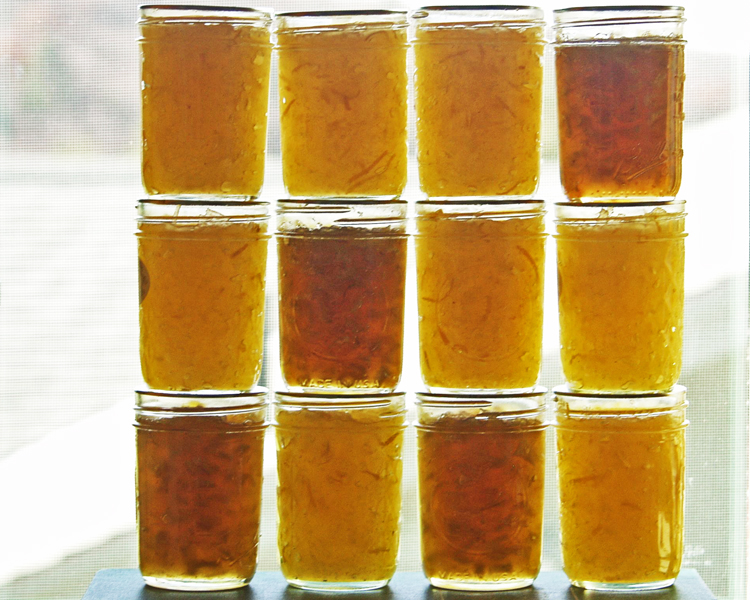
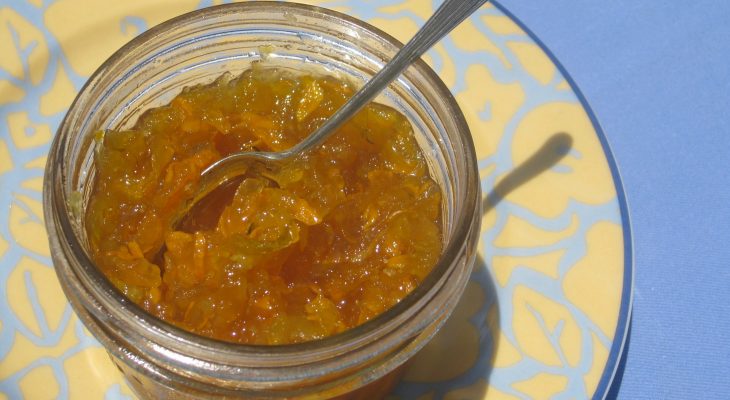 Lemon Ginger Zucchini Marmalade
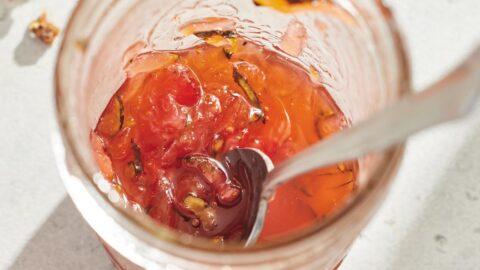 Zucchini-Strawberry Jam
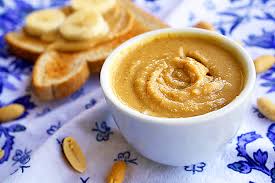 Homemade Vanilla-Honey Peanut Butter
 Lavender & Apple Butter Glaze
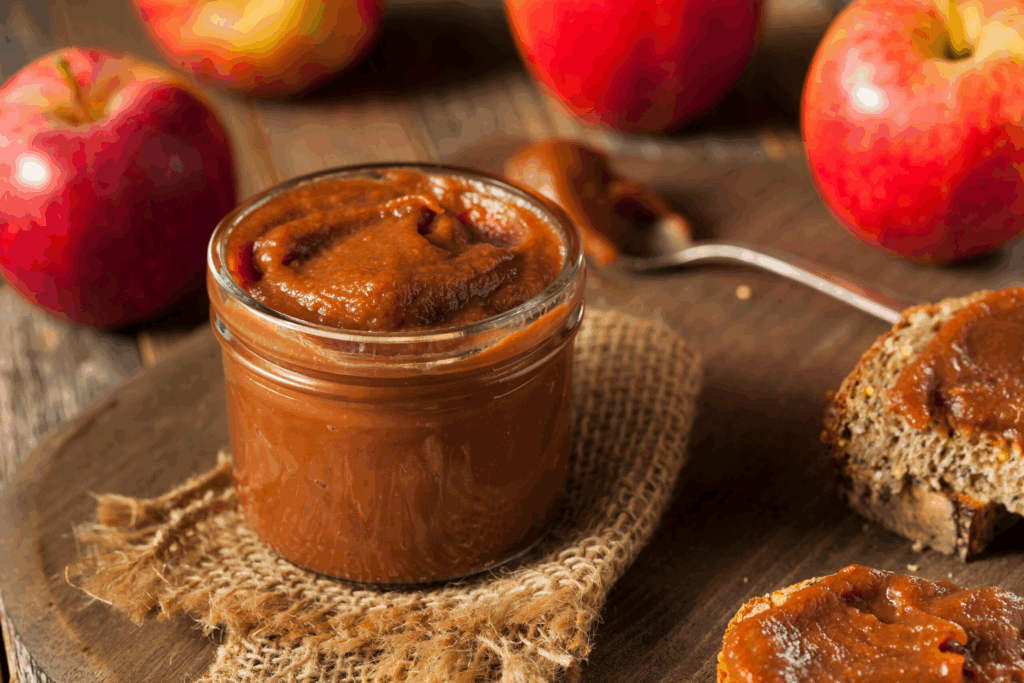
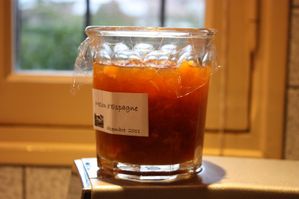 Citron Melon Jam with Orange and Star Anise
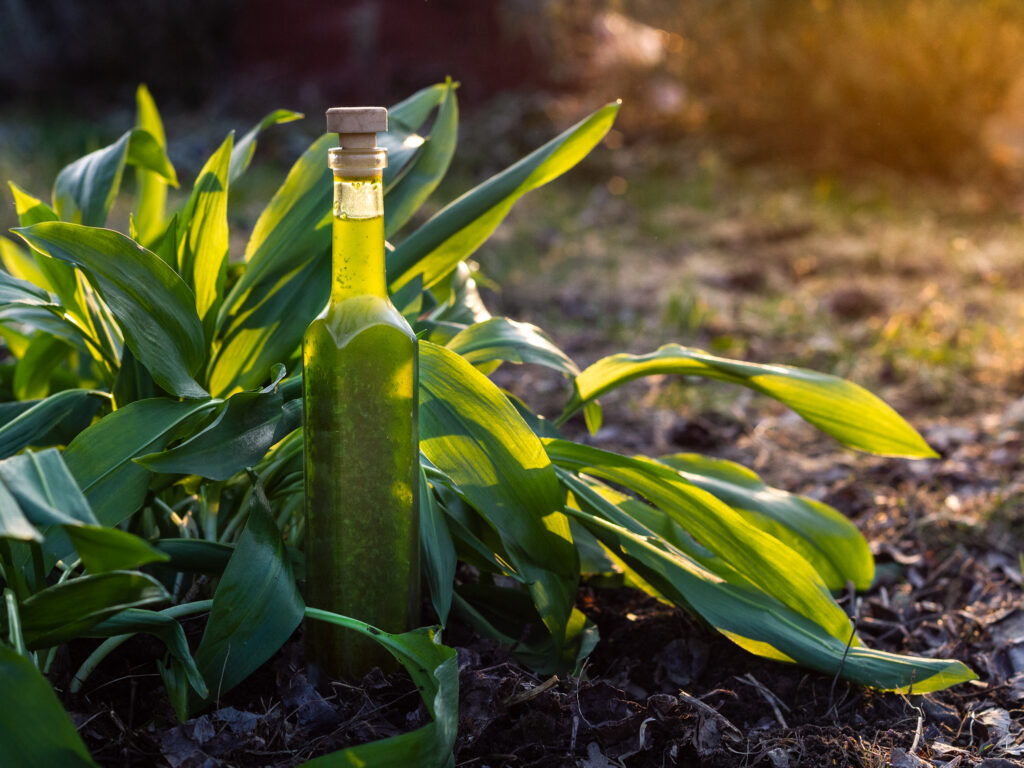 1 stalk green garlic, tender green and tops only, chopped (reserve white parts)
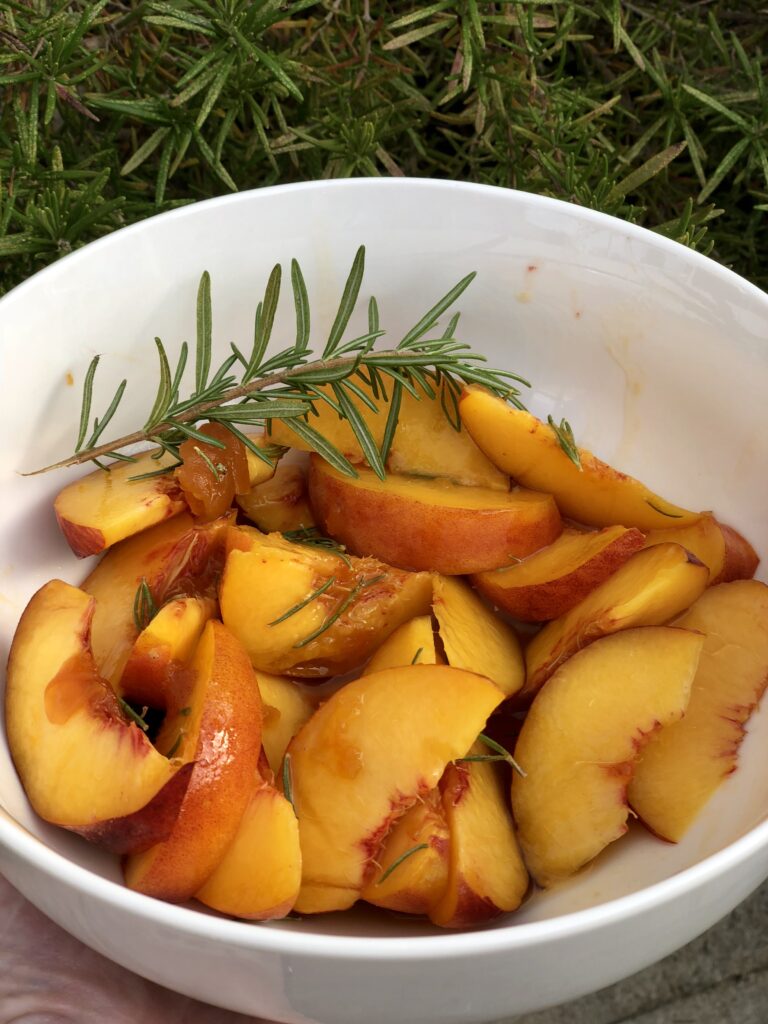 Peach Rosemary Glaze
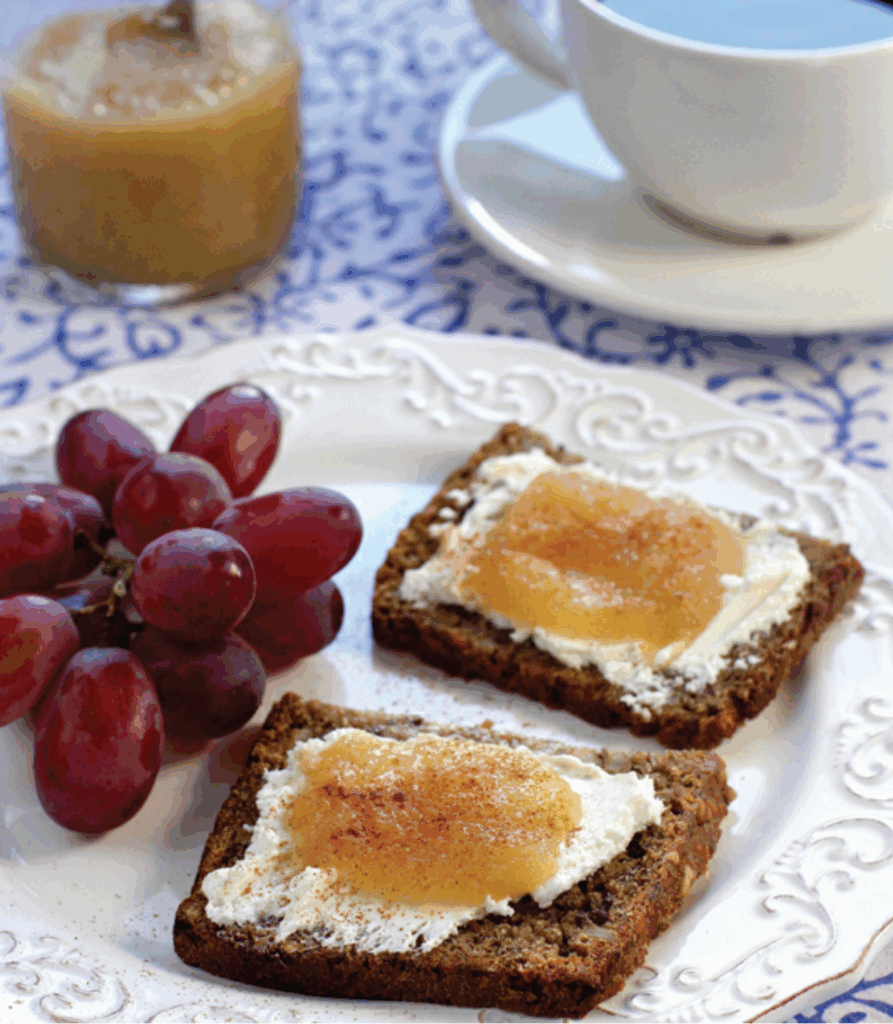 Pear Honey Butter
 Blueberry Chia Jam
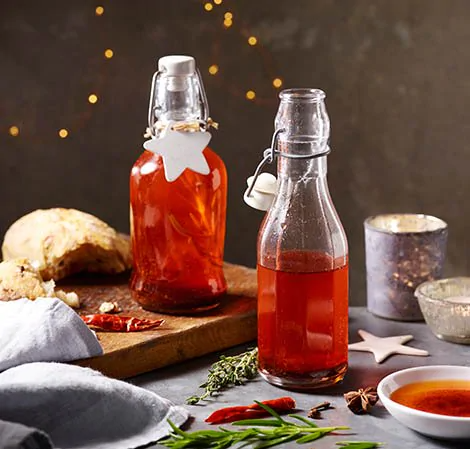 Chili Oil
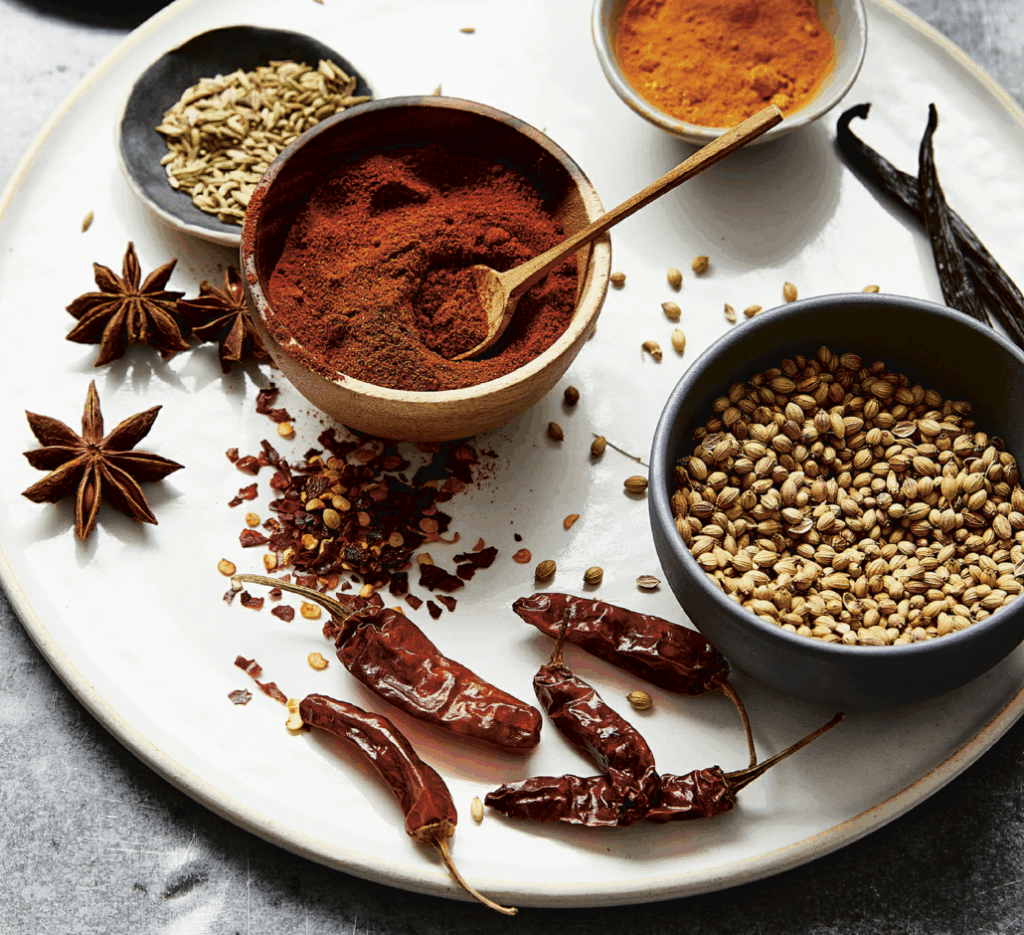 Chili Powder
 Marisa McClellan’s Cherry Butter
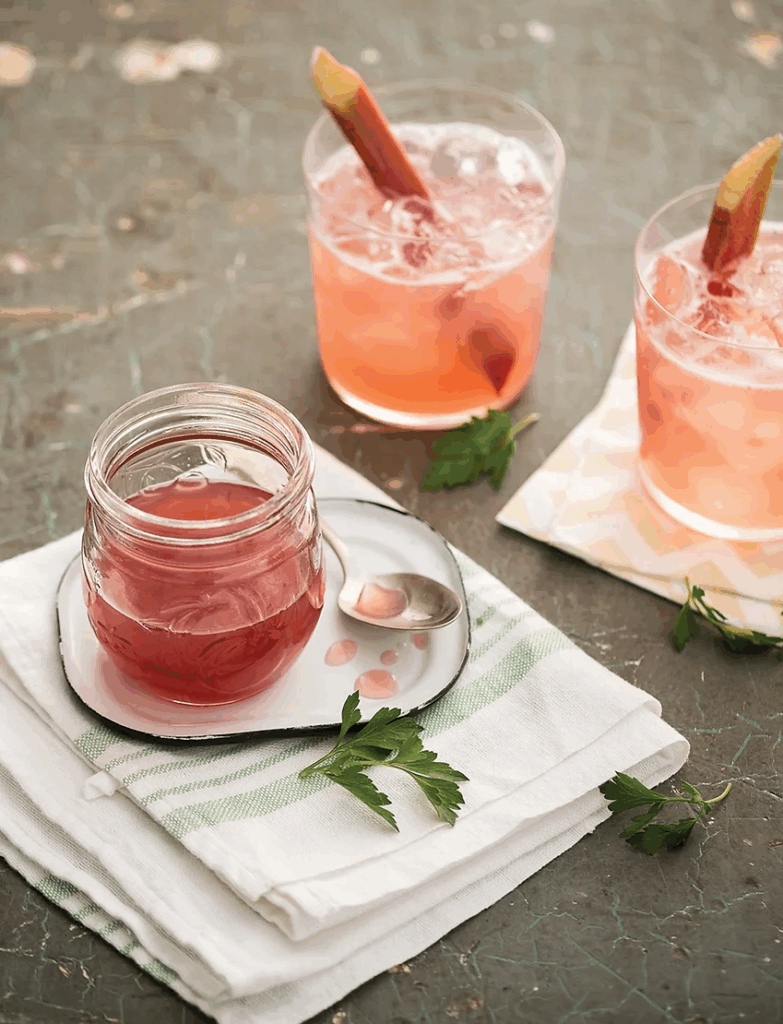 Rhubarb Parsley Syrup
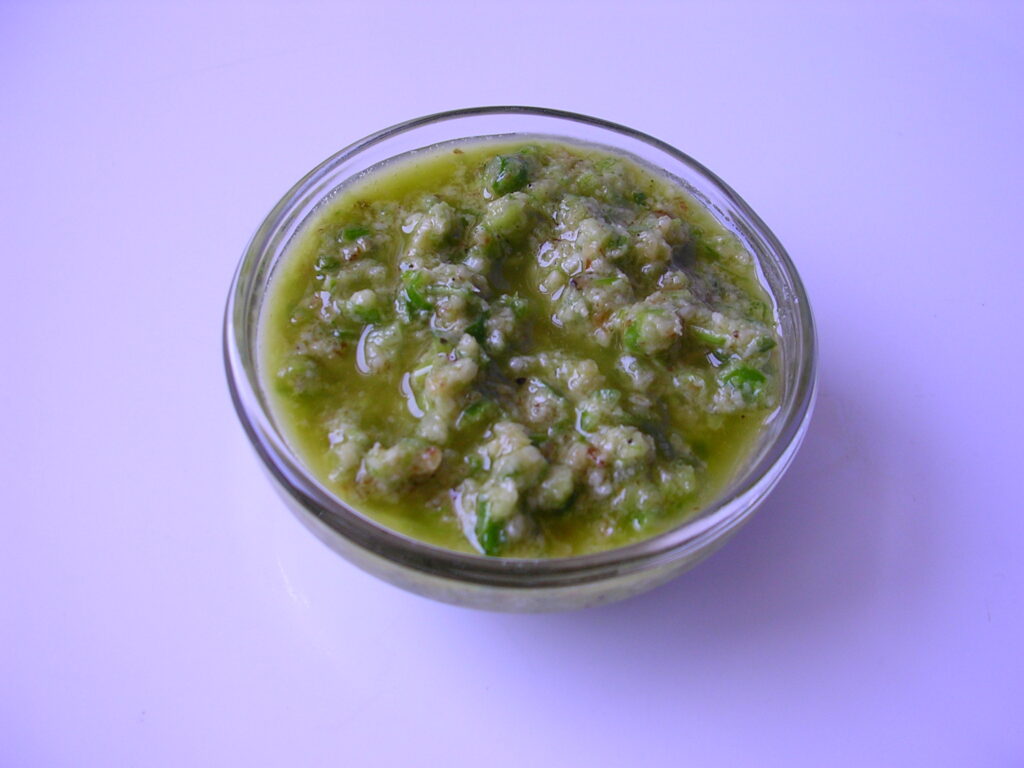 Garlic Scape Pesto
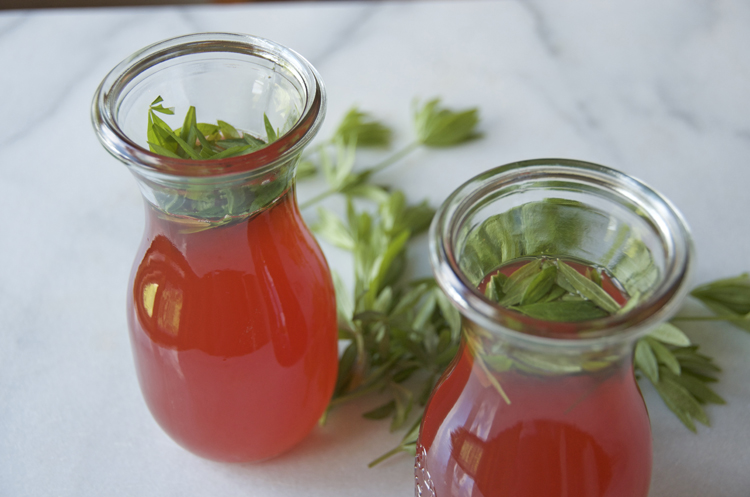 Rhubarb Sweet Woodruff Syrup
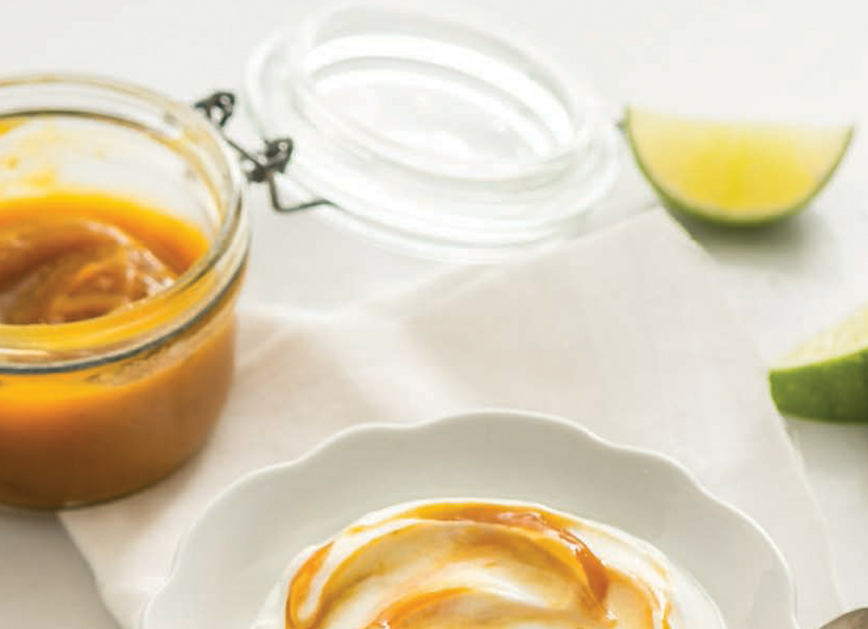 Mango Lime Butter
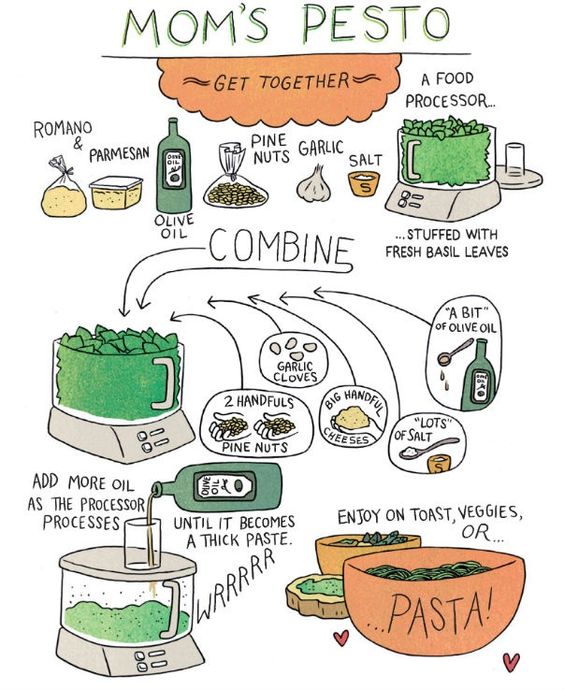
 Spiced Quince Sauce
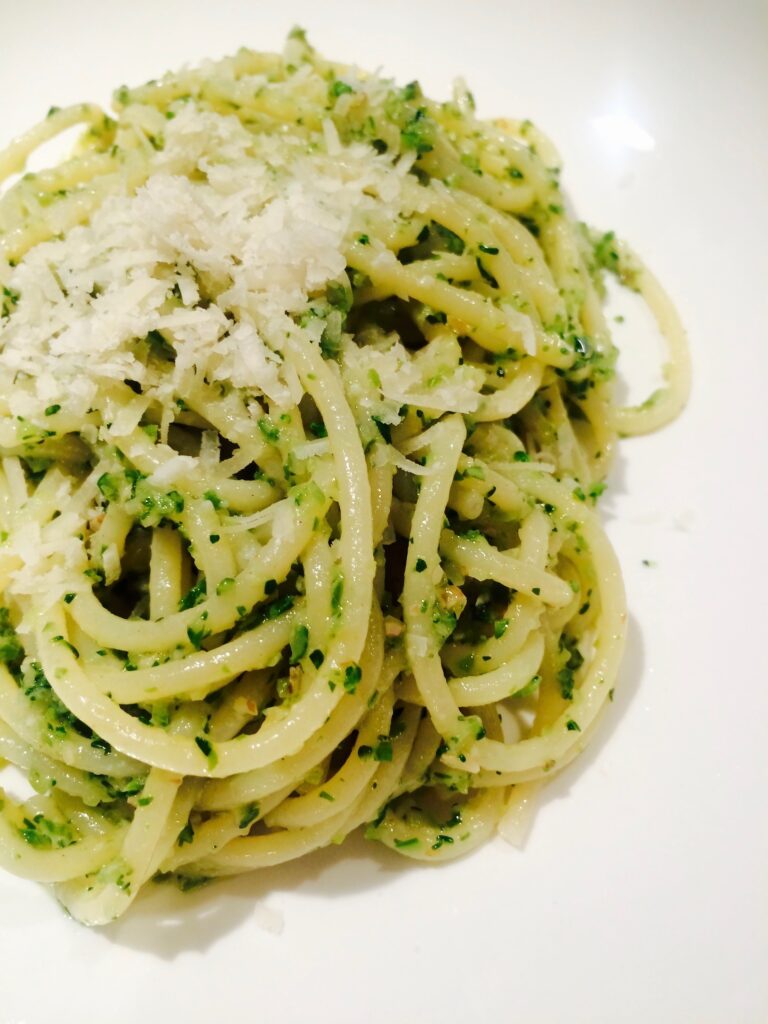 Garlicky Broccolini Pesto
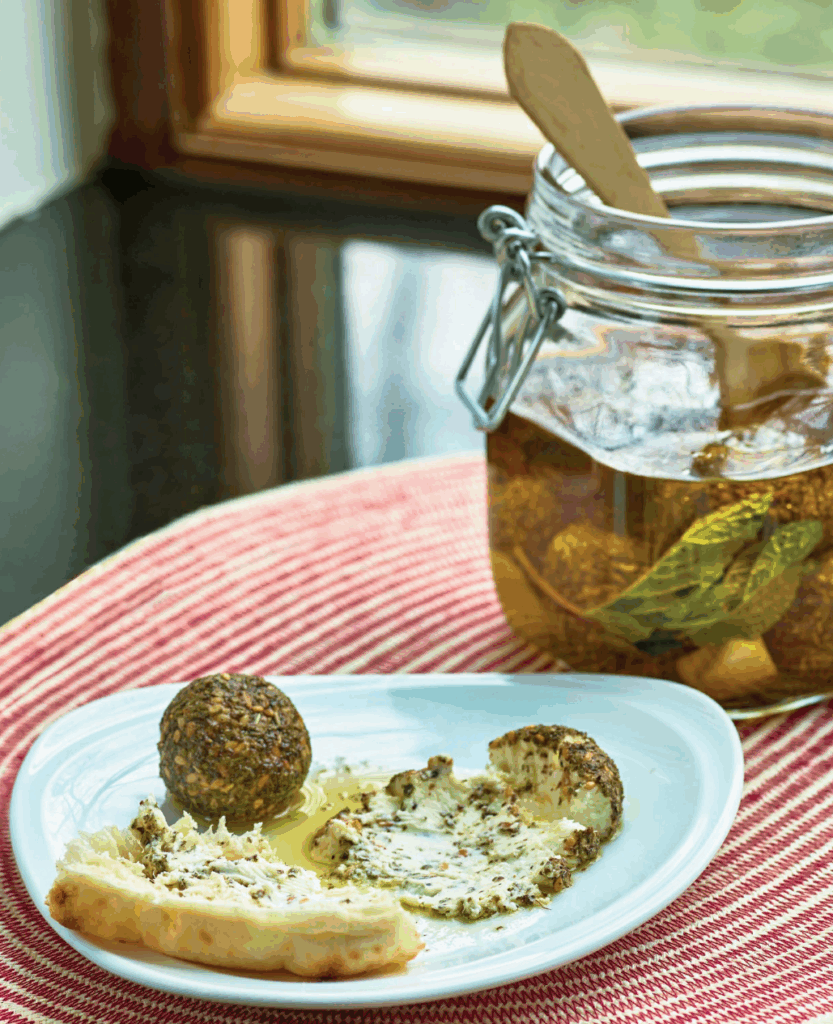 Fresh Goat Cheese Shanklish
 Classic Country Gravy
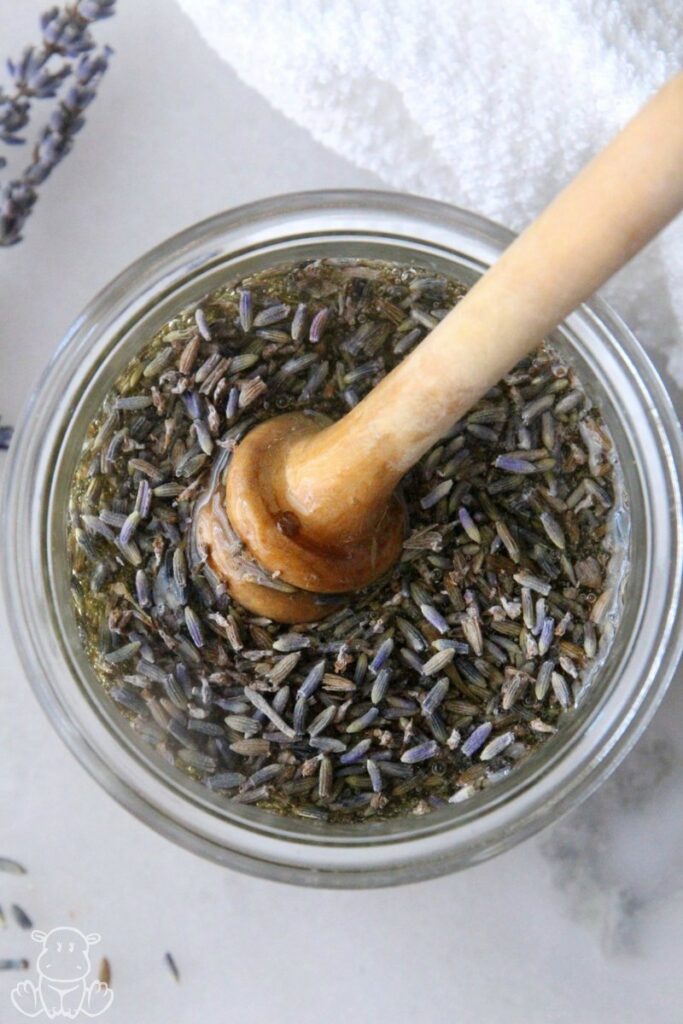 Lavender Honey