3/4 C. (1 1/2 sticks) cold unsalted butter, cut into pieces, plus melted for pan
8 Oz. semisweet chocolate, finely chopped
1 1/2 C. all-purpose flour
1/3 C. sugar
1/2 Tsp. salt
2 1/2 C. whole milk, room temperature
6 large eggs, room temperature
1 T. pure vanilla extract
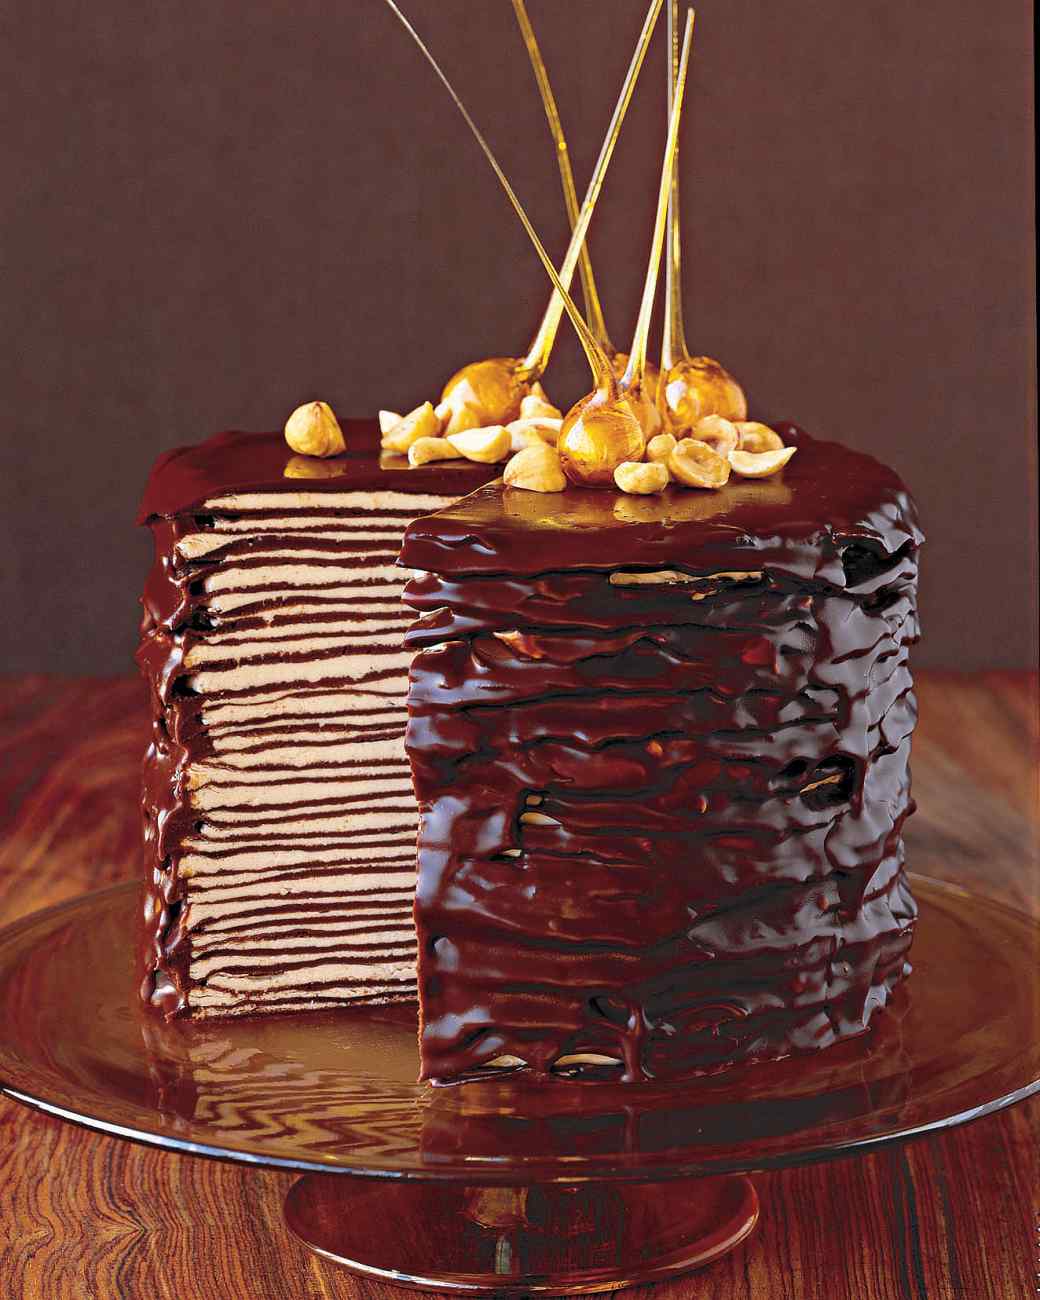
Bring 1/4 C. water to a rolling boil in a small saucepan over medium-high heat. Add butter, 1 piece at a time, whisking to combine after each addition. Remove from heat; stir in chocolate until completely melted. Set aside. Whisk together flour, sugar, and salt in a medium bowl. Whisk together milk, eggs, and vanilla in another medium bowl. Gradually add milk mixture to flour mixture, whisking until smooth. Add chocolate-butter mixture, whisking until smooth. Pour through a fine sieve into an airtight container; discard lumps. Refrigerate at least 2 hours or up to overnight. Lightly coat an 8-inch crepe pan or nonstick skillet with melted butter. Heat over medium heat until just starting to smoke. Remove pan from heat; pour about 2 T. batter into pan, swirling to cover bottom. Reduce heat to medium-low; return pan to heat. Cook, flipping once, until edges are golden and center is dry, about 30 seconds per side. Slide crepe onto a plate. Repeat process with remaining batter, coating pan with butter as needed. Crepes can be refrigerated, covered, up to 1 day. Place a crepe on a wire rack set over a rimmed baking sheet. Spread with about 3 T. hazelnut filling. Top with another crepe. Continue layering with hazelnut filling and crepes, using about 32 crepes and ending with a crepe on top. Insert a plastic straw down the center of the cake to provide stability. Cut off any of the straw that sticks up above the top of the cake. Refrigerate until firm, about 15 minutes. Spoon 1/2 C. glaze on top of the cake, spreading to edges. Spread remaining glaze around sides of cake, coating completely. Refrigerate until glaze is firm and set, about 20 minutes. Cake can be refrigerated up to 3 days. Garnish with toasted and candied hazelnuts.
Hazelnut Filling
2/3 C. heavy cream
6 large egg whites
1 2/3 C. sugar
1 3/4 C. (3 1/2 sticks) unsalted butter, cut into pieces, softened
1 Tsp. pure vanilla extract
1/3 C. hazelnut cream, (available from Whole Foods Market, www.wholefoods.com)
1 salt
Put cream into the bowl of an electric mixer fitted with the whisk attachment; beat on medium-high speed until soft peaks form, about 4 minutes. Transfer to a medium bowl. Refrigerate 1 hour. Whisk egg whites and sugar in the clean bowl of mixer set over a pan of simmering water until sugar has dissolved and mixture registers 160 degrees, 2 to 3 minutes. Attach bowl to mixer fitted with the clean whisk attachment; beat on high speed until slightly cooled and stiff (but not dry) peaks form, about 5 minutes. Fit mixer with paddle attachment. With mixer on medium-low speed, add butter, several pieces at a time, mixing well after each addition (meringue will deflate slightly as butter is added). Add vanilla, hazelnut cream, and salt; mix until mixture comes together, 3 to 5 minutes. Fold in whipped cream with a rubber spatula. Use immediately.
Chocolate Glaze
1 1/4 C. heavy cream
1 T. light corn syrup
1 salt
10 Oz. semisweet chocolate, finely chopped
Bring cream, corn syrup, and salt to a boil in a medium, heavy saucepan over medium- medium-high heat. Remove from heat. Add chocolate; swirl pan to cover completely with cream. Let stand about 5 minutes. Stir until smooth. Let cool completely.
Candied Hazelnuts
9 hazelnuts, toasted and peeled
1 C. sugar
Thread each hazelnut onto tip of a long wooden skewer; set aside. Place a cutting board along the edge of a countertop; set a baking sheet on floor next to edge. Cook sugar and 1/4 C. water in a medium, heavy saucepan over medium heat, stirring occasionally, until sugar has dissolved. Continue to cook, without stirring, until syrup comes to a boil, washing down sides with a wet brush to prevent crystals from forming. Let boil until syrup turns light amber, about 5 minutes; remove from heat. Let stand until slightly cooled, 8 to 10 minutes. Dip 1 skewered hazelnut into syrup, coating completely and letting excess syrup drip back into pan. When dripping syrup becomes a thin string, secure end of skewer under cutting board, letting caramel string drip over edge onto sheet. Repeat with remaining hazelnuts. Let stand until caramel has hardened, about 5 minutes. Break strings to about 4 inches. Carefully remove skewers.
 12 oz. Granny Smith apples (about 2 large)
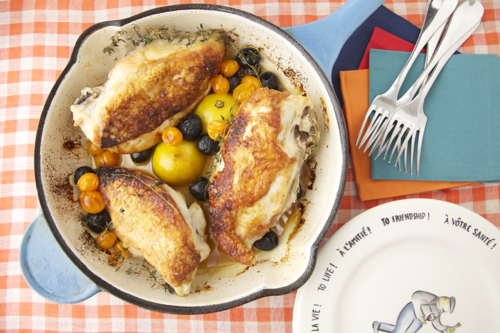

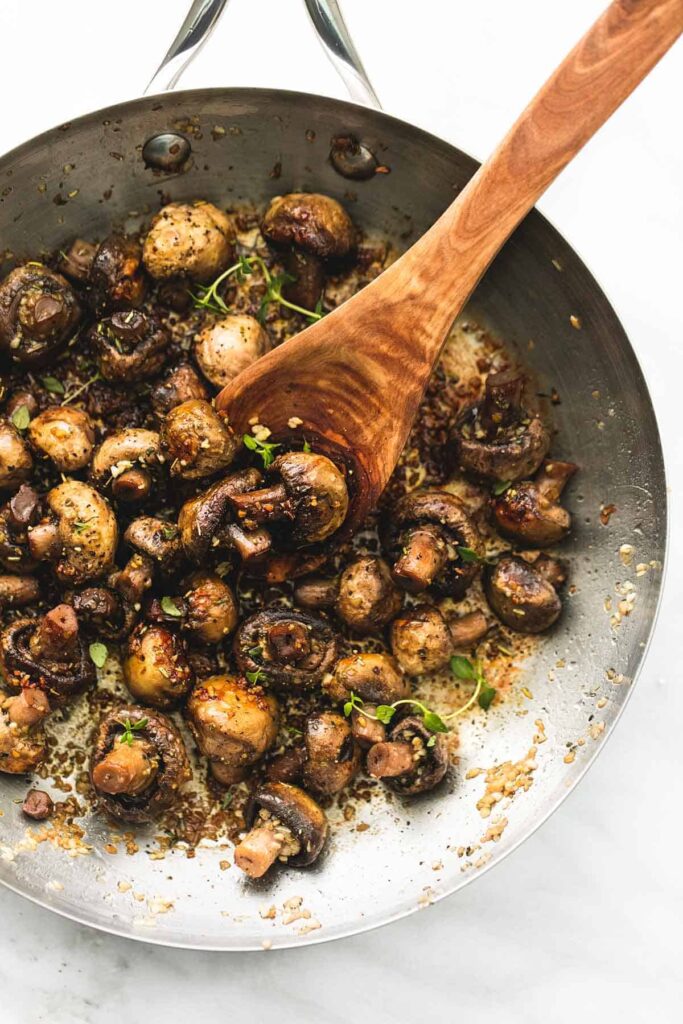 Choose mushrooms that you like. I used 1 pound plain white mushrooms, but others are fine too. Wipe them with a damp paper towel and slice or quarter them. Put about 2-3 T. olive oil in a skillet and heat until hot, add a lot of minced garlic. I used 9 big cloves of a very peppery garlic, and added a pinch of crushed red pepper and freshly ground black pepper. Cook the garlic for about 1 minute and then add the mushrooms and stir them around with the garlic until the mushrooms have cooked the way you like them (5 to 10 minutes usually). Part of the fun is to pull out a mushroom occasionally and eat it. When it’s ready, toss in some chopped herbs (I used parsley) and serve as a side dish or add it to couscous or pasta. Kiss a lot of people, to share the wonderful garlic aroma.