Stock Making: Hints and Tips
Poultry, meat, fish, and vegetable stocks all utilize the same techniques, differing only in small details.
The aim of stock making is to produce a rich, flavorful broth; therefore, use only enough water to cover the solid ingredients by 1½ inches.
To make a rich, flavorful stock, you must use a high percentage of meat, rather than bones only. Luckily, however, the cheaper cuts of meat and poultry are generally the most flavorful. You can make a light poultry stock with a carcass from a roasted bird, but it will not have the rich flavor of a stock made from uncooked meat and bones.
A non-corrosive stockpot should be used when acid is included in the list of stock ingredients, as with wine in fish stock.
When meat or poultry is heated in water, it releases albumin particles that will cloud the broth if not removed. The water must be heated very slowly to draw out the impurities, which will form a scum on the surface, where they can be skimmed off. This process usually takes 15-20 minutes.
When making meat, poultry, or fish white stock, the skimming process should be completed before adding aromatic vegetables. If vegetables are included at the beginning, they will interfere with skimming. With brown stocks, there is not much skimming required, so roasting the larger vegetables along with the meat is fine.
All stocks should be cooked at a bare simmer. Rapid boiling will cause solid ingredients to disintegrate and cloud the stock.
Meat stock requires 5-6 hours of cooking time; Poultry stock requires 3-4 hours of cooking time; Fish or vegetable stock requires only 45-60 minutes of cooking time.
Seasonings, particularly salt, should not be added until the stock has been concentrated and reduced; or seasonings can be left out altogether so that the future dish utilizing the stock can be individually flavor-balanced.
Stock can be produced more rapidly if finely chopped meat or poultry is used in place of bone-in carcass pieces. The finer the ingredients are chopped, the more surface area is exposed to the simmering water, and the more quickly the ingredients will give up their flavor to the liquid. In this way, acceptable stock can be produced in 1 ½ hours.
The flavor of a rapidly made stock will be good, but because no bones or trimmings are generally used, it will be short on gelatin, thus much lighter in body.
Rapid stock technique does not involve skimming because the many particles of meat “catch†the albumin particles and hold them until final straining.
Stock should be refrigerated after it is of acceptable strength. A flavor change (souring) may occur if hot stock is refrigerated with a cover, therefore, chill thoroughly first, then cover.
Refrigerated stock should be simmered for several minutes every 2-3 days to keep it from spoiling.
Stock may be frozen. Ladle clear, cool stock into heavy-duty, zip-lock freezer bags, seal carefully, and freeze. (Two C. batches are most convenient.) Still in the plastic bag, thaw in warm water; or remove from the bag and heat gently in a small saucepan; or place in a bowl and thaw in the microwave.
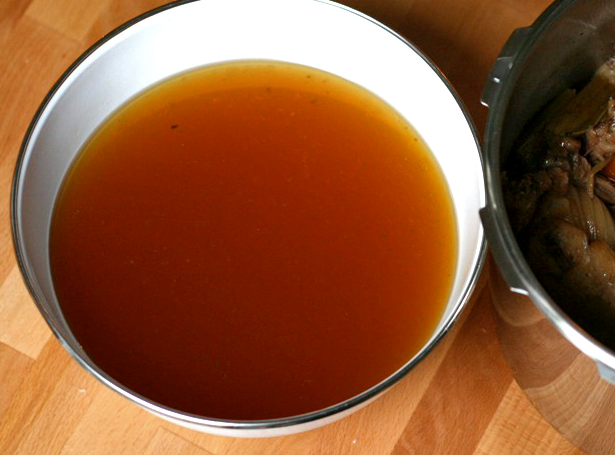
Brown Poultry Stock
According to The New Larousse Gastronomique, Brown Stock can be made from beef, veal, or poultry. It’s the method that’s important, and that involves thorough browning of the meat, bones, and vegetables in fat prior to the long, slow simmering generally associated with stock-making. The following formula is for poultry brown stock, probably the least commonly used of the three types. When I make a brown turkey stock, I buy a small turkey, remove the legs and whole breast to roast later and cut the rest of the bird unto pieces for the stock.
¼ C. vegetable oil
5-6 pounds turkey parts (necks, wings, backs, bones, gizzards)
6 stalks celery, leaves and all, roughly chopped
3 carrots, roughly chopped
2 onions, with skins, quartered
4 unpeeled garlic cloves
small handful of parsley, stems and all
1 bay leaf
2 whole cloves
1 sprig fresh thyme or 1/2 tsp. dried
cold water to cover
In a large roasting pan, put the oil, turkey parts, celery, carrots, onions, garlic, and parsley. (If you have a large Le Creuset casserole, use it. You will be able to take it straight from the oven and onto the burner for the simmering stage. No fuss, no muss.) Roast, at 450°, uncovered, on the middle rack in the oven, turning pieces occasionally until well browned, 1-1½ hours. Remove from the oven and transfer the browned ingredients to a large (10-14 quart) stockpot. Deglaze the roasting pan with a little water, scraping up all the bits and pieces of coagulated meat juices from the bottom and sides. (Don’t worry about the fat at this point. It will come off later and in the meantime contributes flavor to the developing stock.) Pour all of the collected juices (everything) into the stockpot. Add cold water to the stockpot to cover the meat and bones by 1½ inches. Heat slowly. When the liquid comes to a bare simmer, regulate the heat to maintain, and then begin to skim off any scum that forms on the surface. Above all, do not stir the stock at this point, as this action will incorporate the clouding particles into the liquid. Continue skimming until the scum ceases to accumulate, about 15-20 minutes. Now add the bay leaf, cloves, thyme, and more water, if necessary, to maintain the beginning level. Partially cover and continue cooking at a very slow simmer for 3-4 hours, partially covered if desired. (Overnight is fine.) Remove the large ingredients from the stockpot with a large slotted spoon, and put the stock through a triple mesh strainer. There will be virtually no flavor or nutrients left in the solid ingredients at this point; they should be discarded. Allow the hot stock to settle for 5-10 minutes before attempting to remove the fat. Then, skim the surface with a spoon, draw a “grease-catcher†brush across the surface, or use a bottom-pouring degreaser (available in most kitchenware stores and definitely the easiest of the three methods) to remove the fat. If time is not critical, refrigerate the stock, uncovered, until the fat hardens, at which point, it can be easily removed. After the stock is thoroughly degreased, check it for taste. If there is not enough flavor, simply boil it down to concentrate its strength. Salt may be added now if desired, although I think it is generally preferable to wait with this until the final dish is prepared utilizing the stock. Refrigerate, covered, remembering to boil the stock for several minutes every few days to keep it from spoiling, or freeze in 2-C. batches.
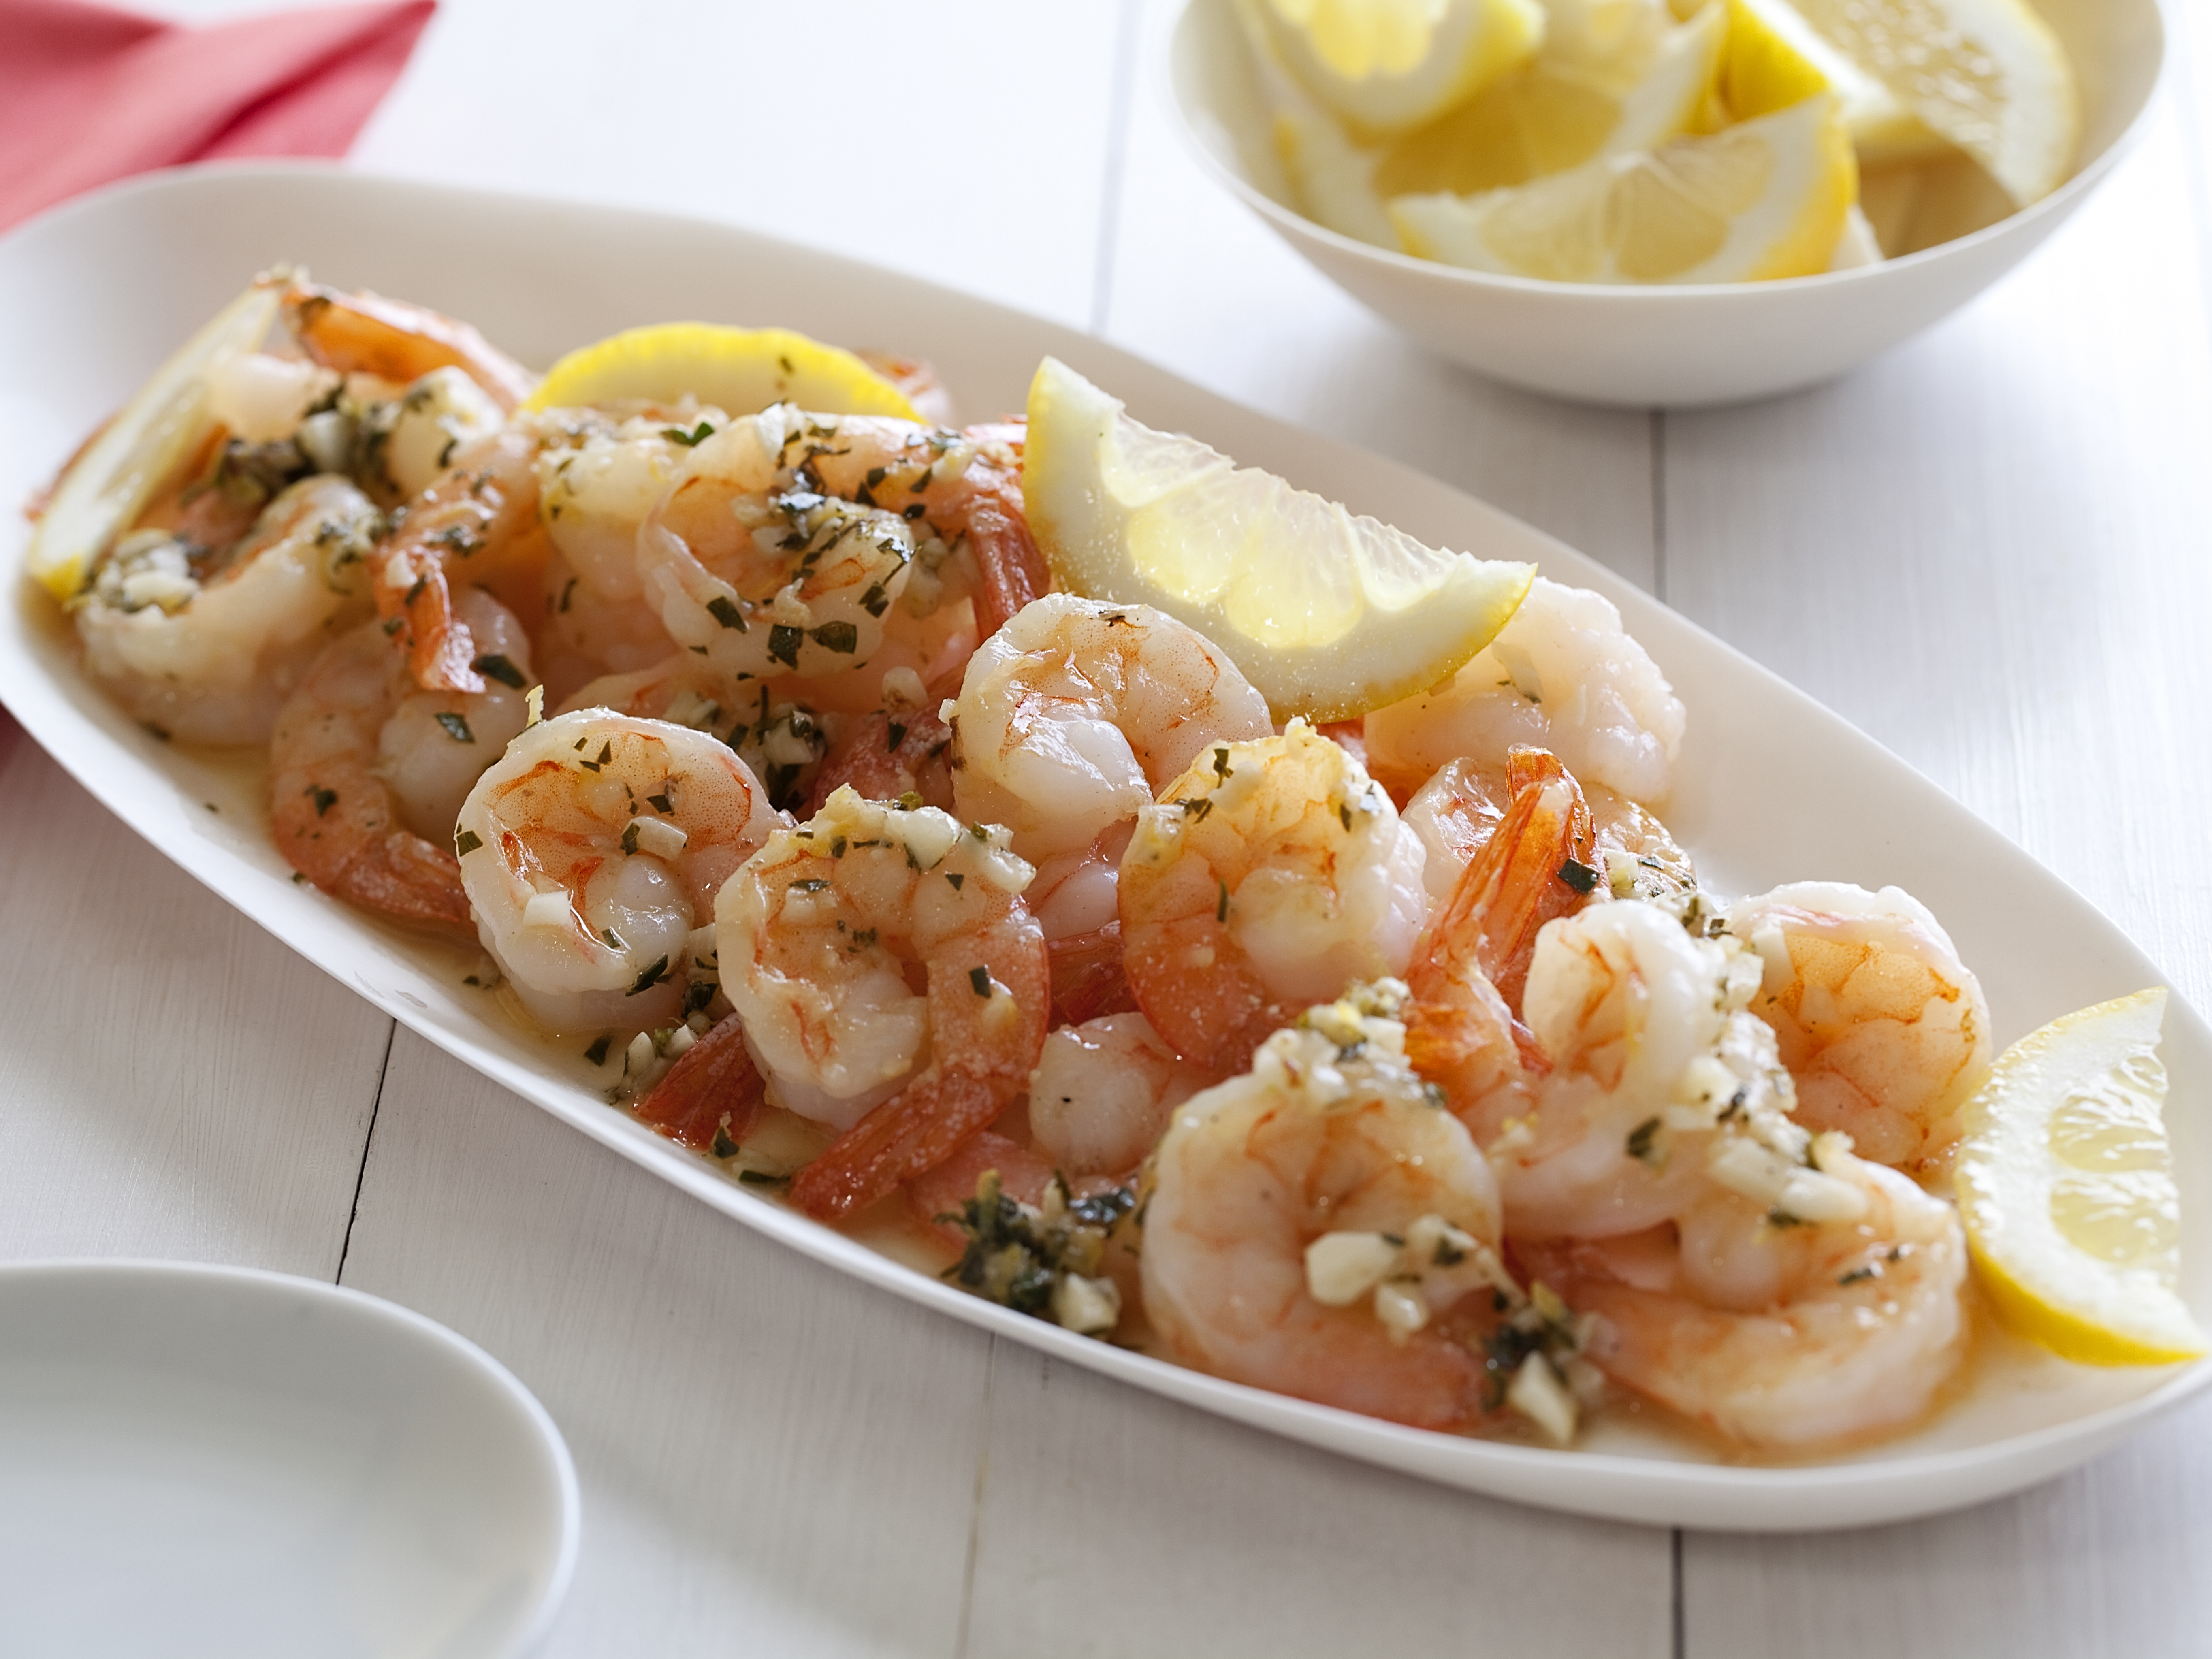 1 lb. Large prawns