Sourdough Starter

Whether it conjures up a crusty, flavorful loaf of bread or a bubbling crock of flour/water starter, sourdough is a treasured part of many bakers’ kitchens. But where does the path to sourdough bread begin? Right in your own kitchen, with your own homemade sourdough starter.
Sourdough baking is as much art as science. The method you’ll read here for making sourdough starter isn’t an exact match for the one you read on another site, or in a cookbook, or in your great-grandma’s diary
Getting it started takes a lot of steps, but once its established, its easy to maintain and use.
1 cup (113g) whole rye (pumpernickel) or whole wheat flour
1/2 cup (113g) cool water
To feed your starter
scant 1 cup (113g) Unbleached All-Purpose Flour
1/2 cup (113g) cool water (if your house is warm), or lukewarm water (if your house is cool)
Day 1: Combine the pumpernickel or whole wheat flour with the cool water in a non-reactive container. Glass, crockery, stainless steel, or food-grade plastic all work fine for this. Make sure the container is large enough to hold your starter as it grows; we recommend at least 1-quart capacity.
Sourdough Starter – Step 1
Stir everything together thoroughly; make sure there’s no dry flour anywhere. Cover the container loosely and let the mixture sit at warm room temperature (about 70°F) for 24 hours. See “tips,” below, for advice about growing starters in a cold house.
Day 2: You may see no activity at all in the first 24 hours, or you may see a bit of growth or bubbling. Either way, discard half the starter (113 grams, about 1/2 cup), and add to the remainder a scant 1 cup (113 grams) King Arthur Unbleached All-Purpose Flour, and 1/2 cup (113 grams) cool water (if your house is warm); or lukewarm water (if it’s cold).
Sourdough Starter – Step 3
Mix well, cover, and let the mixture rest at room temperature for 24 hours.
Perfect your technique
How to make sourdough starter-1
BLOG
How to make your own sourdough starter
BY PJ HAMEL
Day 3: By the third day, you’ll likely see some activity — bubbling; a fresh, fruity aroma, and some evidence of expansion. It’s now time to begin two feedings daily, as evenly spaced as your schedule allows. For each feeding, weigh out 113 grams starter; this will be a generous 1/2 cup, once it’s thoroughly stirred down. Discard any remaining starter.
Add a scant 1 cup (113 grams) King Arthur Unbleached All-Purpose Flour, and 1/2 cup (113 grams) water to the 113 grams starter. Mix the starter, flour, and water, cover, and let the mixture rest at room temperature for approximately 12 hours before repeating.
Day 4: Weigh out 113 grams starter, and discard any remaining starter. Repeat step #6.
Day 5: Weigh out 113 grams starter, and discard any remaining starter. Repeat step #6. By the end of day #5, the starter should have at least doubled in volume. You’ll see lots of bubbles; there may be some little “rivulets” on the surface, full of finer bubbles. Also, the starter should have a tangy aroma — pleasingly acidic, but not overpowering. If your starter hasn’t risen much and isn’t showing lots of bubbles, repeat discarding and feeding every 12 hours on day 6, and day 7, if necessary — as long as it takes to create a vigorous (risen, bubbly) starter. Note: see “tips,” below.
Sourdough Starter – Step 8
Once the starter is ready, give it one last feeding. Discard all but 113 grams (a generous 1/2 cup). Feed as usual. Let the starter rest at room temperature for 6 to 8 hours; it should be active, with bubbles breaking the surface. Hate discarding so much starter? See “tips,” below.
Remove however much starter you need for your recipe — typically no more than 227 grams, about 1 cup. If your recipe calls for more than 1 cup of starter, give it a couple of feedings without discarding, until you’ve made enough for your recipe plus 113 grams to keep and feed again.
Sourdough Starter – Step 10
Transfer the remaining 113 grams of starter to its permanent home: a crock, jar, or whatever you’d like to store it in long-term. Feed this reserved starter with 1 scant cup (113 grams) of flour and 1/2 cup (113 grams) water, and let it rest at room temperature for several hours, to get going, before covering it. If you’re storing starter in a screw-top jar, screw the top on loosely rather than airtight.
Store this starter in the refrigerator, and feed it regularly; we recommend feeding it with a scant 1 cup (113 grams) flour and 1/2 cup (113 grams) water once a week.
Tips from our Bakers
Why do you need to discard half the starter? It seems so wasteful… But unless you discard starter at some point, eventually you’ll end up with a very large container of starter. Also, keeping the volume down offers the yeast more food to eat each time you feed it; it’s not fighting with quite so many other little yeast cells to get enough to eat. You don’t have to actually discard it if you don’t want to, either; you can give it to a friend, or use it to bake. There are quite a few recipes on our site using “discard” starter, including pizza crust, pretzels, and waffles, and even chocolate cake. If you’re still uncomfortable dealing with discard, though, try maintaining a smaller starter: the smaller the starter, the smaller the amount of discard.
Why does this starter begin with whole-grain flour? Because the wild yeast that gives sourdough starter its life is more likely to be found in the flora- and fauna-rich environment of a whole-grain flour than in all-purpose flour. What if all you have is all-purpose flour, no whole wheat? Go ahead and use all-purpose; you may find the starter simply takes a little longer to get going. Also, if you feed your starter on a long-term basis with anything other than the all-purpose flour called for here, it will probably look different (thicker or thinner, a different color) and act differently as well. Not to say you can’t feed your starter with alternate flours; just that the results may not be what you expect.


 Instant Pot Garlic Vegetable Broth
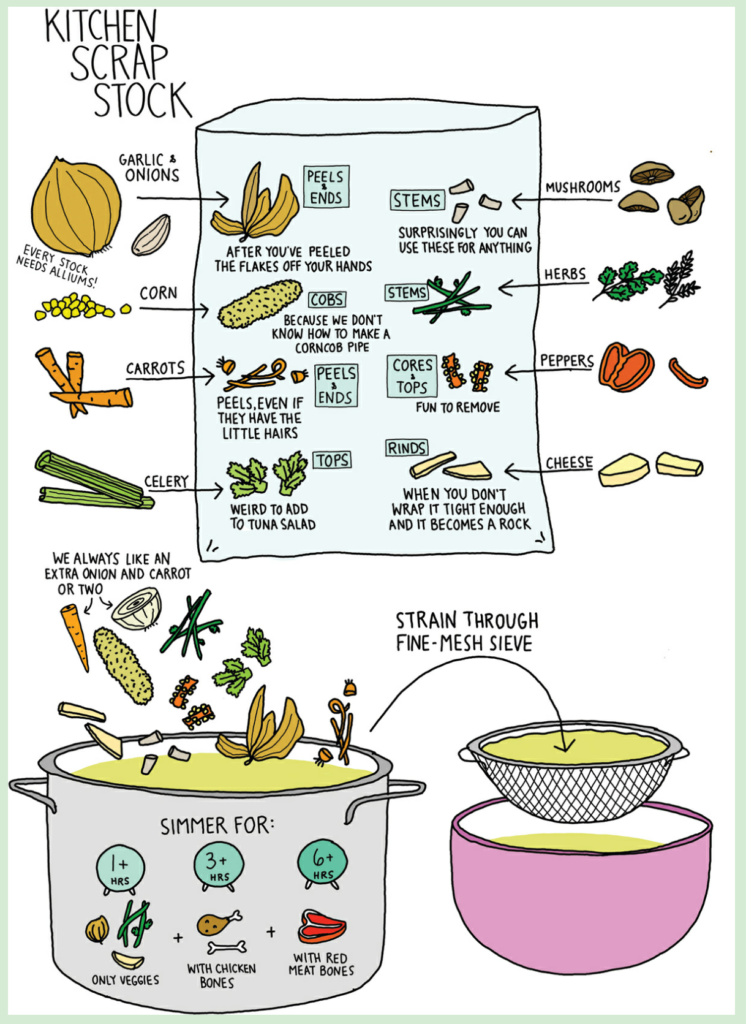
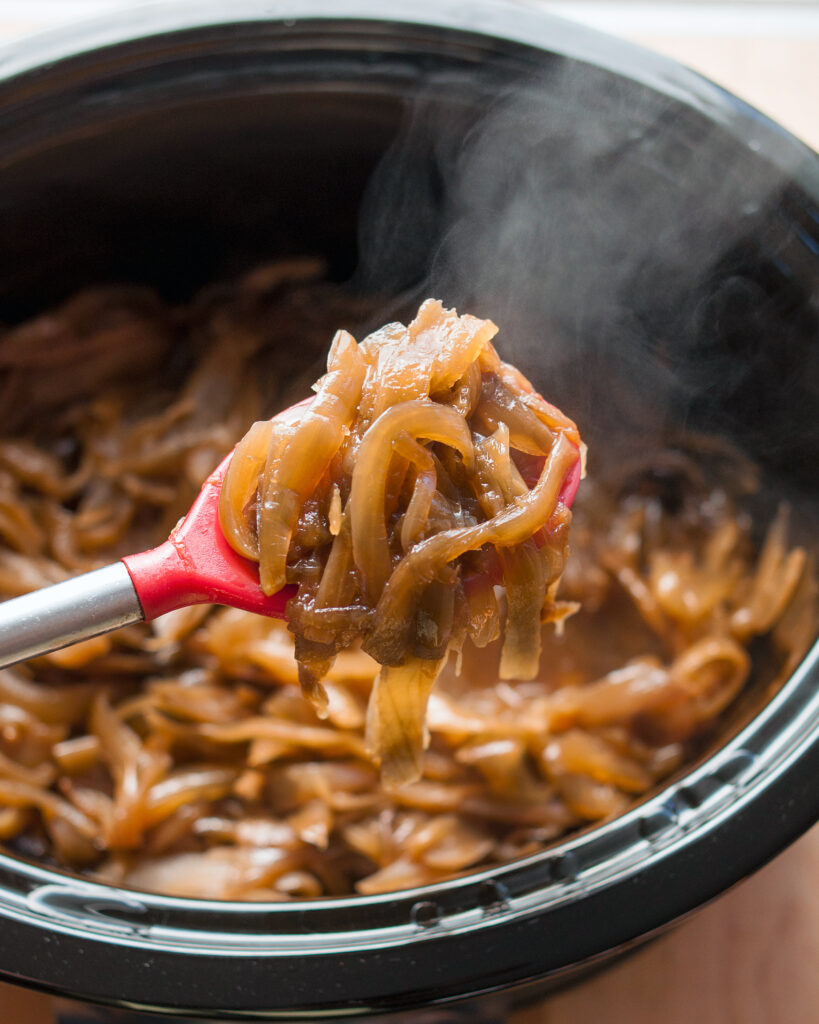 Slow Cooker Caramelized Onions
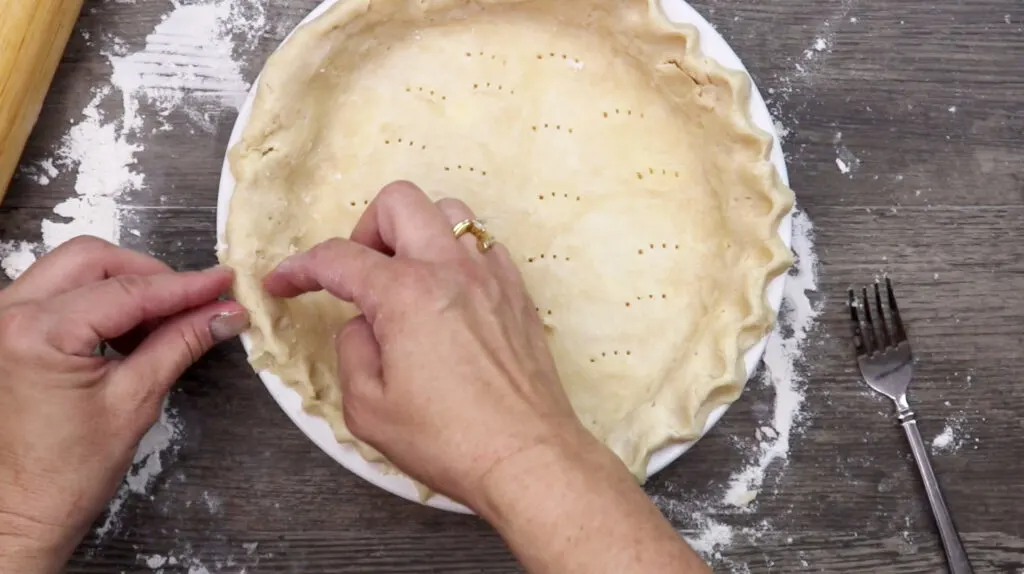 Black Radish Pie Crust
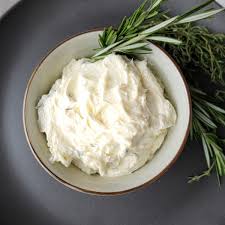 Horseradish Butter
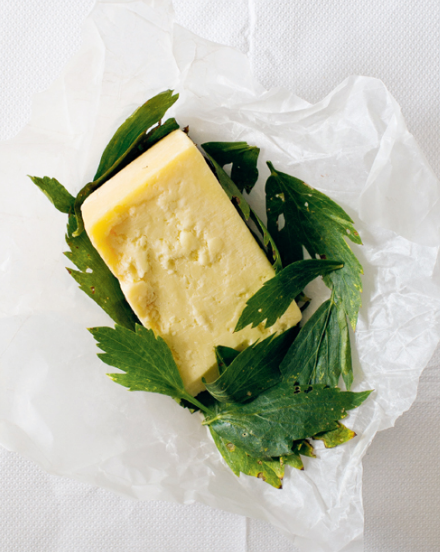 Lancashire Lovage
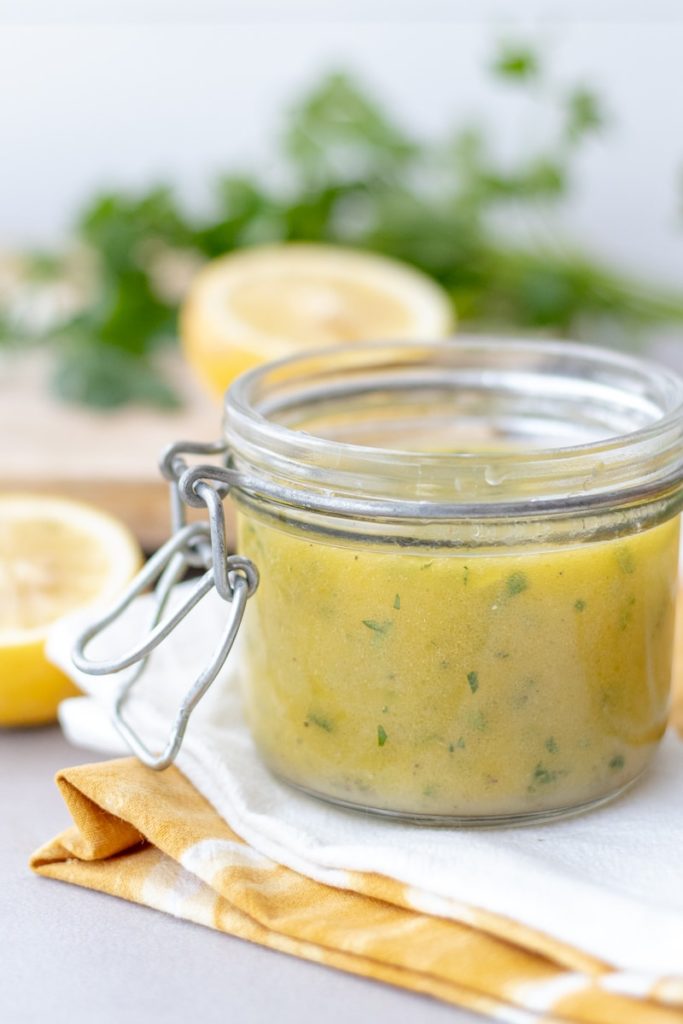
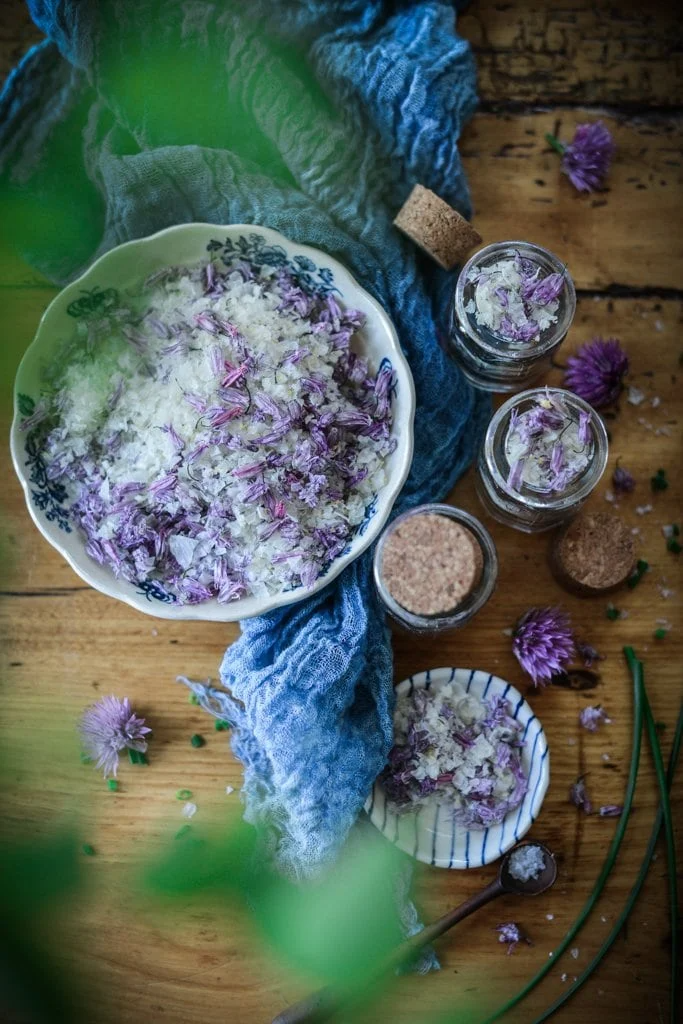 Marjoram and Chive Salt
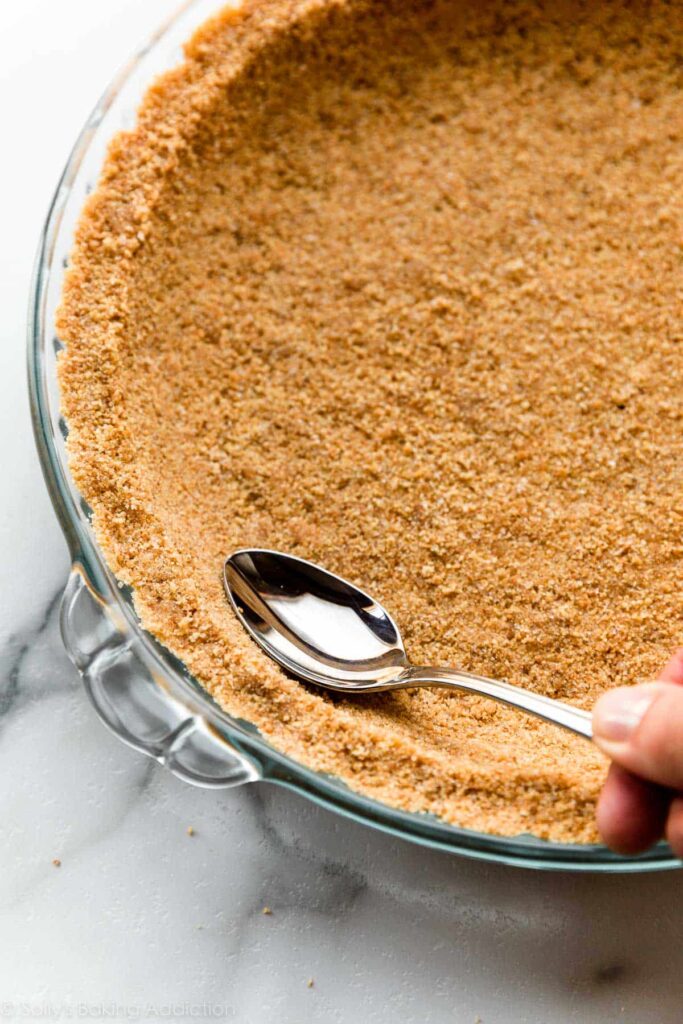 Perfect Graham Cracker Crust
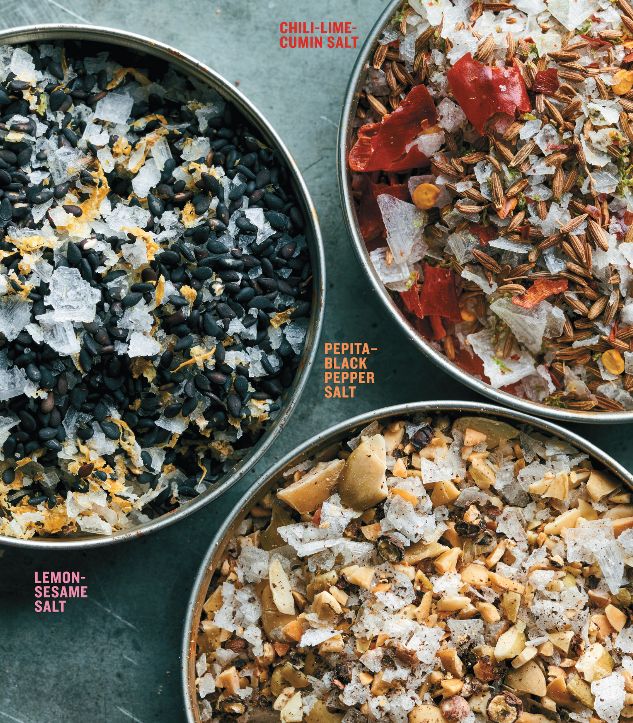 Finishing Salts
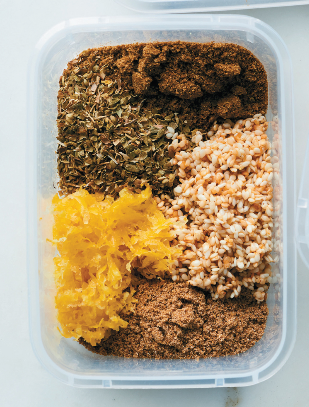 Za’atar Blend
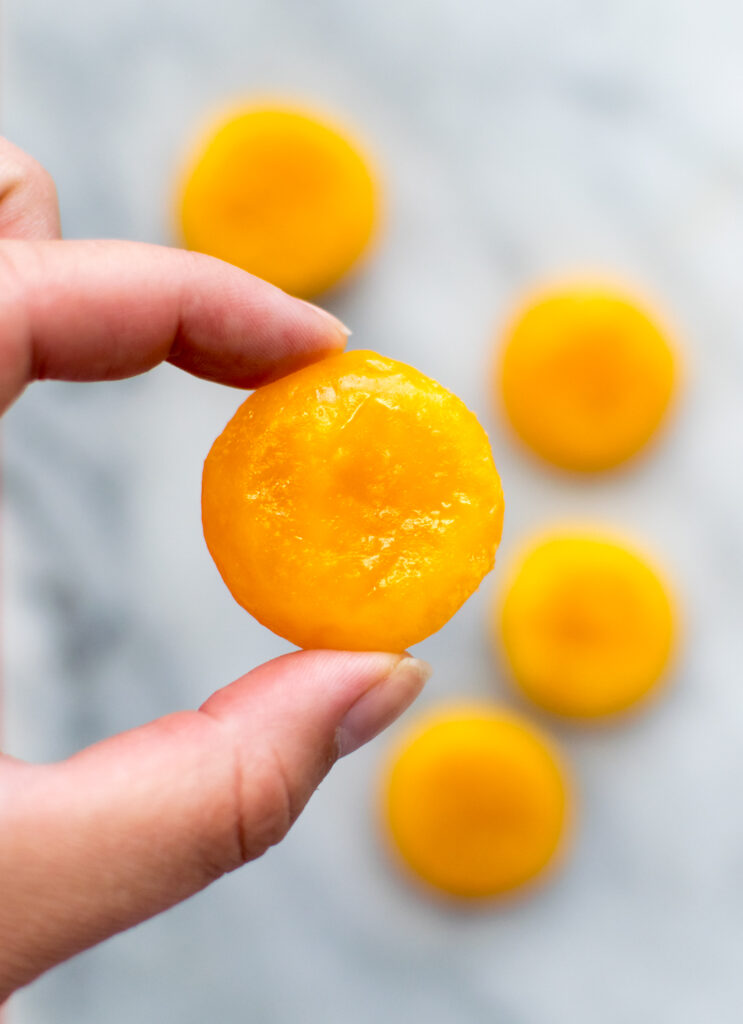 Cured Egg Yolks
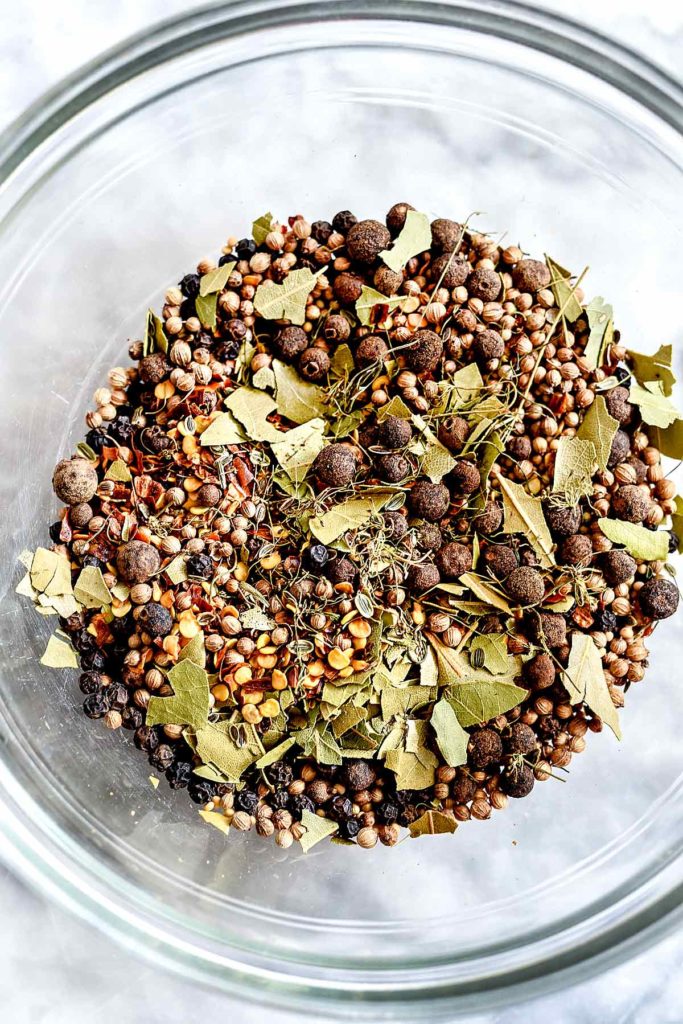 Pickling Spice Blend
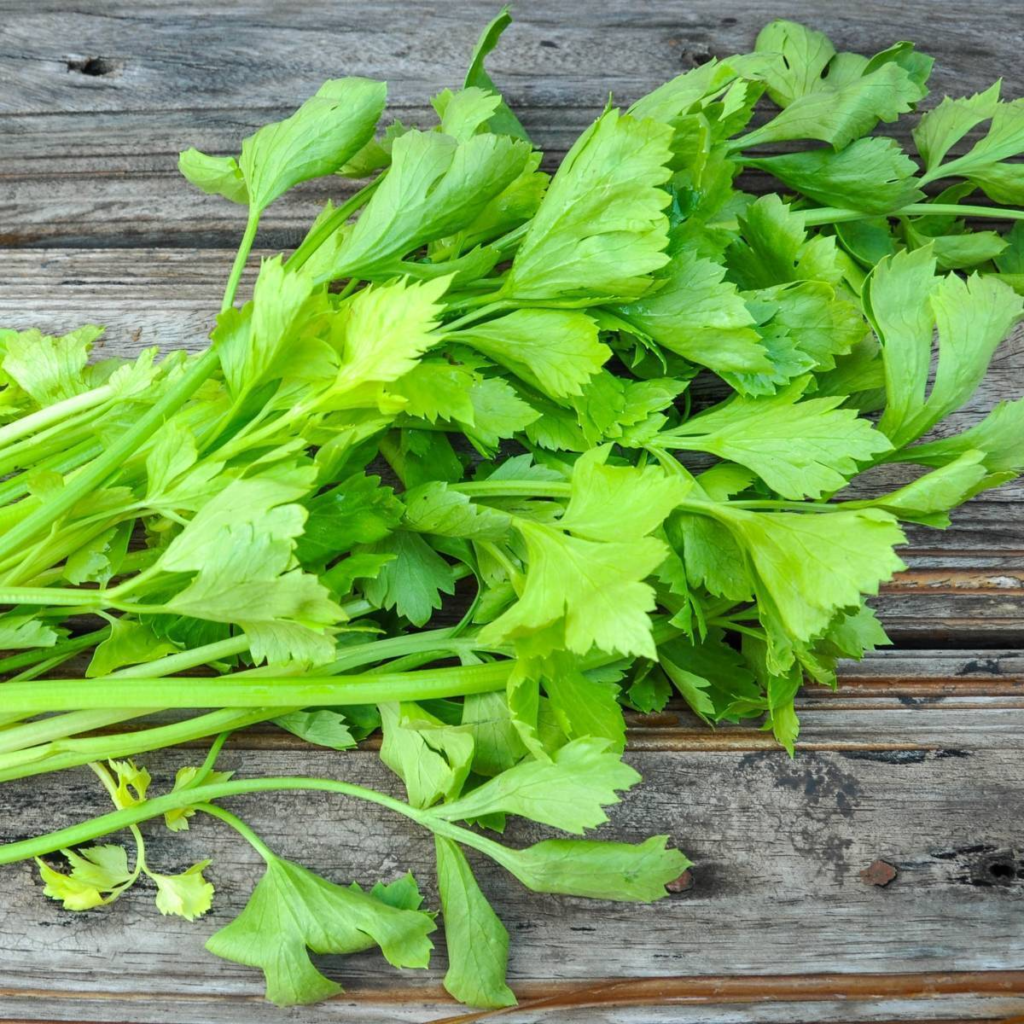 What to do with Celery Leaves
 Basic Fish en Papillote
 Mix and Match Skillet Meal
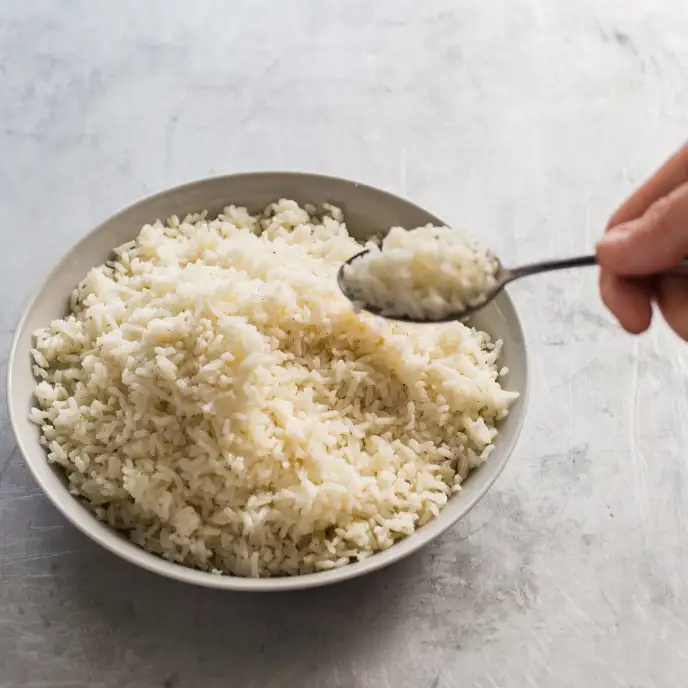 Simple Rice Pilaf
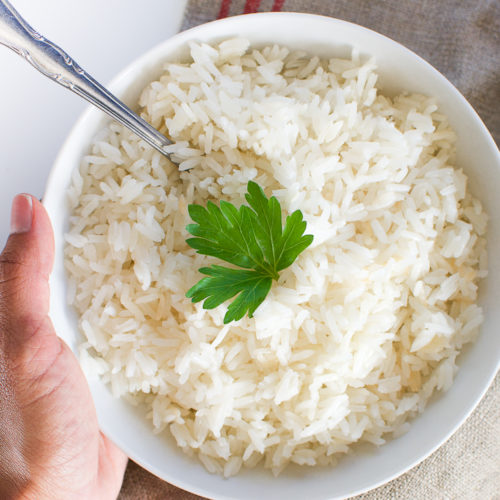 Instant Pot Brazilian White Rice
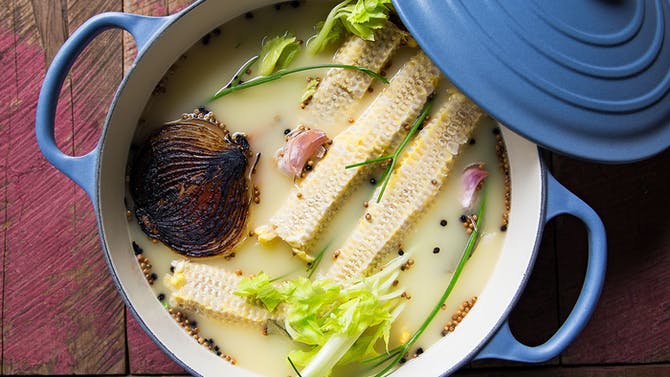 Corncob Stock
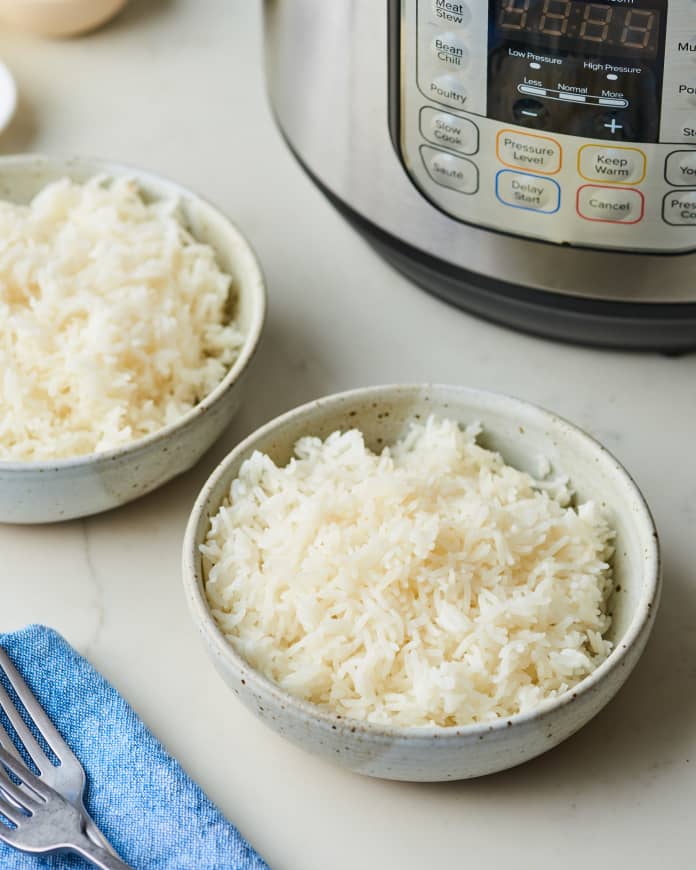 Instant Pot Basic White Rice
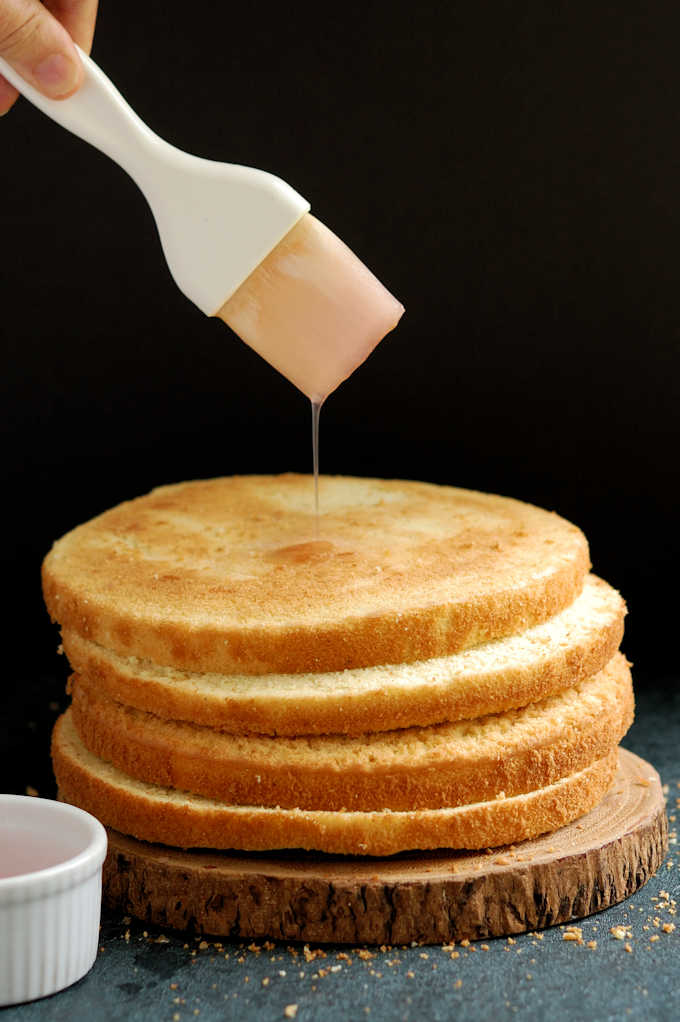
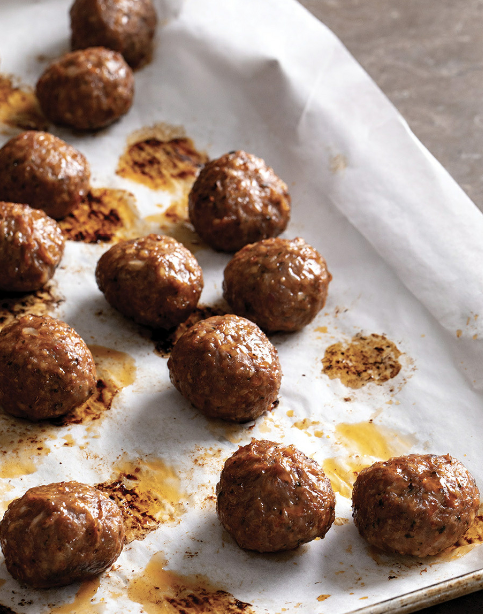 Master Recipe Meatballs
 Make a Marinade
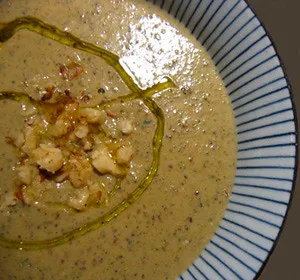 Caramelized Zucchini Soup with Rosemary and Walnuts
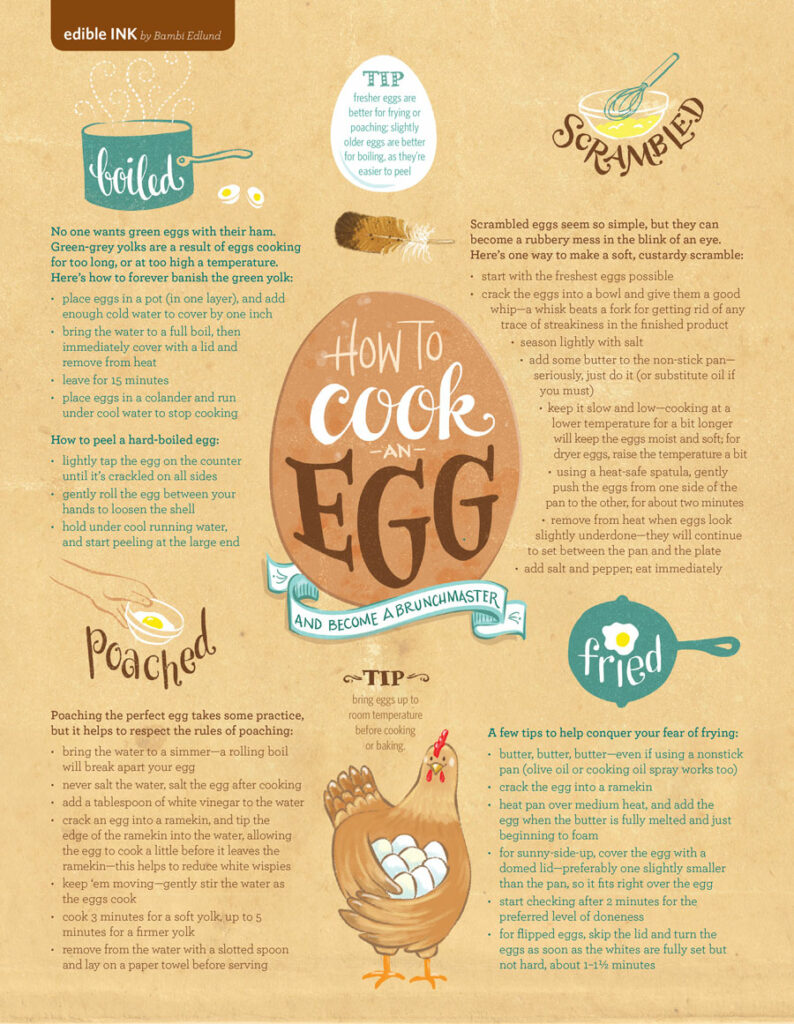
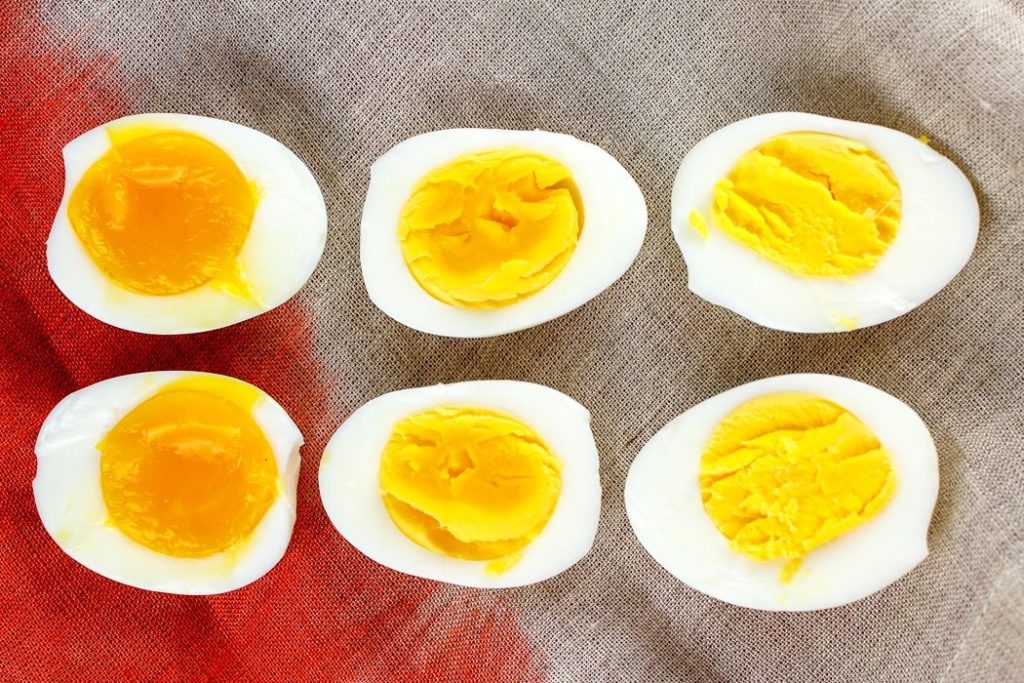 Air Fryer Boiled Eggs
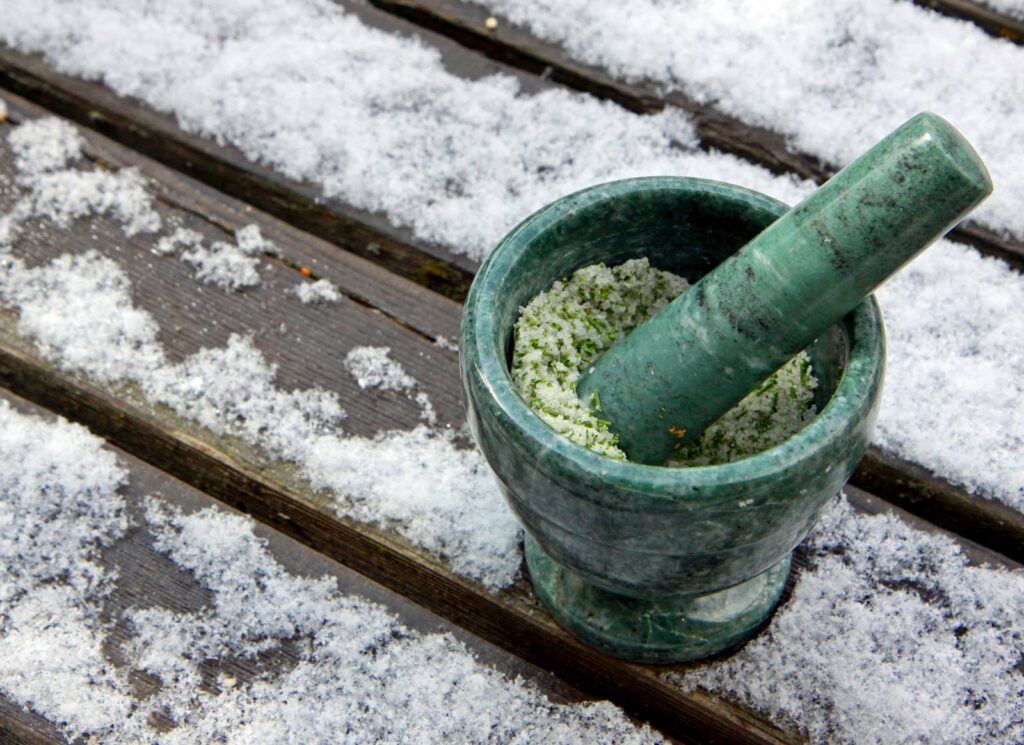 Grand Fir Salt

