Flavored Compound Butters
Citrus Tarragon Butter
4 T. Unsalted Butter, room temperature
1 T. finely chopped Tarragon
1 T. finely chopped Scallion
½ tsp. freshly grated Orange Zest
1/8 tsp each salt and pepper
Scallion Basil Butter
4 T. Unsalted Butter, room temperature
2 T. finely chopped Basil Leaves
1 T. finely chopped Scallion
1/8 tsp. salt and pepper
Chili-Cilantro Butter
4 T. Unsalted Butter, room temperature
3 T. finely chopped Cilantro
2/4 tsp. Chili Powder
1 tsp. freshly grated Lime Zest
½ tsp. Lime Juice
1/8 tsp. each salt and pepper
Citrus Tarragon Butter
2 sticks unsalted butter, room temperature
Zest from 1 large orange
Juice from ½ orange
2 tablespoons finely chopped fresh tarragon
1 small shallot chopped
Pinch of salt
Garlic Herb and Parmesan Butter
8 ounces softened unsalted butter
4 cloves garlic, minced
2 tablespoons fresh flat leaf parsley, chopped
2 tablespoons fresh basil, chopped
2 tablespoons green onion, chopped
1/4 cup grated parmesan
Salt and pepper, season to taste
Parsley, Chili, Garlic, And Lemon
4 Tbsp. Finely Chopped Fresh Italian Flat-Leaf Parsley
1 tsp. Chili Flakes
4 Cloves Garlic, finely chopped
Zest of 1 Lemon
1/2 tsp. Coarsely Ground Black Pepper
1 Stick (1/2 Cup) Unsalted Butter, softened at room temperature
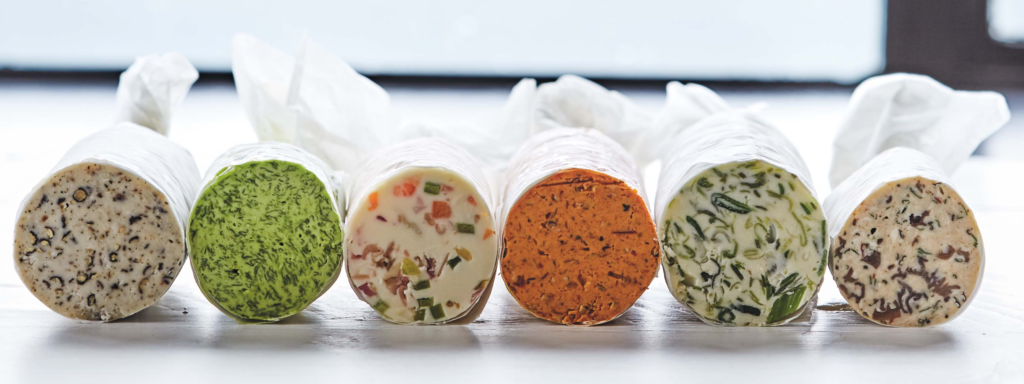
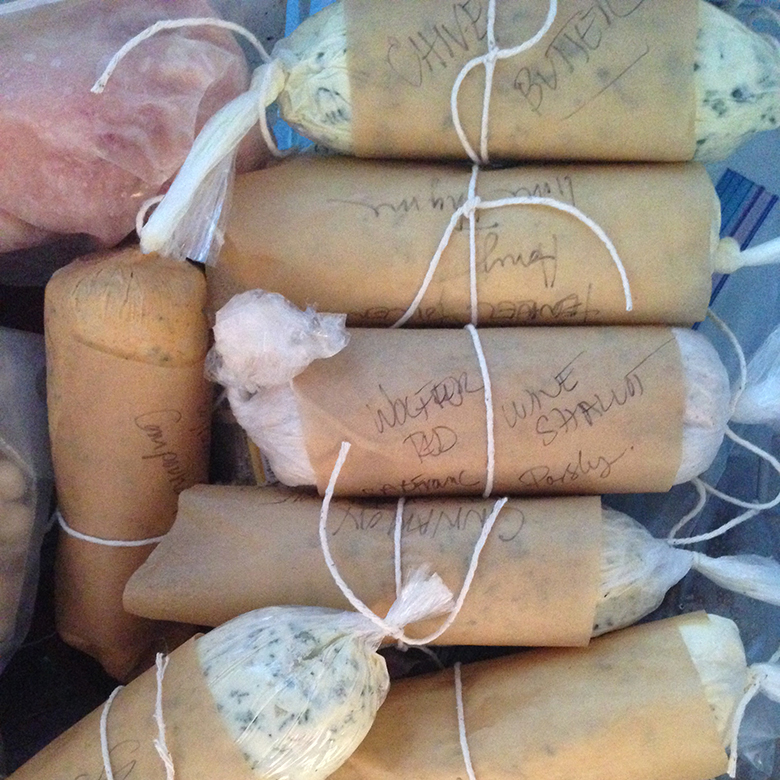
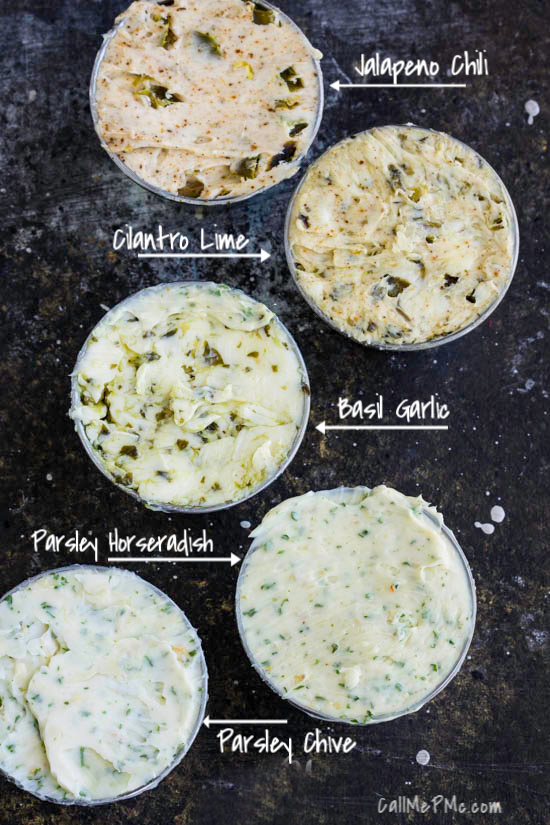
For Each: Add all ingredients to a large bowl. Using an electric hand mixer beat all ingredients until well combined and fluffy. Place a medium size piece of plastic wrap on to a clean, flat surface. Using a rubber spatula, gather the butter together in the bowl, and then spoon the butter mixture out of the bowl and onto the center of the plastic wrap. Grabbing the bottom portion of the plastic wrap, pull it up over the butter and begin forming a log shape. Twist the ends of the plastic wrap and place butter in the fridge. Melt the compound butters on top of steamed vegetables, grilled fish or stuff a chicken breast and bake.
–
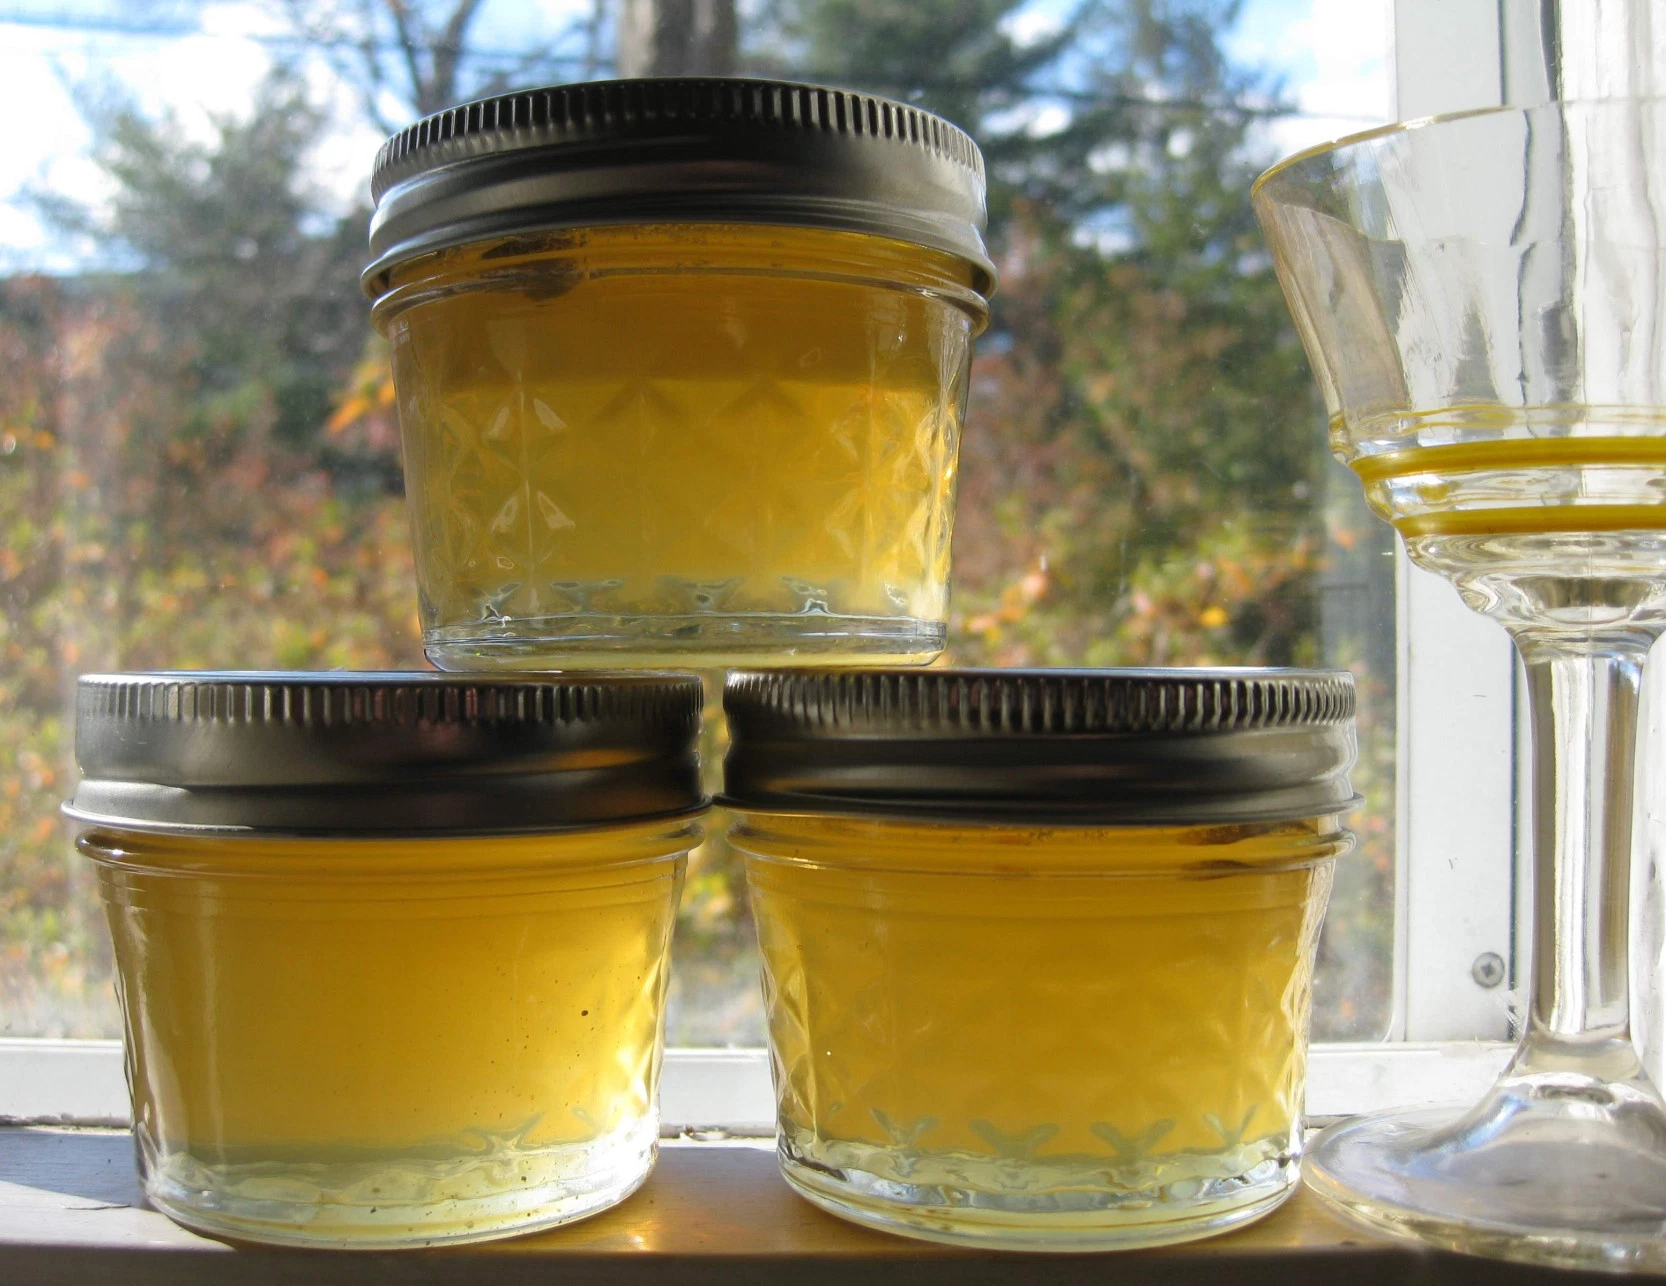
 Verbena Butter
6 ounces butter, softened (1.5 sticks of butter)
2 T. honey
2½ tsp. finely chopped verbena (can also grind in a spice grinder)
Pinch of salt (if using unsalted butter)
Mix all ingredients together either by hand or using a mixer
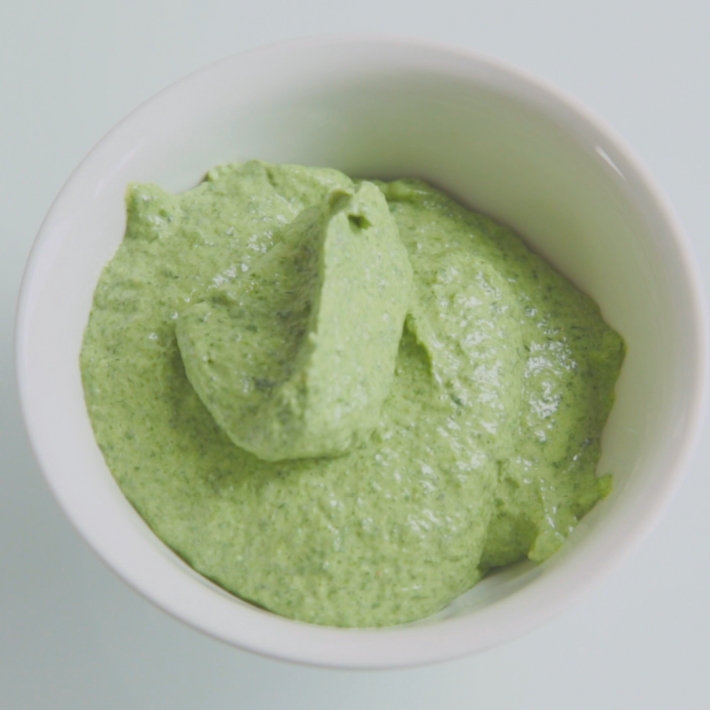
Shallot-Parsley Butter
2 garlic cloves, peeled
3/4 cup peeled and coarsely chopped shallots
2 C. picked-clean parsley leaves
1 1/2 tsp. salt
1 pound unsalted butter cut into 1-inch cubes, at coolish room temperature
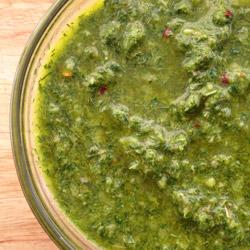
In food processor chop garlic. Add shallots and chop finely. Add parsley and salt, process to coarsely chopped, then add butter. Process to smooth and emerald green.
Ramp Compound Butter
3 oz (Roughly 3 C.) lightly packed ramp leaves Use a scale for the best tasting result.
8 oz 2 sticks salted butter
1/2 T. cold water
A few cracks of the peppermill
1/2 T. chilled lemon juice or water plus a few scrapes of lemon zest, optional
Cut the butter into T. sized pieces and bring to room temperature. Bring a pot of water to a boil and blanch half of the ramp leaves for a few seconds, just until they wilt, then refresh in cold water. Alternately, for a stronger flavor, steam the ramp leaves for a few seconds until just wilted. Squeeze the leaves dry, then chop roughly on a cutting board with the fresh ramp leaves. In the bowl of a food processor pulse the ramp leaf mash to smooth it out a bit, then gradually add the butter pieces 1 chunk at a time, along with the water, processing to make a smooth paste (it may take some time if your butter is cold-just be patient) continuing to process until the butter is light green and fluffy-make sure to watch the video as this is easier seen than explained. If the butter, or ambient temperature of the kitchen is very cold, add a spoonful or two of boiling water to help the mixture move in the food processor. Once the butter is emulsified, fluffy and brilliant green, add the pepper, and drizzle in the lemon juice, processing for a few seconds to lighten it. Double check the seasoning, adjust as needed (if you want it stronger you can spin in some extra chopped ramp leaves). Spread the butter onto a piece of parchment and refrigerate, or cut into portions and freeze. The butter will keep for a week or two in the fridge, and a couple months in the freezer. I prefer to vacuum seal it for the best long-term storage.
Wood Sorrel Compound Butter
1/4 lb of unsalted butter (1 stick)
1 cup of fresh wood sorrel, lightly packed
1/8 tsp. of sea salt.
Mince sorrel in food processer, add butter in cubes and salt. Process until smooth and creamy. Wrap in plastic wrap and freeze.
Lemon Thyme Herb Butter
1 stick butter
¼ cup fresh lemon Thyme, chopped
1 Tbsp lemon juice
Pinch of salt, pepper, chili powder
1 clove of garlic
Melt the butter. Add the thyme, garlic, lemon juice, and seasonings. Season with salt, pepper, and chili powder to taste and use immediately.


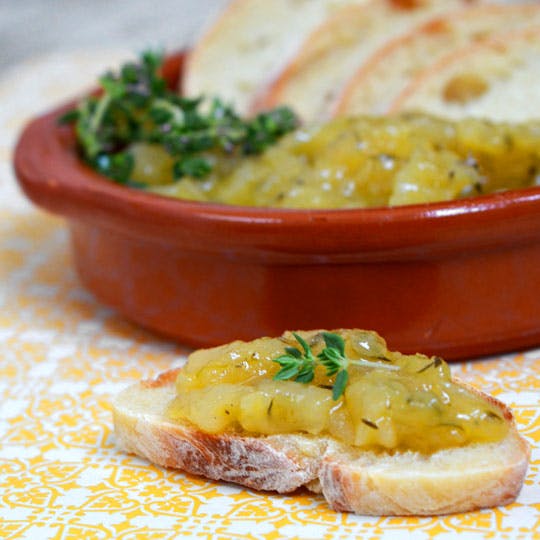
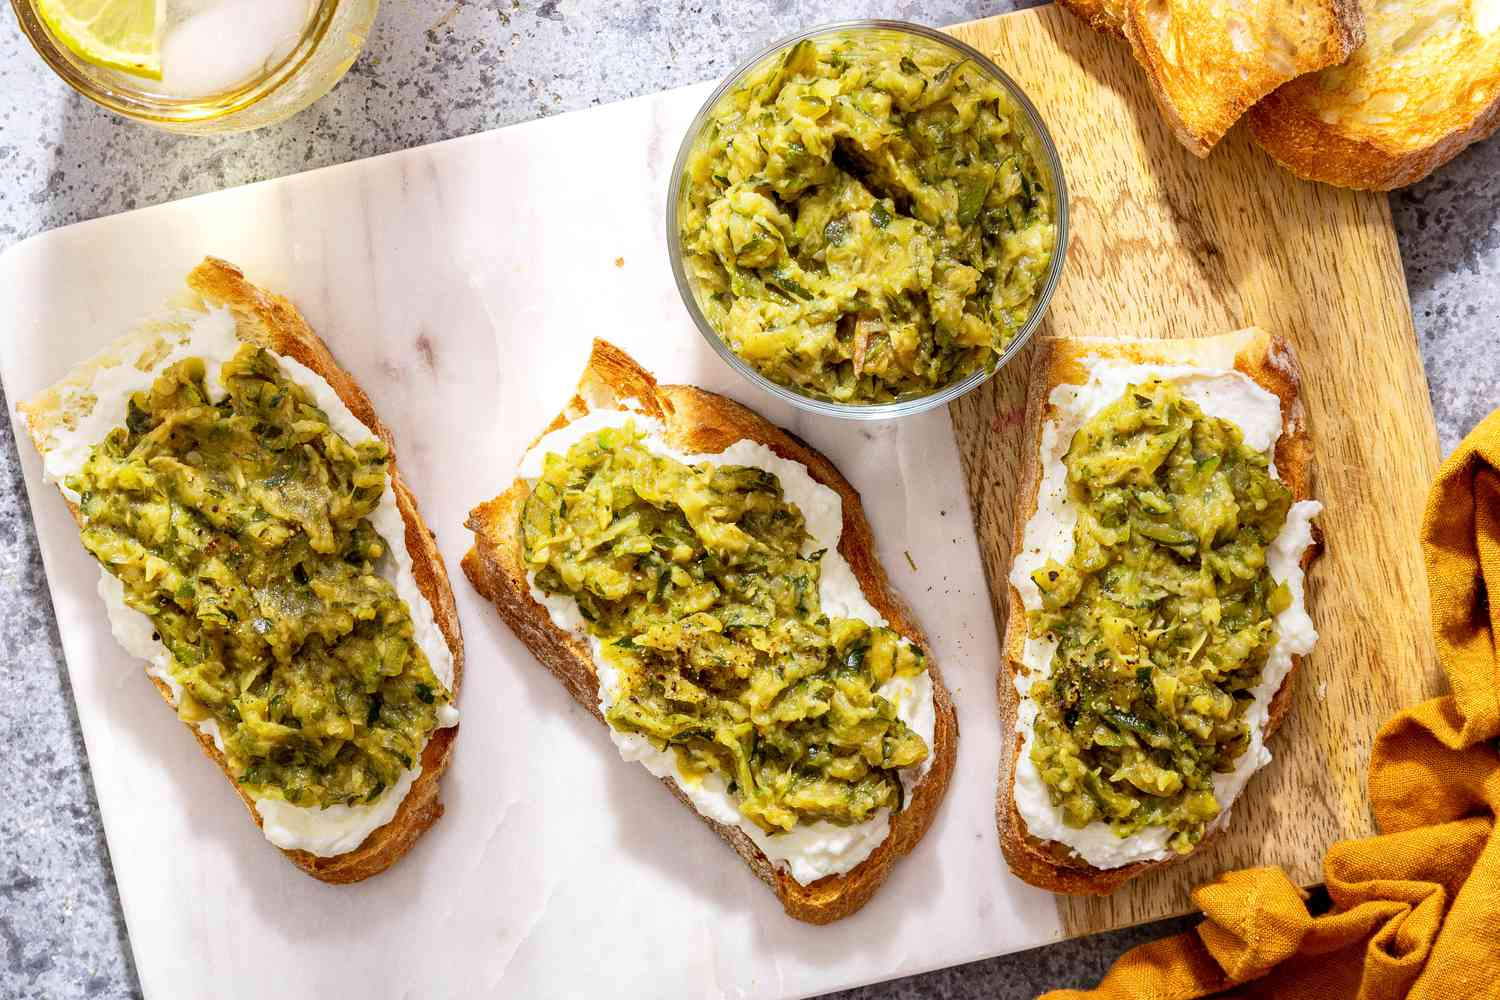 Zucchini “Butter” Spread
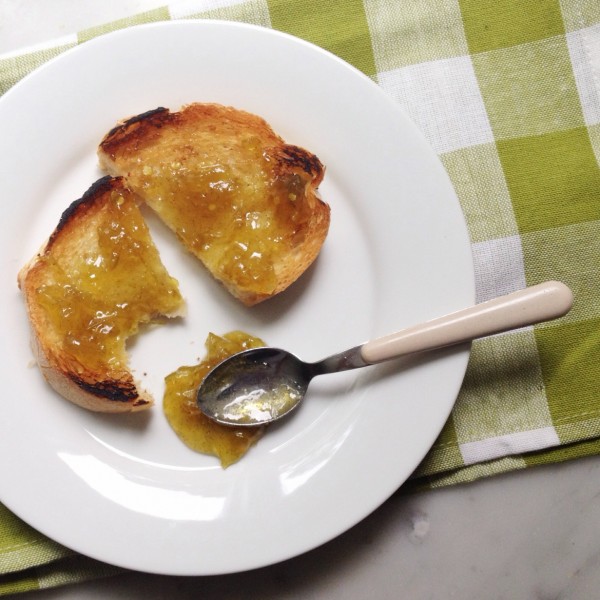
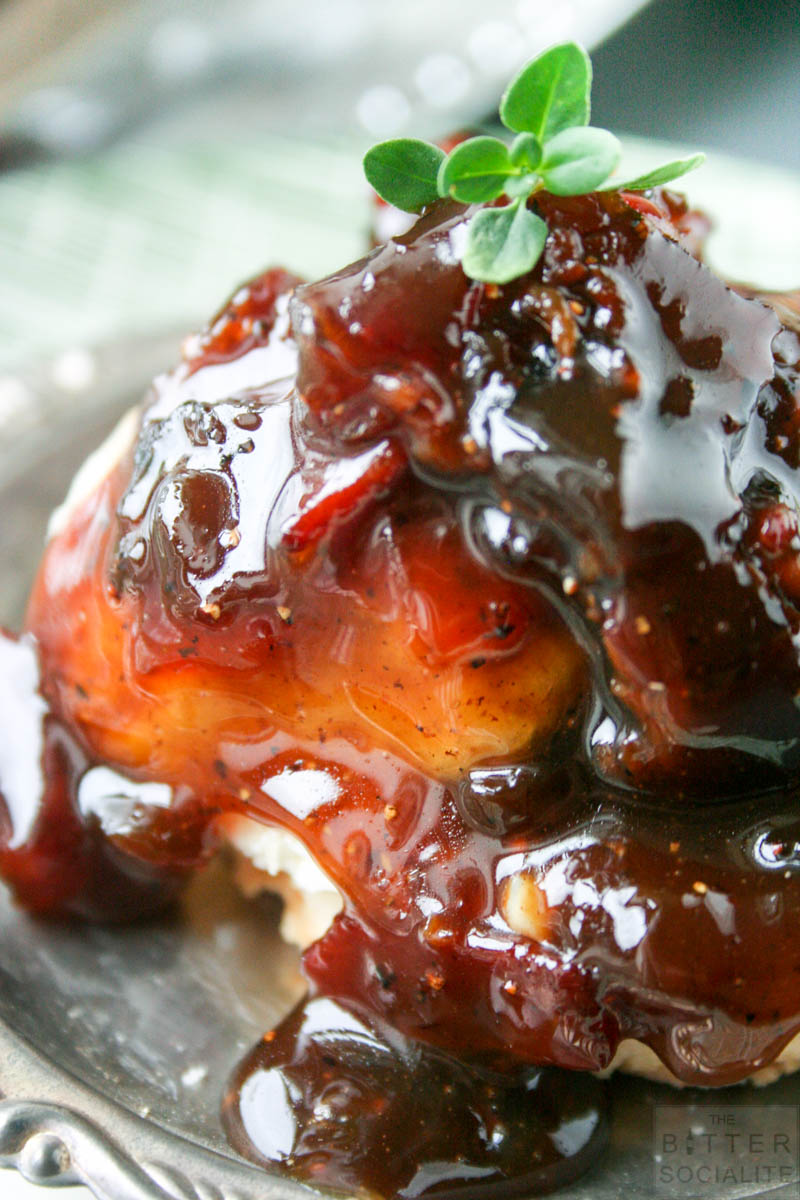
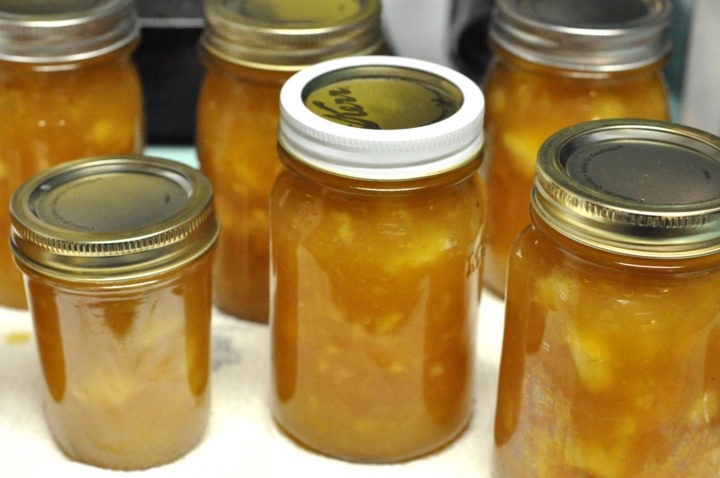
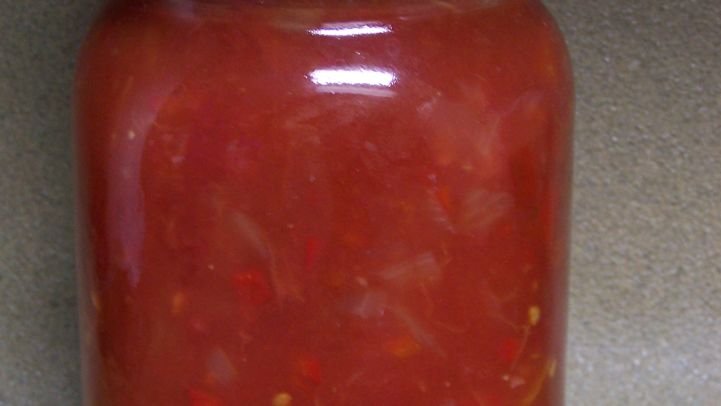
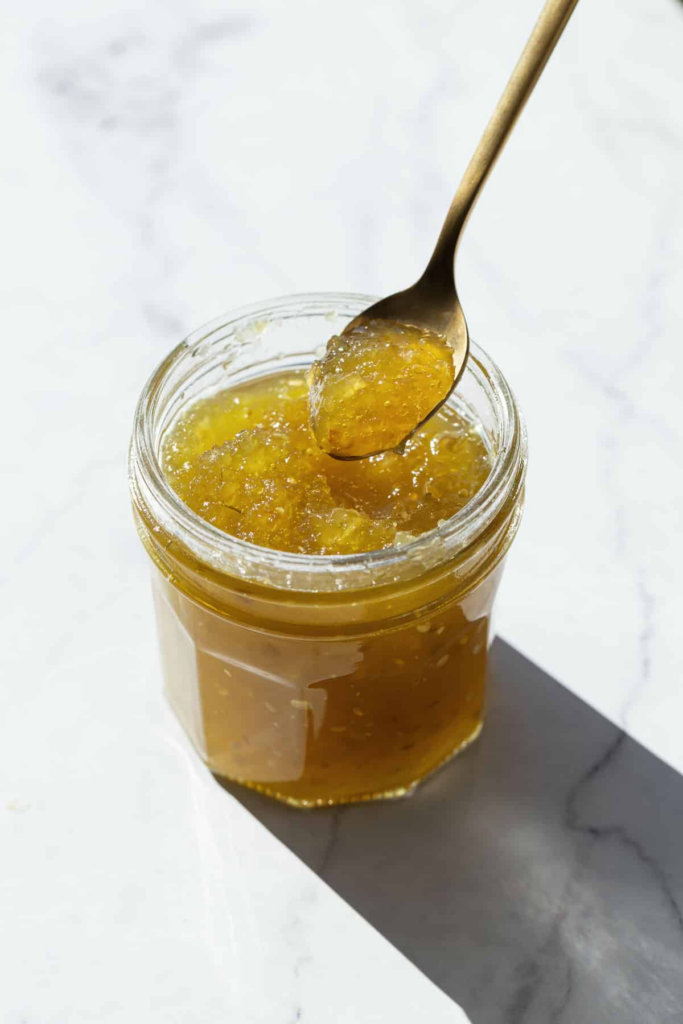 Old-Fashioned Green Tomato Jam with Lime & Cinnamon
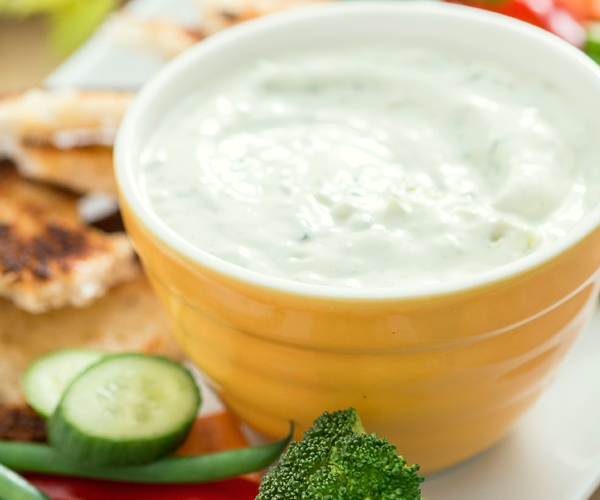
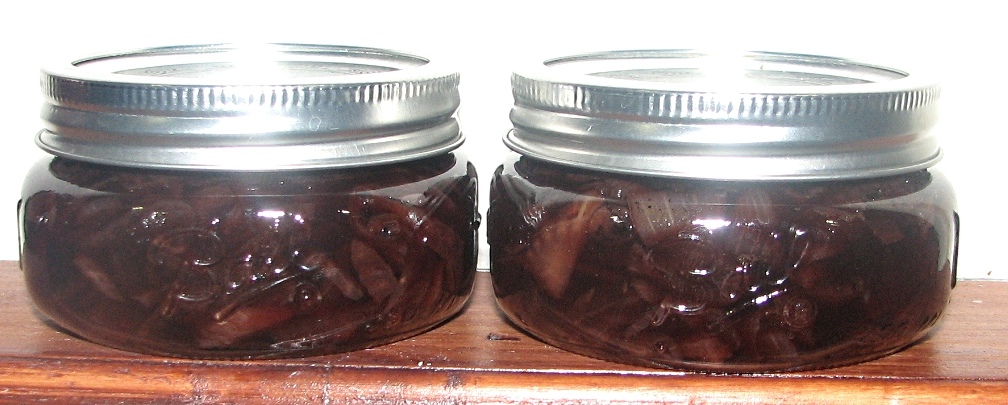
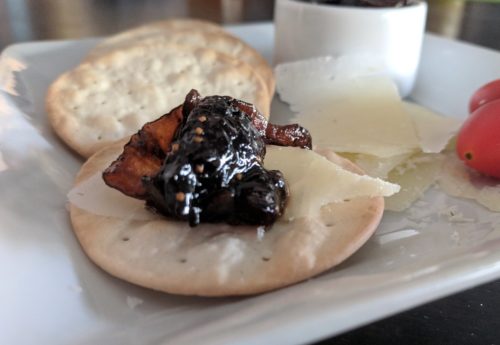
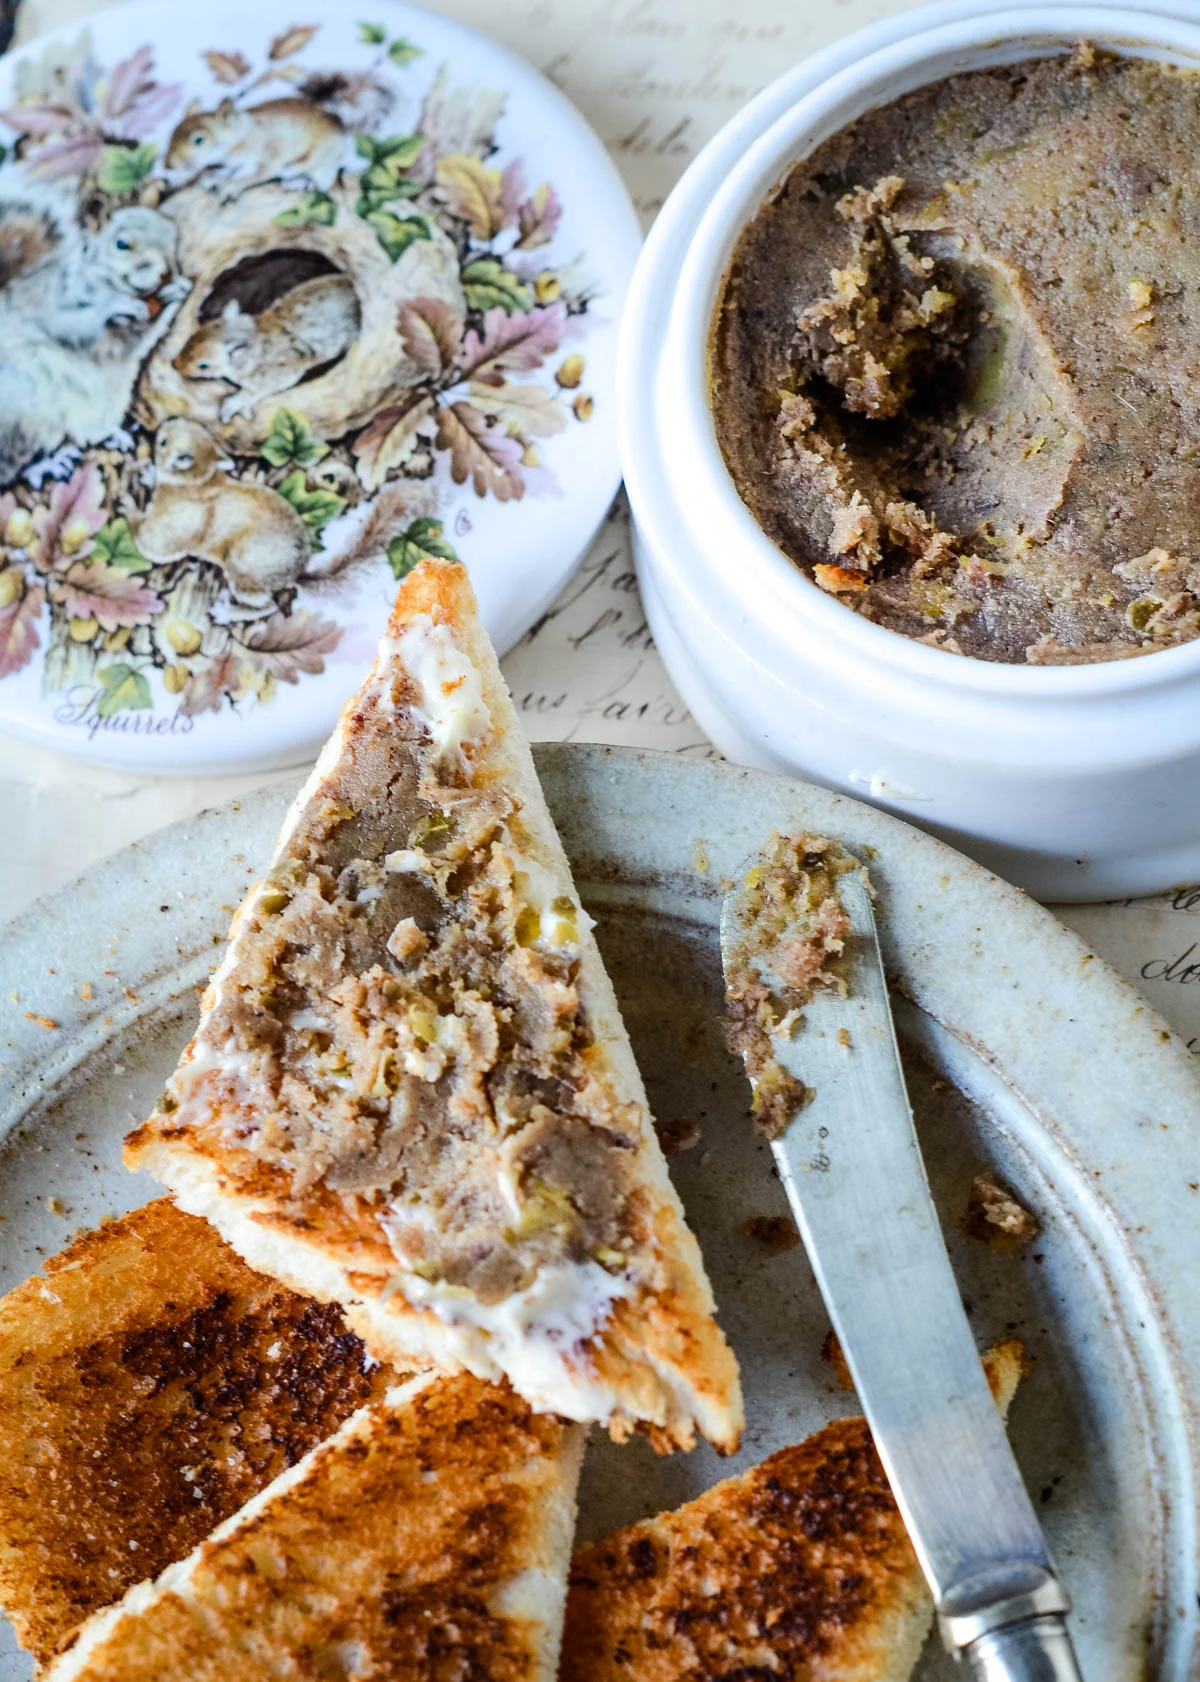 Gentleman’s Relish