Blueberry Preserves (No Pectin)
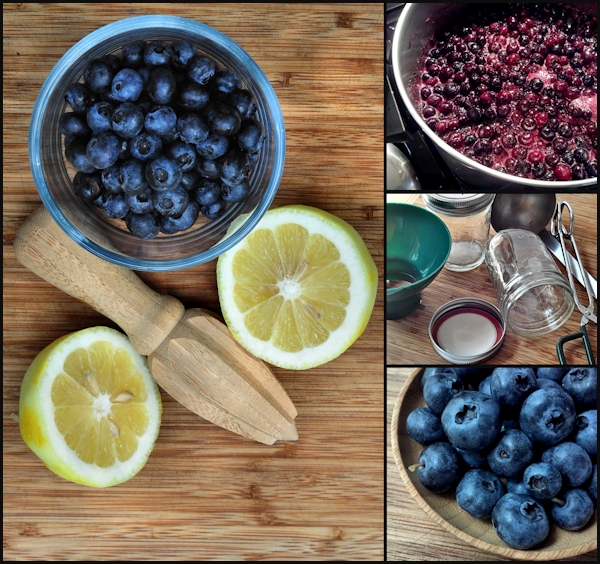 10 C. fresh blueberries
6 C. granulated sugar
¼ tsp. salt
2 T. lemon zest
â…“ C. fresh lemon juice
This is a canned preserve, so it’s important to make sure your jars and lids are sterilized. If you plan to freeze yours, then you can skip over this first part. To begin, fill a large stockpot half full of water [you are going to want the water to be over the tops of your jars by a couple inches, so make sure you have enough water in there for that] and set over a medium burner. Make sure the rack is in the bottom. Carefully put in the jars and lids. Once this comes up to a boil, cover and turn off heat. You are going to turn it back on high for about the last 10 minutes of the preserve cooking time, to sterilize the jars and have the water hot enough to can the final product. Wash blueberries and pick over, removing any debris and spoiled berries. Place about half of the berries in a 5 to 8 quart heavy pot. Crush well with a potato masher. Stir in the other half of the berries, the sugar, salt and lemon zest. Place the pot over a medium flame, and cover with a lid. Stir every few minutes. Once the mixture comes up to a simmer or low boil, remove the lid, and continue to stir every 5 minutes, or more often if they start to stick at all. Place a small plate in the freezer – this will be to test the doneness of the preserves. Cook about 25 minutes, and test a small amount on the cold plate you put in the freezer. After sitting on the plate for a minute or so, the preserves should look pretty thick, and should not run very freely if you tip the plate. If the mixture is still too thin, keep cooking, and check again about every 5 minutes, returning the plate to the freezer after each check. How long it takes is going to depend largely on the moisture content of the berries you are using. This batch took about 40 minutes total. At the 30 minute mark, return your large pot of water and jars to a boil. When the preserves are thick enough, stir in the lemon juice and cook an additional 5 minutes. Carefully remove the jars from the boiling water in the large pot, and set upright on a towel on your work surface. Keep the heat on under the pot. Ladle the preserves into the jars – the big funnel in the canning tools set helps keep the edges of the jars clean. Jams don’t need very much headspace above the surface of the jam itself – about ¼ inch between the top of the jam and the rim of the jar is enough room. Any more than that leaves too much chance for bacteria to grow, so fill them right up to that level. Wipe the edges of the jars clean with a damp cloth, and put on the lids and rings. Don’t screw the rings down super tight – just until they resist a bit is fine. If you have less than enough to fill the final jar, just put that one in the fridge to eat up first. Carefully place the covered jars back in the large pot of water – there are jar tongs in the set of tools, or use regular tongs to gently set the jars upright on the bottom. Once the water is back up to a full boil, set the timer for 10 minutes. When the time is up, carefully remove the jars to a wooden cutting board, or a dry towel on the counter – don’t use same towel as before since it might be damp and cooler and could break the hot jars. You will probably start to hear the centers of the lids popping down pretty quickly. Cool completely and check to make sure all of the centers of the lids have popped down. Refrigerate any jars with a dome still on the lid, and eat up first. When the jars are fully cool, you can remove the rings if you like, though I leave them on. Store in a fairly cool spot, and when opening the jars, inspect the contents, discarding any jars with mold or questionable appearance. Preserves will keep very well for up a year, or even longer, though the quality may suffer somewhat after a year.