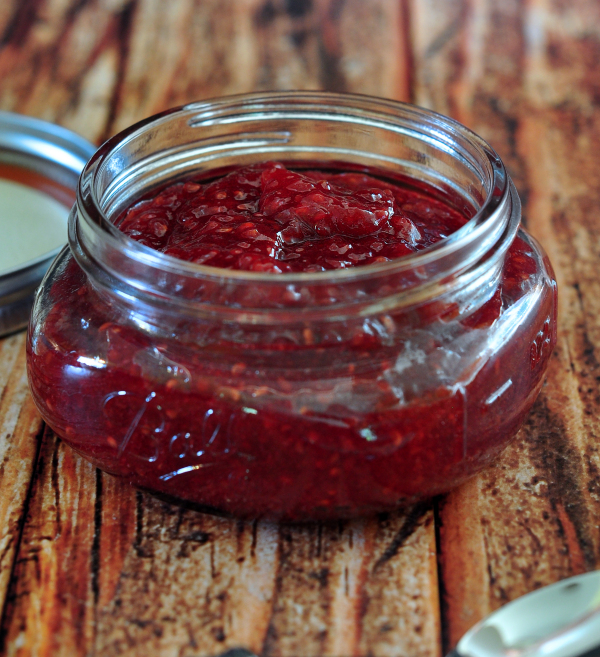
Raspberry Preserves (No Pectin)
 2 & ½ lbs of fresh raspberries
3 & ¾ C. granulated sugar
¼ tsp. kosher salt
juice of 1 lemon
You can freeze these preserves, and they will keep in the fridge for quite awhile, but if you plan to can them, get your canner ready, as well as your jars and lids. This will make around 5 or 6 half pint jars of preserves, so submerge the washed, empty jars in the canner, and boil them for at least 10 minutes. It’s a good idea to have the lids and rings in another smaller pan of boiling water, so that they don’t get knocked around by the jars. [I will put some links after the recipe, so you can find canning supplies. Pick over the berries, and pick out any squishy, overripe berries. Wash the berries and allow to drain for a few minutes. Place all the berries, the sugar and salt in a large, heavy bottomed pot. I have an old Revere Ware stockpot that holds 5 quarts that is perfect for a batch this size. You want to allow enough room for the mixture to boil – it will foam up a bit. Mash the berries somewhat with a potato masher or large spoon, and turn on the heat. Stir as the mixture begins to come up to a boil, to help the sugar get all mixed in and dissolved. Once it is at a hard boil – which means the boil can’t be “stirred down”, back off the heat just a very little bit. You can, if you like, remove some of the seeds at this point. I put about 4 C. the mixture into a wire strainer, over a bowl, and use a ladle or big spoon to push the preserves through, while keeping the seeds in the strainer. Keep at it until you have as much of the preserves through the strainer as is possible. Discard the seeds. Put a small plate in the freezer, for testing the preserves. You need to stir the boiling mixture often, to keep it from sticking and scorching which can ruin the whole batch. [if it does stick and burn, don’t stir or scrape the burned part from the bottom – pour the preserve mixture into another pan, and just leave the burned part in the first pan – you can then cook it down the rest of the way, and then taste it to if it’s okay.] The closer it is to being done, the more you need to stir, because you are boiling away the moisture in the mixture, and it will get thicker and more liable to stick as that process goes on. After about 20 minutes, you can check with an instant read thermometer – you are looking for a temperature of around 210º to 215º . It usually takes around 25 to 30 minutes at a full boil. If your thermometer reads 210º, try the plate test: take the plate out of the freezer and test a dab of the jam – if it sets up, and seems like a good consistency then it’s done. Stir in the lemon juice, and cook another 2 minutes. One at a time, fill the jars by removing each one from the pot of boiling water, fill carefully, leaving ½ inch of headspace. Wipe the jar rim clean with a clean towel that has been dipped in the boiling water in the canner – be careful not to burn your fingers. Place the jar lid and ring on the jar, turning the ring to snug the lid down. Don’t over tighten. Place the filled jars back into the canner, and cover it. The jars should be covered by an inch of water. Bring back up to a full rolling boils, and process for 10 minutes. Turn off the heat, and leave the jars in the covered canner for 5 minutes – no more or water may suction into the jars as they cool. Remove jars and allow to sit undisturbed for 24 hours. Store at normal room temperature for up to one year – refrigerate after opening.