 To add spark to egg-based dishes, like souffles, quiches, and savory custards, add a tsp. Dijon mustard.
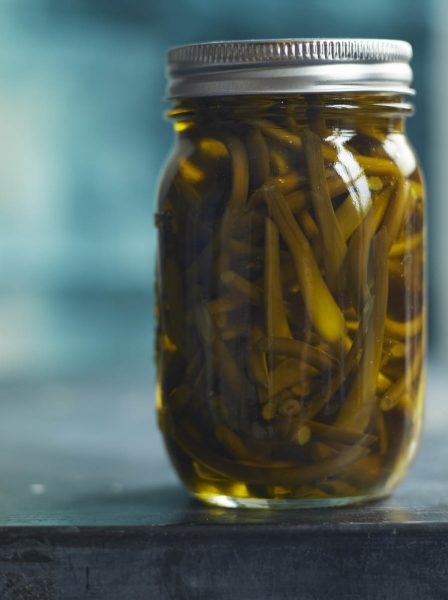
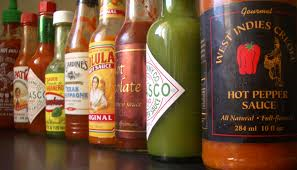
For a crispy catfish po’boy, coat catfish fillets with mustard then dip them in cornmeal. Sauté the catfish in oil and serve on a baguette or French bread with lettuce, tomato, thinly sliced onion, and a sauce made from mayonnaise, mustard, Tabasco sauce, parsley, and pickle relish.
To perk up grilled cheese sandwiches, spread a thin layer of mustard on the bread before assembling and grilling the sandwich.
To make a special sauce for burgers, mix together 1 tsp. ketchup, 1 tsp. mayonnaise, and 1 tsp. spicy brown mustard. A burger chain popularized this secret sauce, which is easily replicated at home.
To thicken and liven up a pan sauce for sautéed meats, use Dijon mustard. After pan-searing chicken, pork, or beef, swirl in some red wine, port, or sherry and a few tsp. unsalted butter to deglaze the pan, then reduce the liquid to half its volume. Stir in a tsp. Dijon mustard for kick.
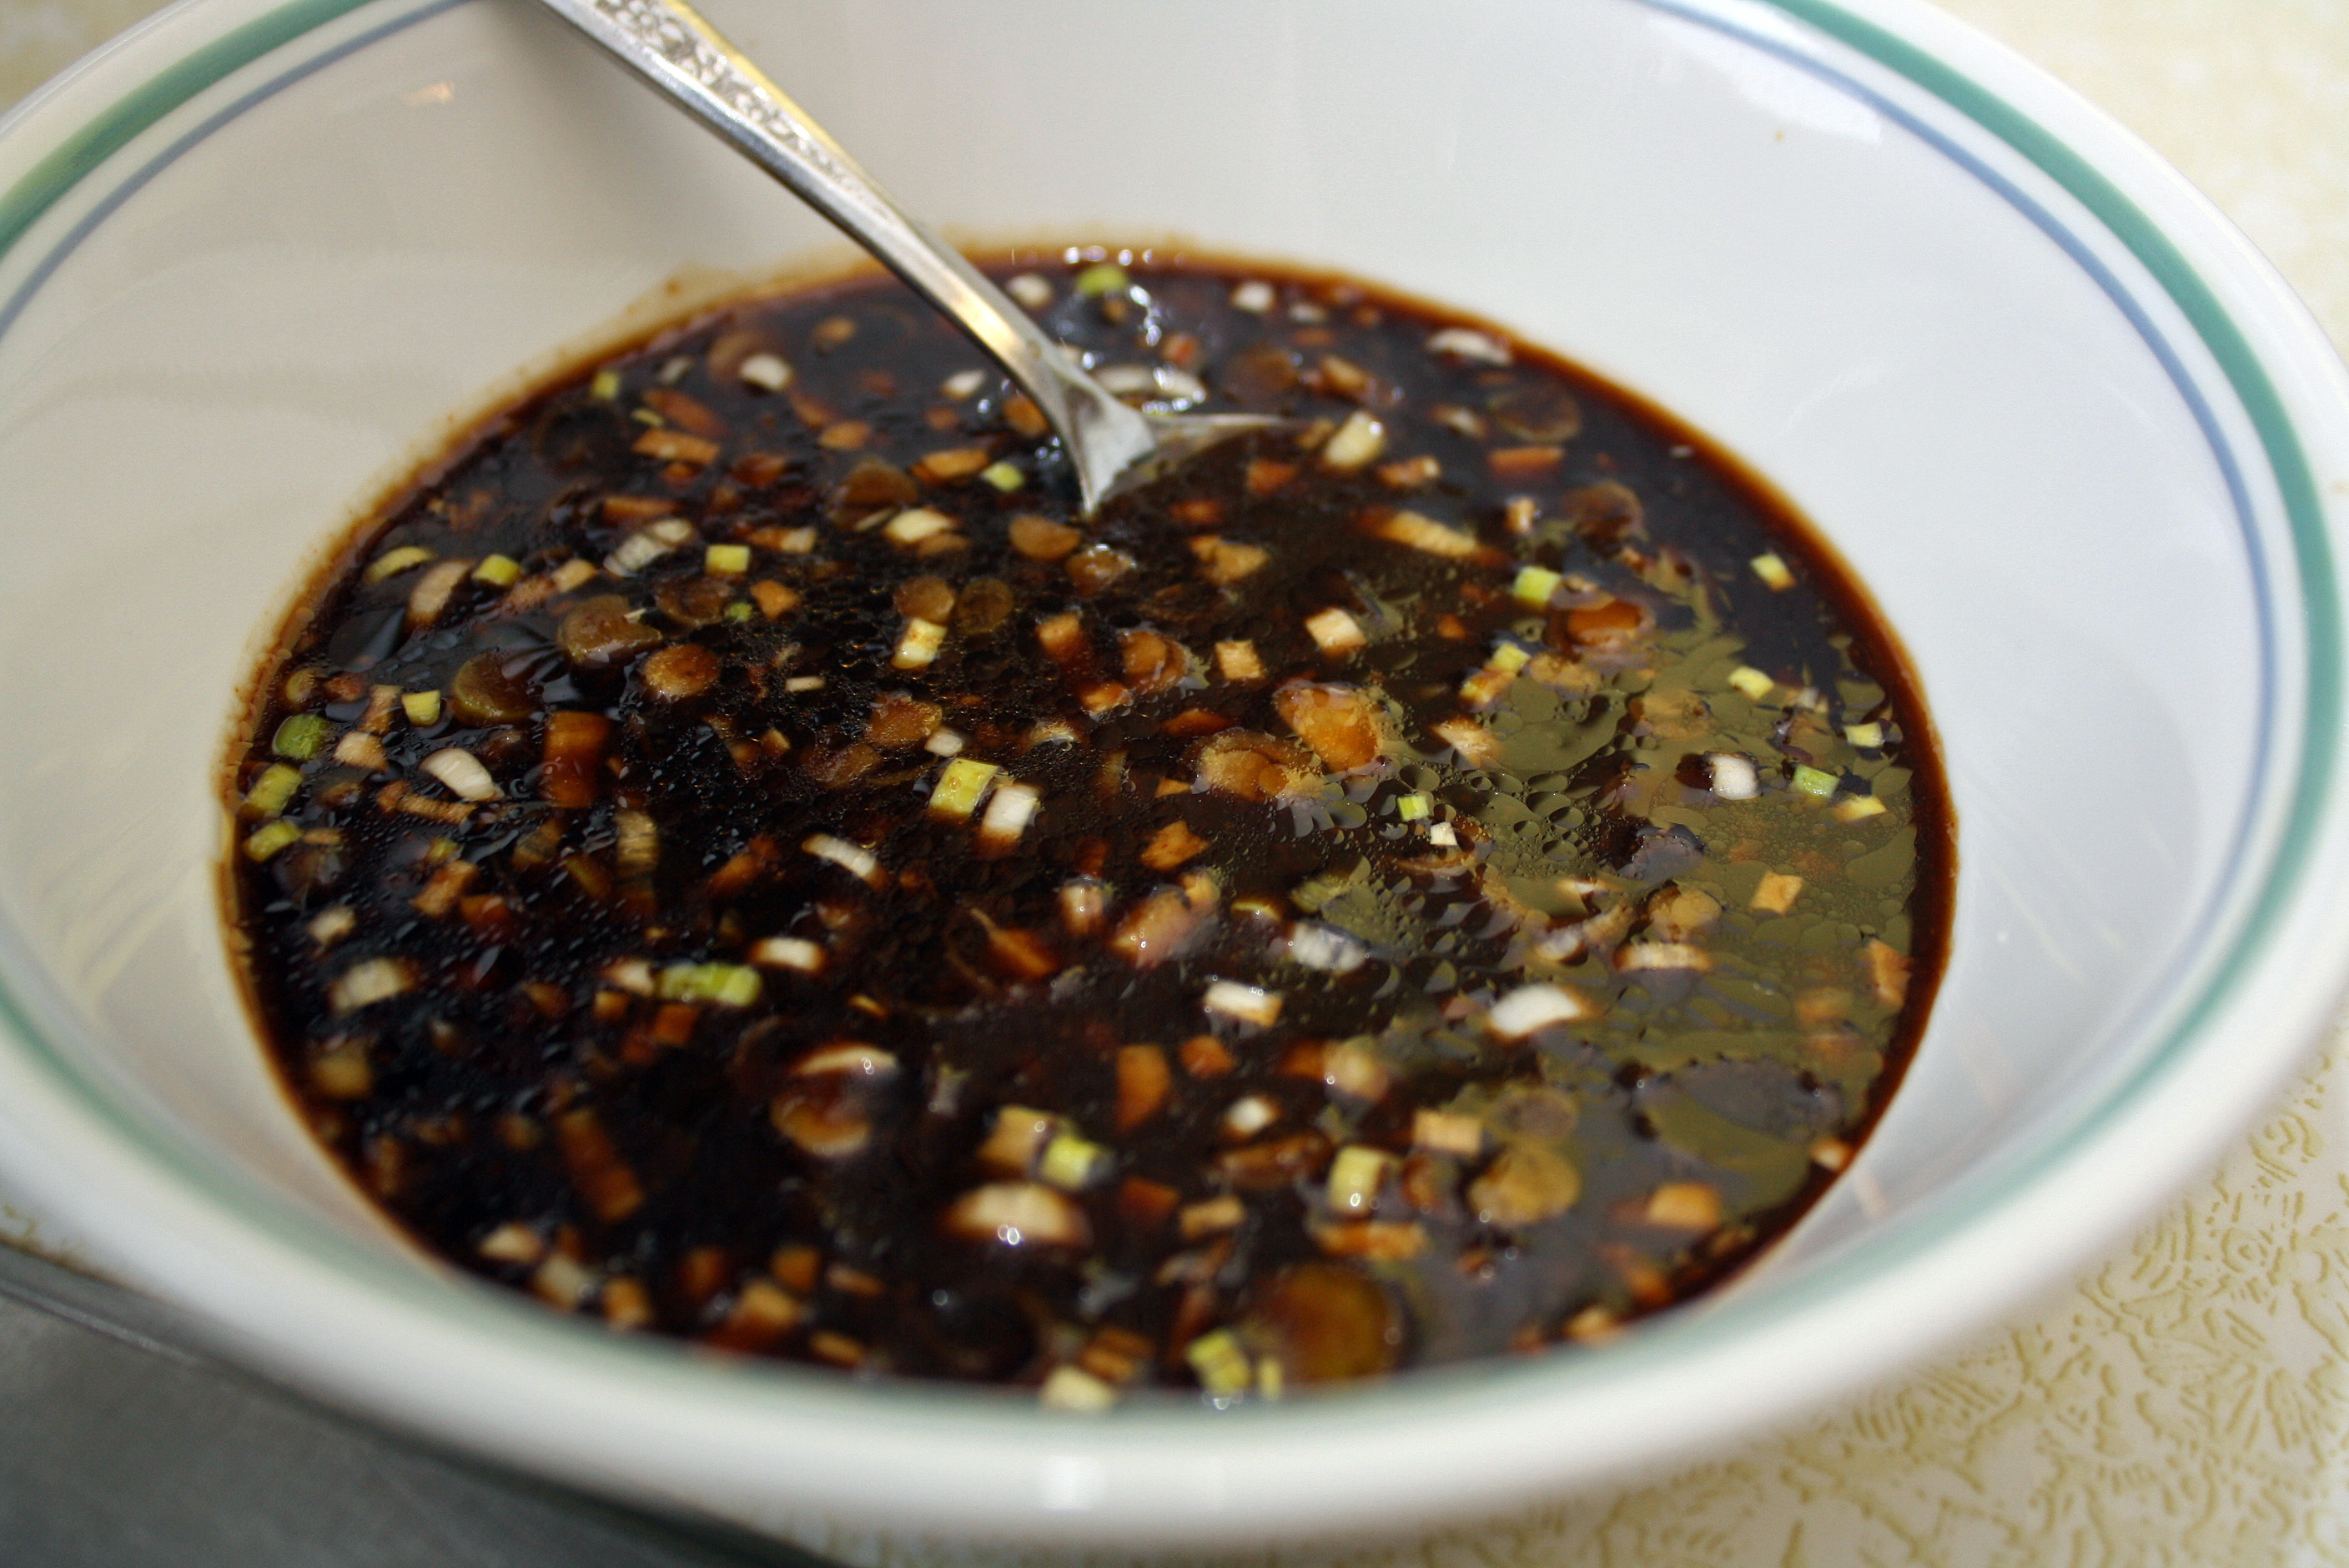
For quick-and-easy homemade barbecue sauce, combine in a saucepan:
1 C. ketchup
1/4 C. white or red wine
1 tsp. soy sauce
2 tsp. red-wine vinegar or apple-cider vinegar
1 tsp. chili powder
1 garlic clove, minced
Simmer over medium heat for 5 to 10 minutes to blend the flavors and reduce the volume slightly. Finally, stir in 1 tsp. prepared mustard.
When you need a fast sweet-and-sour dip or sauce, whisk together 1/2 C. currant jelly and 5 tsp. Dijon mustard. Let stand for 5 minutes and whisk again until smooth. Use as a dip for crudites or a sauce for broiled shrimp, pork, or chicken skewers.
For a brown-sugar glaze for ham, combine 3/4 C. firmly packed light brown sugar, 1/4 C. spicy brown mustard or Dijon mustard, and 2 tsp. apple-cider vinegar. Pat over the top of a baked ham 45 minutes before it is done.
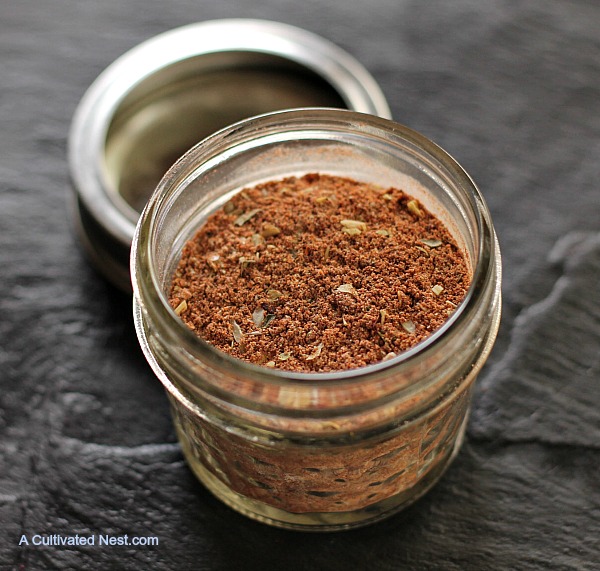
To doctor up store-bought barbecue sauce, stir in 1 tsp. prepared mustard per C. sauce.
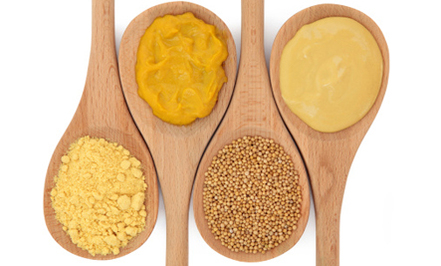
In my mind, pretzels are basically just an excuse to dip something in mustard. I like to dip the store-bought, crunchy bagged pretzels in a yellow mustard, while the grainy variety pairs well with homemade soft pretzels, fresh from the oven.
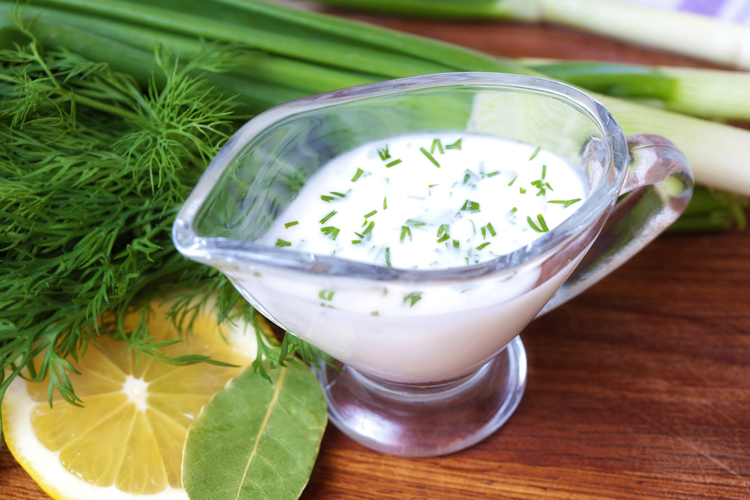
This is one of the easiest shake-and-pour dressing recipes ever. Mustard, honey, vegetable oil, vinegar, and a pinch of salt go into a mason jar, and in seconds you’ve got a deli classic, perfect for topping a salad of iceberg or romaine. Yellow mustard is the classic choice, but grainy mustard is great too.
Mustard glazes are great for more than just a Christmas or Easter ham! Baked chicken wings, thighs, or tenders are awesome when topped with a mustard-brown sugar glaze, too. Just brush it on in the last half hour of cooking.
After sautéing chicken breasts or searing steaks, you’ll have a pan of gorgeous fond (those tasty browned bits at the bottom of the pan). By all means, don’t waste that delicious, savory flavor! Instead, add a splash of wine (red wine if it’s red meat, white wine if it’s chicken) and a good dollop of mustard, then whisk to bring up all of that browned goodness from the pan to make a tasty sauce.
 1 tablespoon butter
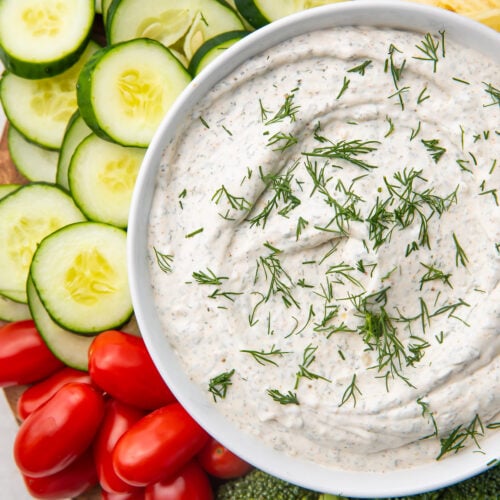 Having a dip in your refrigerator allows for many options during the week. It can be thinned with some half and half and used as a dressing for your favorite salad, mixed with diced cucumbers and sweet vadalia onions for a topping for grilled mahi mahi, spooned into hollowed out cherry tomatoes for a quick appetizer, or served as a dip with potato chips and cut up celery, carrots, and sugar snap peas.

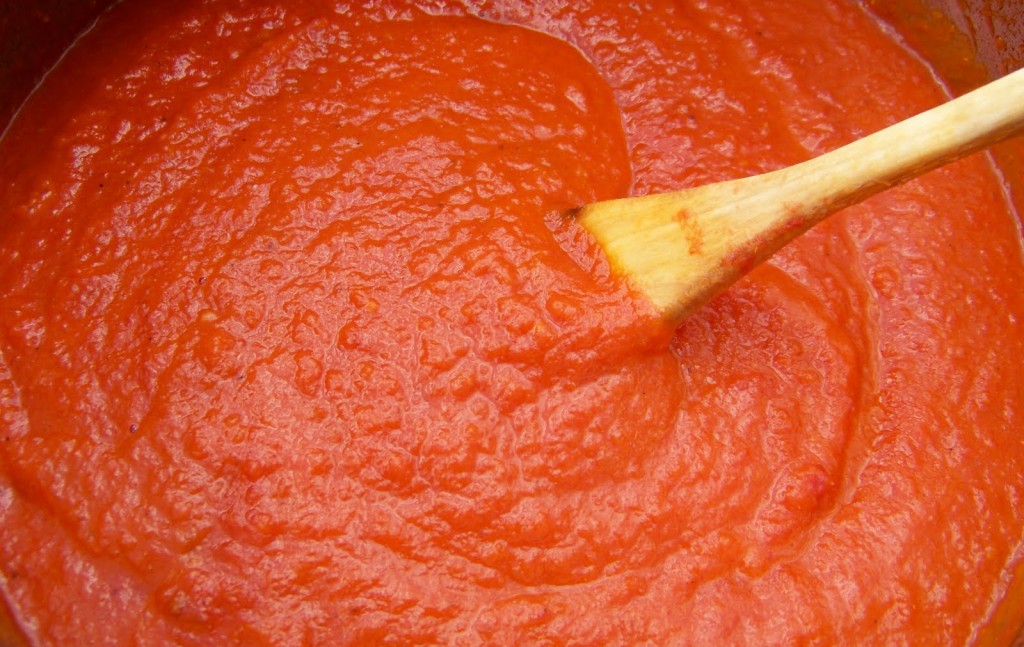 1. Add 2 T. of any good red wine to the sauce and cook the sauce down for about 30 minutes on medium heat.
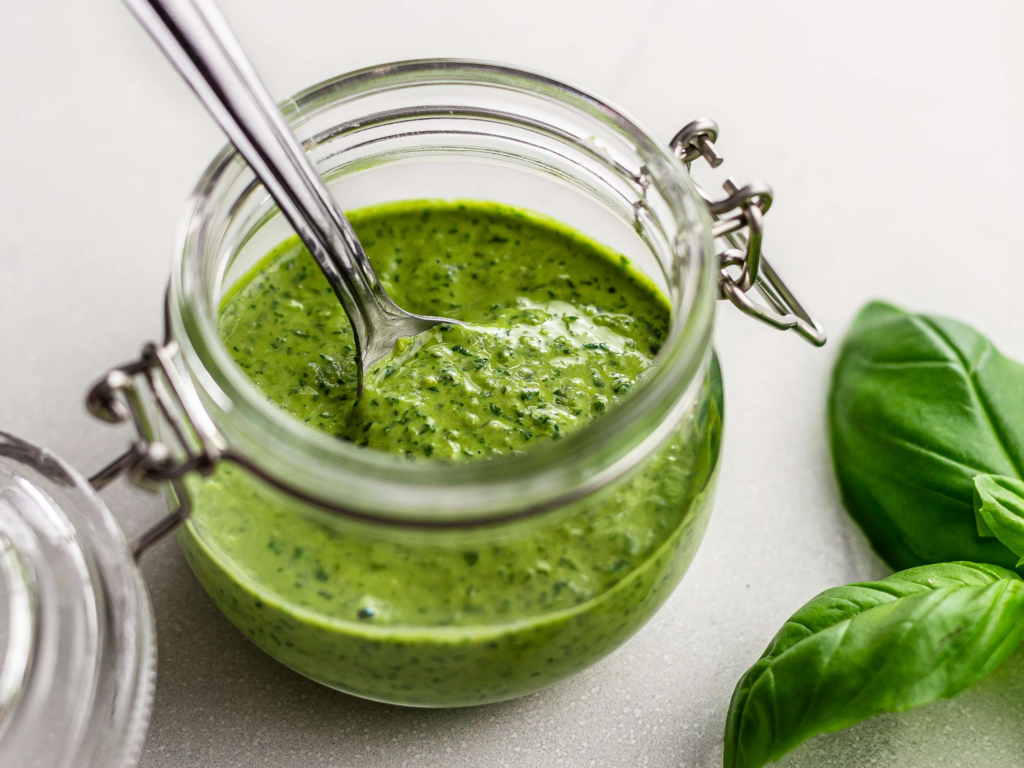 Tahini Pesto
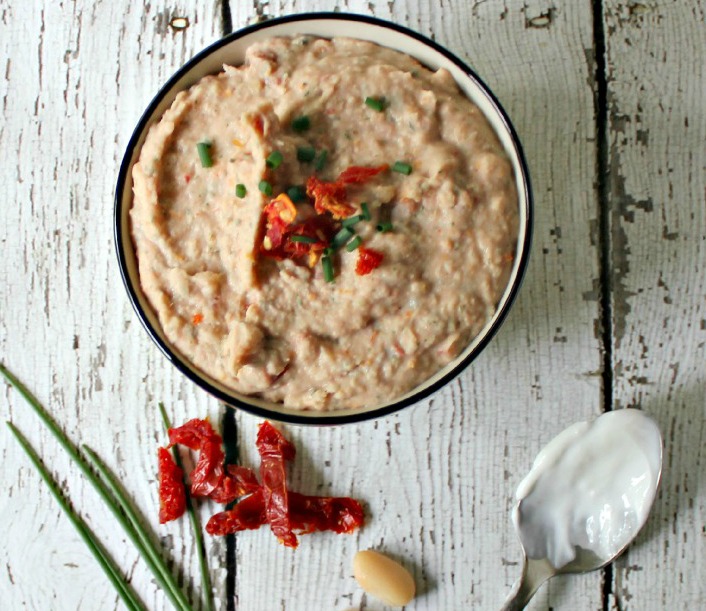


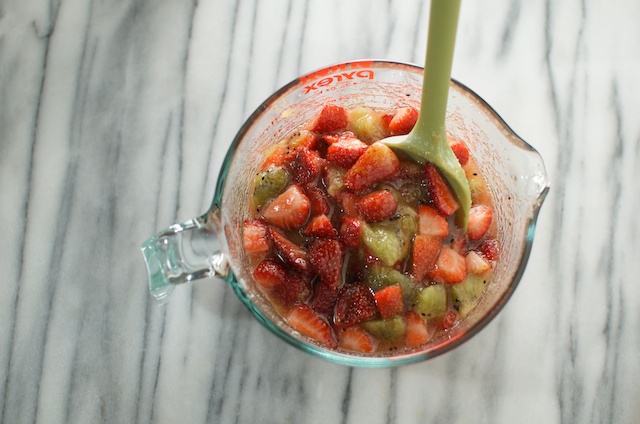
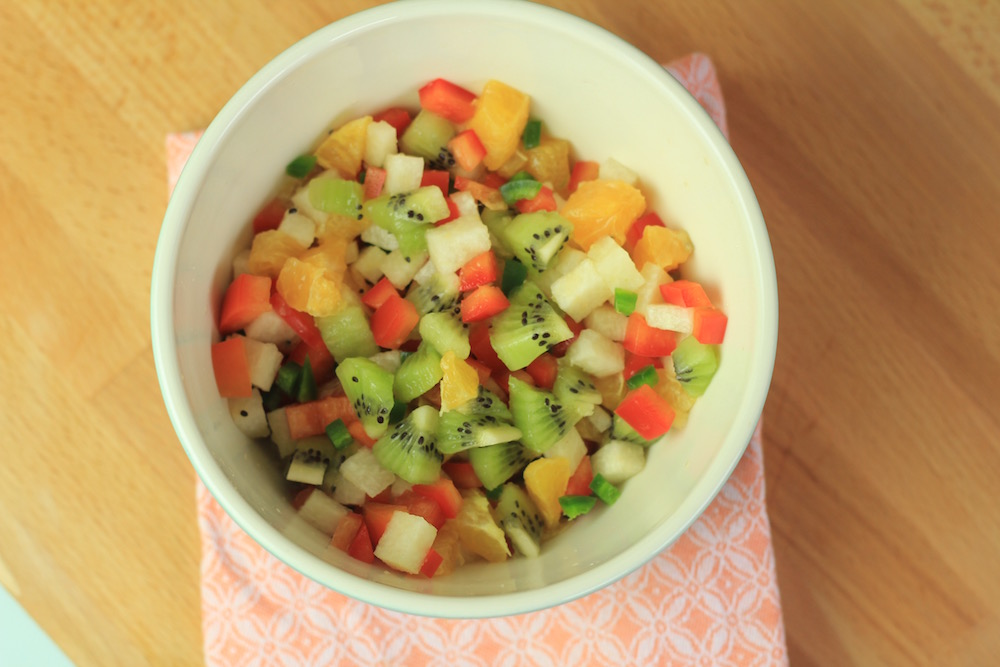 3 to 4 California kiwifruit, peeled and diced (1 ½ C.)