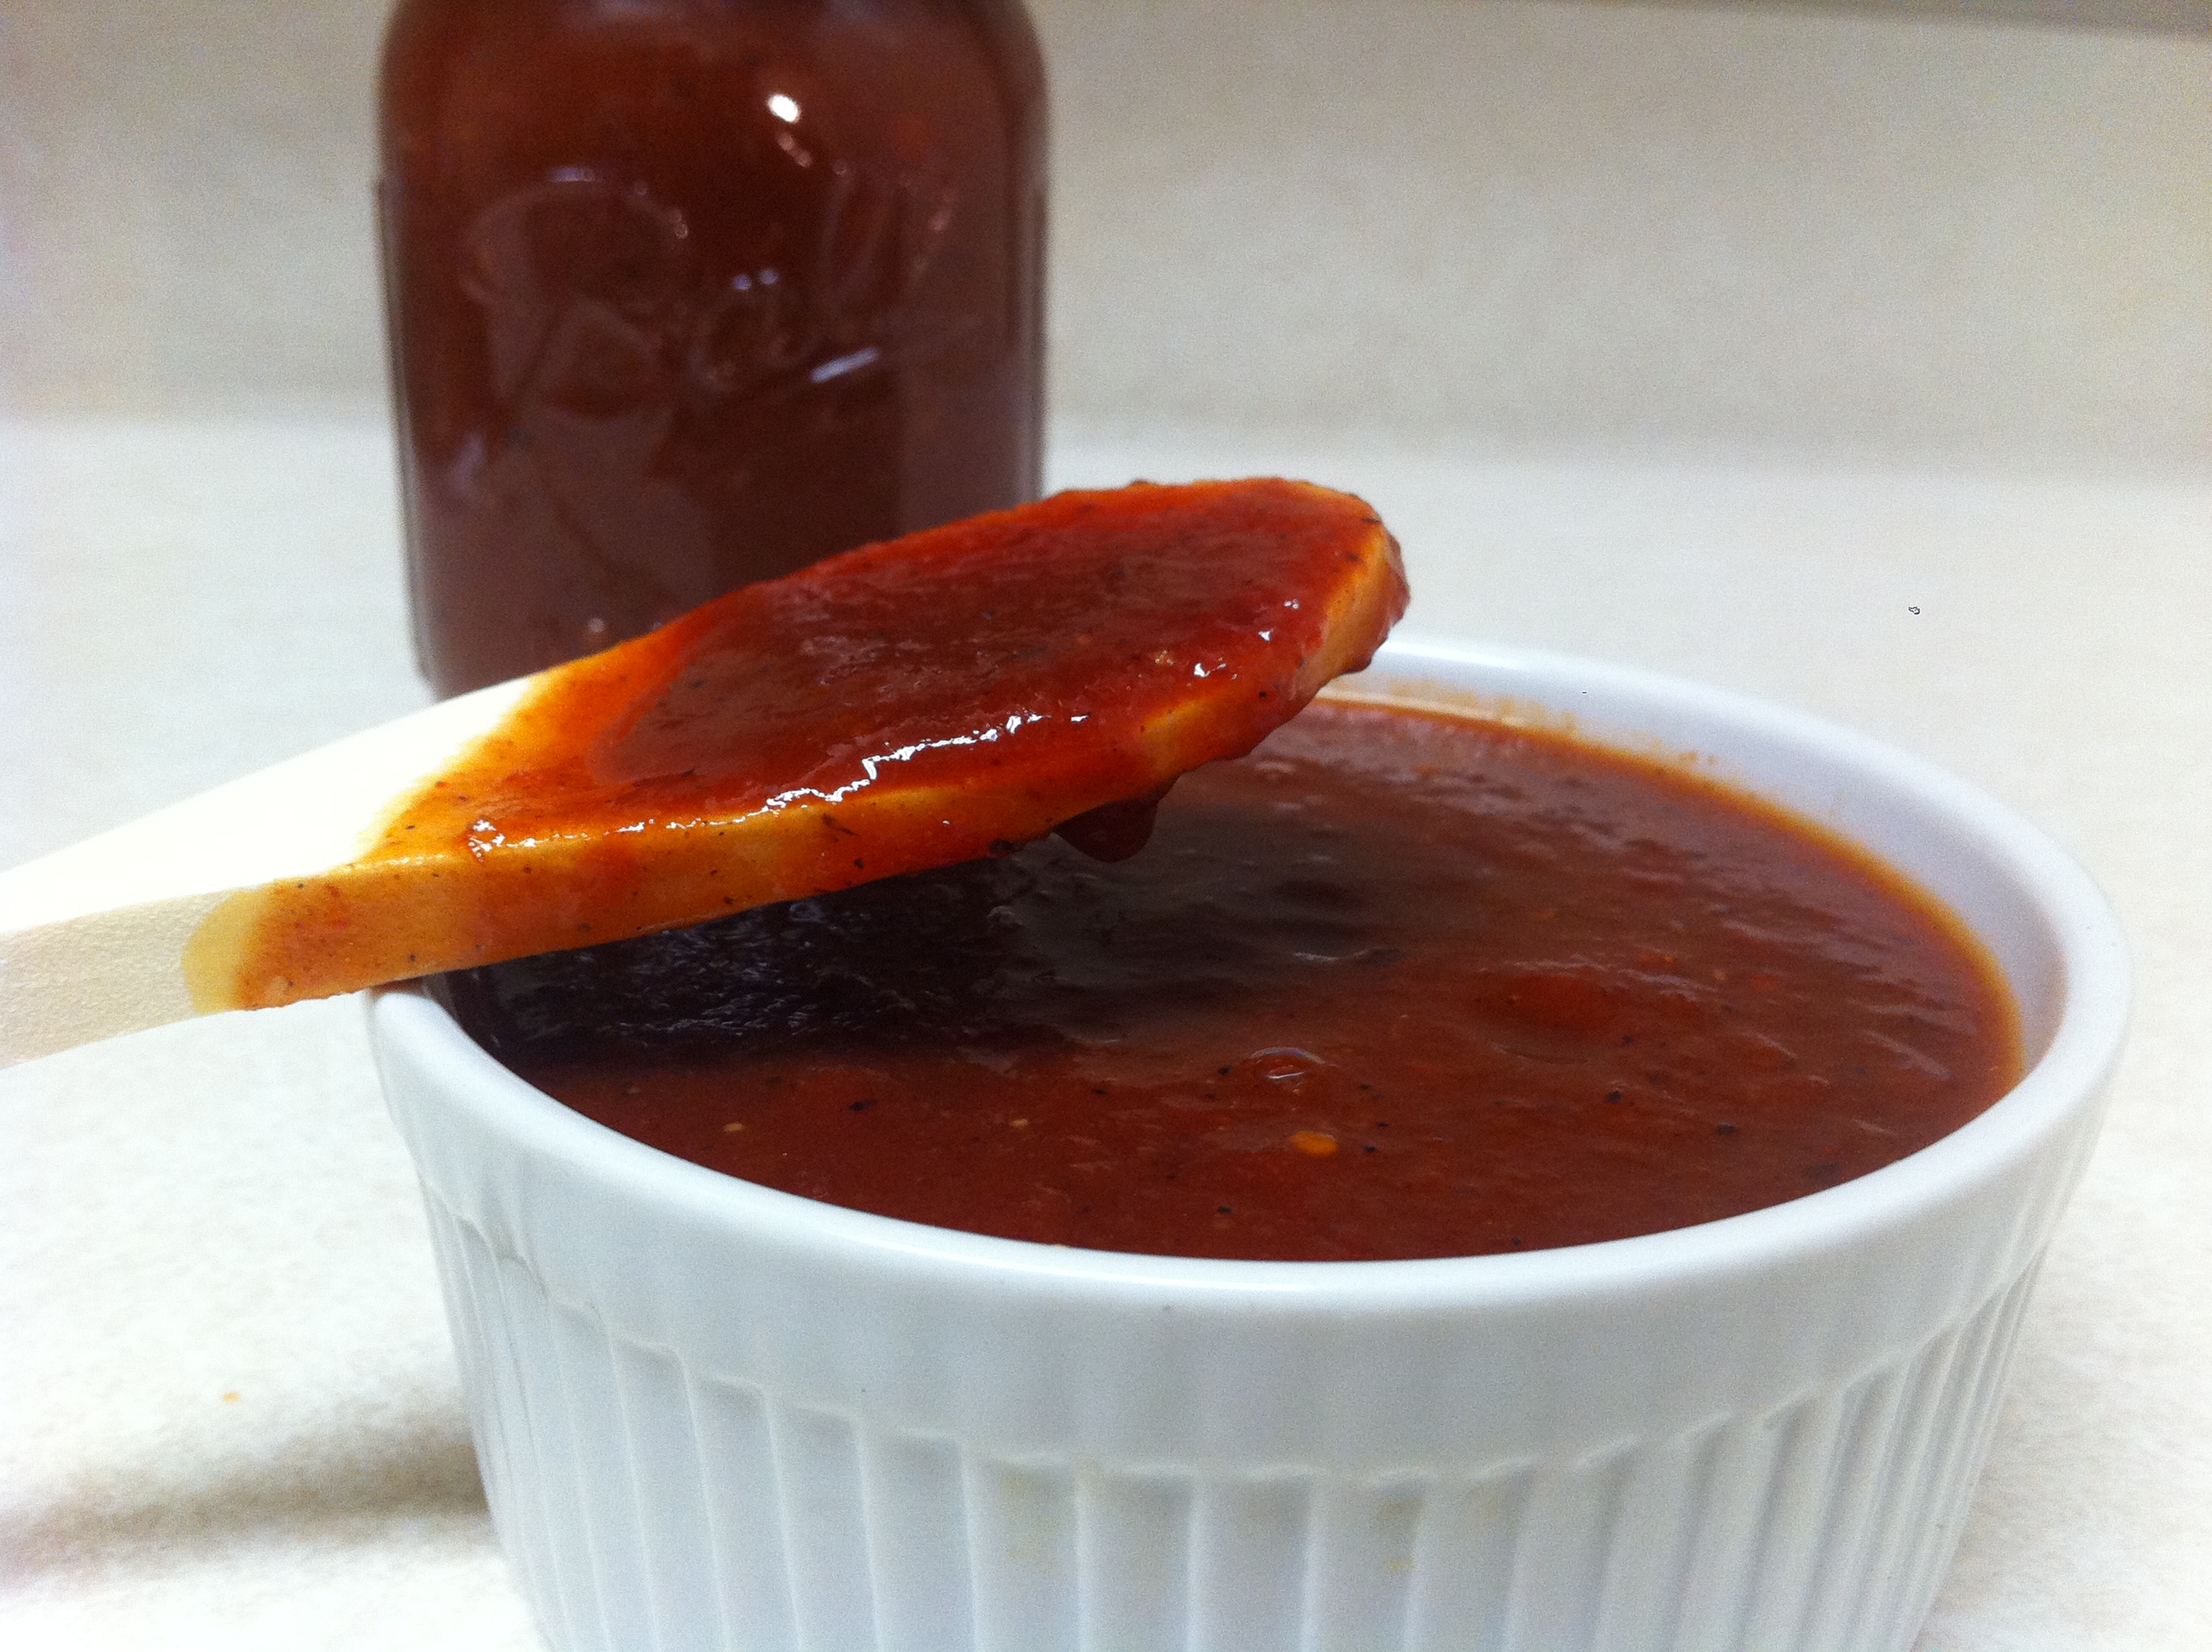
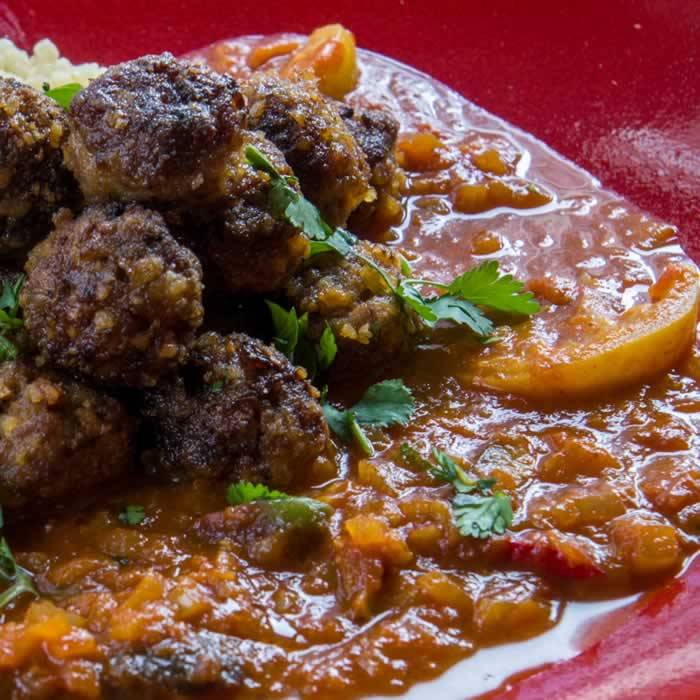
Tomato sauce is infinitely adaptable. This version takes the basic Italian sauce and heads south with it, across the Mediterranean Sea, to Tunisia. It includes either Baharat or Ras el Hanout spice blend, along with paprika, cinnamon, preserved lemons, and olives. It’s fabulous as the base for a Moroccan Tagine (and is specified for Moroccan Kefta Tagine (Spicy Meatballs & Tunisian Tomato Sauce). But it’s also delicious tossed with linguini or strozzapreti pasta, Italian-style.
 ¼ C. cold pressed, extra-virgin olive oil
1 large onion, minced (2½ C. or 10 oz. minced)
4 cloves of garlic, minced or pressed
2 tsp. Baharat or Moroccan Ras el Hanout
2 tsp. ground cumin (only if Ras el Hanout contains no cumin)
2 tsp. ground paprika
1 tsp. ground cinnamon
½ C. dry white wine
28 oz. canned, crushed tomatoes
2 C. chicken stock, plus more as needed
2 tsp. fine sea salt, plus more to taste
1 tsp. freshly ground black pepper, plus more to taste
1 tsp. wildflower honey, plus more to taste
1 C. large cerignola mix, calamata, or green olives, pits removed, and cut into quarters lengthwise
½ C. small preserved lemons, cut into quarters or eighths lengthwise, pits removed
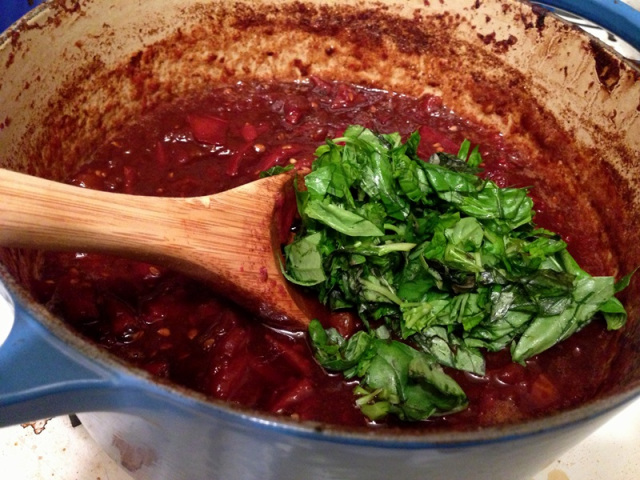
¼ C. chopped cilantro
In a large sauté pan, over medium-low heat, heat the oil and add the onions. Cook the onions slowly, partially covered, until soft and translucent but not browned, about 10 minutes.
Add the garlic and cook for 2 minutes more, stirring to incorporate. Add the baharat or ras el hanout, cumin (if needed), paprika, and cinnamon. Stir to incorporate. Turn the heat up and add the wine. Simmer until almost all liquid is evaporated. Add the tomatoes and chicken stock. Simmer slowly, partially covered for 15 minutes. Add the olives and preserved lemons, and continue cooking for about 15 minutes longer, until sauce is slightly thickened, with a silky sheen. Total cooking time will be about 30 minutes. If the spices still taste harsh at this point, add a little more stock, and simmer longer. If needed, thin the sauce with additional chicken stock. Sauce should not be too thick. Taste for seasoning, and add salt, pepper, and honey to taste. Just before serving, add the cilantro. Sauce can be used immediately or cooled and refrigerated for up to 3 days. It’s even better on day two. Makes about 2 quarts.
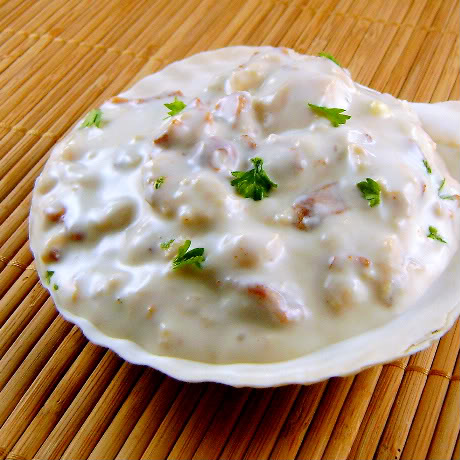
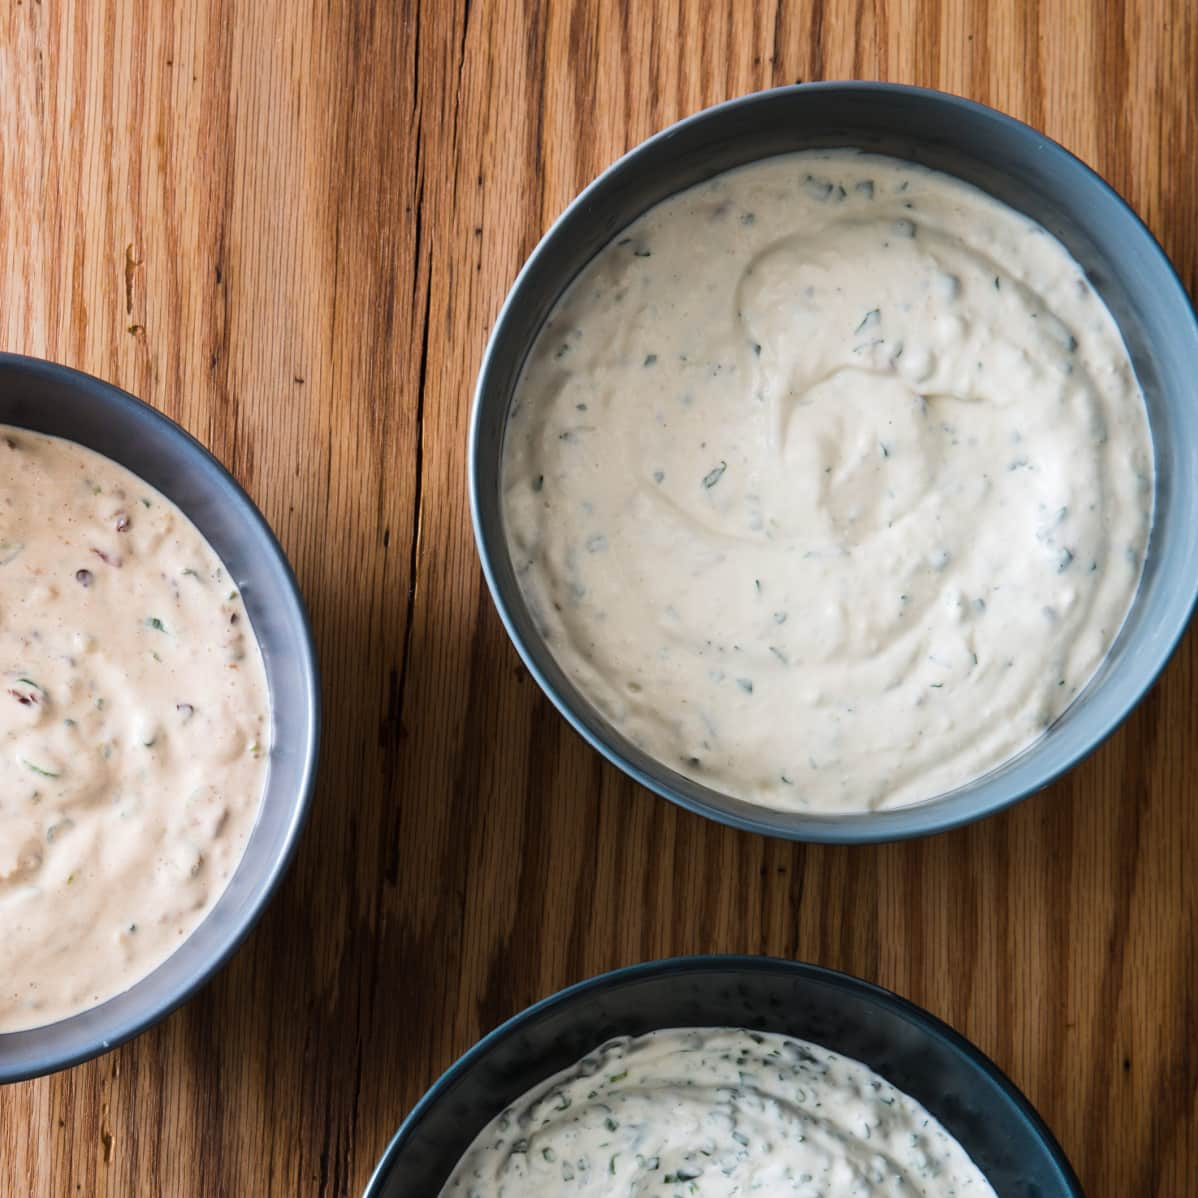 Cook’s Illustrated Caesar Dip with Parmesan & Anchovies


 2 C. tomatoes, in addition to their juices (for example, a 28-oz. can of San Marzano whole peeled tomatoes)