Sage-Seared Pork Cutlets with Apples
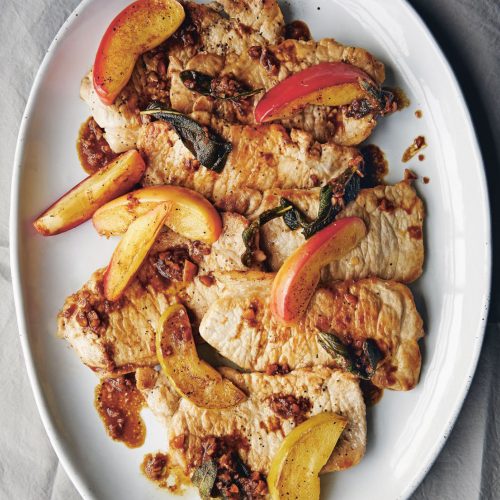 Sage-Seared Pork Cutlets with Apples
2 medium Fuji apples, cored, quartered, cut into 1/8-inch matchstick-size strips
1 C. apple cider
2 T. apple cider vinegar
2 1-pound pork tenderloins
4 T. canola oil, divided
24 whole fresh sage leaves, divided
1/2 C. (1 stick) butter, cut into 8 pieces
Toss apples in bowl with cider and vinegar. Cut each pork tenderloin crosswise into 6 pieces; place between 2 sheets of plastic wrap. Using meat mallet, pound to 1/3-inch thickness. Sprinkle with salt and pepper. Heat 2 T. oil in heavy large skillet over medium-high heat. Lay 6 sage leaves in bottom of skillet. Place 1 pork medallion on each sage leaf, pressing down lightly with back of spatula. Reduce heat to medium; cook until underside of pork is golden, about 3 minutes. Place 1 sage leaf on top of each pork medallion and carefully turn each piece to keep sage in place. Cook until pork is just cooked through, about 2 minutes longer. Carefully transfer pork to plate. Repeat with remaining oil, sage, and pork. Add apple mixture to skillet; cook until liquid is reduced by about half and apples are almost tender, about 5 minutes. Return pork to skillet along with any accumulated juices; cook until heated through, about 2 minutes. Using slotted spoon, transfer pork and apples to serving platter. Add butter to pan juices; stir just until melted. Season sauce with salt and pepper; pour over pork and serve.
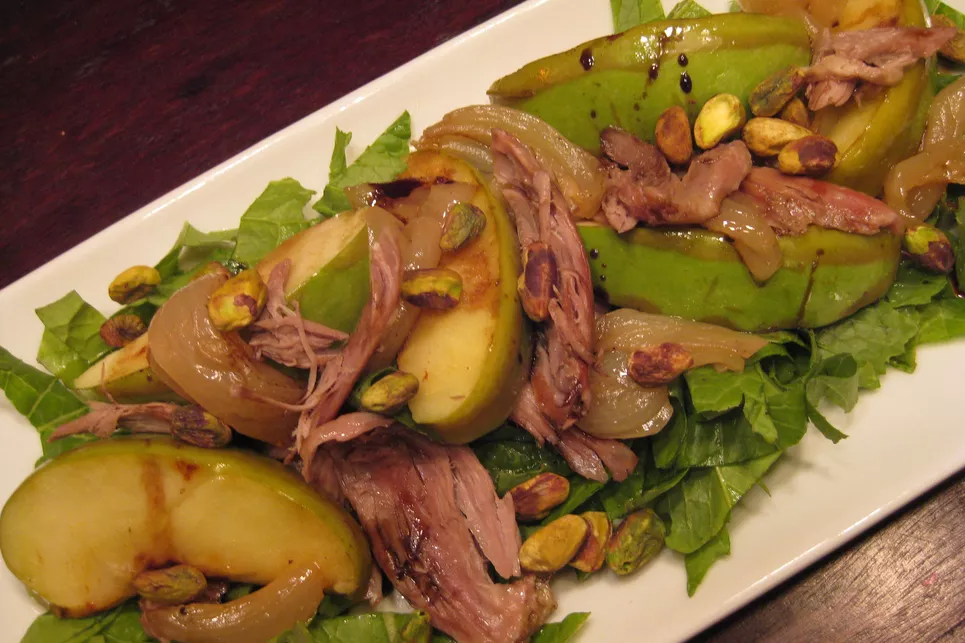 Warm Duck and Grilled Apple Salad
 Spicy Beef and Noodles
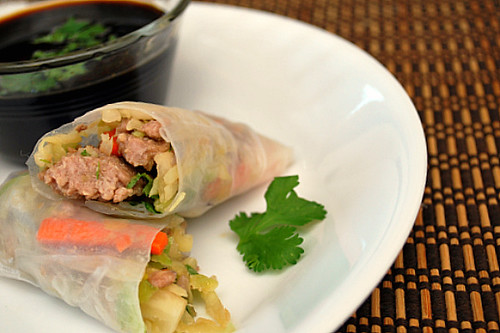 Ginger Pork Spring Rolls
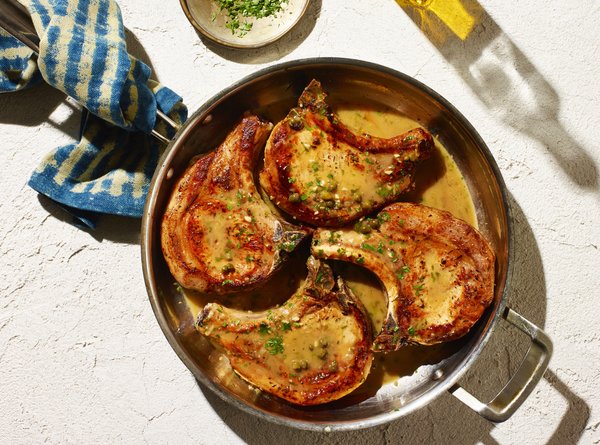 Pork Chops in Lemon-Caper Sauce
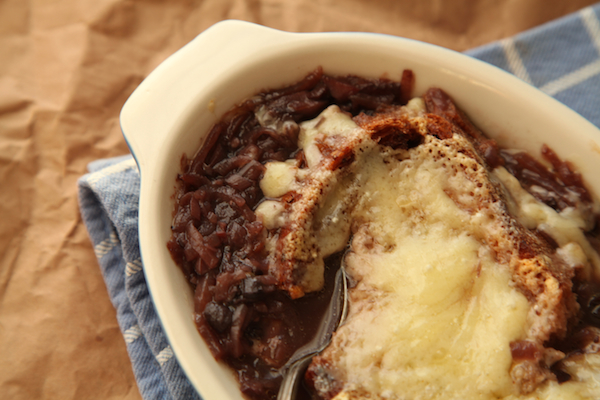
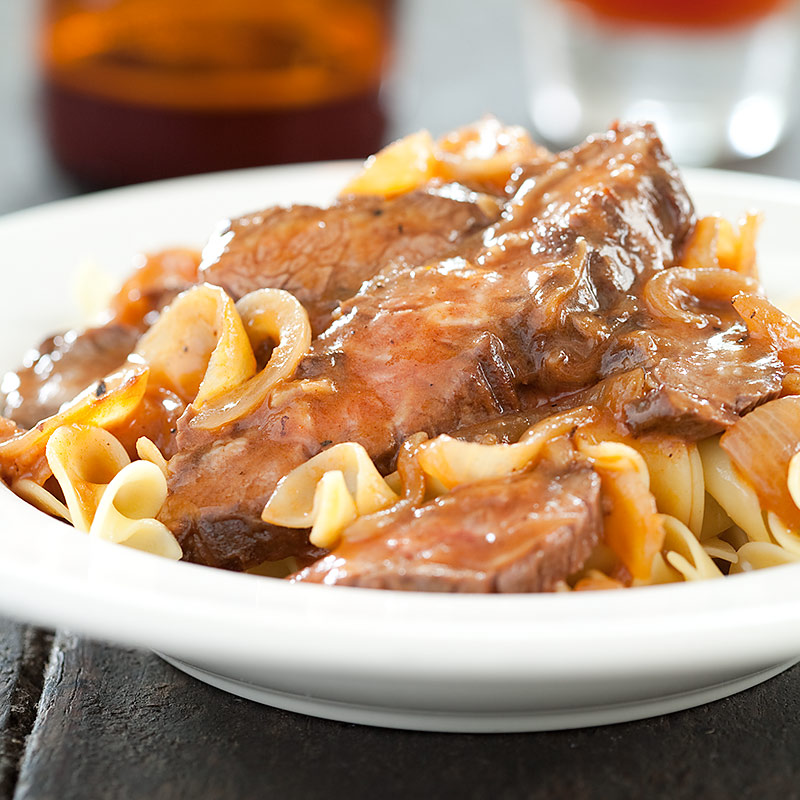 Quick Beef Carbonnade
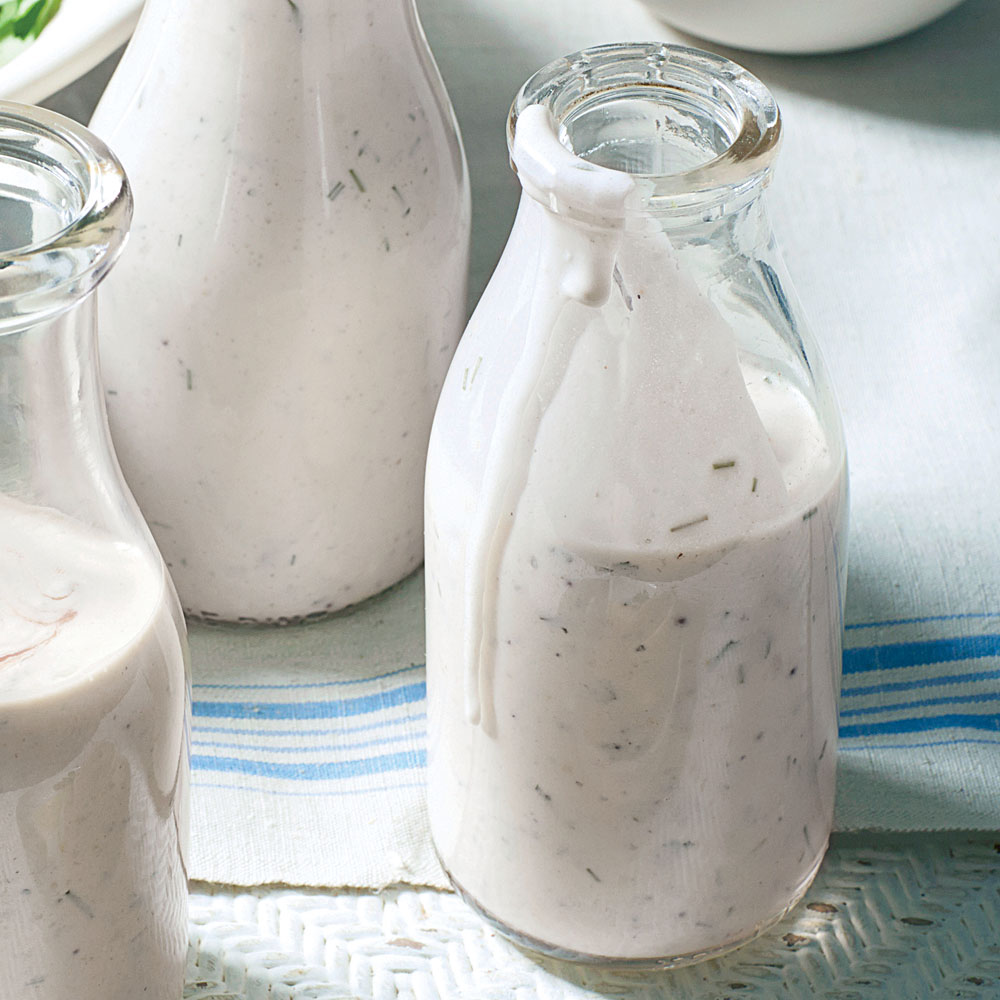 Creamy Salad Dressing, Three Ways
 So This is Christmas Cocktail
 Pantry Friendly Simple Vinaigrette
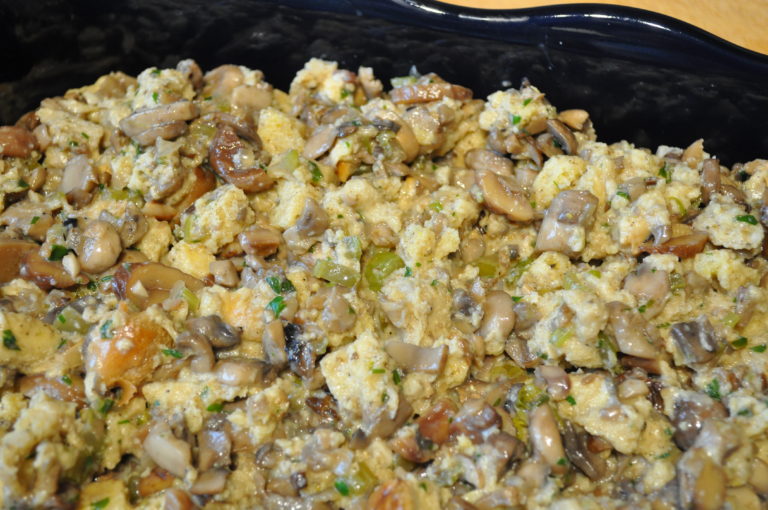
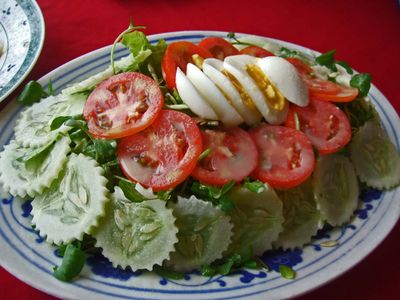 Luang Prabang Salad – Nyam Salat
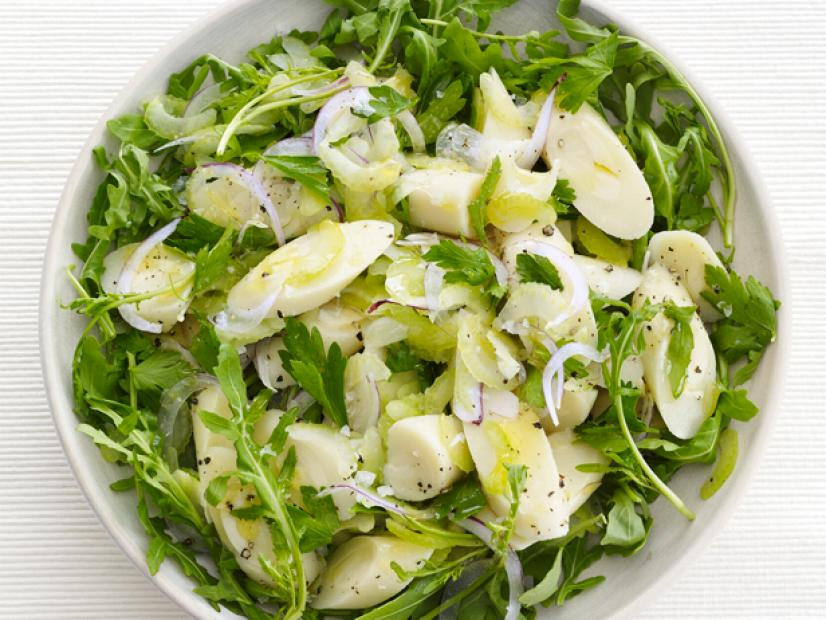 Lemony Hearts of Palm Salad
 Chef Rachana Edamame Salad
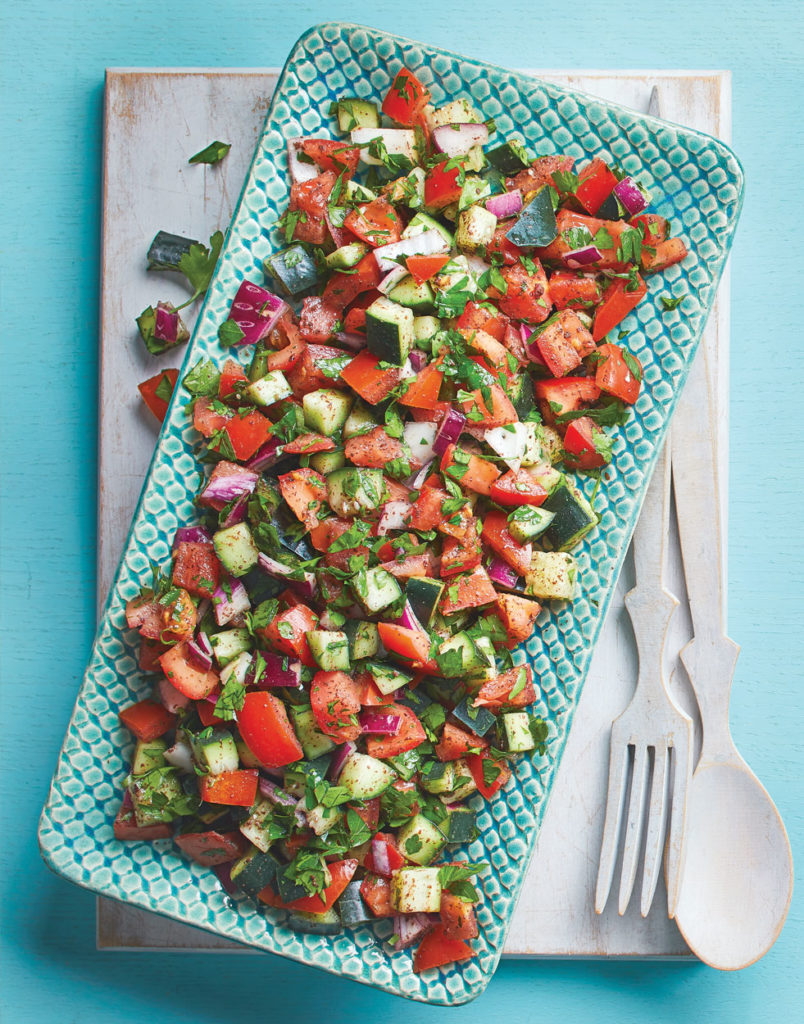 Sumac Salad
 Cachapas – Fresh Corncakes with Cheese
 Nepalese Vegetable Momos
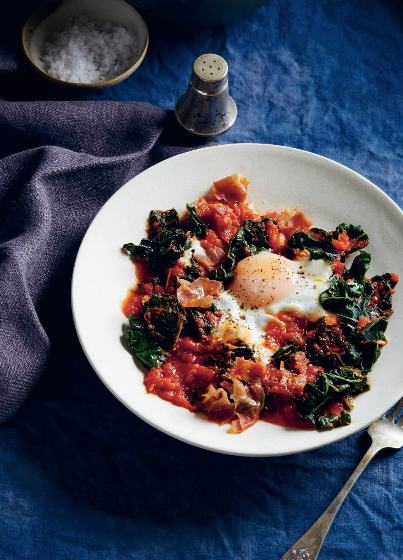 Slow Cooker Prosciutto Eggs with Kale
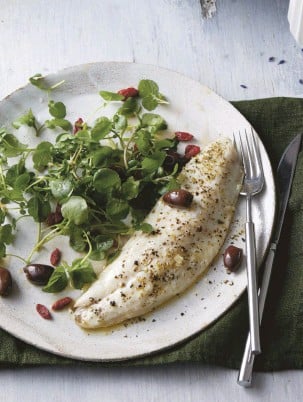 Slowcooker Branzino with Olives, Goji Berries and Mint Salad
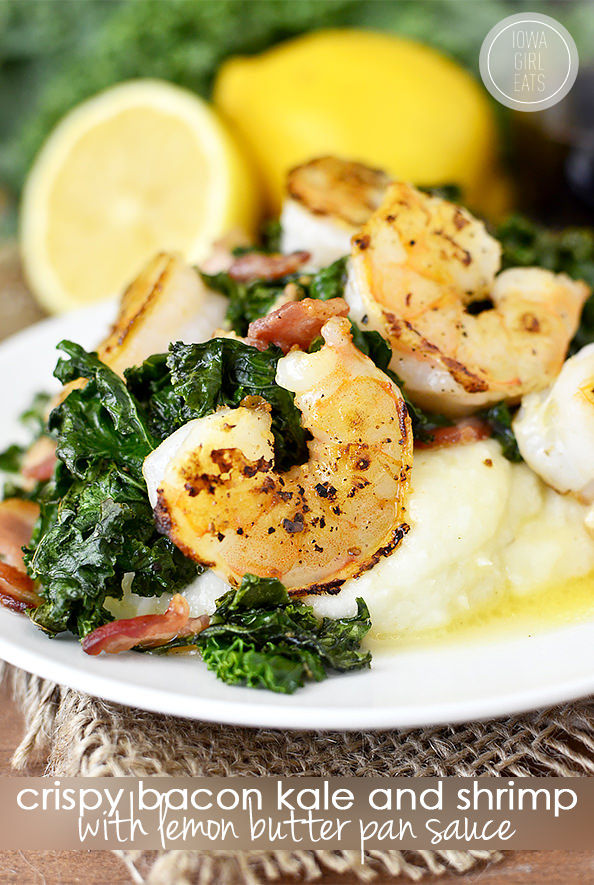 Crispy Bacon Kale and Shrimp with Lemon Butter Pan Sauce
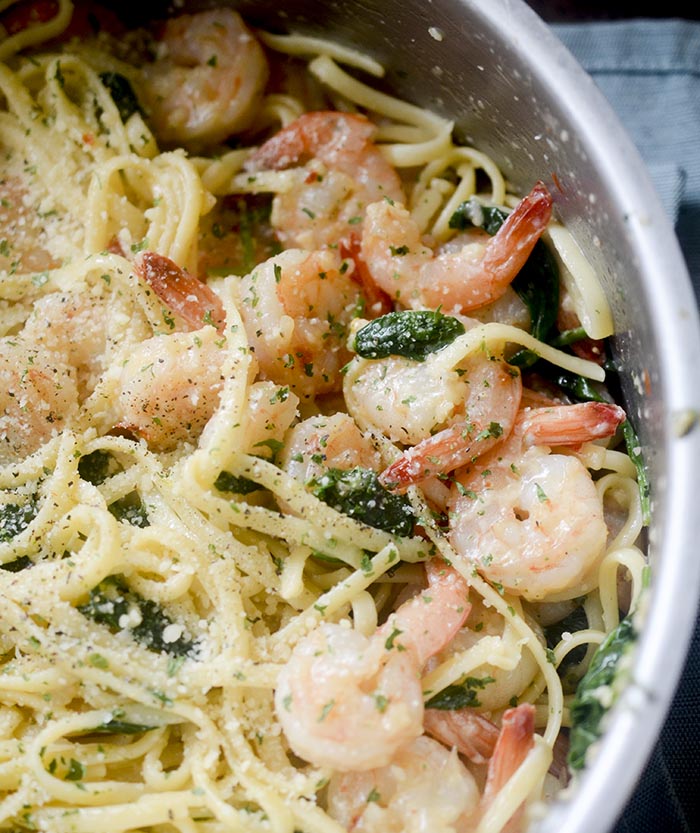 One Pot Garlic Shrimp Pasta
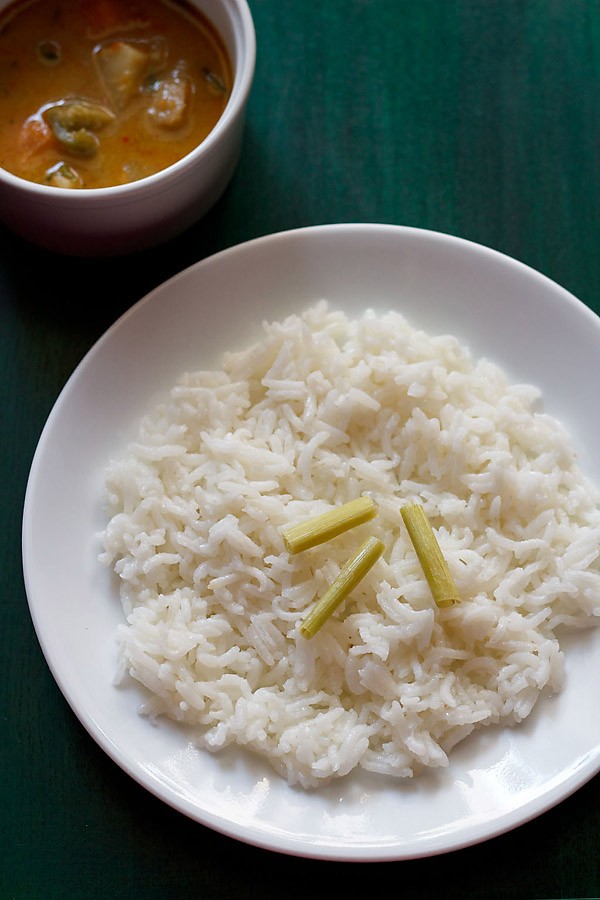 Lemongrass Rice
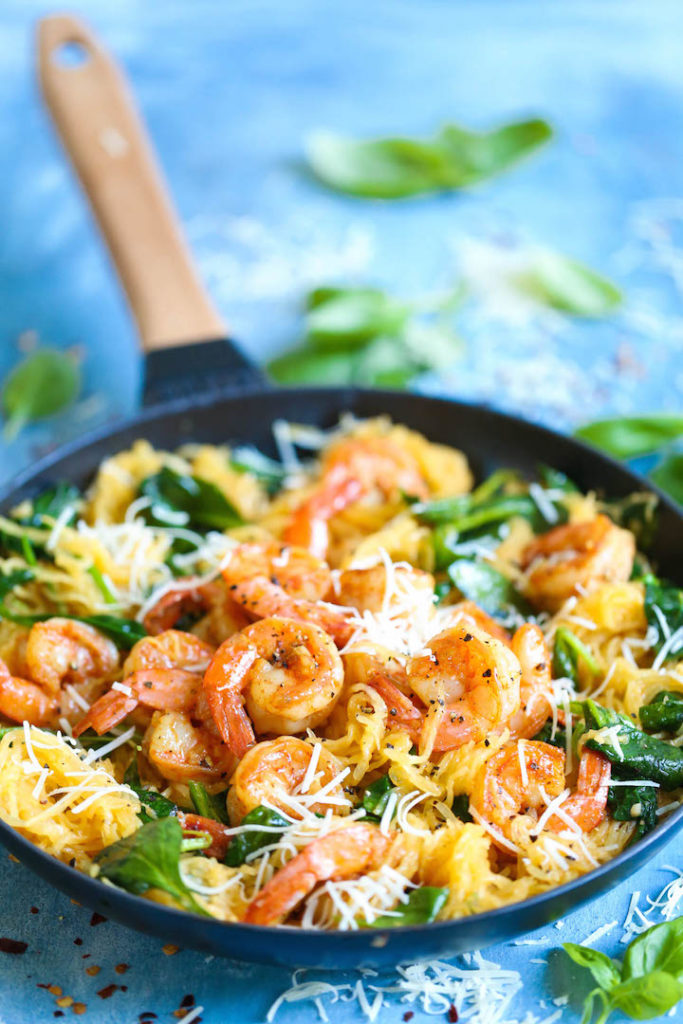 Shrimp Scampi Spaghetti Squash
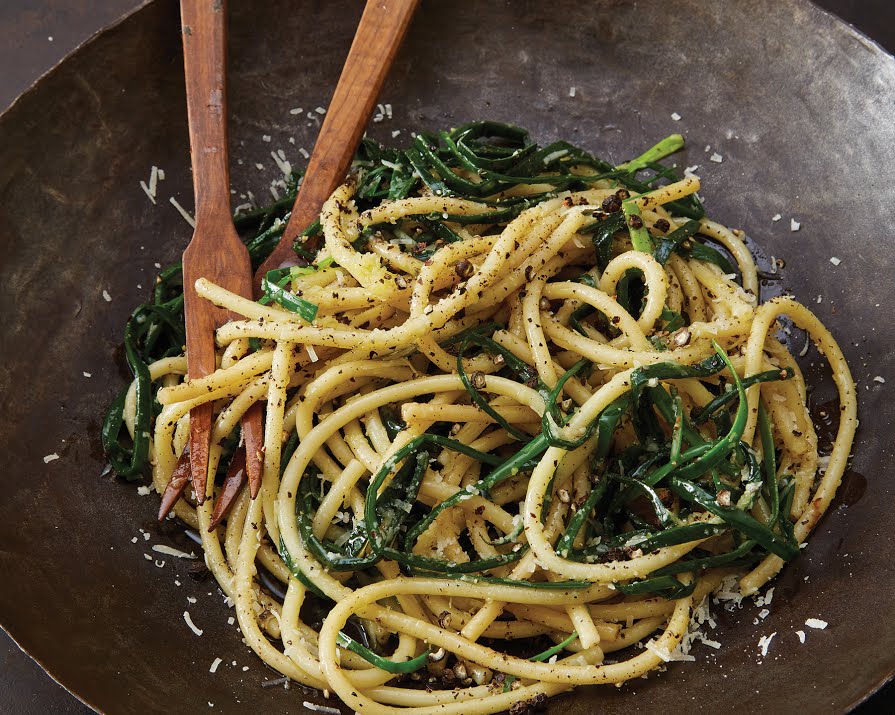
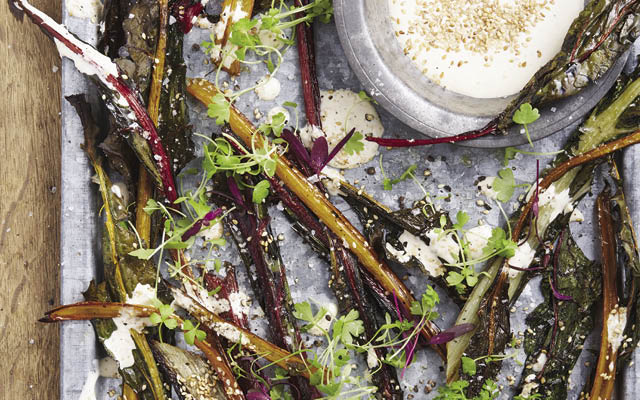 Roasted Swiss-Chard Stems with Creamy Sesame Dressing
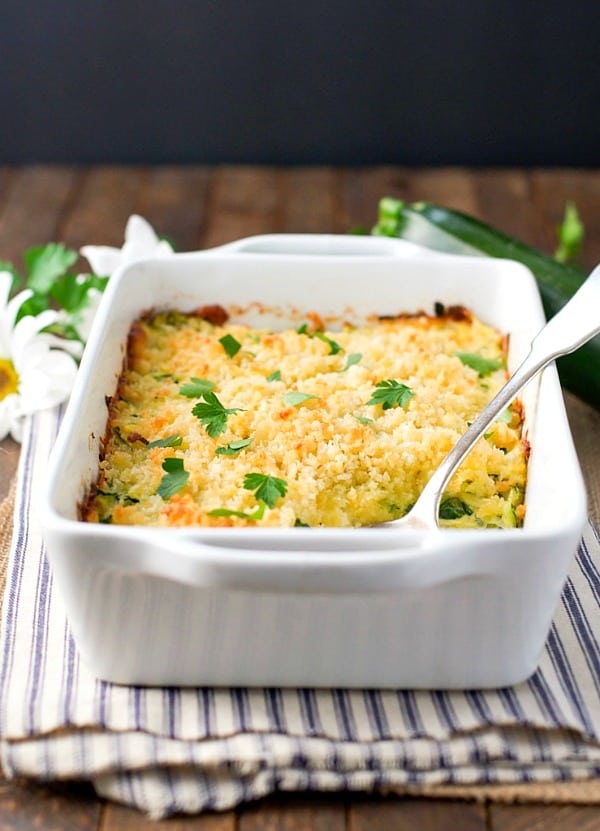 Garlic Parmesan Zucchini Casserole
 Vanilla Vodka Lemonade
 Green Shakshuka
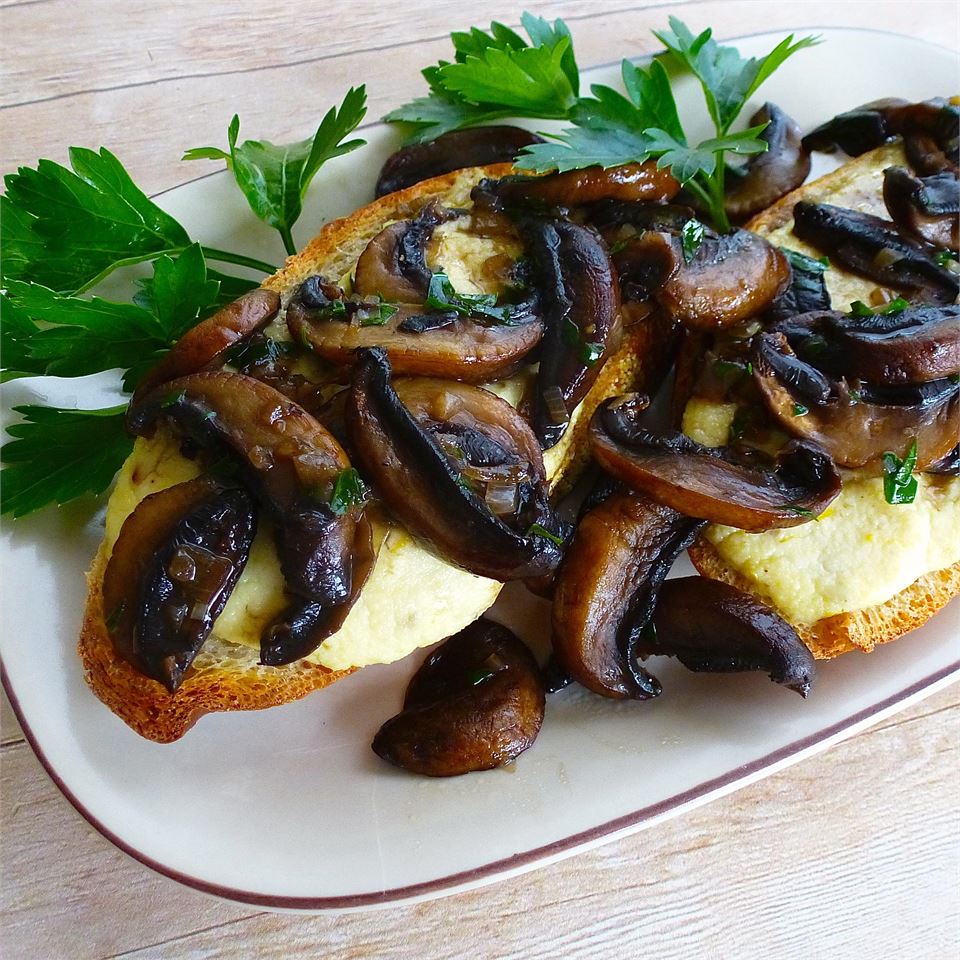
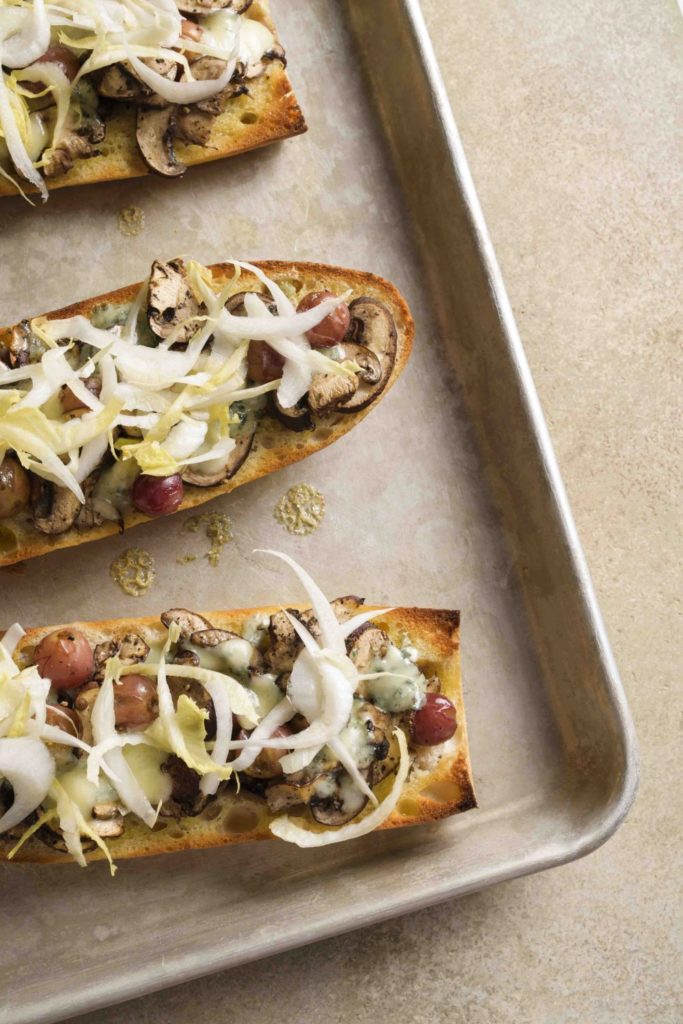
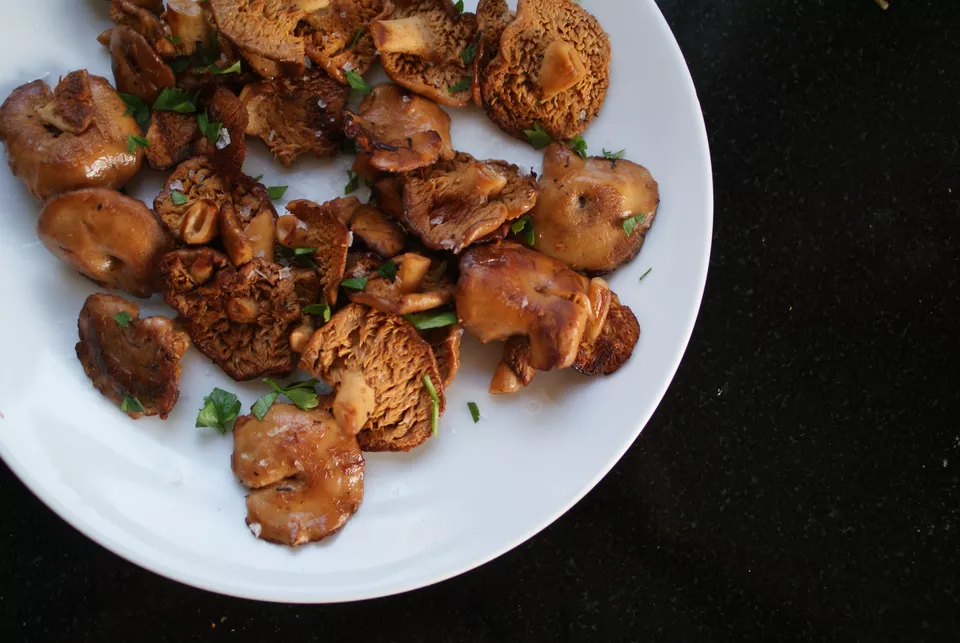 Sautéed Hedgehog Mushrooms
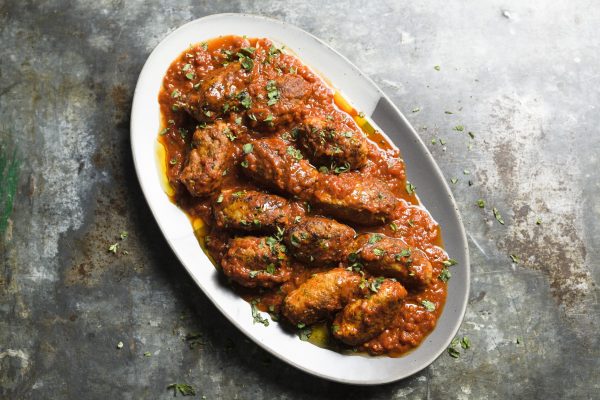 These Greek cigar-shaped meatballs are known as soutzoukakia smyrneika. The spicing reflects the dish’s origins in Smyrna, a former Greek settlement and now the Turkish city of Izmir. Soutzoukakia often are made with beef or a combination of beef and pork, but we preferred the subtle sweetness and tender texture of all-pork meatballs. An instant thermometer is the best way to check for doneness; alternatively, cut open a meatball—if done, the center should no longer be pink. Soutzoukakia often is served with tiganites patates (potatoes fried in olive oil), but roasted potatoes, crusty bread or a rice or orzo pilaf also are delicious accompaniments.
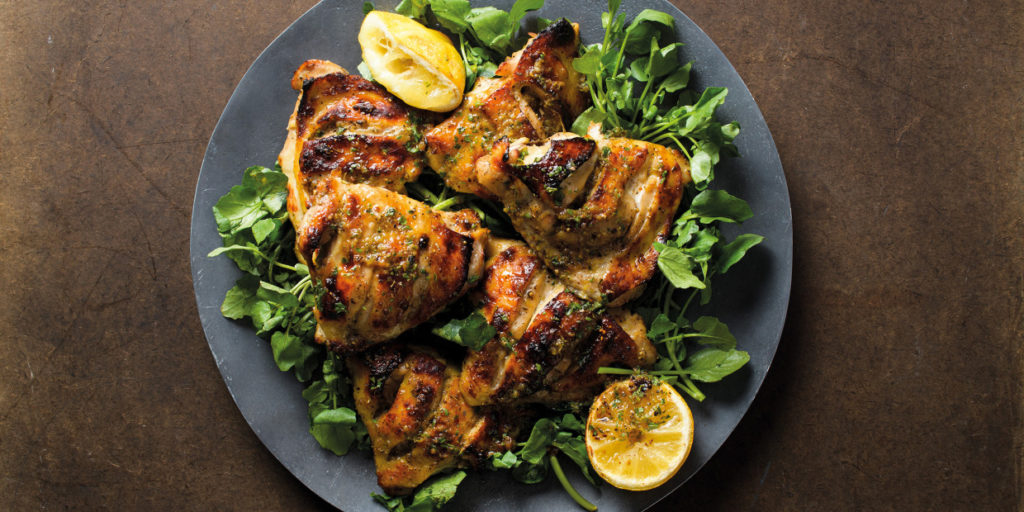 Chicken Salmoriglio
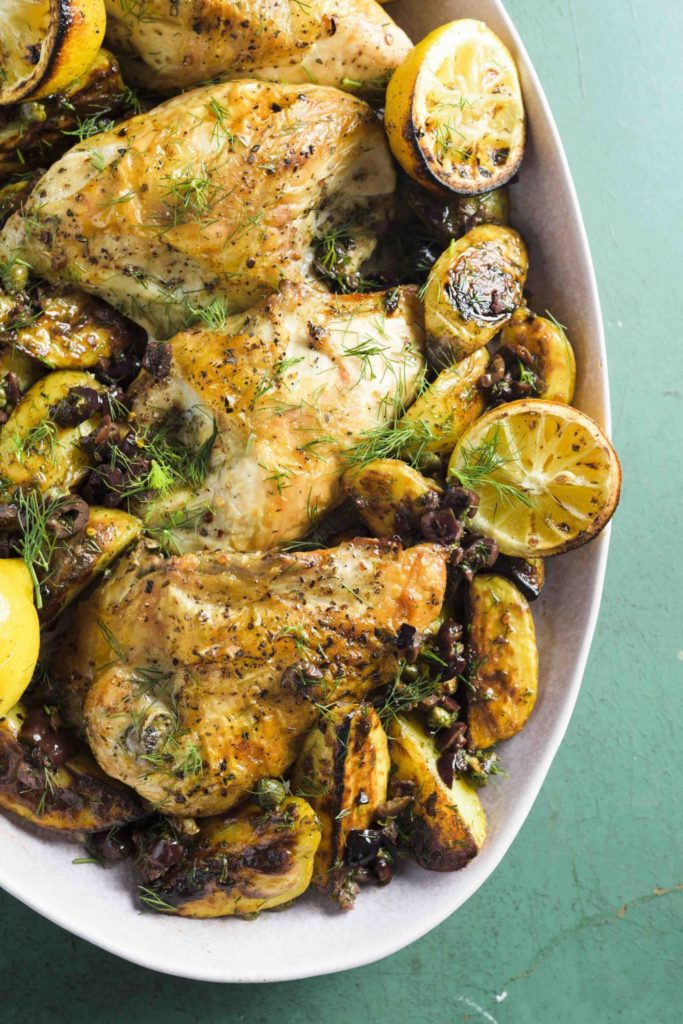
 Italian Sweet-and-Sour Pork Chops