Classic Meadow Mushroom Soup with Wild Mushroom and Herbed Ricotta Tartines
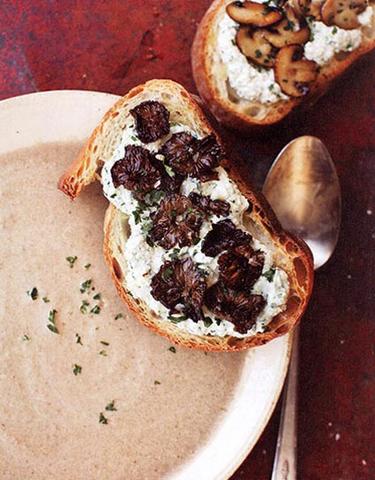
For a mushroom lover, the cornerstone of all recipes is a luscious mushroom soup. We regard this combo as the ultimate soup and sandwich for all the seasons of the year. After a jackpot of a hunt in any season, this recipe can become luxurious chanterelle soup, porcini soup, or even the wildly extravagant morel soup.
1 ounce Dried Porcini Mushrooms, rinsed
4 C. Traditional Mushroom Stock plus up to one more cup to thin soup if needed
8 T., (1 stick) unsalted butter
1 large yellow onion, thinly sliced large clove garlic, finely minced
1 medium onion, cut into ½-inch dice
2 tsp. kosher salt, or more to taste
1/8 tsp. freshly ground black pepper, or more to taste
1½ pounds meadow mushrooms (or portabello, crimini or button mushrooms), cleaned and cut into 1/8-inch slices
2 T. Madeira
1 tsp. fresh thyme leaves
½ cup heavy cream
½ tsp. fresh lemon juice
Place the porcini mushrooms in a medium saucepan with 2 C. mushroom stock. Bring to a boil, turn off the heat and let sit for 30 minutes. In a large stockpot over medium heat add 6 T. butter. When the butter is melted and bubbling, add the onion, garlic, ½ tsp. of the salt, and the pepper, stirring to coat evenly with the butter. Cook until softened. Stir in the Mediera. Cook for 3 more minutes, then stir in the porcini mushrooms and their soaking liquid. Add the remaining 2 C. mushroom stock and the thyme. Bring to a boil, then turn down the heat and simmer for 30 minutes. Turn off the heat. Add the remaining ½ tsp. salt and let sit for 5 to 10 minutes. Carefully transfer the soup to a blender and, starting on a low speed and increasing in increments, puree until very smooth. Place the soup in a saucepan and return to the stove over medium heat. Add the cream. Whisk in the remaining 2 T. butter and the lemon juice. Taste for seasoning and adjust with salt and pepper as needed. Stir in additional stock if the soup needs thinning. Divide the soup amongst 6 bowls and serve with the tartines.
For The Tartines:
1 cup ricotta
2 T. finely minced garlic, plus 1 whole garlic clove, peeled
1 tsp. finely chopped fresh thyme
2 tsp. finely chopped fresh chives
2 tsp. finely chopped flat-leafed parsley, plus
2 T. for garnish
½ tsp. finely chopped tarragon
½ tsp. finely grated lemon zest
¾ tsp. kosher salt
1/8 tsp. plus a pinch freshly ground black pepper
1 tsp. fresh lemon juice
4 T. (½ stick) unsalted butter
½ pound wild mushrooms, cleaned and cut into 1/8-inch slices
6 thick slices country bread or ciabatta (¾ inch)
Extra virgin olive oil
Fleur de sel
Place the ricotta in a small bowl. Add 1 T. of the garlic, thyme, chives, 2 tsp. of the parsley, tarragon, lemon zest, ½ tsp. salt, 1/8 tsp. of the pepper, and lemon juice. Mix well. Set aside. Heat the butter in a large sauté pan over medium-high heat. When the butter is melted and bubbling, add the mushrooms, tossing to coat evenly with the butter. Add the remaining ¼ tsp. salt and the pinch of pepper. Cook until the mushrooms have released their liquid. Continue cooking until the liquid has evaporated and the mushrooms are starting to caramelize. Add the remaining 1 T. garlic during the last few minutes of cooking. Remove from the heat and hold in a warm place. Toast the bread under a broiler or in a toaster. While the slices are still warm, rub the toasted surface with the whole garlic clove. Spread the toasts with about 2 T. of the ricotta mixture. Divide the warm mushrooms amongst the toasts. Drizzle with the oil, then finish with a sprinkling of fleur de sell and the remaining 2 T. of parsley. Tips and Techniques: The ricotta mixture can be made up to a day ahead and refrigerated. Remove from the refrigerator 1 hour before serving. Have the soup warm and the ricotta mixture ready before toasting the bread slices. They are best just out of the oven or toaster.
Substitutions and Variations
For the soup, you can substitute the “tamed” button, cremini, or portobello mushrooms for the wild meadow mushrooms. Almost any wild mushroom can be substituted in the is recipe. Use all of one kind, or mix them half wild and half cultivated. You can use chicken broth, beef broth, or canned mushroom broth for the homemade broth in the recipe. For the tartines, any wild mushroom will work beautifully.
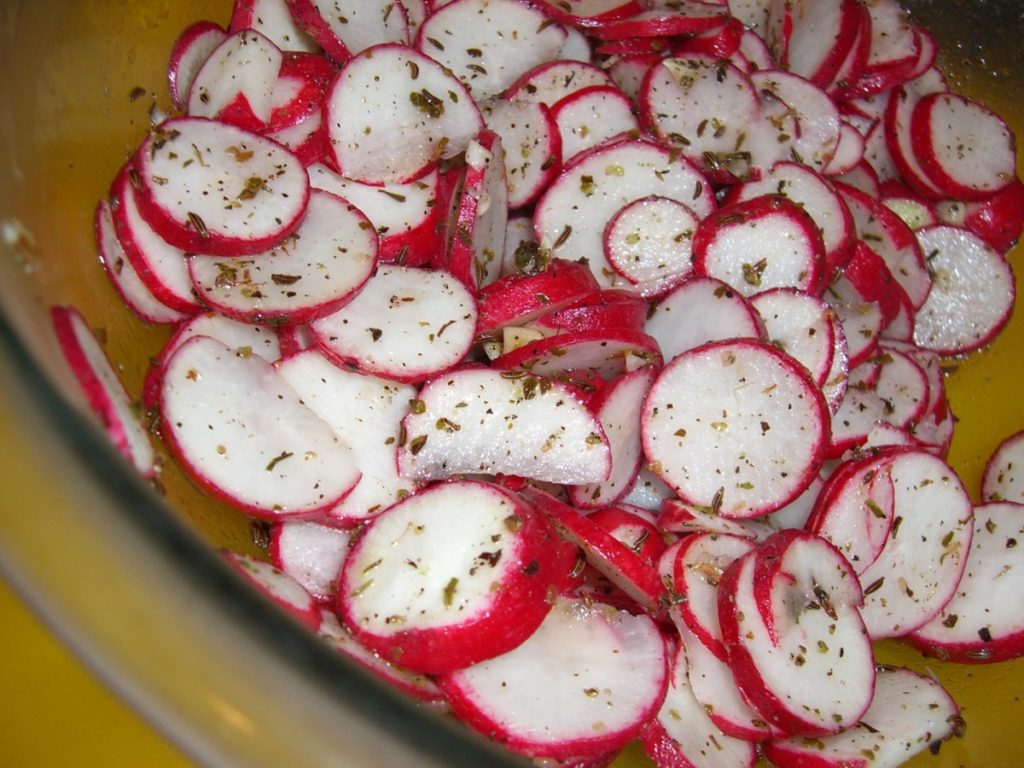
 Radish Butter
 Shoepeg Corn Salad
 Just Barely Basil Buttermilk Dressing
 Air Fryer Garlic Parmesan Chicken Wings
 Garlic Fried Eggs with Kale Pesto, Toast Points, and Lemon Bacon Vinaigrette
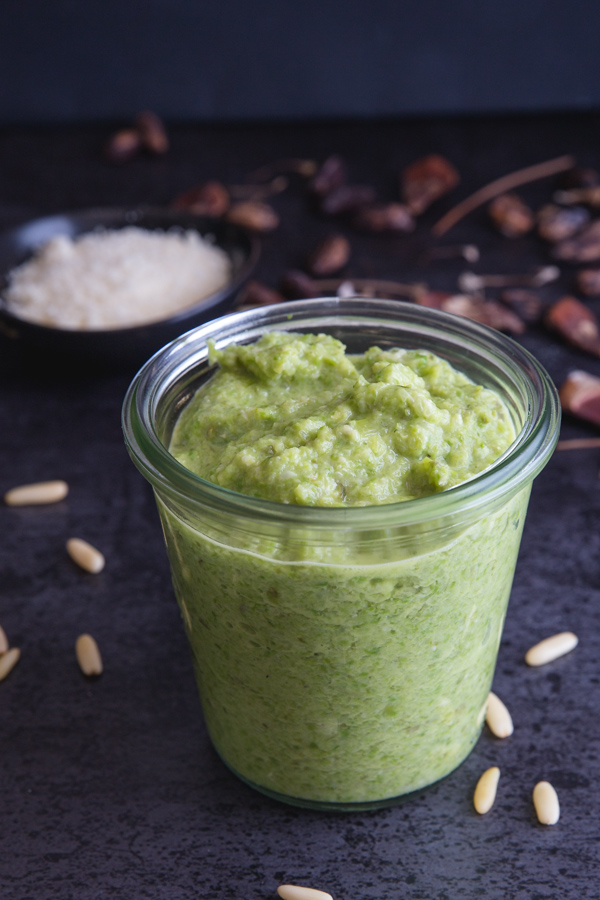 Charred Asparagus End Pesto
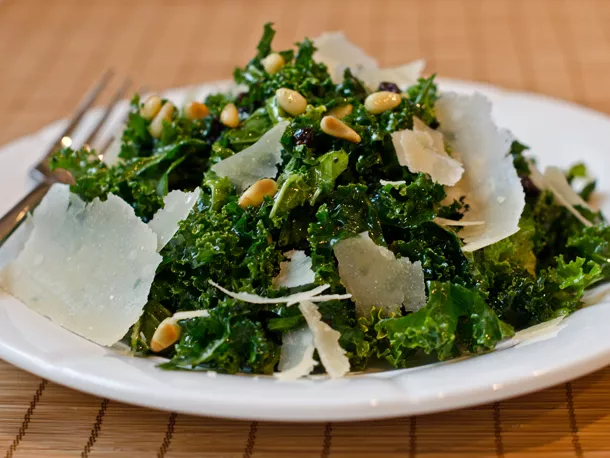
 Raspberry Mango Salsa
 Peach Upside Down Mini Cakes
 Radish Salad
 Dandelion Lemonade
 Churro Brownies
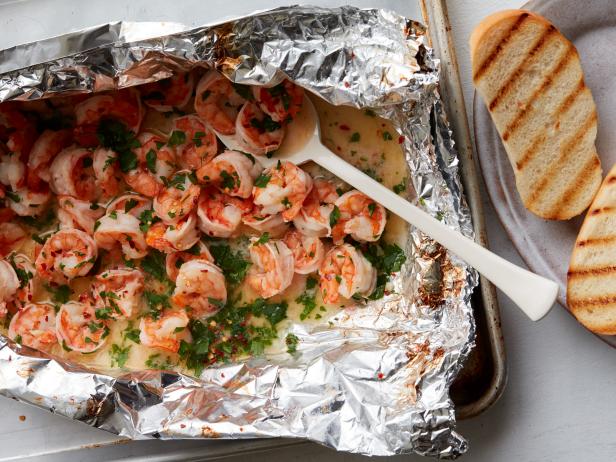 Foil Barbecued Shrimp
 Cactus Pear Margarita
 holiHoliday Eggnog Cake with Apricot Filling
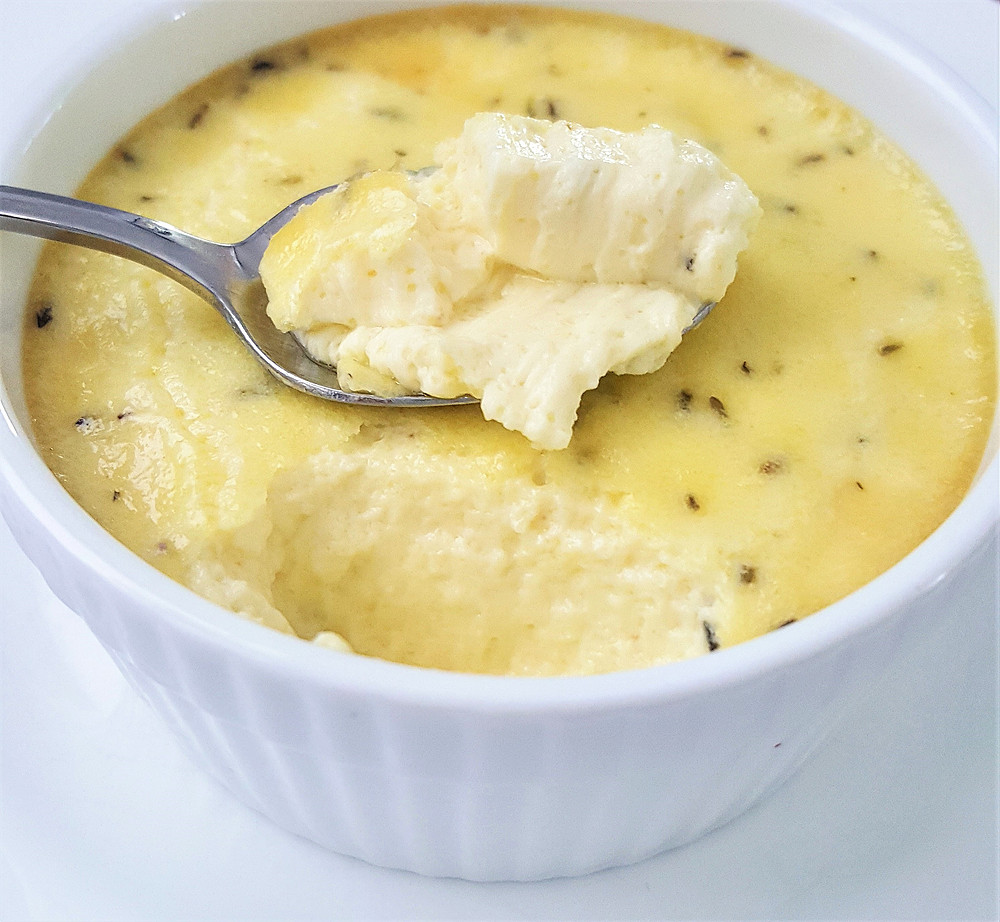
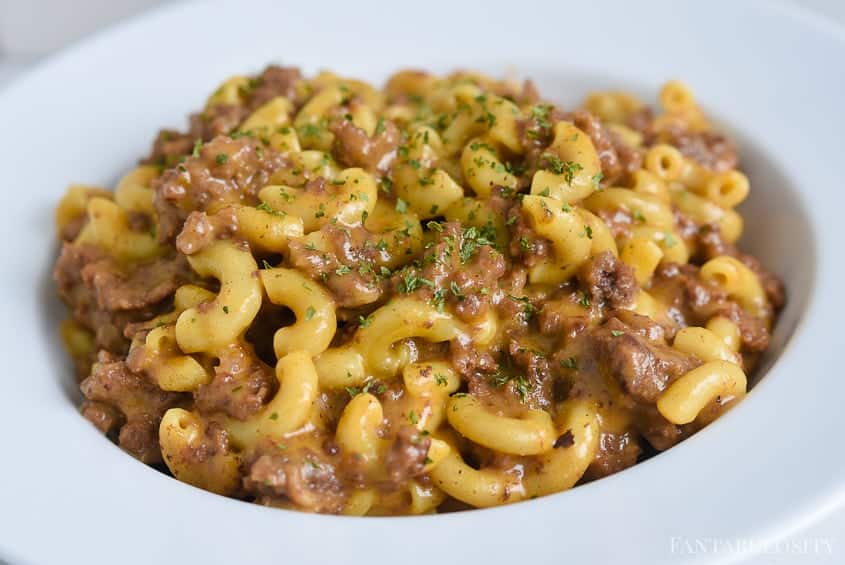 Cheeseburger Macaroni in the Instant Pot
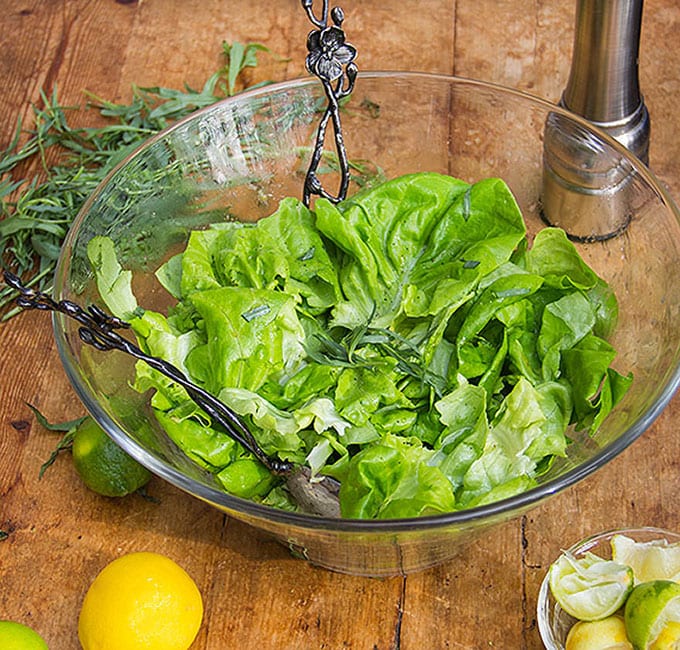 Butter Lettuce Salad with Citrus Honey Vinaigrette
 Pantry Pasta Spaghetti with Tuna and Lemon
 Spiral Pasta Salad with Marjoram Vinaigrette
 Phoenician Gold Margarita
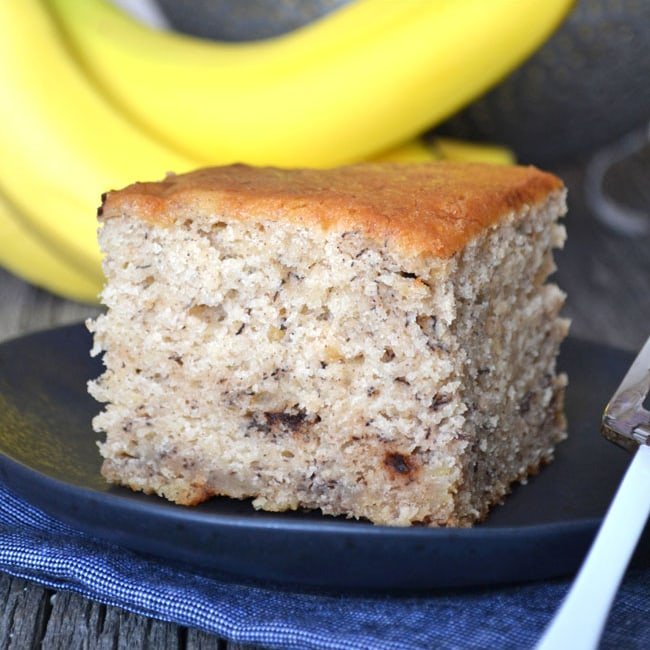 Banana Bread Sheet Cake
 Hunan Bean Sprout Salad
 Asian Coleslaw
 Almond Flour Sponge Cake
 Two Bean and Corn Salad
 Ramps on Grits
 Fried Squash Blossoms with Mint and Goat Cheese