Pickling Dandelion Roots
Pickling Dandelion Roots
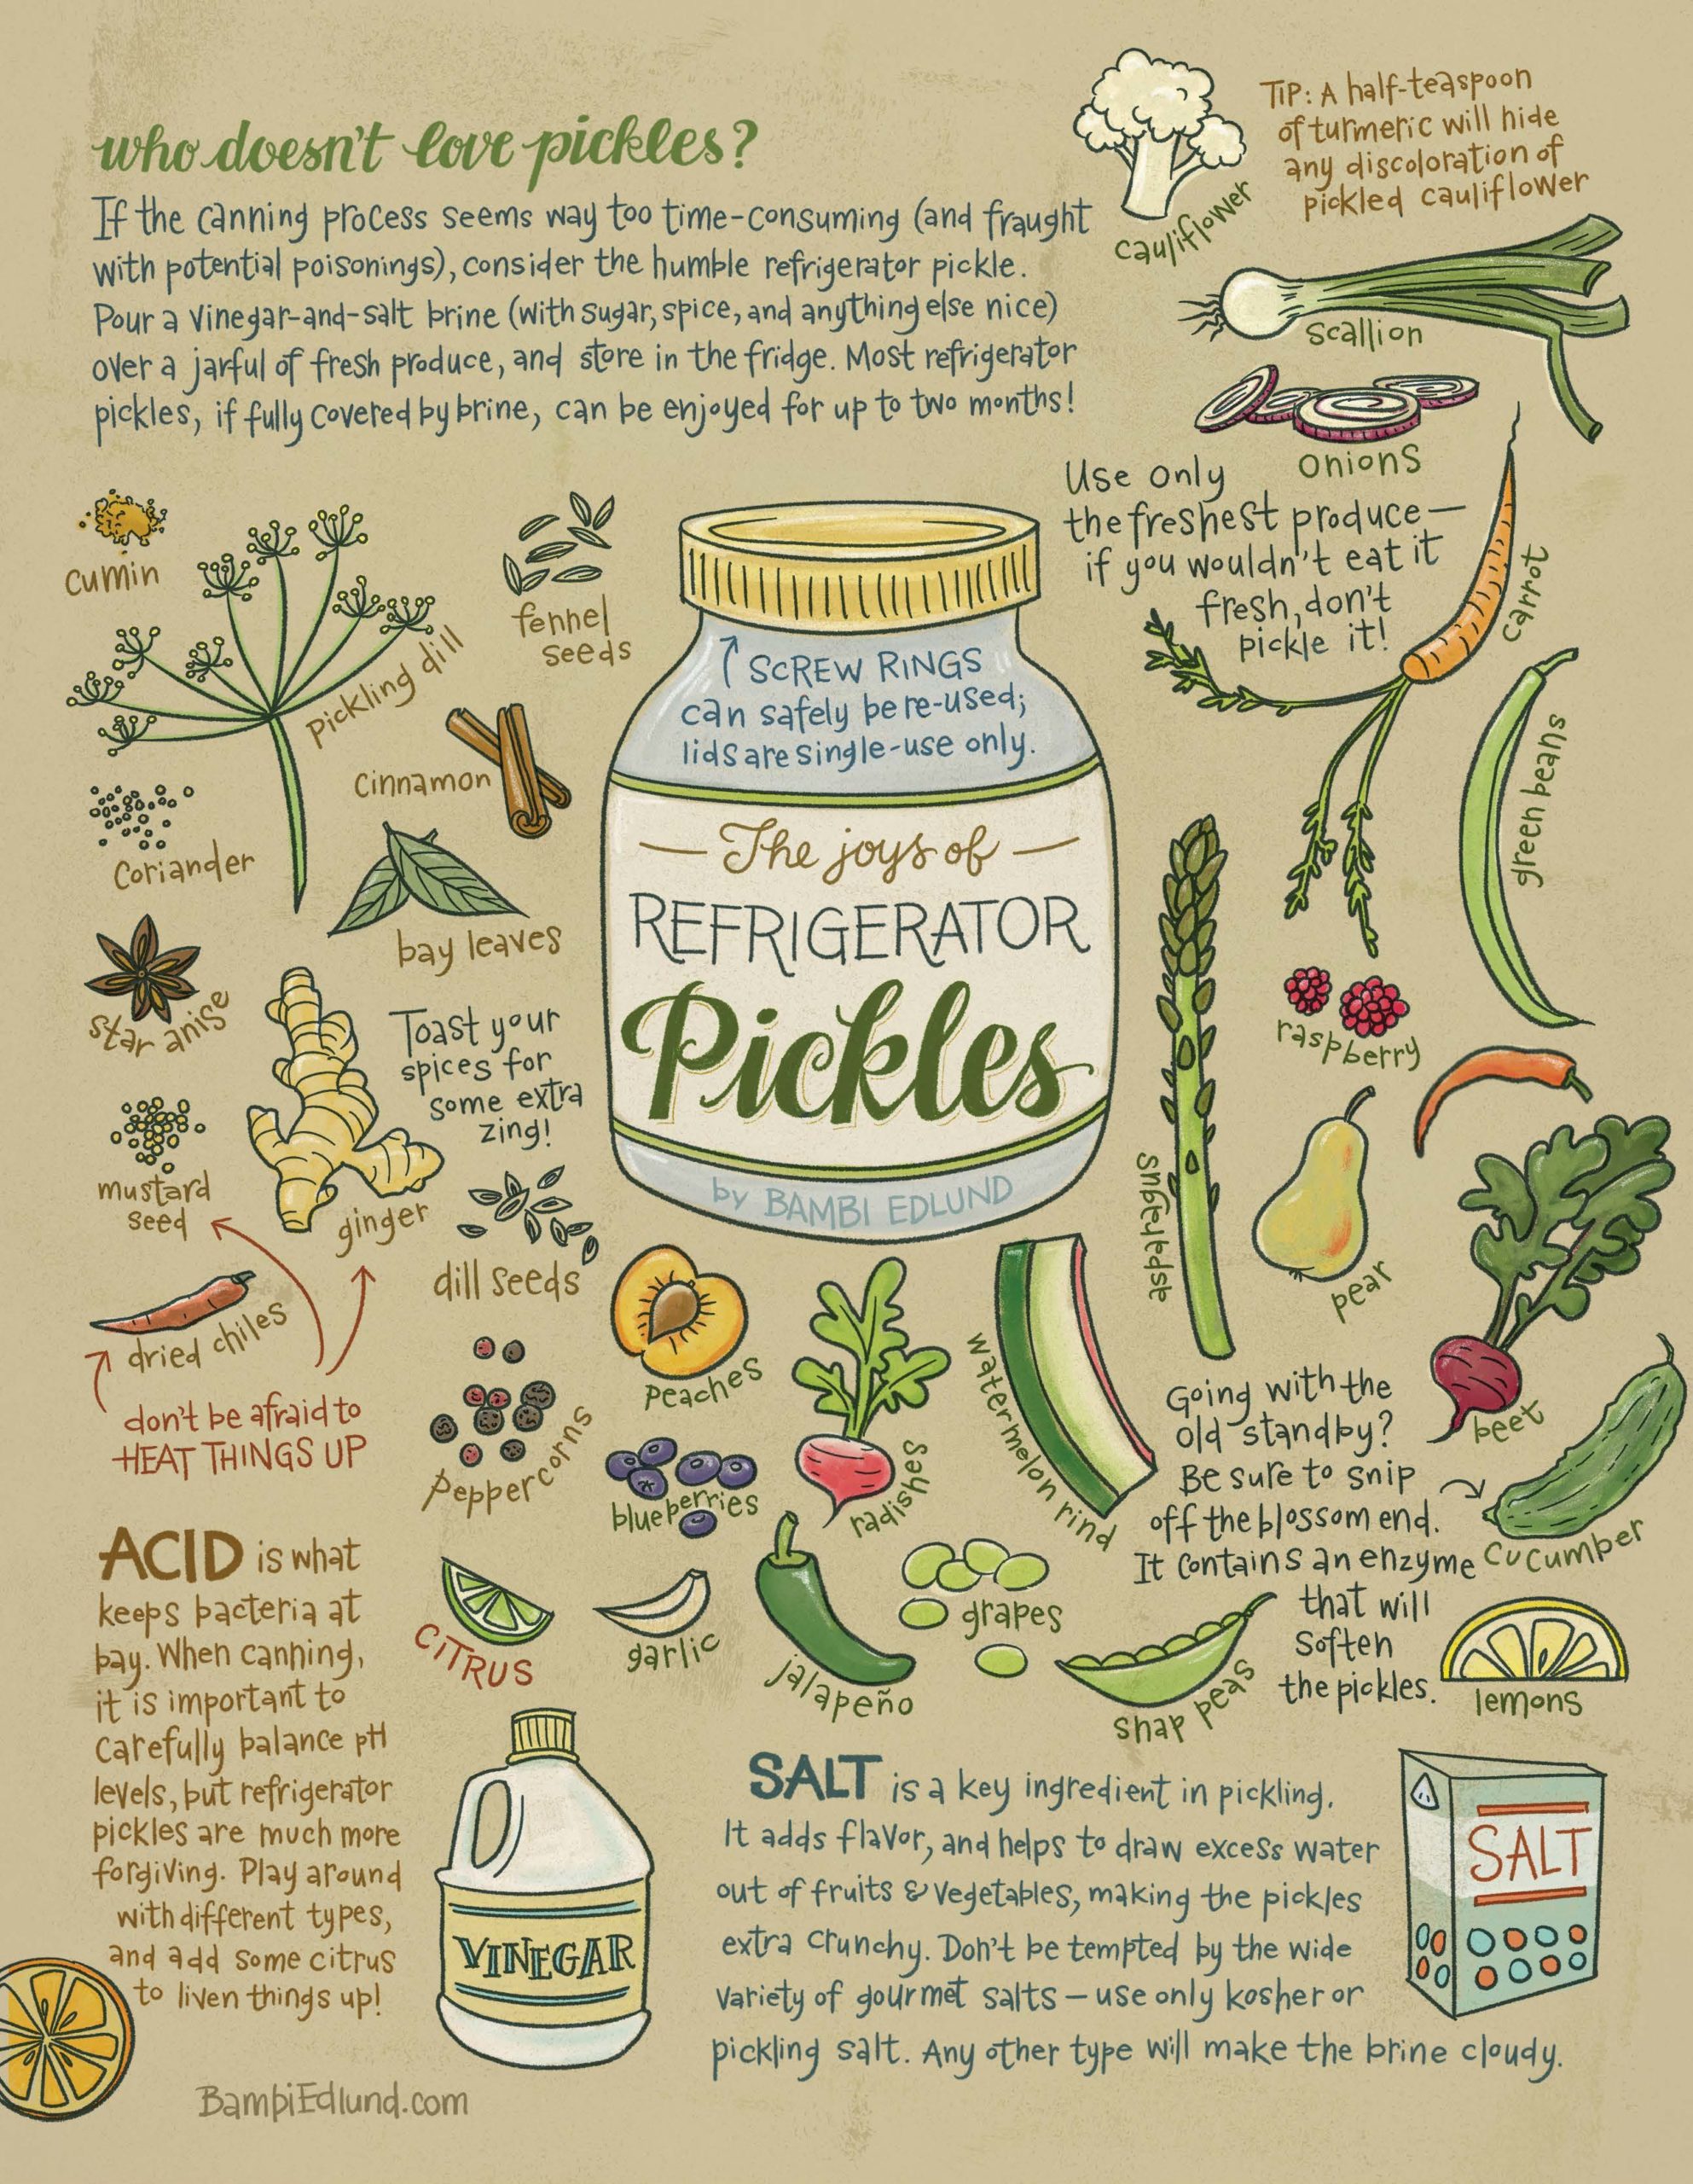
The sunny flowerheads may be long gone, but the roots that remain are loaded with nutrients and flavor. Pickled dandelion roots are a tasty addition to soups and salads in fall. And here’s another break—this recipe also uses refrigeration to pickle instead of heat.
generous handful dandelion roots, washed and chopped
3 cloves garlic
2 teaspoons powdered ginger root
¼ C. tamari
3 ½ C. apple cider vinegar
Place clean roots, ginger root powder and tamari in a 1-quart mason jar. Pour the vinegar over all. Place a piece of wax paper over the mouth of the jar (this prevents rusting) and screw down the lid. Place in the refrigerator for 3 weeks before using. Add to salads.
A different Version
3 C. white vinegar, one C. water, 2 T. of pickling salt, and a 1/2 C. sugar
Put it in a saucepan and bring it to a boil. At the same time that I am doing this, I am sterilizing my jars and lids by letting them sit in boiling water for 10-15 minutes (I start heating the pot of water long before this though, since my huge pot takes forever to boil!)
Once the jars are sterilized, and before I pack in the dandelion roots, I fill them with these spices: (sorry I’m not very exact with the measurements, I just eyeball everything.
a couple whole cloves of garlic, a pinch of celery seed, 6 to 8 peppercorns, a pinch of cayenne or red chile pepper flakes, a pinch of mustard seeds, and some dill (preferably fresh)
So in the spices go, then the roots (which you really got to pack in there!), then the pickling brine. Fill up the jars to about a 1/4 inch from the rim, give the rims a quick wipe down (spices stuck to the rim can cause the lid to not seal properly), and throw on the lids…
Now that all of the hard stuff is over, you’re ready to let your jars sit in boiling water for a final 20 minutes or so…. and YAY, YOU’R DONE! … (after you remove them, don’t forget to let them sit on your counter overnight to give the lids a chance to “popâ€, or seal)
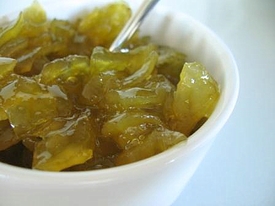


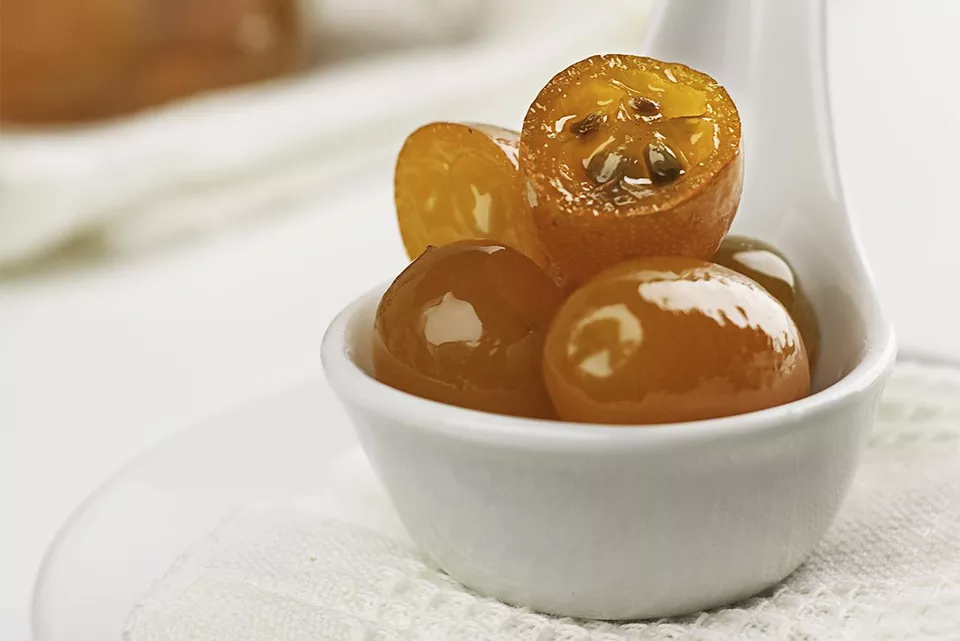
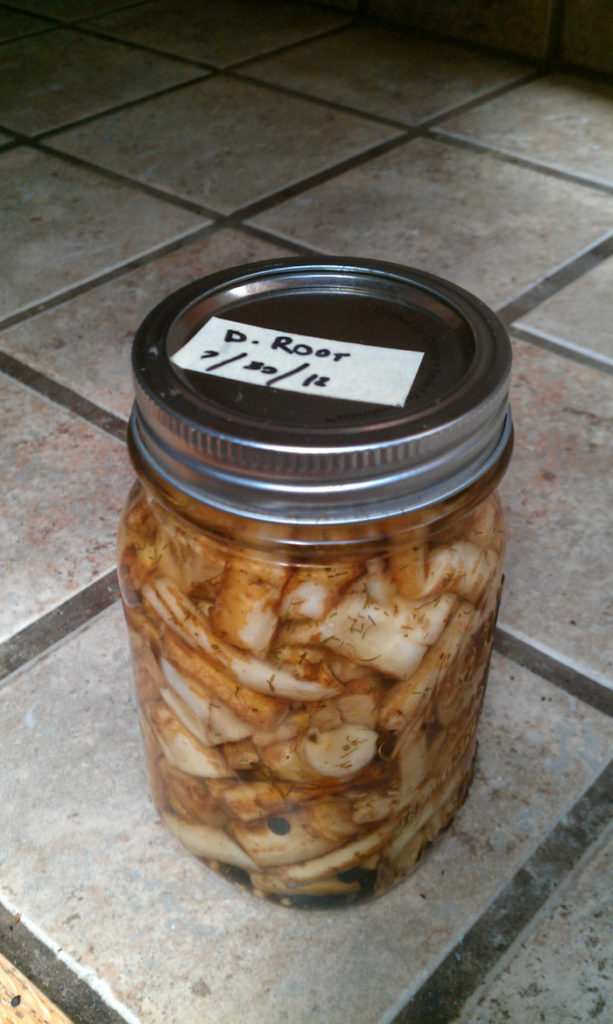
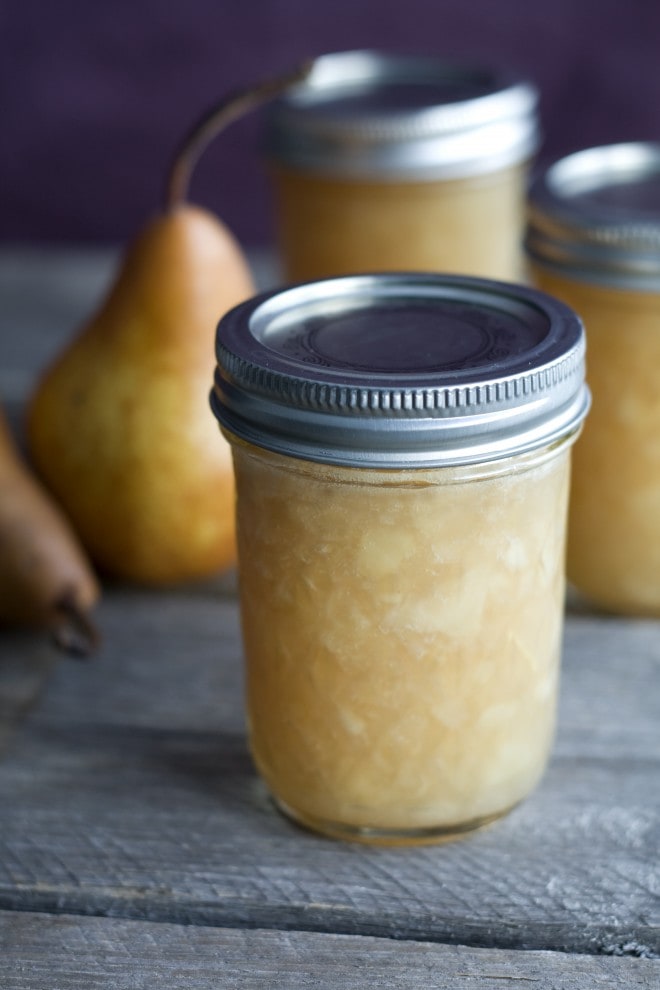
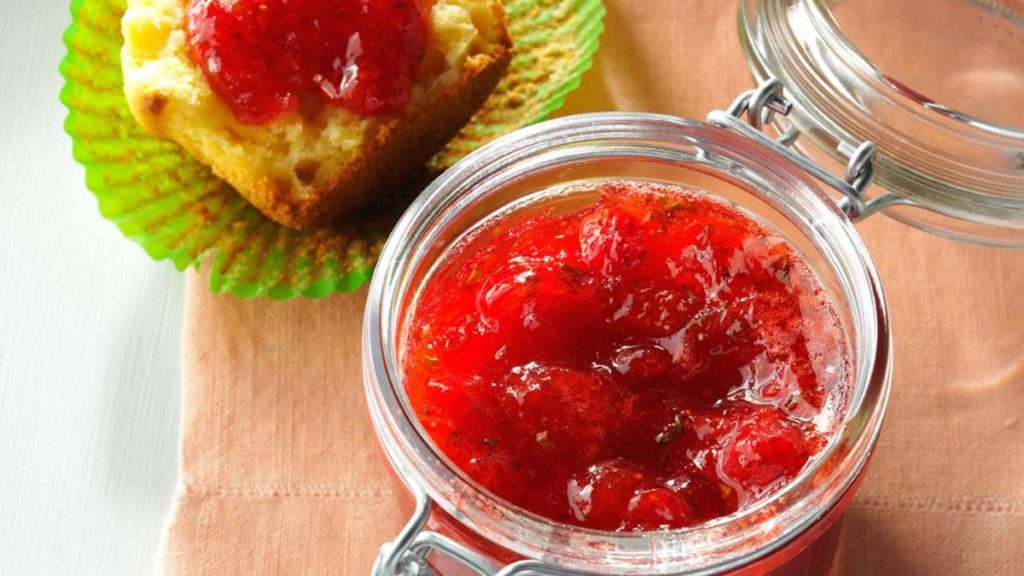
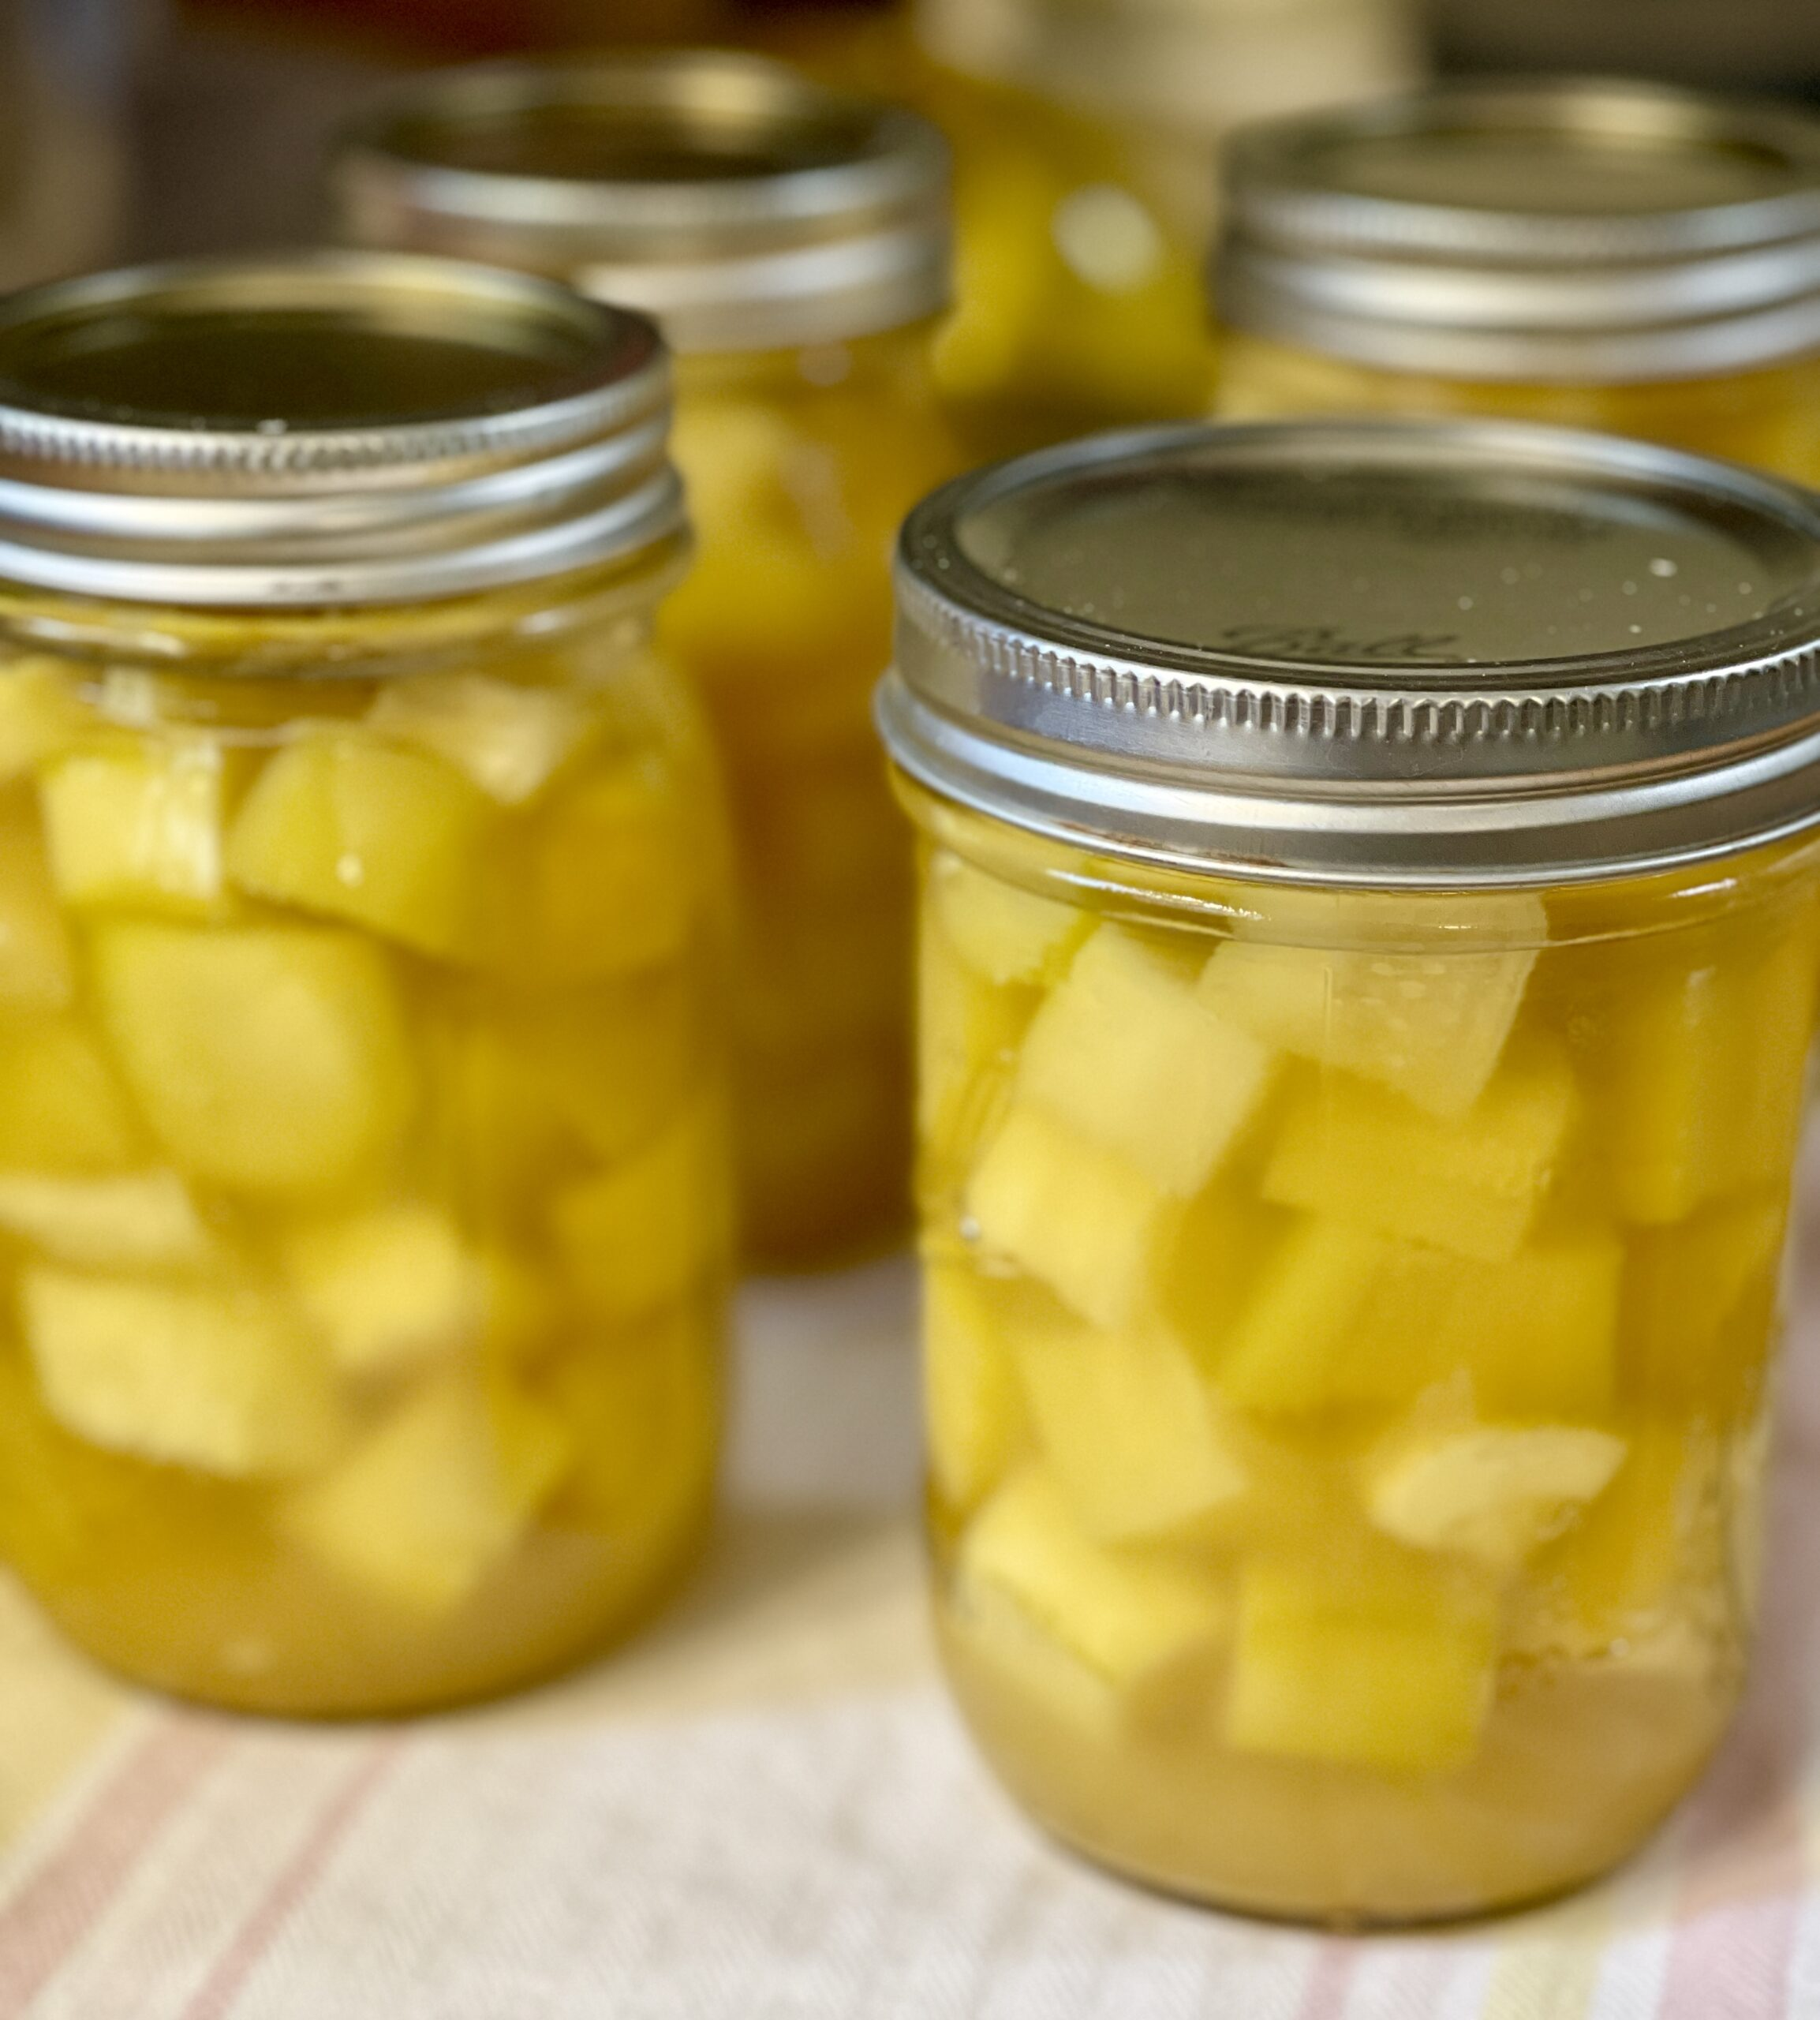 Zucchini “Pineapple”
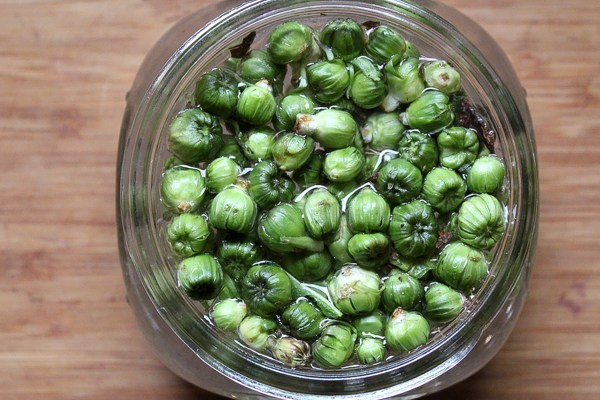

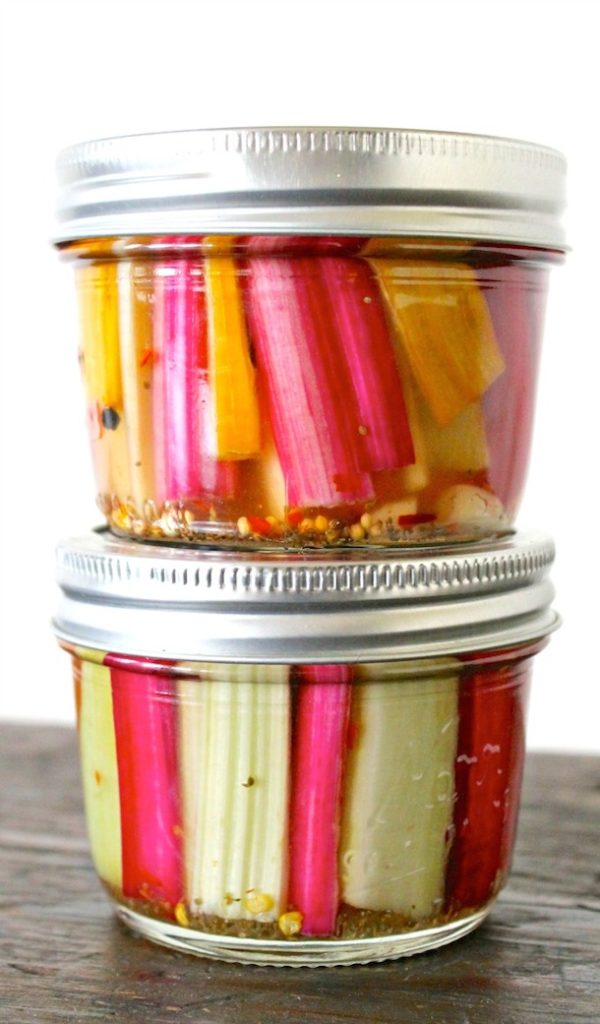
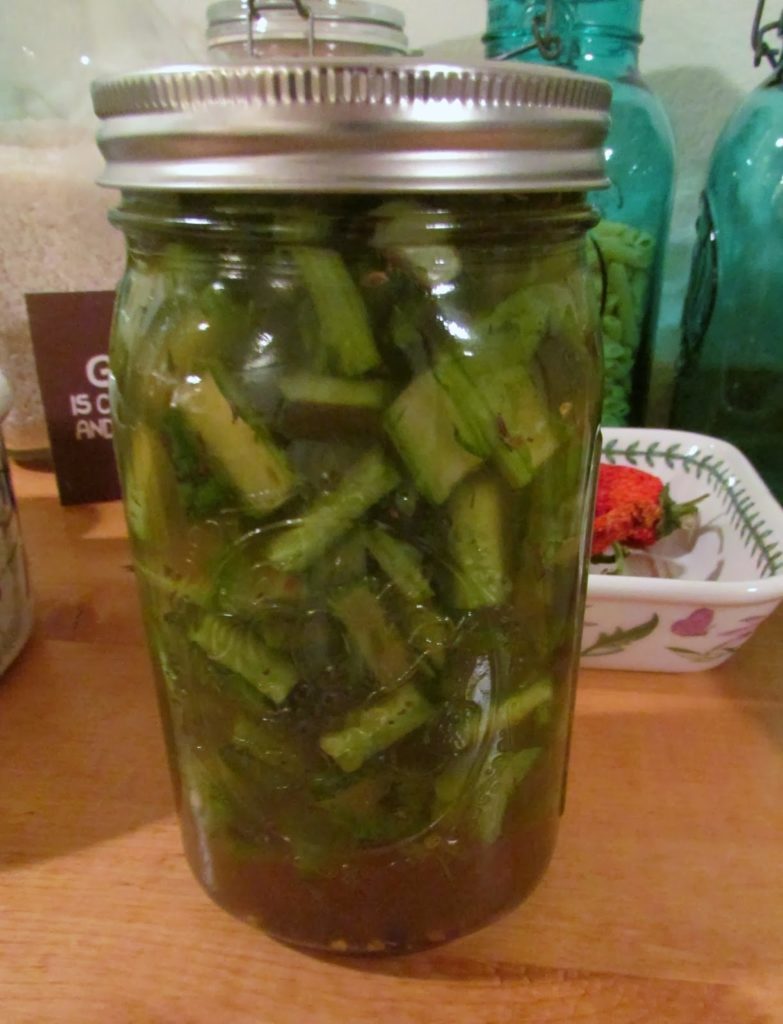 Pickled Mustard Green Stems
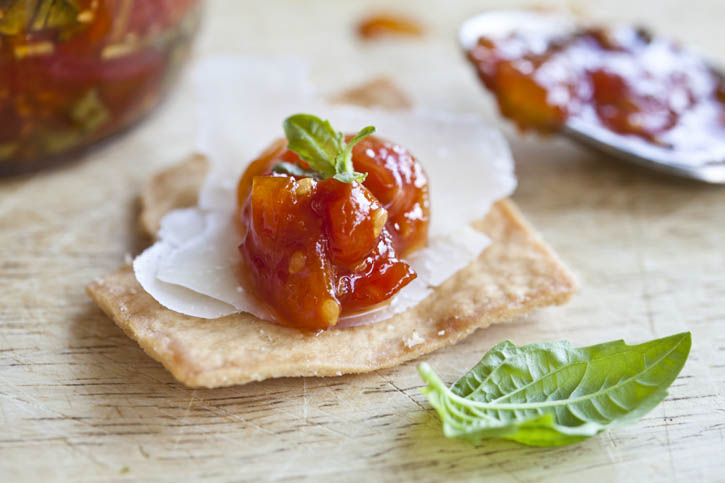
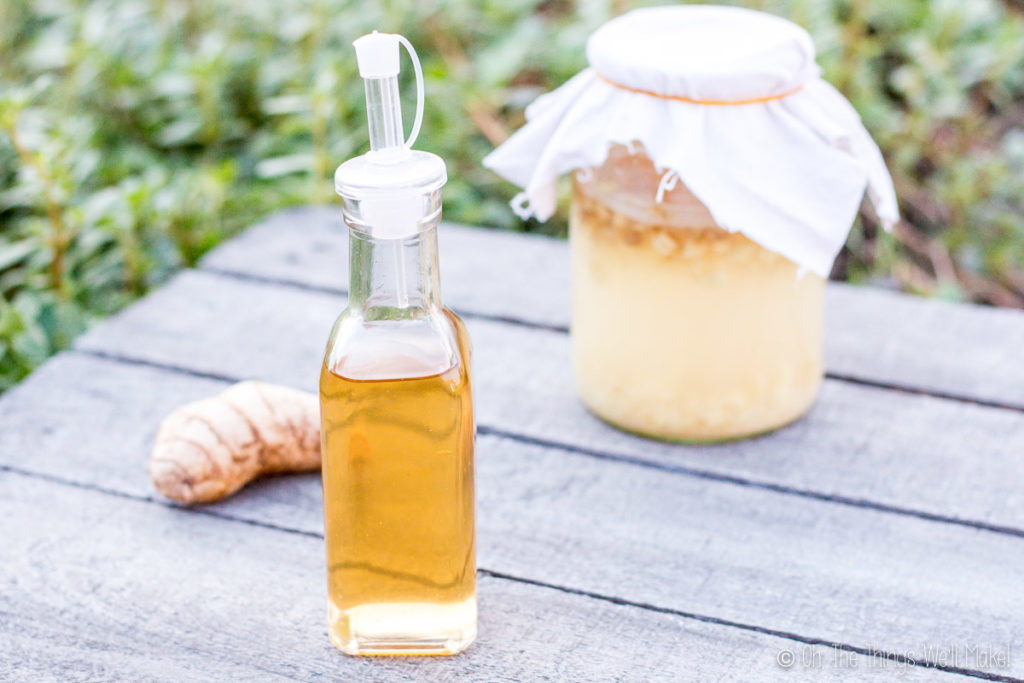 Ginger Vinegar