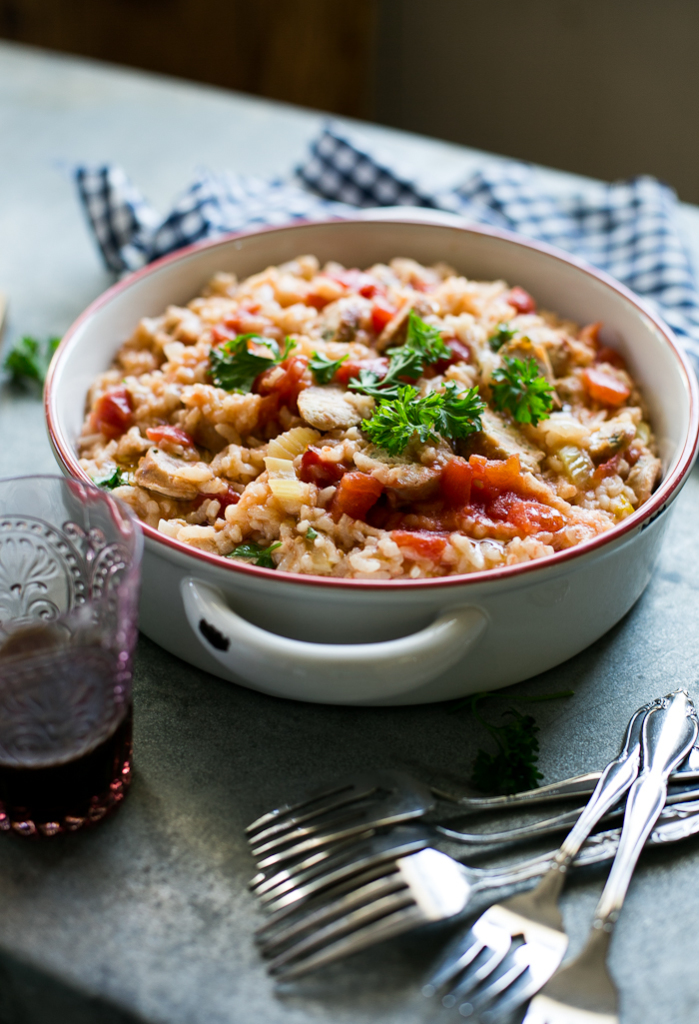
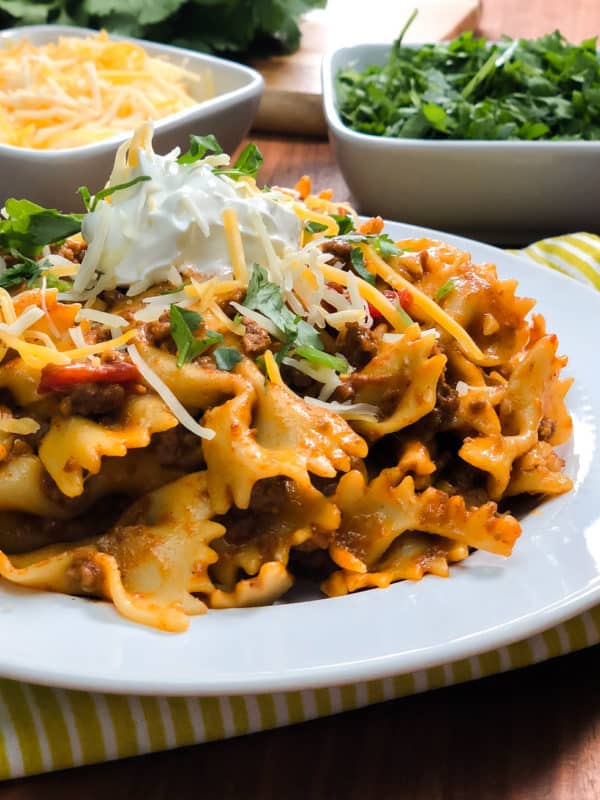
 Creamy Baked Sausage Risotto
For the Chicken Sausage
1 tsp olive oil
¾ lb Italian chicken sausage
Risotto
1 T. olive oil
1 T. butter
1 medium onion, cut into ½-inch dice
1 rib of celery with leaves (if you have any), thinly sliced
1 garlic clove, thinly sliced
¾ cup Arborio rice
splash of dry white wine, such as Sauvignon Blanc
1 14 oz can of diced tomatoes
3 cups of good-quality chicken broth (or stock), plus more as needed
salt & pepper
¼ cup roughly chopped parsley (I used the curly kind)
parmesan cheese
extra olive oil, for serving
Preheat your oven to 350 F. In a 6 qt. Dutch oven, or another oven-proof pot with lid, warm the 1 tsp. of olive oil over medium heat. Add the sausage and brown on all sides, about 10-12 minutes. Transfer sausage to a cutting board. Pour out any residual oil and clean the bottom of the pot with a paper towel.
To begin the risotto, add the olive oil and butter to the Dutch oven. Sauté the onions, celery, and garlic over medium-low heat until the vegetables begin to soften, abut 5-7 minutes. Add the rice. Stir the grains to coat, 1 minute. Deglaze the pan with a splash of white wine scraping up any brown bits stuck to the bottom of the pot. Simmer for 1-2 minutes or until the wine is slightly reduced. Add the tomatoes and chicken broth, and give it a stir. Place the lid on top and transfer to the oven. Bake for 30 minutes.
Meanwhile, slice the sausage into rounds. At the 30 minute mark, add the sausage to the pot. Continue to bake for an additional 10 minutes. The risotto is ready when the grains are tender, but still have a slight bite to them. Remove the pot from the oven and peek inside; adjust consistency with more chicken broth or simply keep it the way it is. Risotto is very forgiving. Taste and season with salt and pepper. Stir in the chopped parsley. Serve warm with a drizzle of extra olive oil and plenty of parmesan cheese.

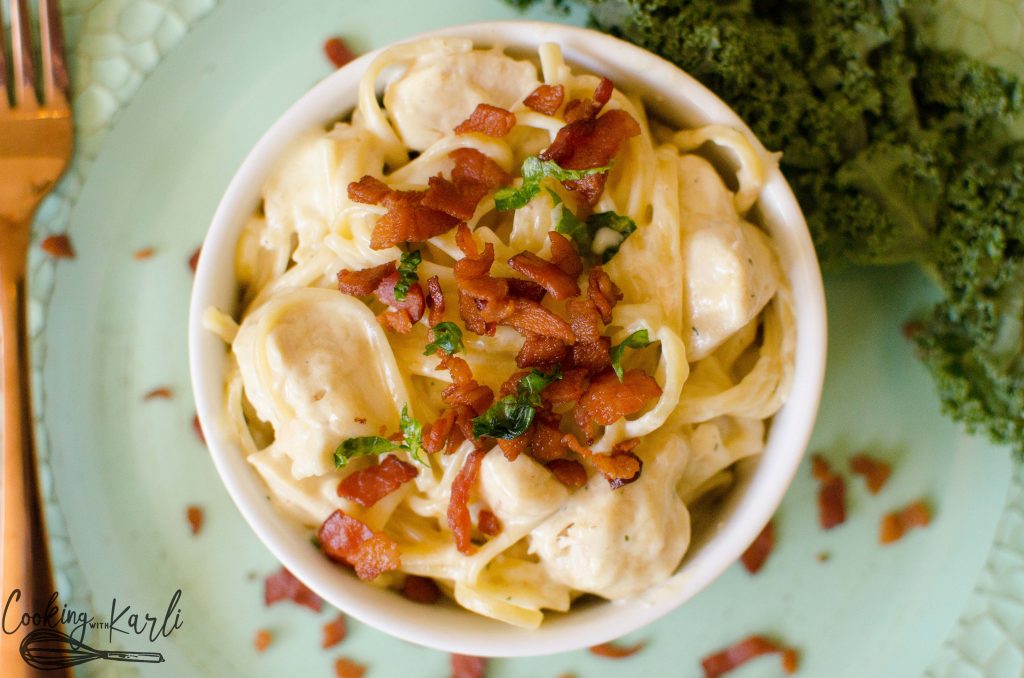
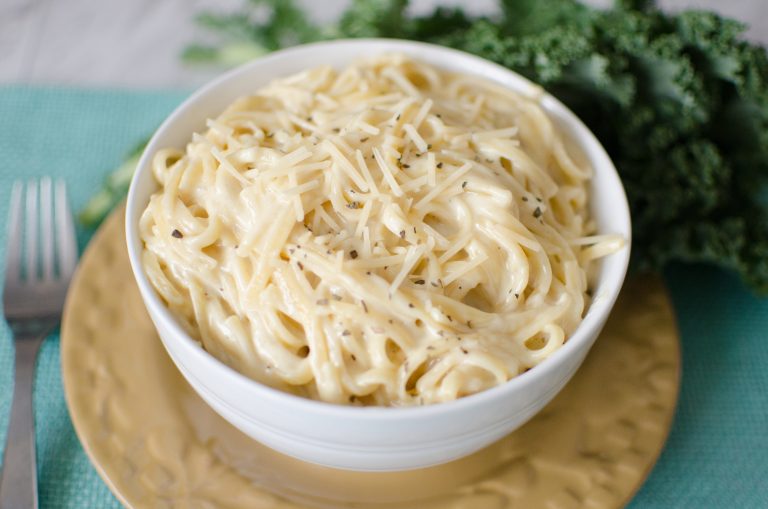 Instant Pot Dump and Start Alfredo


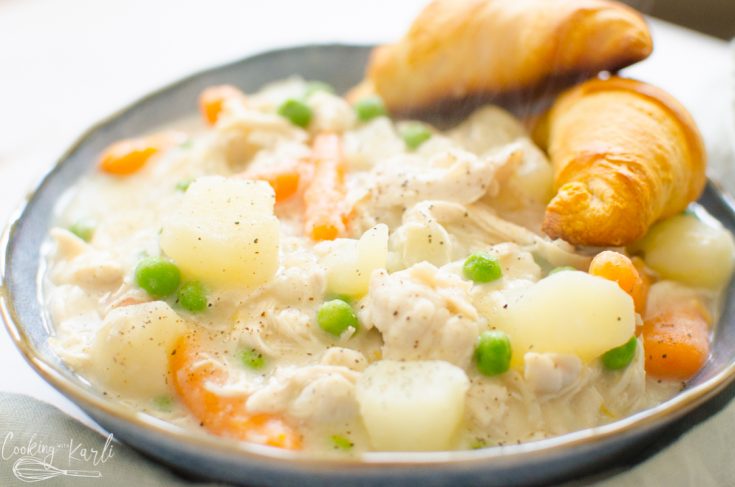 Instant Pot Chicken Pot Pie
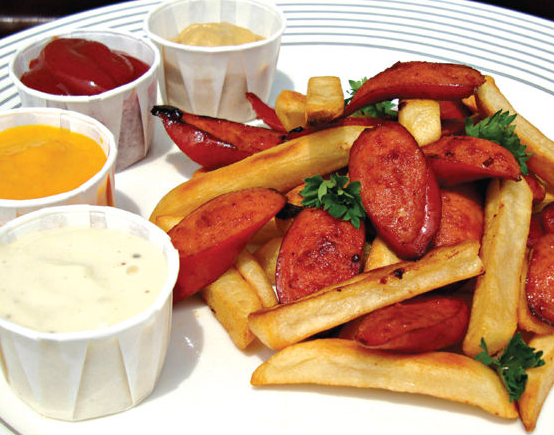
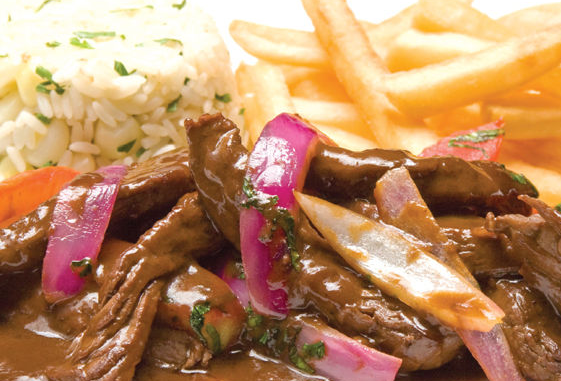
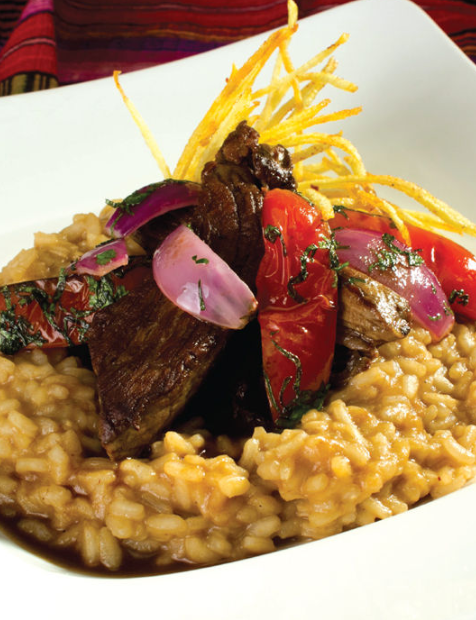 without rice nor French fries
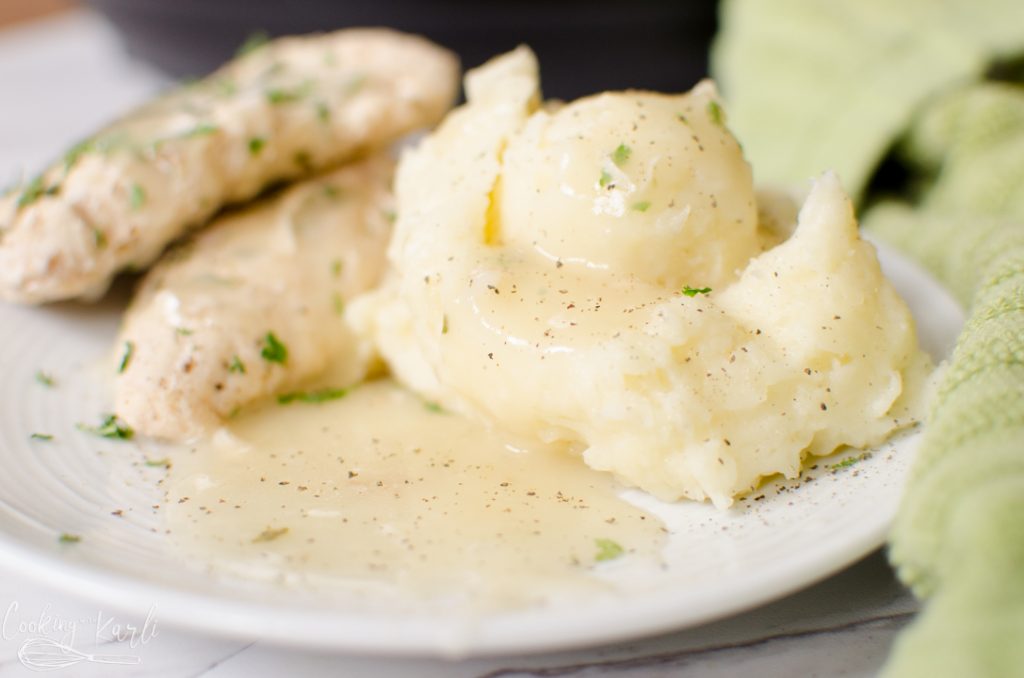

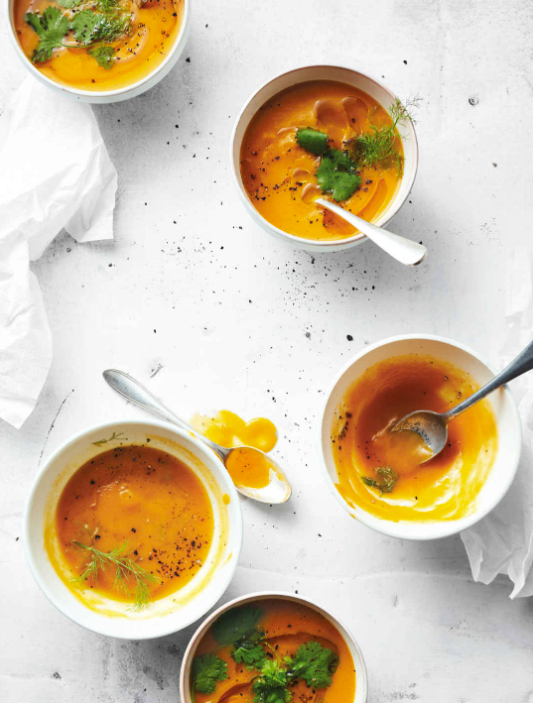
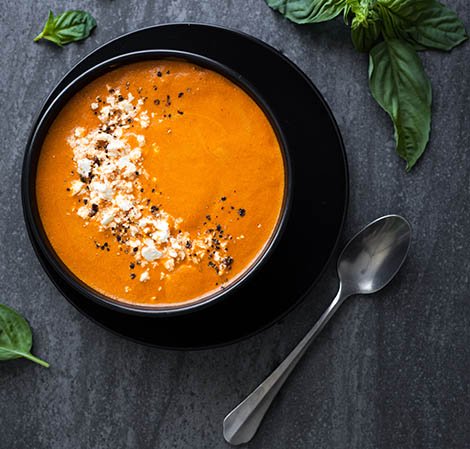 Roasted Red Pepper Soup
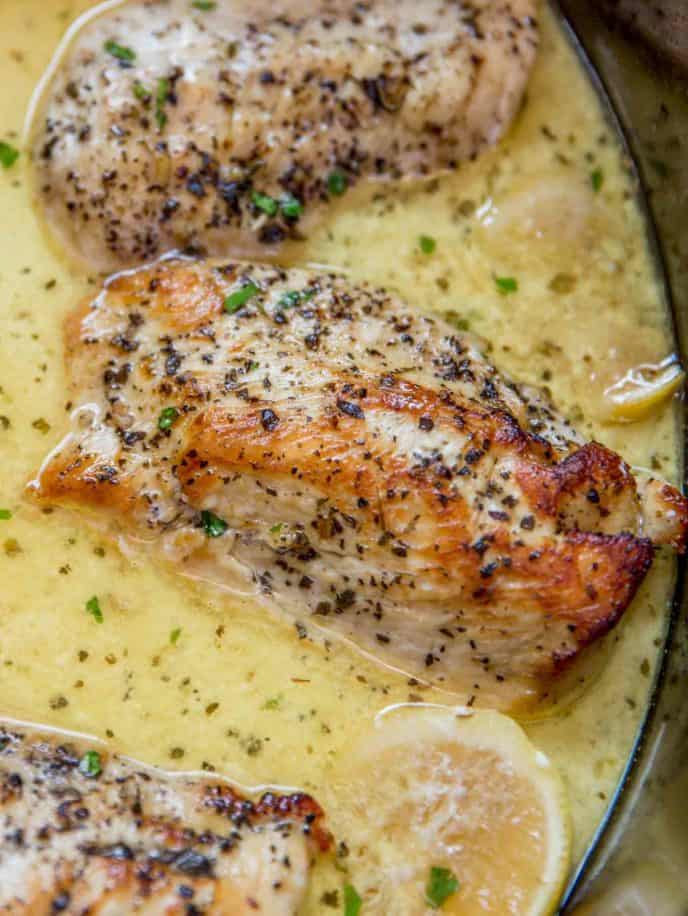


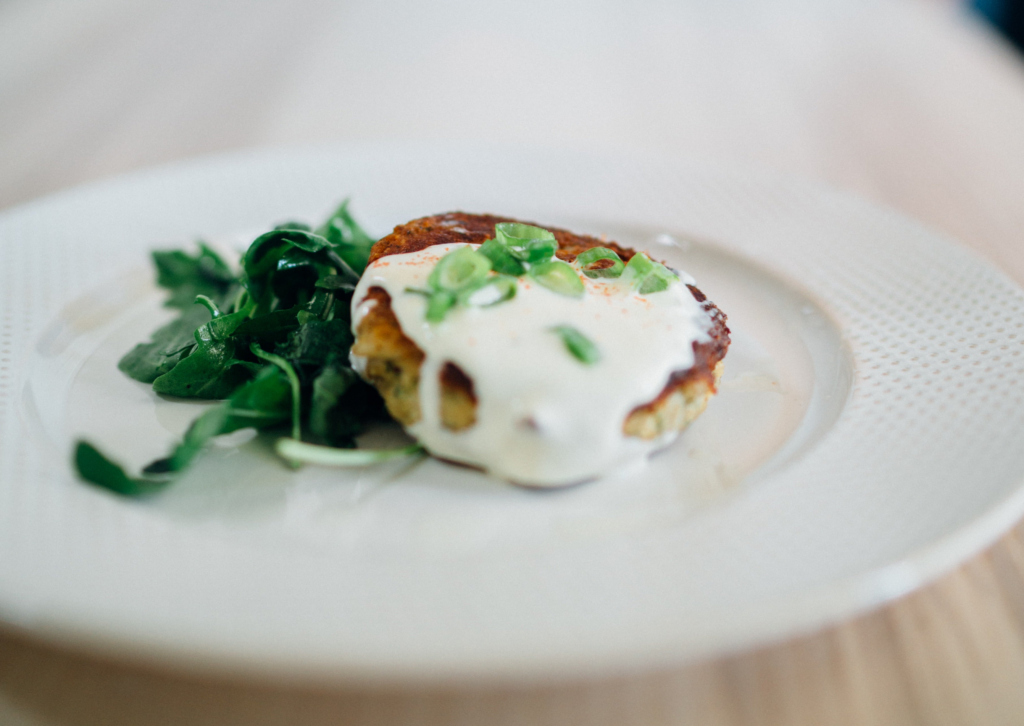 Bone Broth Garlic Aioli
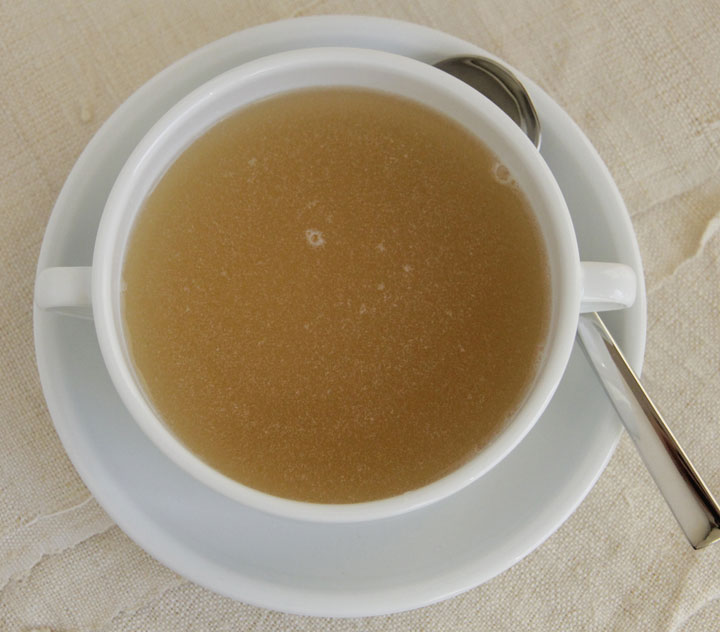 Chicken Bone Broth
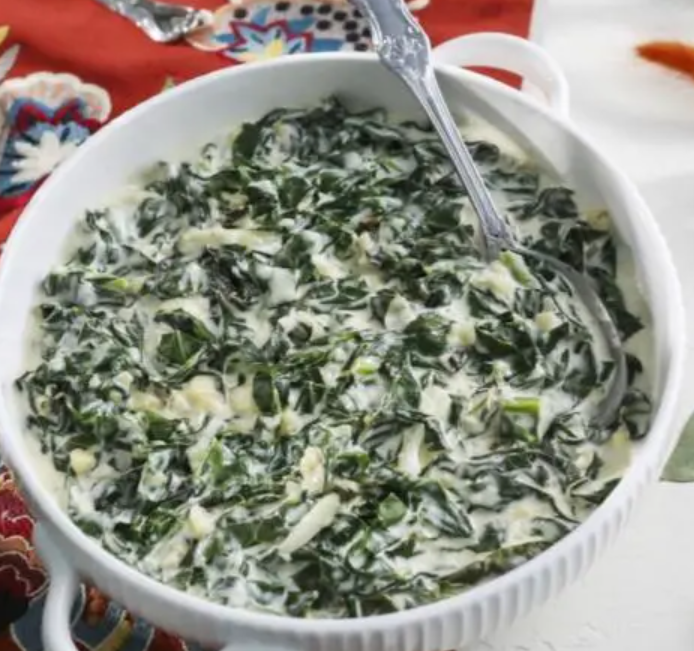 Cream of Collards