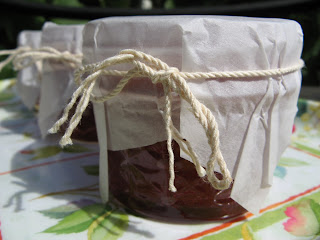
 Brown Turkey Fig Jam with Sherry & Fennel
8–9 eight-ounce canning jars and lids
4 . pounds stemmed brown turkey figs
2 pounds 2 ounces white cane sugar
3 scant tsp. fennel seeds
2 ounces cream sherry or Marsala
2 ounces strained freshly squeezed lemon juice
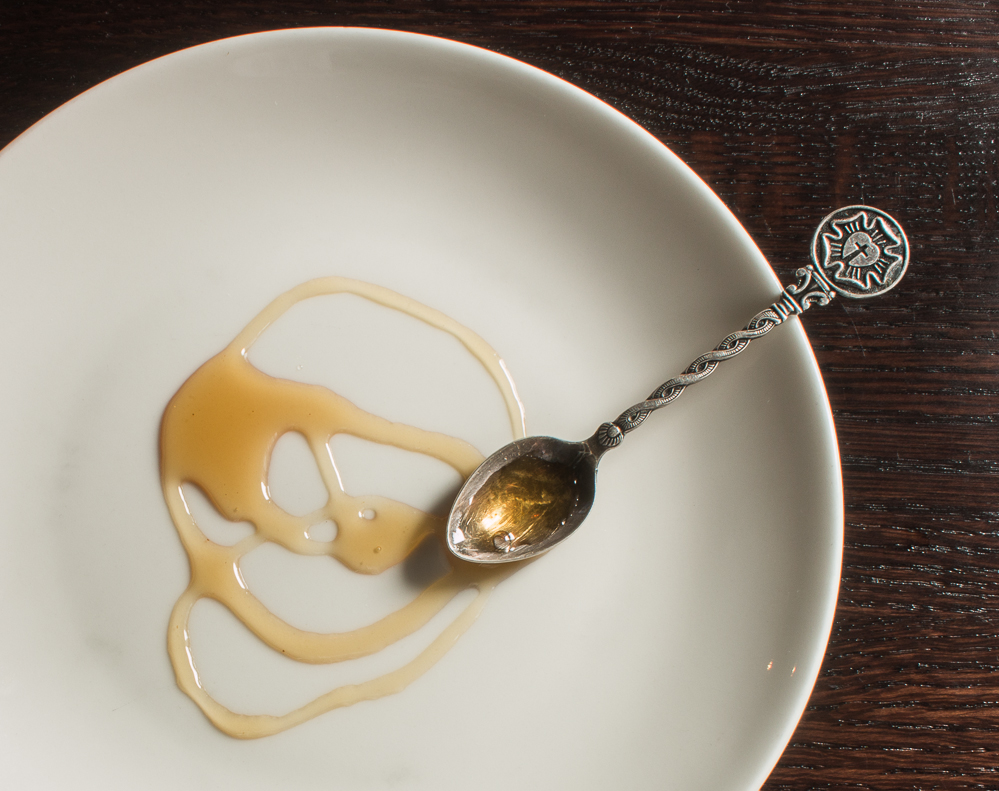
Slice 1. pounds of the figs into sixths or, if the figs are very large, into eighths. Combine the slivered figs with the sugar in a large heatproof mixing bowl and let macerate while you proceed with the recipe. Place the remaining 2. pounds of figs in a stainless-steel kettle wide enough to hold them in a single layer. Add enough cold water to make a .-inch layer in the bottom of the pan. Cover the pan and bring the fruit to a simmer over medium-high heat. Stir, decrease the heat to medium-low, cover again, and cook for 5 minutes. Then, using a potato masher, crush the figs well to release their juices. Stir, cover once more, and cook for 20 to 30 minutes, or until the figs are mushy and translucent, stirring every 5 minutes or so to prevent sticking. While the figs are cooking, crush the fennel seeds in a mortar or grind them coarsely in a spice grinder. Place the sherry and fennel seeds in a small saucepan and heat them slowly until the sherry just starts to steam. Remove the mixture from the heat, cover, and set aside to steep. When the whole figs are finished cooking, put them through the finest disk of a food mill and add them to the slivered figs and sugar. Scrape any fruit that does not go through the mill back into the rest of the fruit, breaking up the chunks as you go. Stir well to dissolve the sugar, then add the lemon juice. Transfer the mixture to an 11- or 12-quart copper preserving pan or a wide nonreactive kettle. Bring the jam to a boil over high heat, stirring a few times with a heatproof rubber spatula. When the jam boils, decrease the heat to a lively simmer, stirring frequently. After 7 minutes of simmering, mash the fruit a little with a potato masher. Continue cooking, stirring very frequently, and lowering the heat slightly if the jam begins to stick. After 20 minutes of simmering, or when the jam has thickened, strain the seeds from the sherry and add the sherry to the jam. Cook a minute or 2 more and when ready, pour into sterilized jars and process according to the manufacturer’s instructions. Serving suggestion: Try it on turkey sandwiches or with soft cheese and a sprinkling of toasted hazelnuts for dessert.
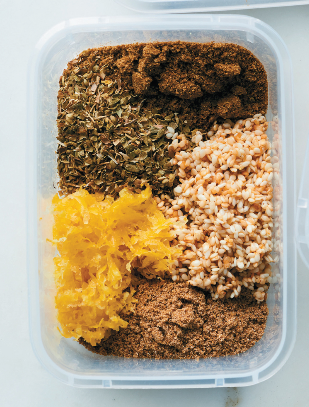 Za’atar Blend
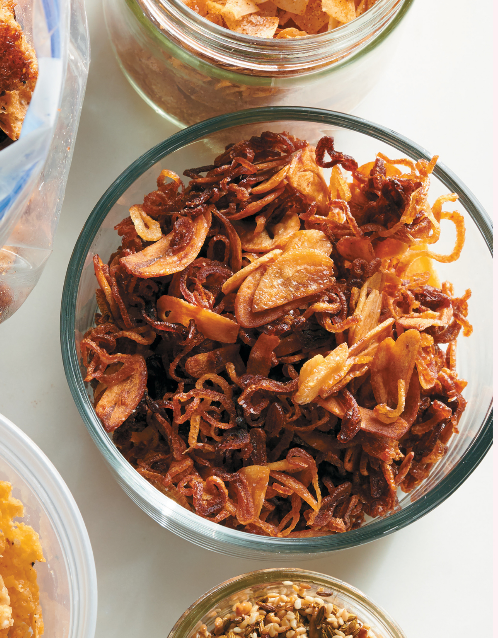 Garlic-Shallot Crunch
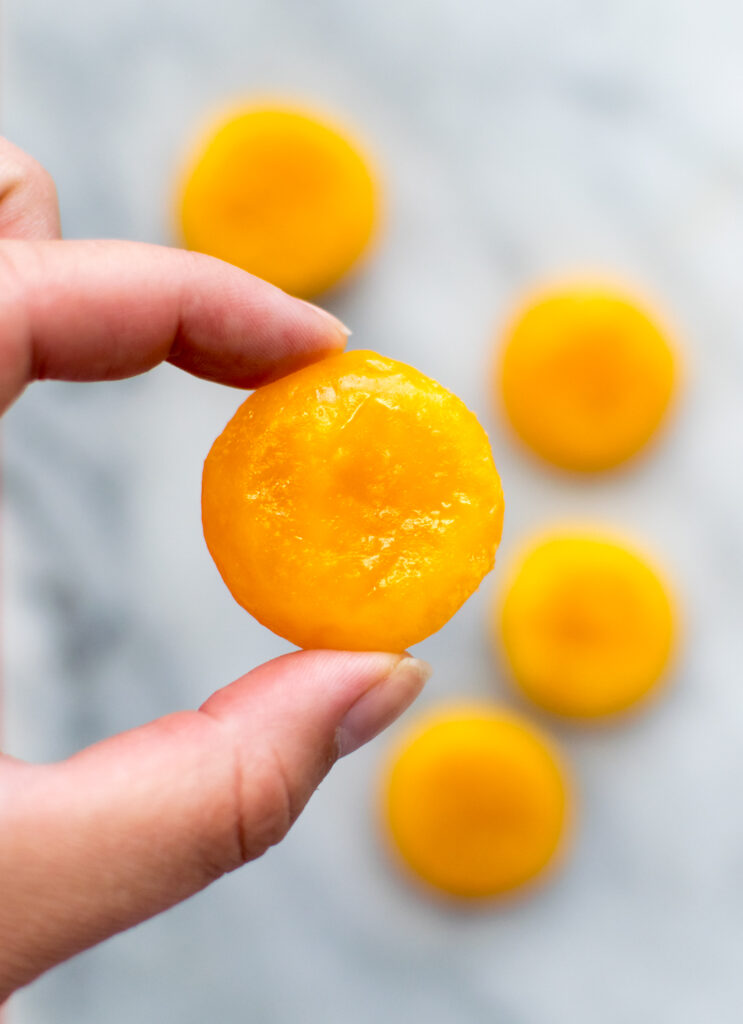 Cured Egg Yolks
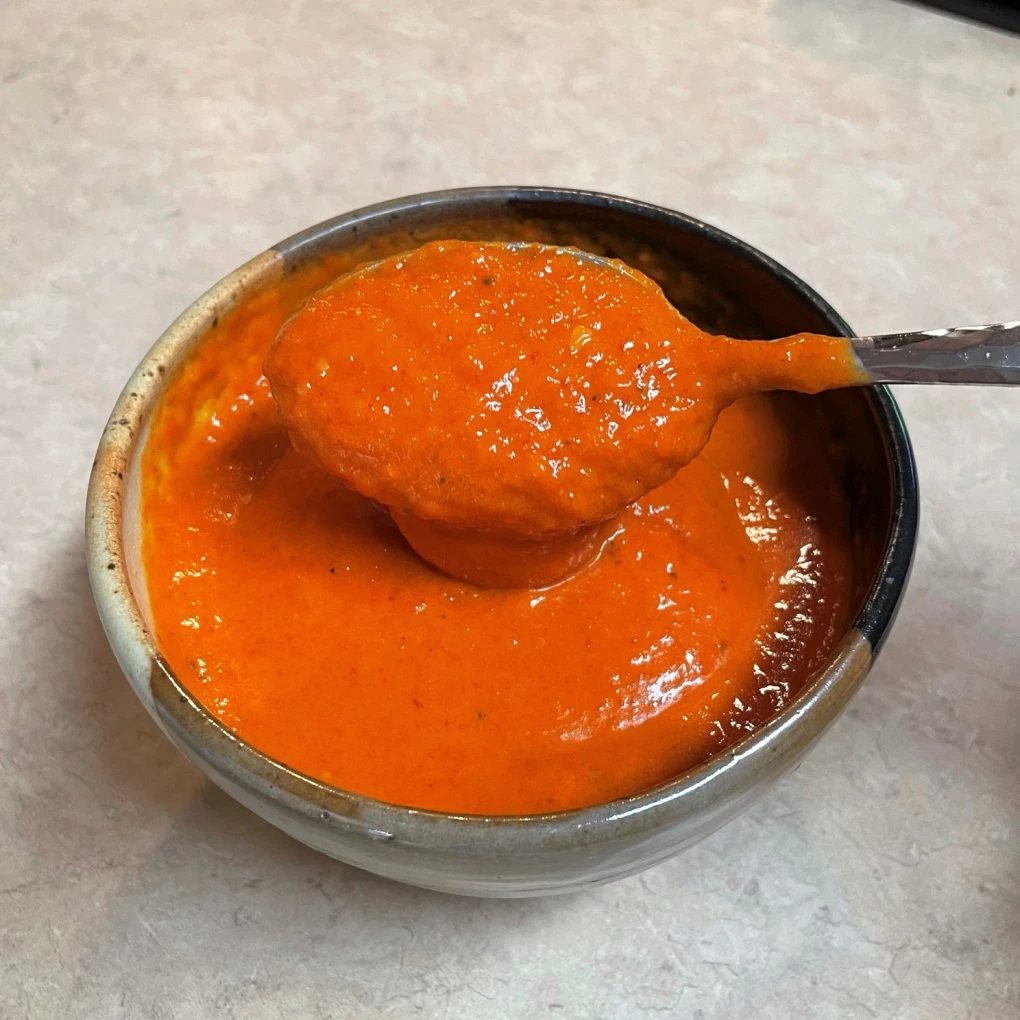 Roasted Red Pepper and Mango Coulis
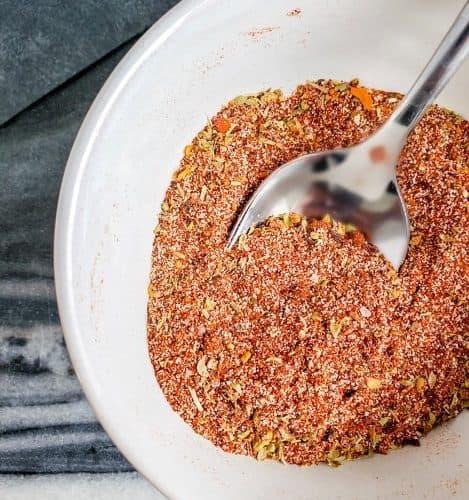 Arriba! Seasoning
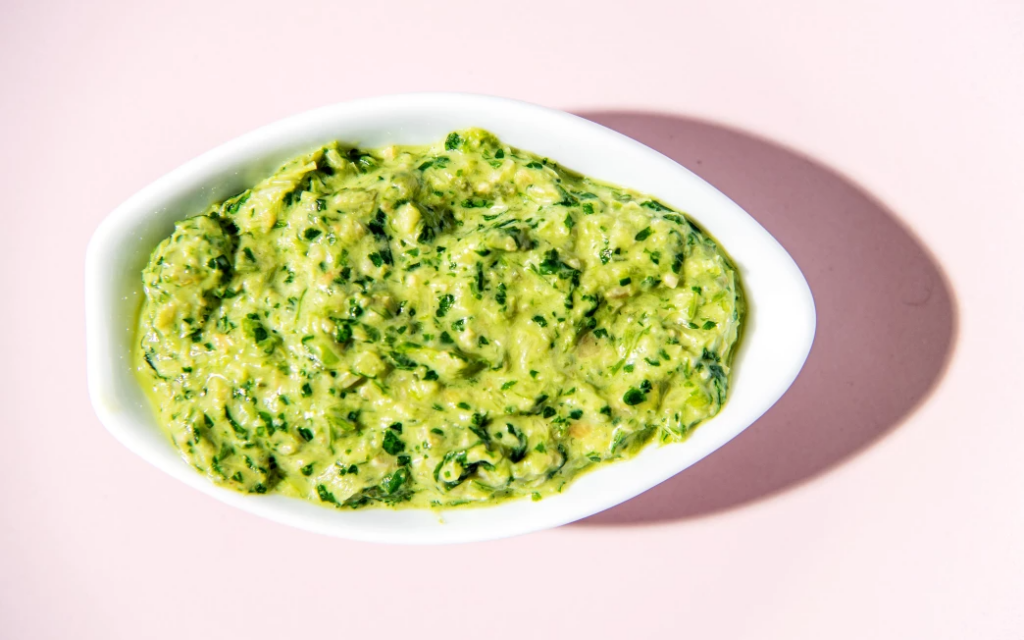 Preserved Lemon Cilantro- & Scallion Pesto
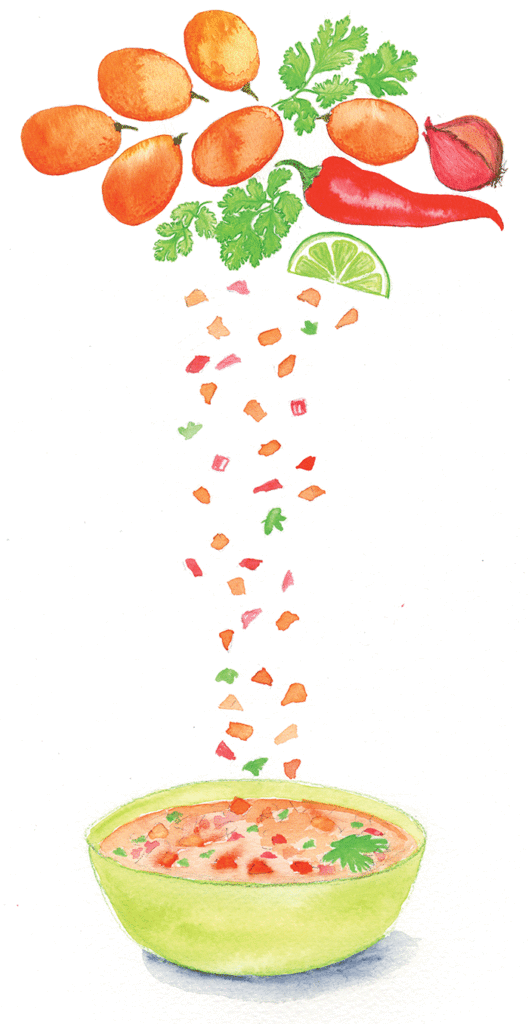
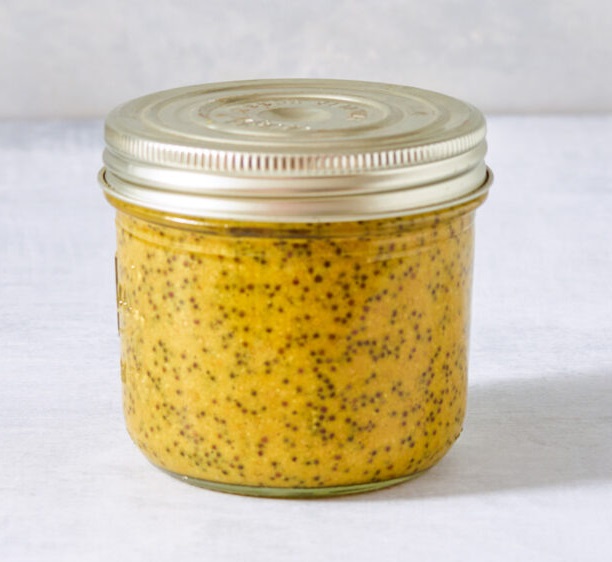 Seedy Mustard
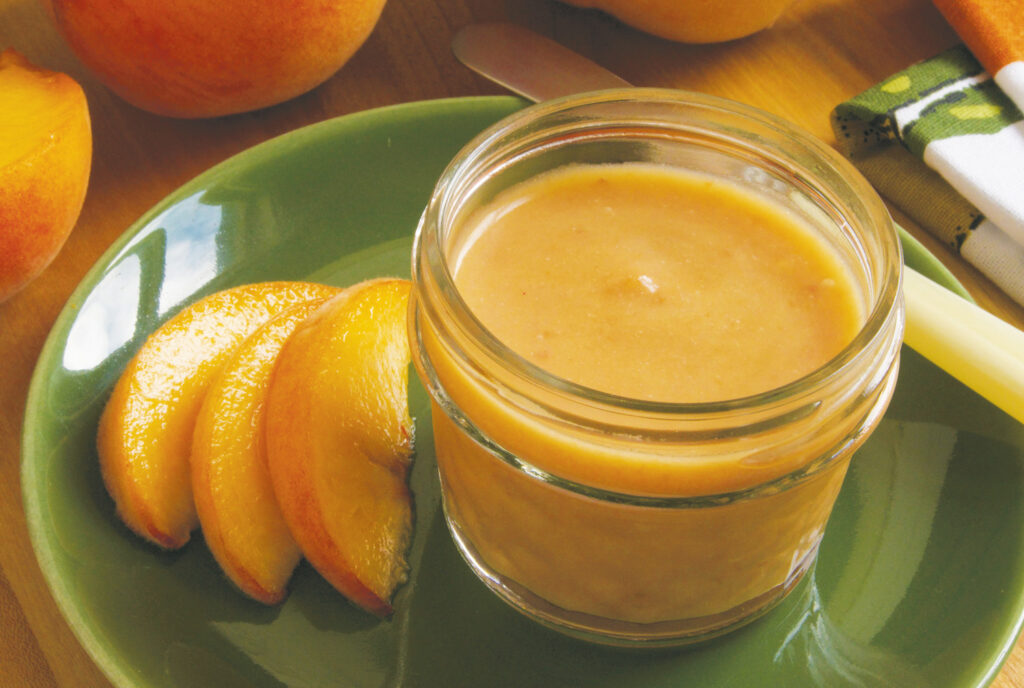 Three Stone Fruit Honey Butter
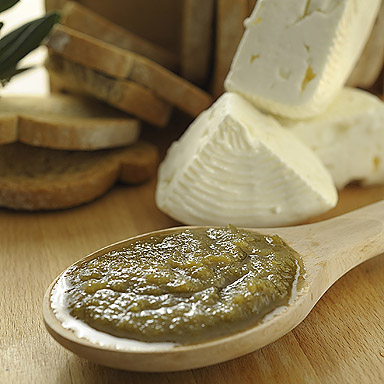 Confiture d’Olives et Citron (Sweet Olive Jam with Lemon)
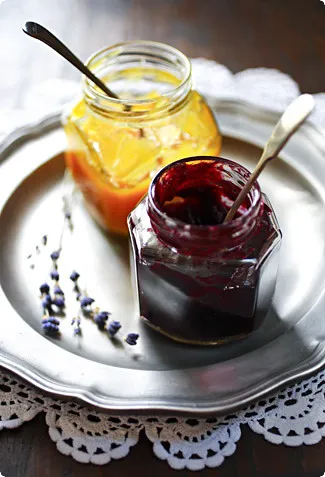 Peach and Lemongrass Butter
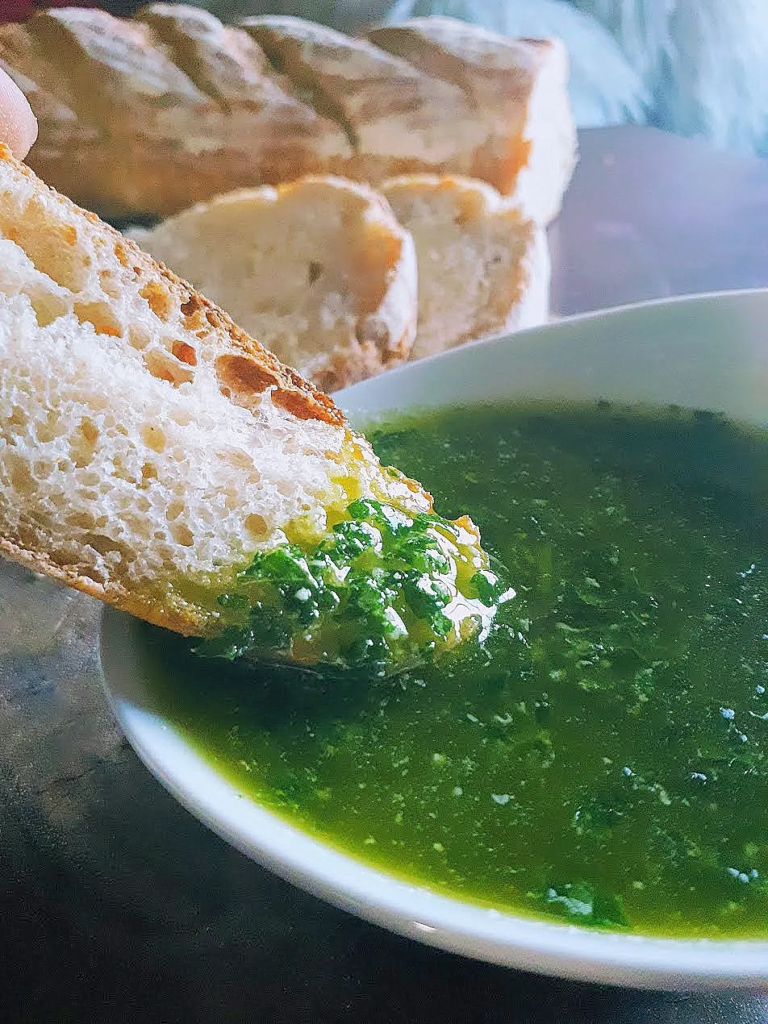 Garlic Mustard & Olive Oil Bread Dip
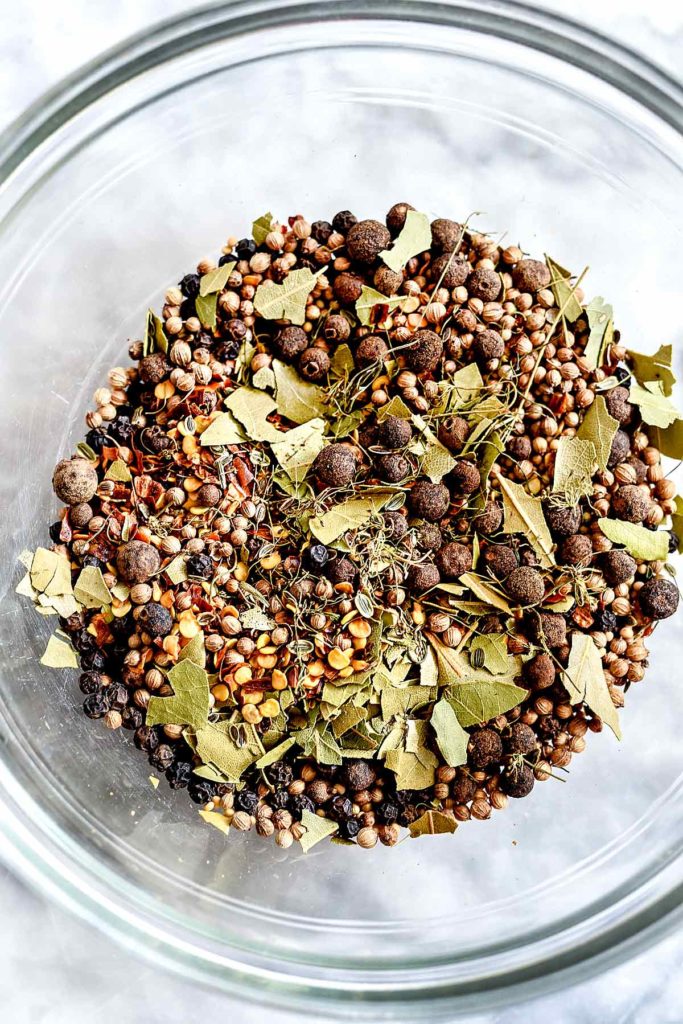 Pickling Spice Blend
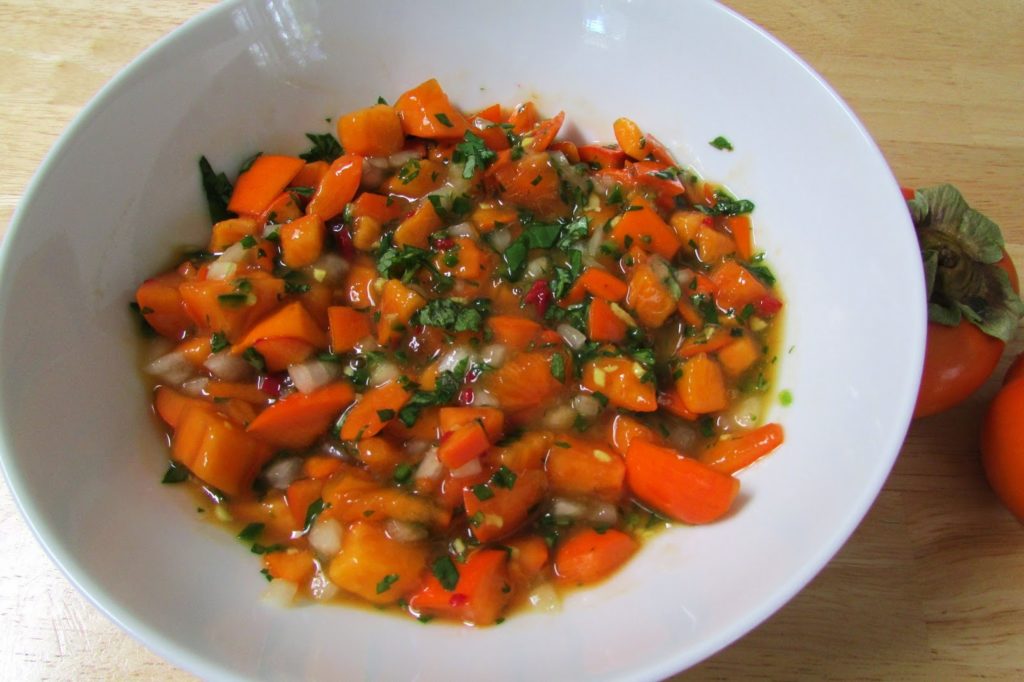 Persimmon Salsa
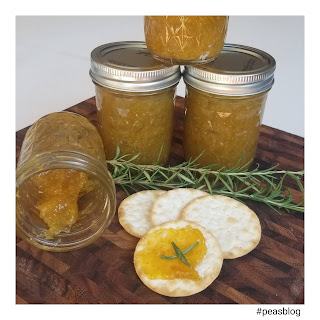 Rosemary Fig Preserves
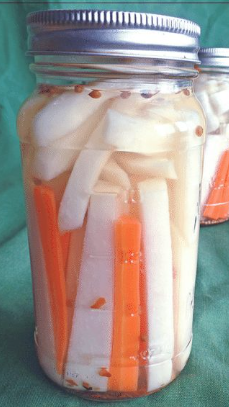 Pickled Kohlrabi
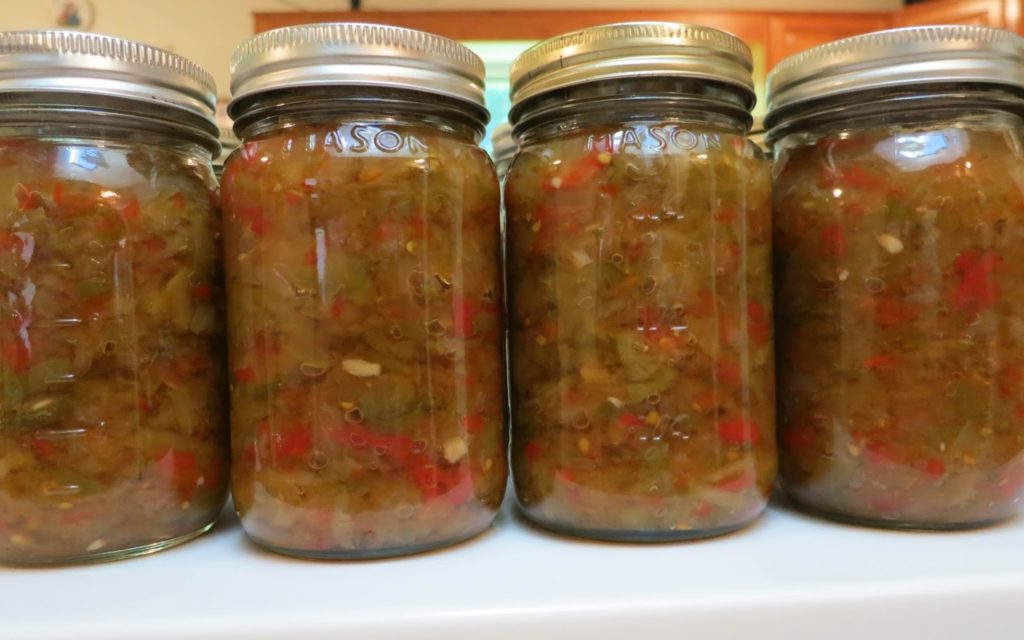 Green Tomato Relish
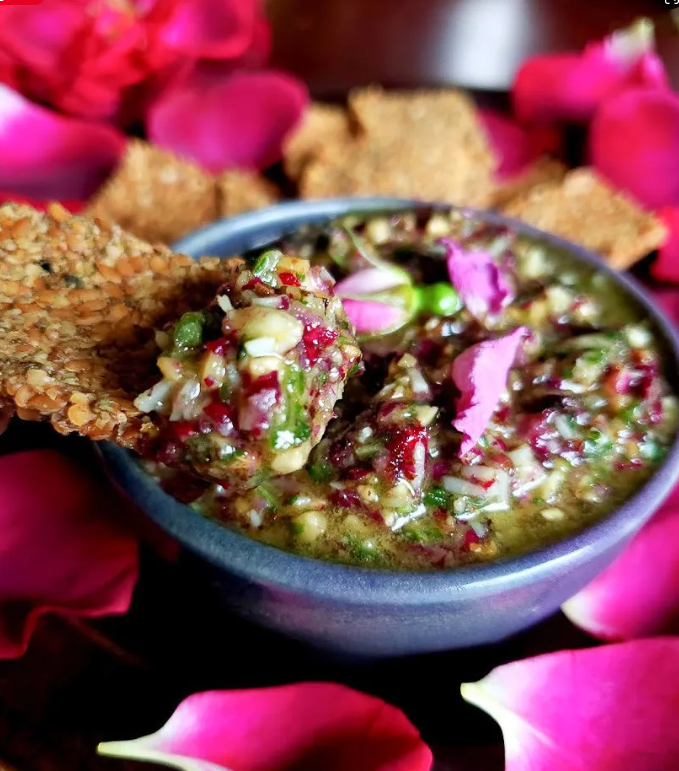 Chunky Rose Petal Pesto
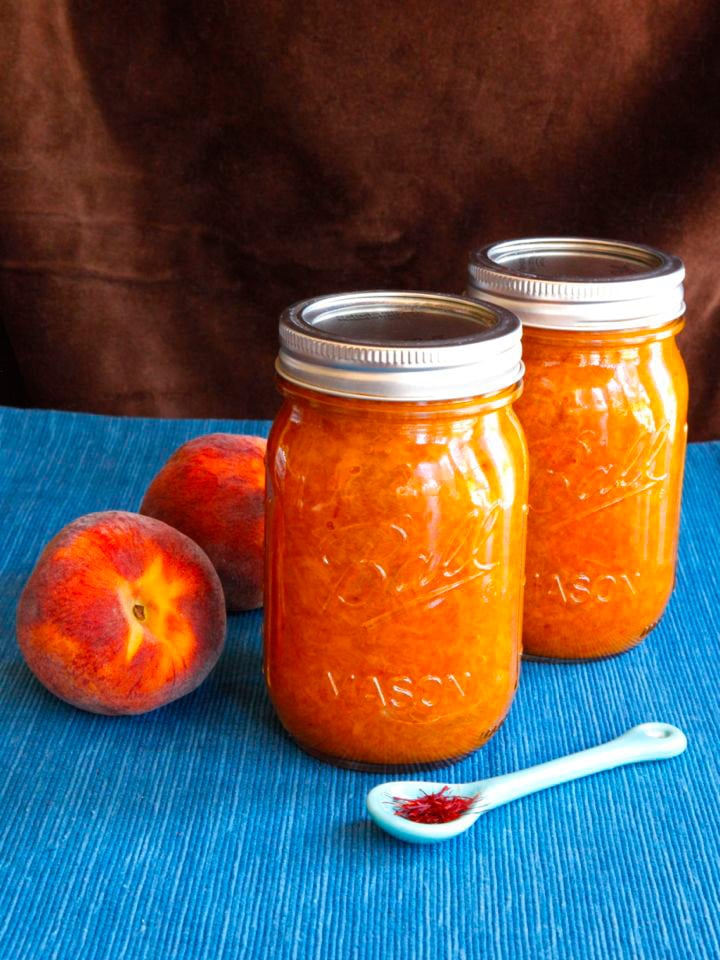 Peach-Saffron Preserves
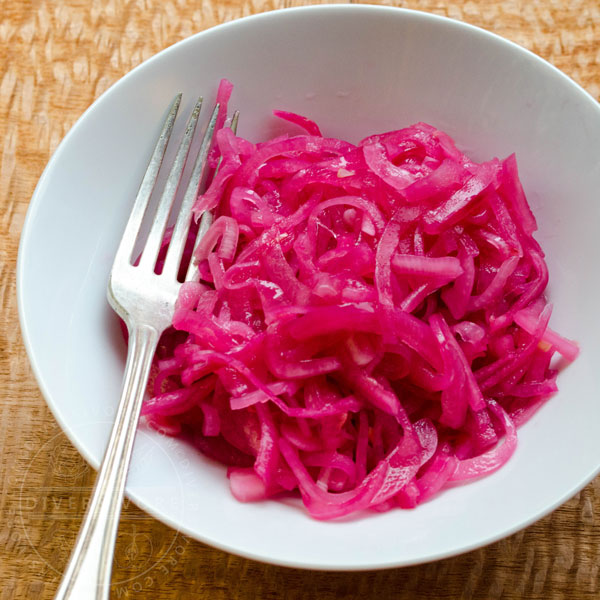 Pickled Onions, Yucatan Style
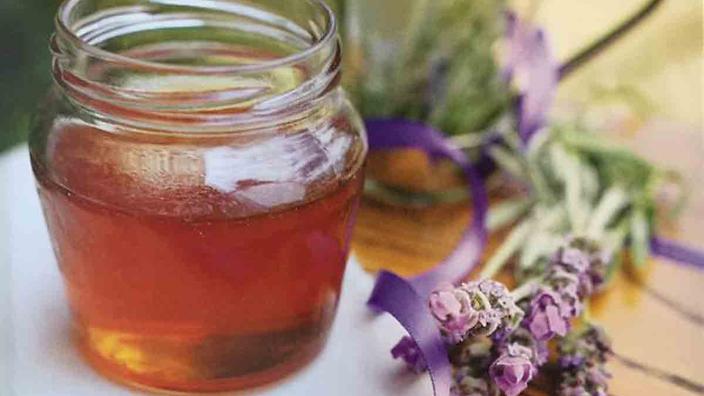
 Lemon Verbena Jelly
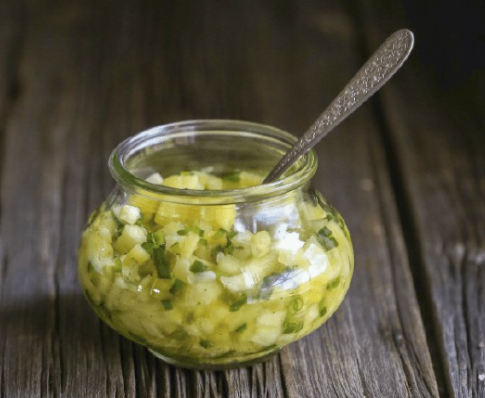
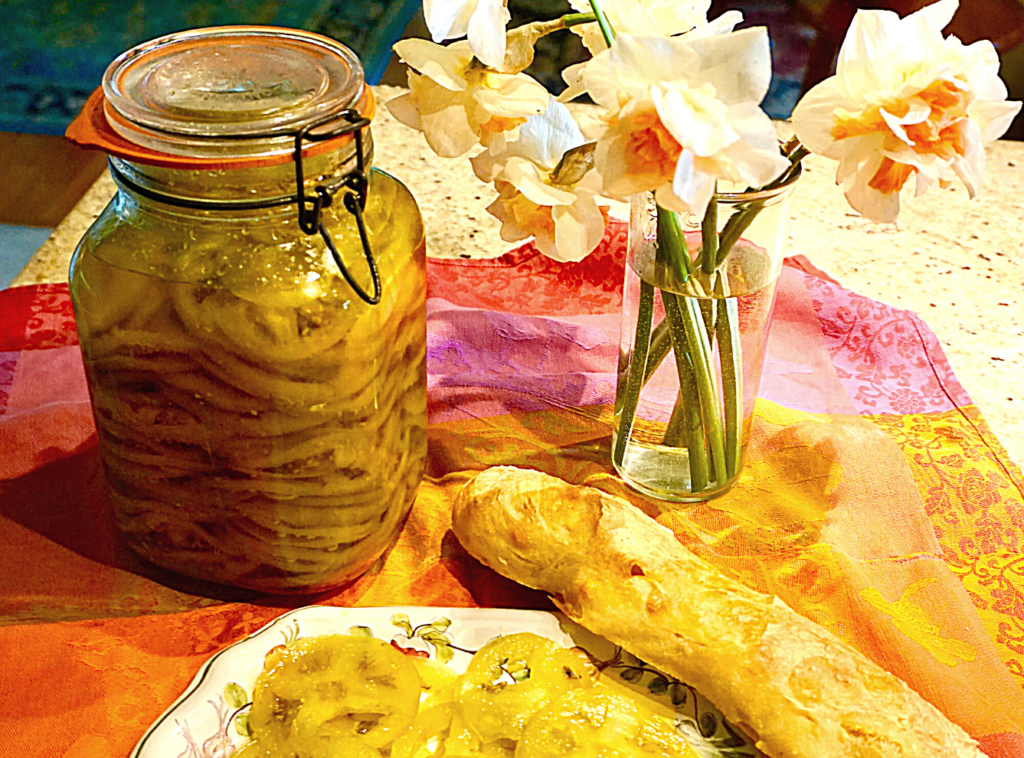 Pickled Green Tomatoes
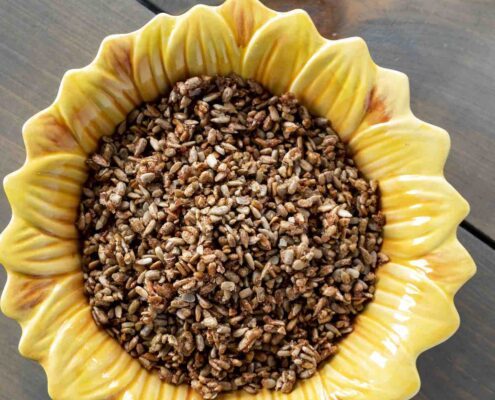 Candied Sunflower Seeds
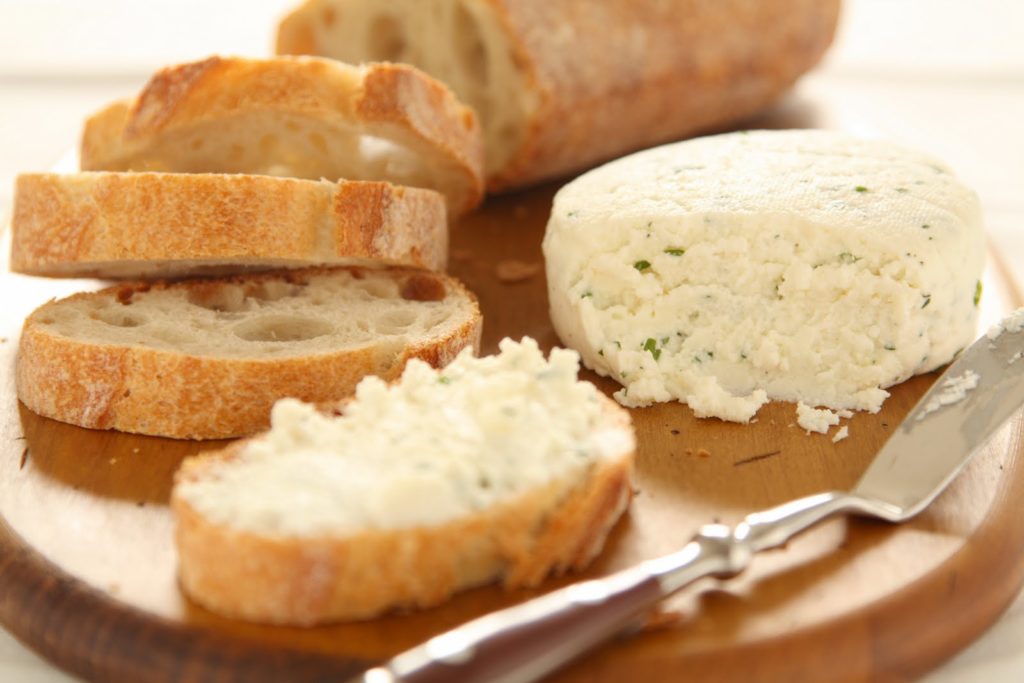
 Black Currant Sun Jelly
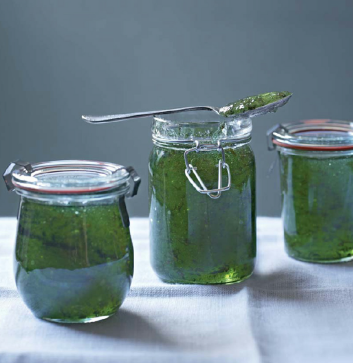
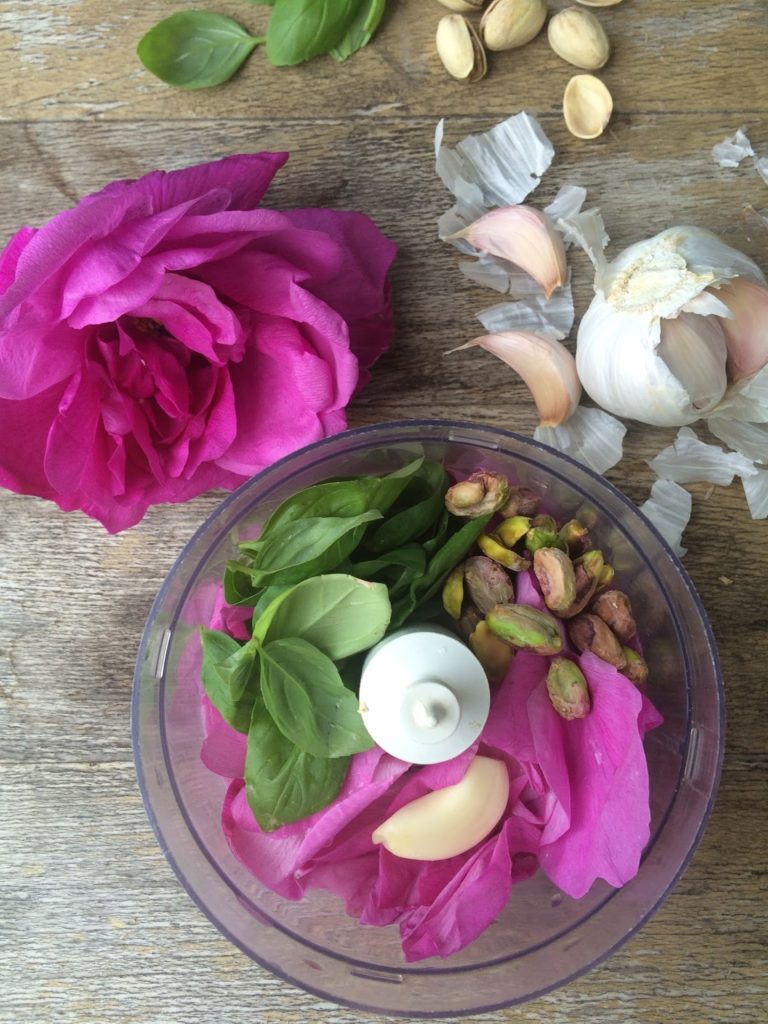 Rose and Basil Pesto
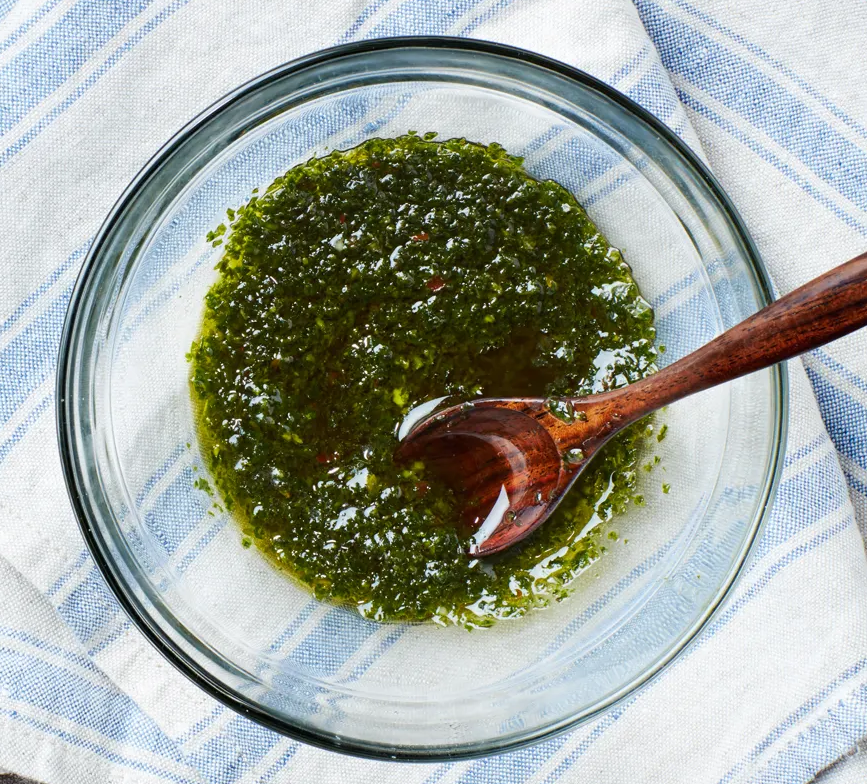 Roasted Garlic–Herb Sauce
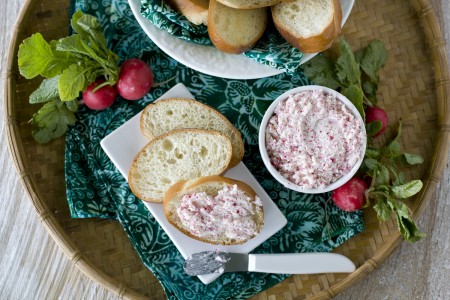 Radish Butter
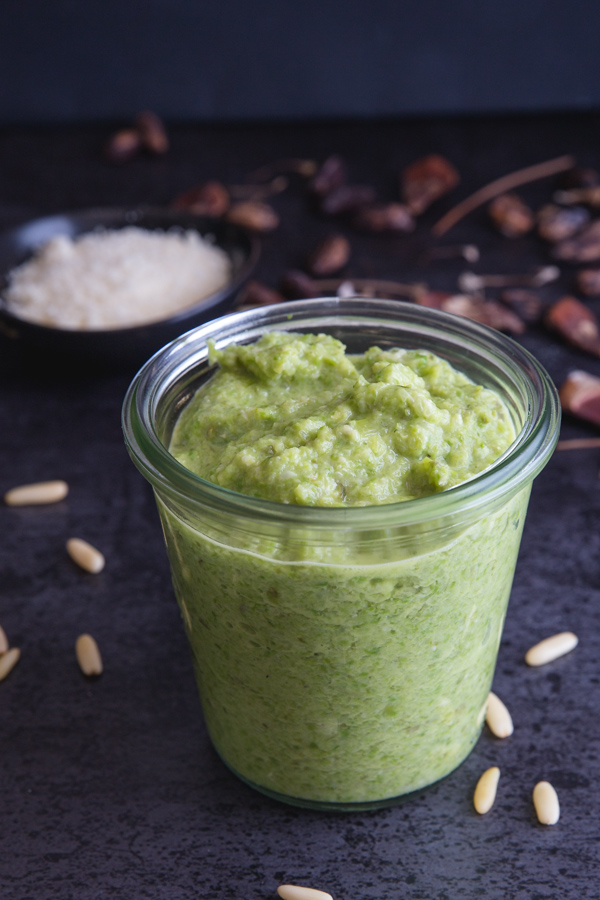 Charred Asparagus End Pesto
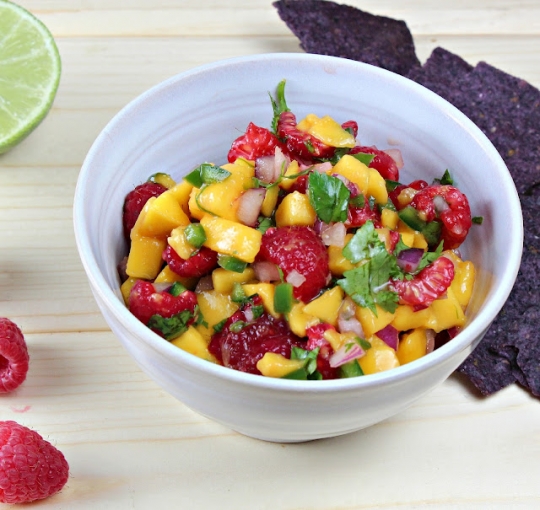 Raspberry Mango Salsa
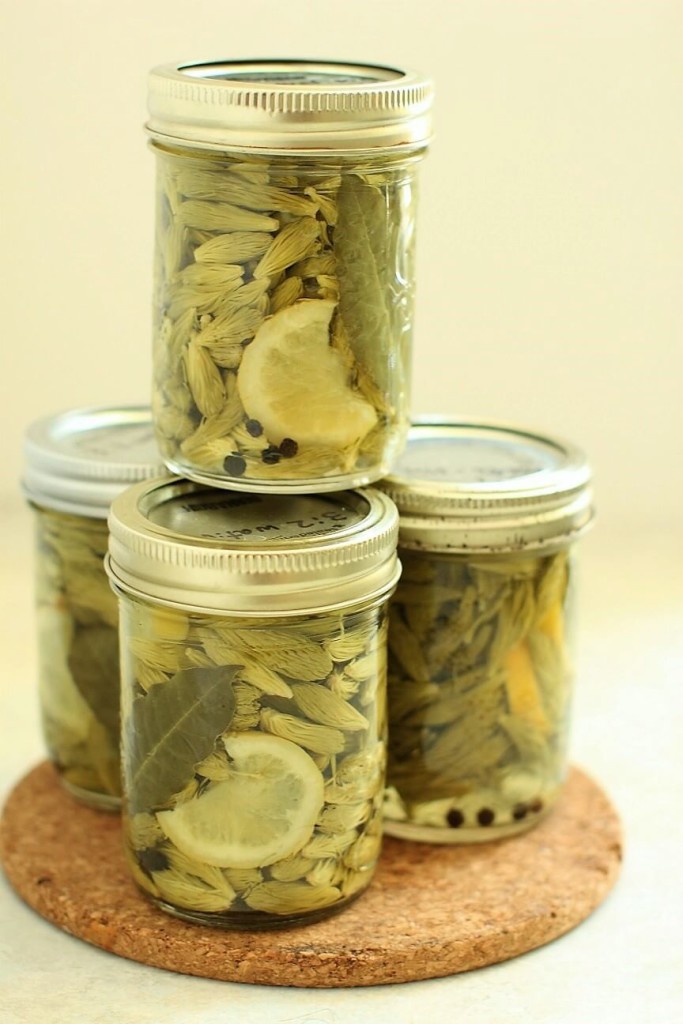
 Mint Jelly