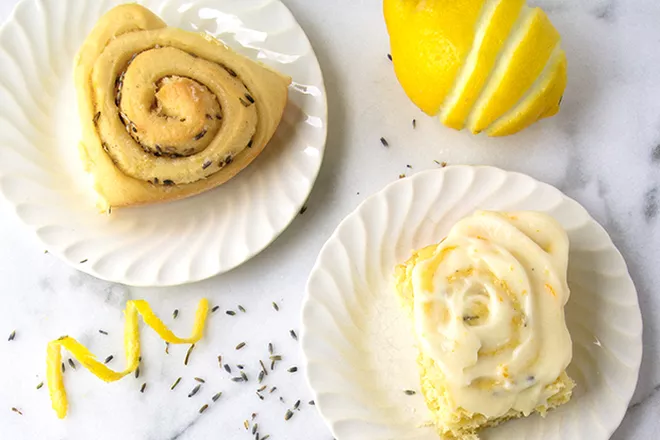
 Lemon Lavender Sweet Rolls with Lemon Mascarpone Frosting
¼ cups warm water (about 110°F)
2¼ tsp. active dry yeast
1 cup granulated sugar, divided
3 large eggs
½ cups buttermilk, at room temperature
1½ tsp. sea salt, divided
4½ cups all-purpose flour, divided
8 T. melted unsalted butter, divided
2 T. lemon zest
½ tsp. ground cardamom
1 T. dried culinary lavender
Lemon Mascarpone Frosting (recipe below)
Lemon Mascarpone Frosting
¾ cups mascarpone cheese
1½ cups confectioners’ sugar, sifted
1½ tsp. lemon zest
3 T. fresh lemon juice
3 T. milk
In a small bowl, whisk together warm water and yeast. When yeast is dissolved, whisk in ½ tsp. granulated sugar. Let sit for 5-10 minutes, until mixture foams up. Meanwhile, in the bowl of standing mixer fitted with the whisk attachment, whisk eggs to combine; add buttermilk and whisk to combine. Add in yeast mixture, ¼ cup sugar, and 1¼ tsp. sea salt. Remove bowl from mixer and add about 2 cups flour and 6 T. melted butter. Stir with a rubber spatula until evenly moistened and combined. Add 2 more cups of flour, return bowl to the mixer, switch to the dough hook attachment, and knead with dough hook at low speed for 5 minutes. Touch the dough; if it is sticky, continue to run the mixer on low speed for up to five minutes more and add more flour, a T. at a time, until the dough is soft and moist, but no longer sticks to your fingers. The dough will pull away from the sides of the bowl, but stick to the bottom. Turn dough out onto lightly floured work surface; knead by hand about 1 minute to ensure that dough is uniform. If it sticks to your work surface, knead in more flour, a T. at a time, until it no longer sticks and all the flour is kneaded in. Spray a plastic mixing bowl with nonstick cooking spray and place the ball of dough into the bowl. Spray the top of the dough with cooking spray then cover the bowl tightly with plastic wrap. Set the bowl in a warm, draft-free area until it has doubled in volume, about 2 hours. Brush the bottom and sides of a 13×9-inch baking pan with 1 T. of melted butter. Turn the dough ball out onto a work surface and pat it into a rectangular shape. Roll the dough into a 16×12-inch rectangle. Brush the dough with the remaining 1 T. of melted butter, leaving about ½-inch of dough unbuttered at the top edge. Combine remaining ¾ cup sugar, lemon zest, cardamom, and ¼ tsp. sea salt in a small mixing bowl and mix together with your fingers, rubbing between your fingers to get the oils out of the lemon zest and release the flavor. Sprinkle evenly over the buttered surface, leaving about ¾-inch uncovered on the top edge. Sprinkle evenly with lavender. Gently press everything into the dough, then roll into a tight cylinder. Pinch the seam of the dough to seal it, then stretch the roll to about 18 inches length and adjust the roll to make sure the thickness is uniform all the way down. Slice into 12 even rounds. Place buns, cut side down, into your buttered 13×9-inch baking pan. There should be some space between the rolls. Cover the pan tightly with plastic wrap and set it in a warm, draft-free area until the rolls get puffy and press against each other, about 1½ hours. Meanwhile, adjust your oven rack to its lowest position, place a baking or pizza stone on the rack (optional), and heat the oven to 350°F. Place your baking pan on the pizza stone (or directly onto the rack). Bake until rolls are golden brown on top, about 25-30 minutes. Cool on wire rack 10 minutes. When the rolls are still warm, spread Lemon Mascarpone Frosting on the top of the rolls. Serve warm. Lemon Mascarpone Frosting While the rolls are cooling, make the glaze. In the bowl of a stand mixer, beat the mascarpone cheese with the paddle attachment until smooth, about 1 minute. When the mascarpone is lump-free, gradually add in confectioners’ sugar with the mixer on low speed. Add the lemon zest, turn the mixer up to medium speed and beat until creamy. Turn the mixer back to low, and slowly add the lemon juice and milk, beating until the frosting is uniform. It should be somewhat thin, but not runny.
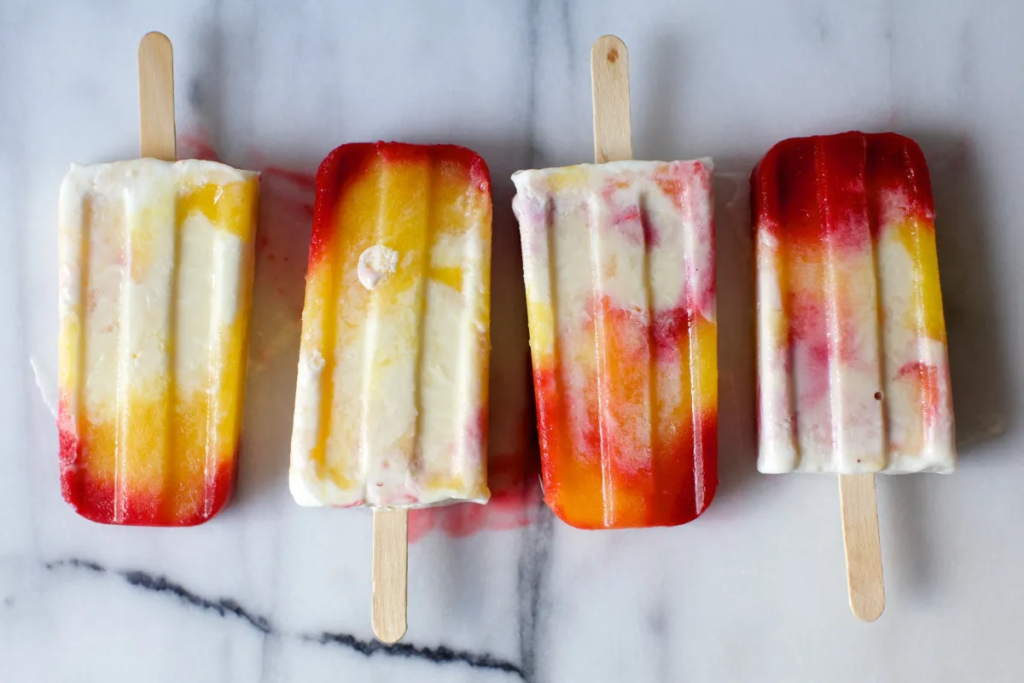 Peach Melba Popsicles
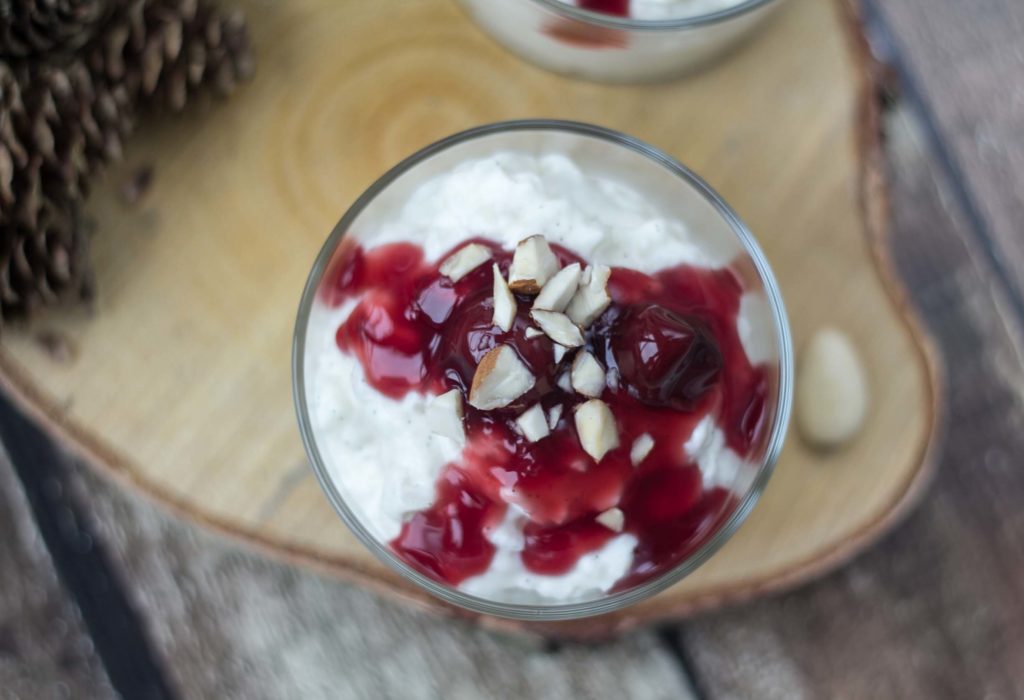
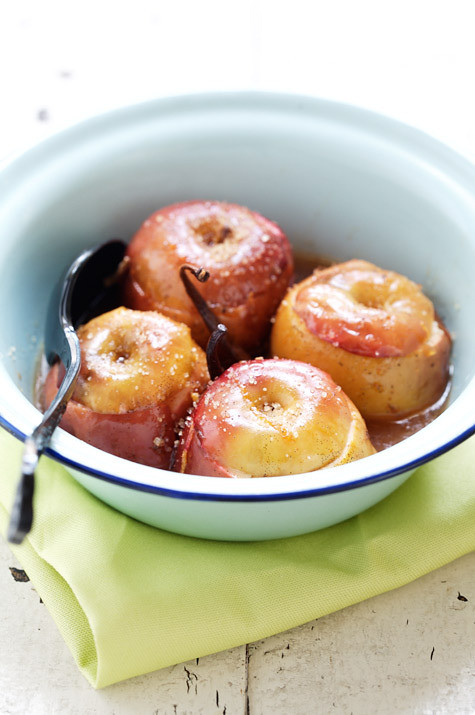 Baked Apples with Spices, Olive Oil and Nuts
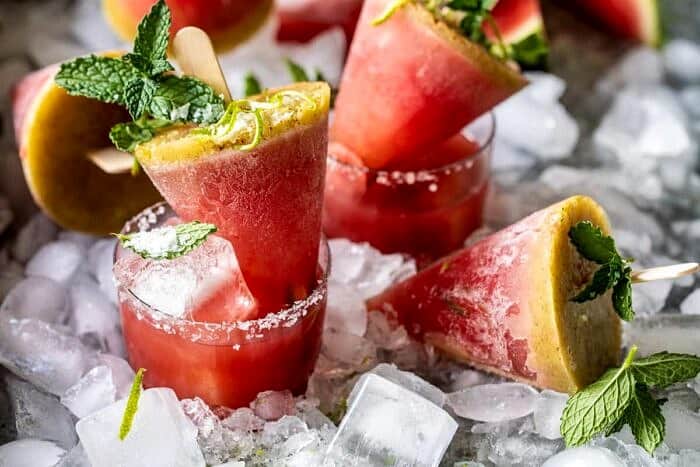 Salted Spicy Watermelon Margarita Popsicles
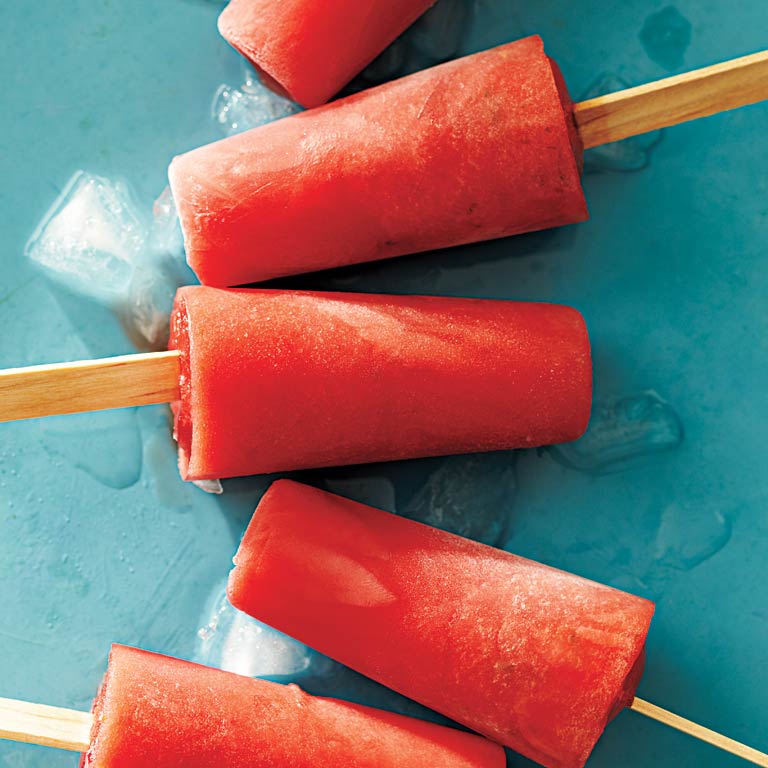 Watermelon-Jalapeno Popsicles
 Lychee Sorbet
 Lemon Sponge Cake with Pear Marmalade
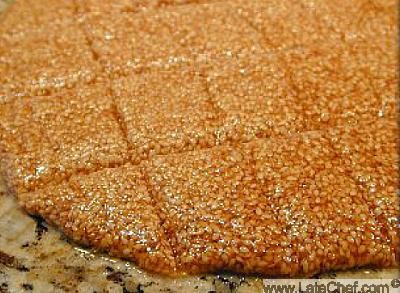 Pastelli (Armenian Sesame and Honey Candies)
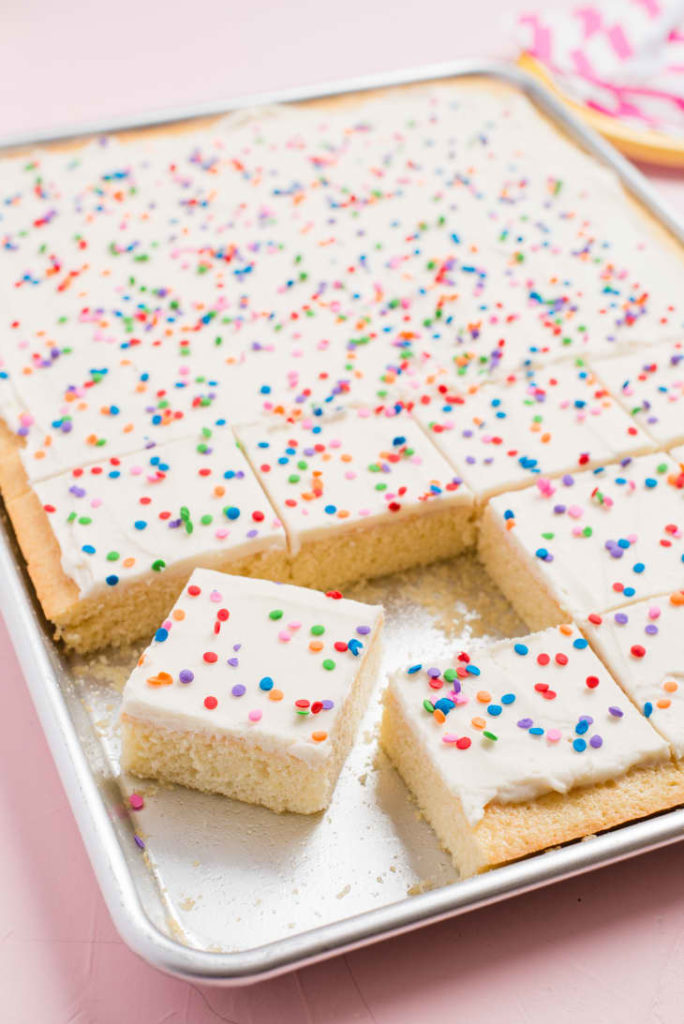 Sheet Pan Vanilla Sheet Cake with Sprinkles
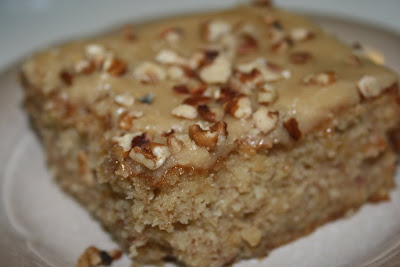 Better Banana Cake with Caramel Frosting
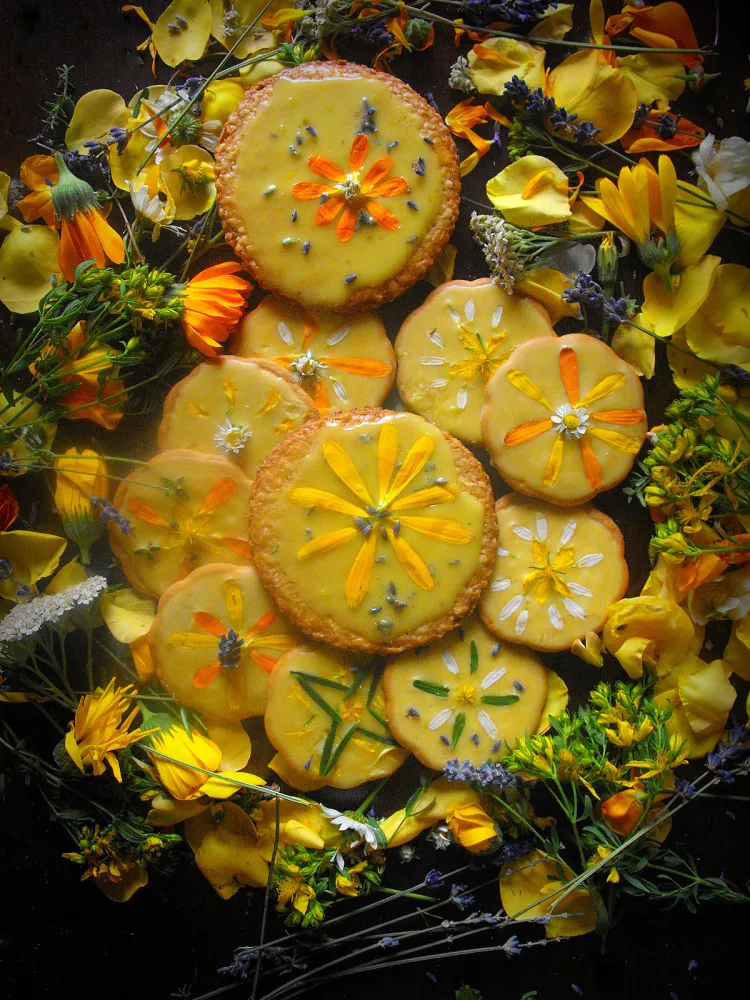 Summer Solstice Herby Honey Cookies
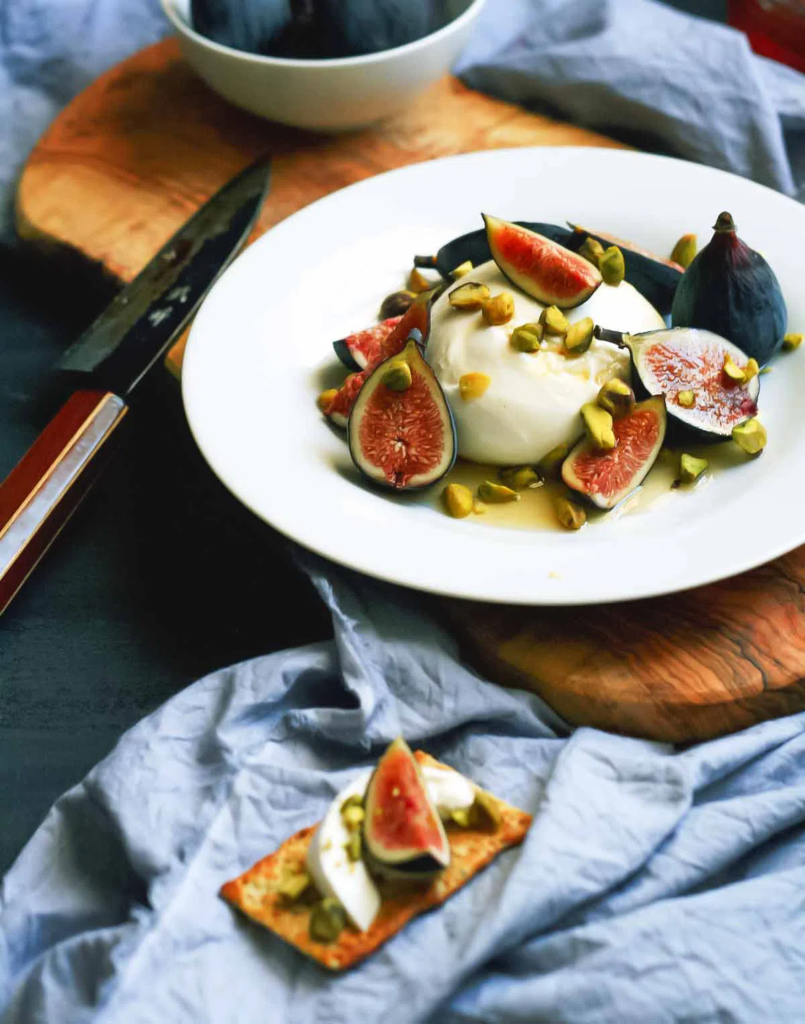 Torn Figs and Burrata
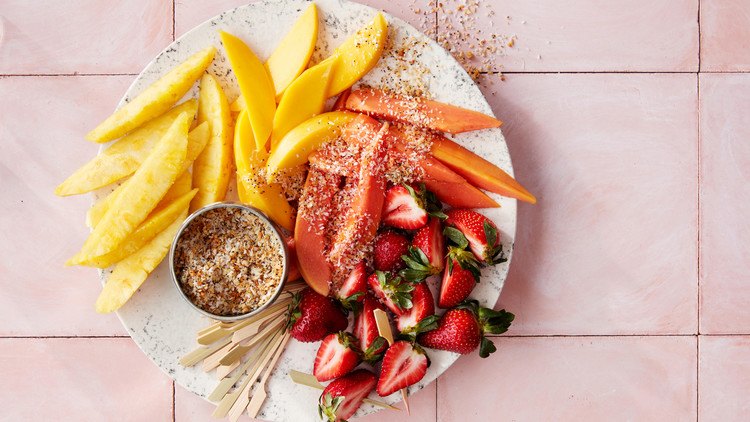
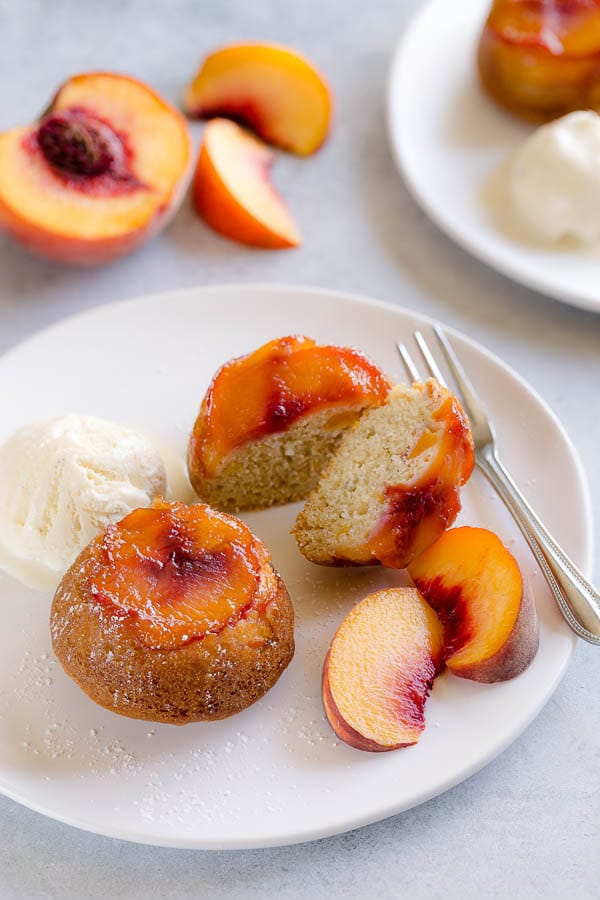 Peach Upside Down Mini Cakes
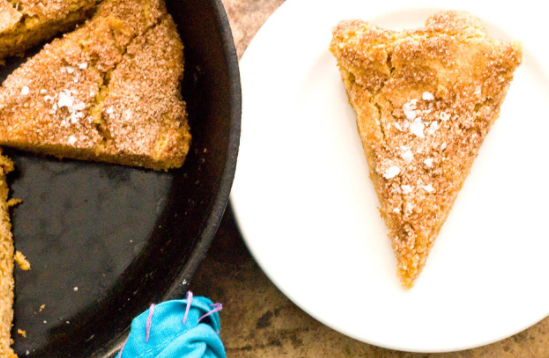 Churro Brownies
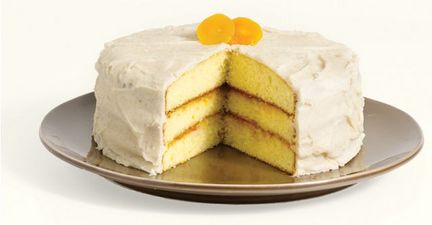 holiHoliday Eggnog Cake with Apricot Filling
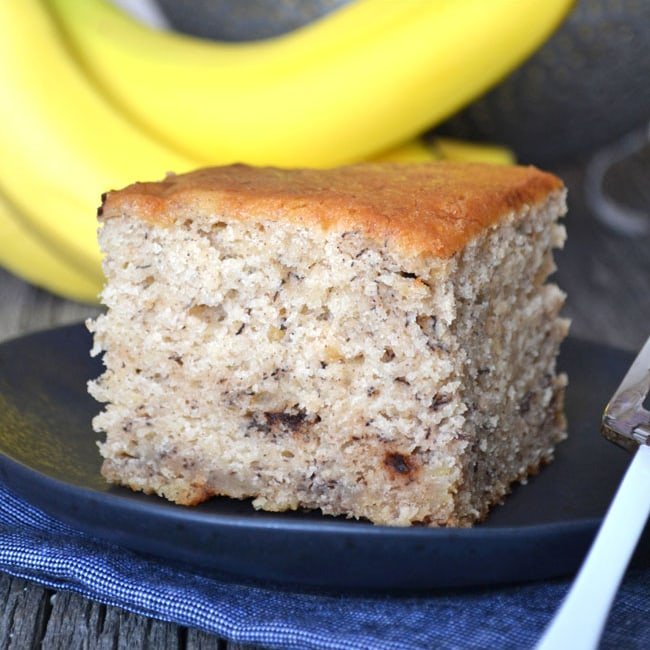 Banana Bread Sheet Cake
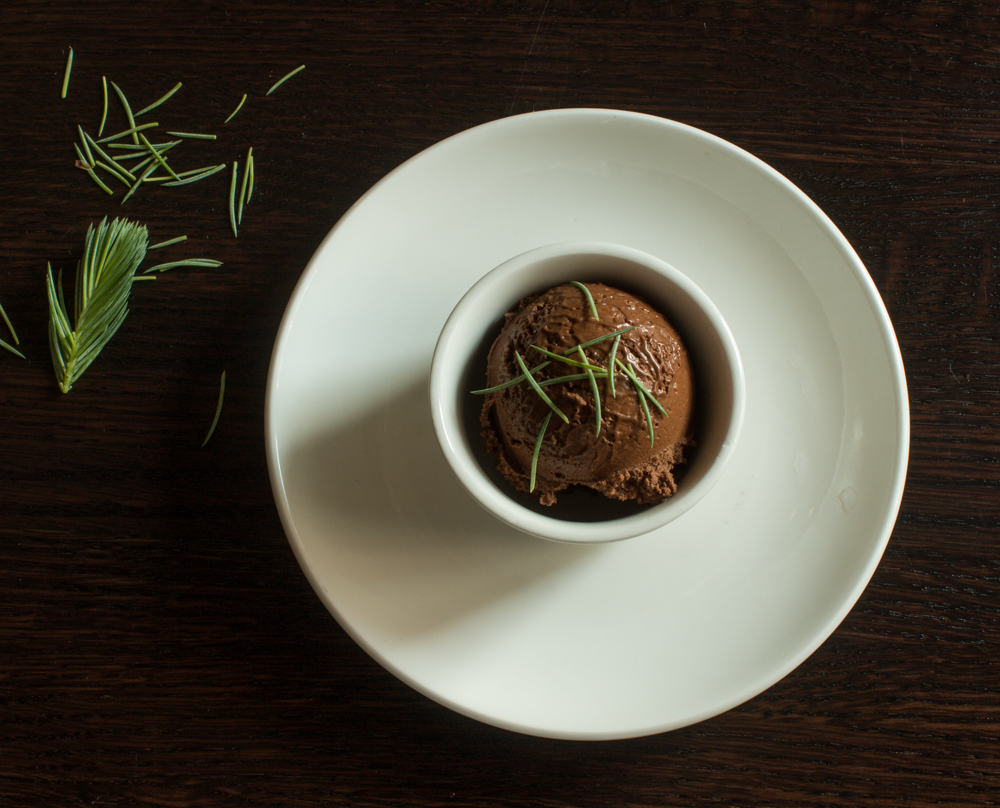
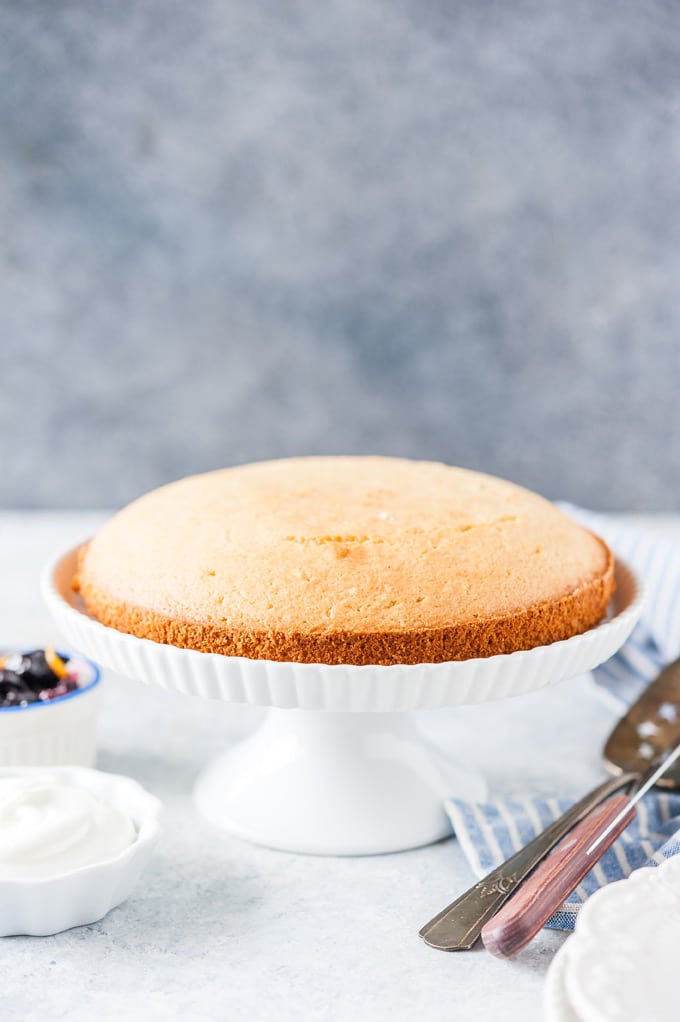 Almond Flour Sponge Cake
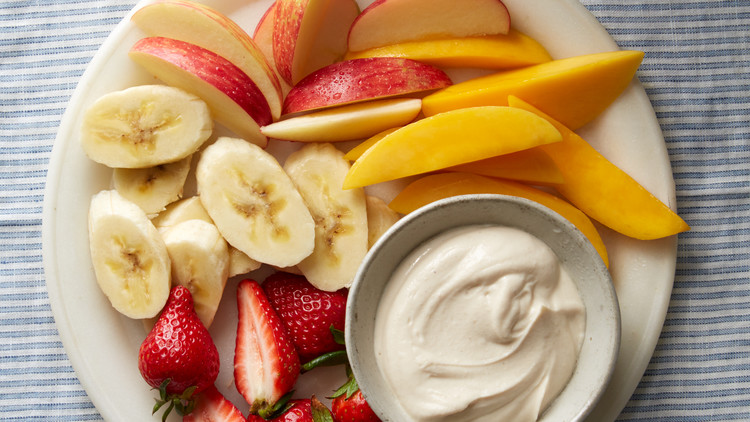 Tahini Fruit Drip
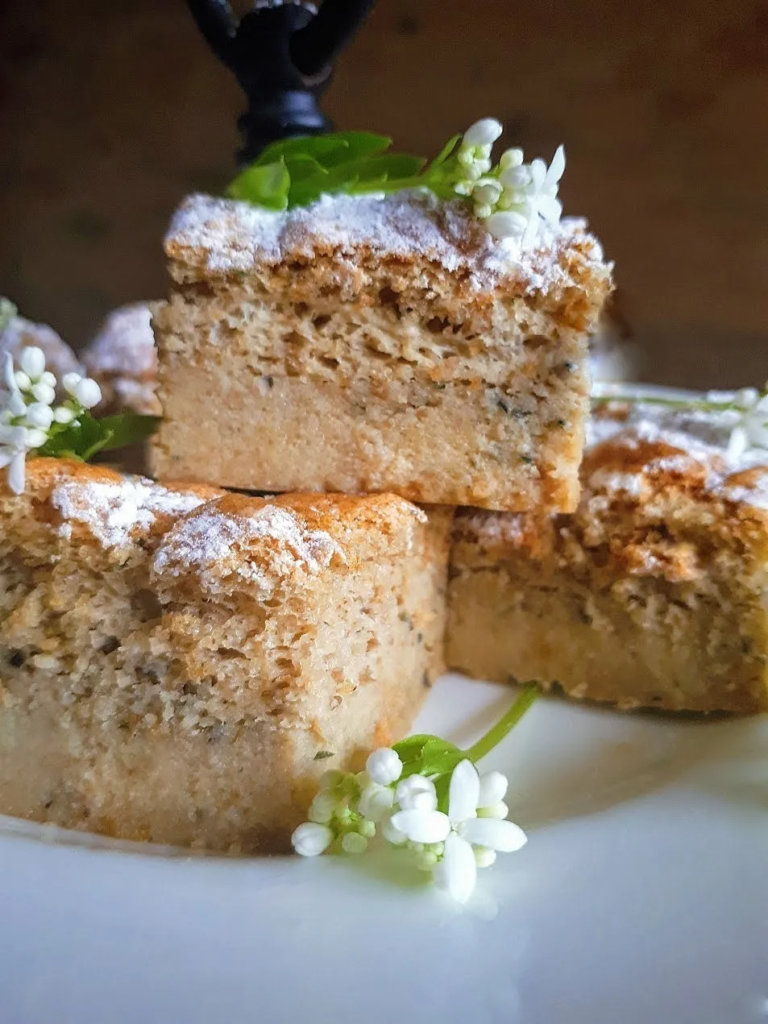
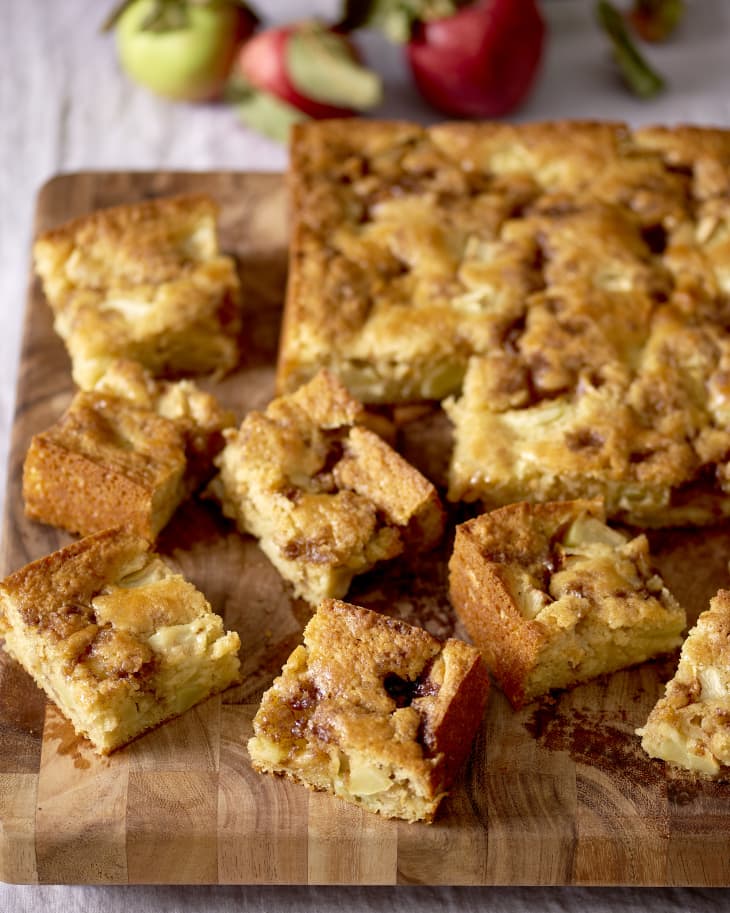 Apple Yogurt Cake with a Cinnamon-Sugar Streak
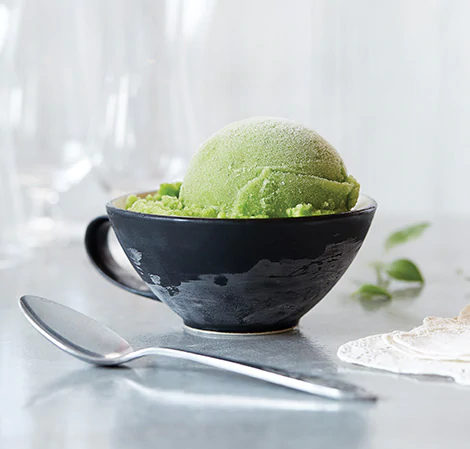 Vitamix Green Apple Ice Cream
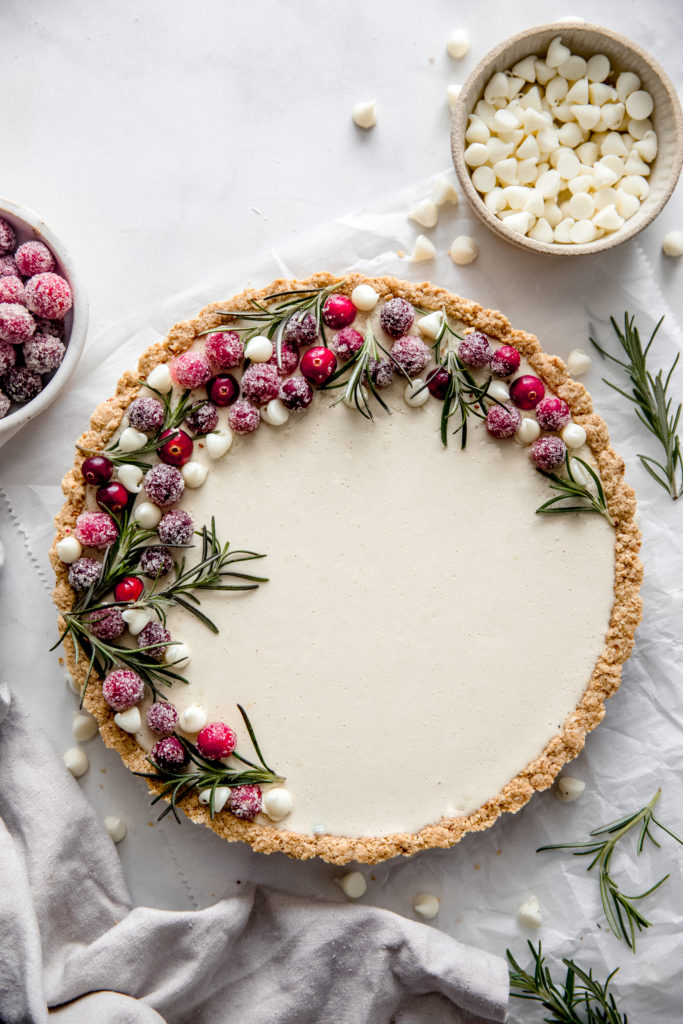 White Chocolate Cranberry Tart
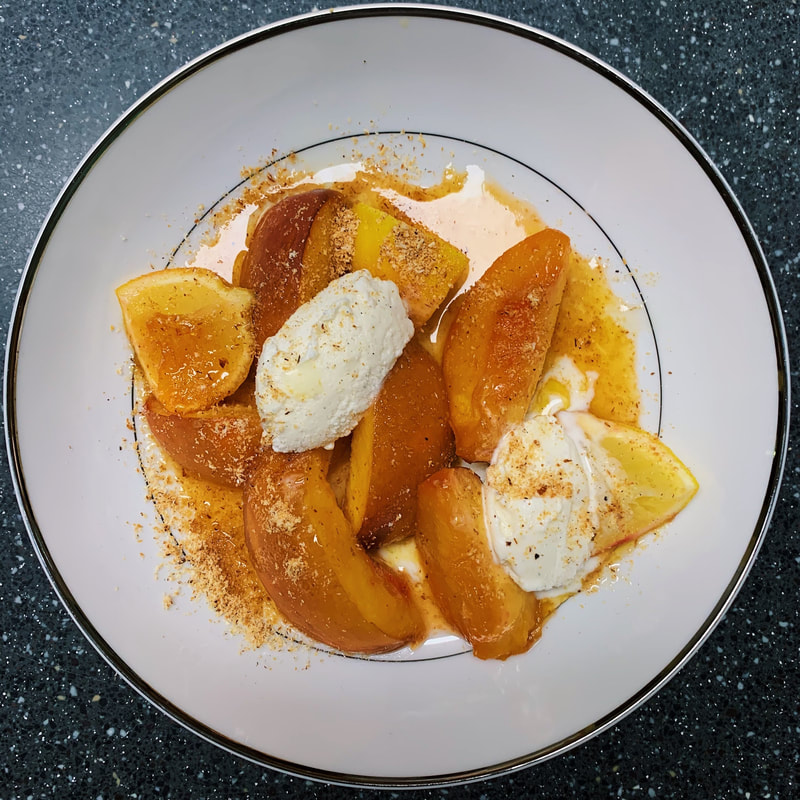 Peaches with Lemon & Saffron
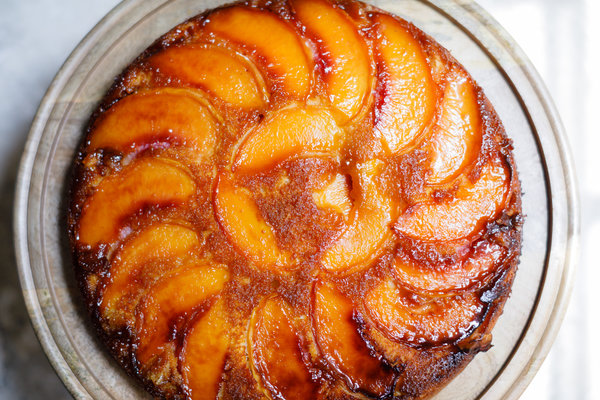 Cast Iron Peach Upside Down Cake
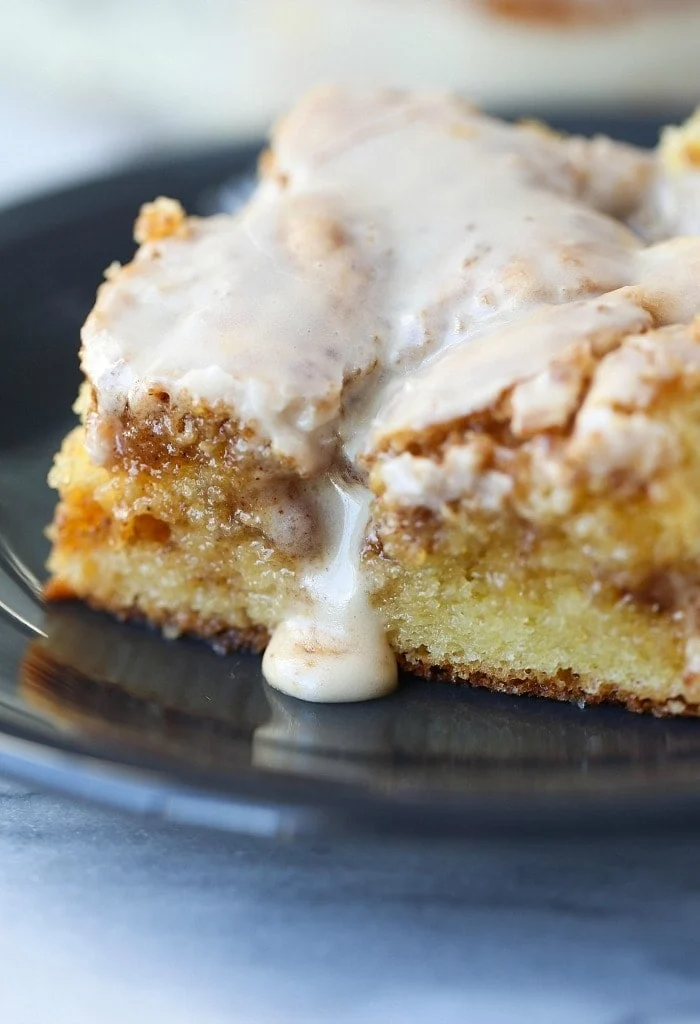 Cinnamon Roll Cake
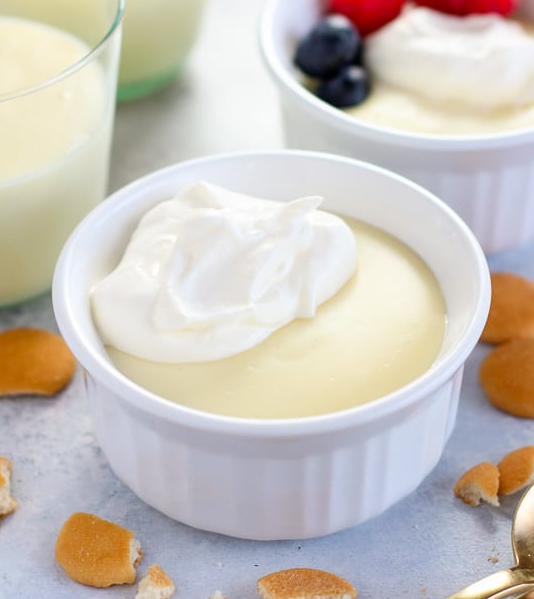 Vanilla Pudding
 Clementine Cointreau Curd
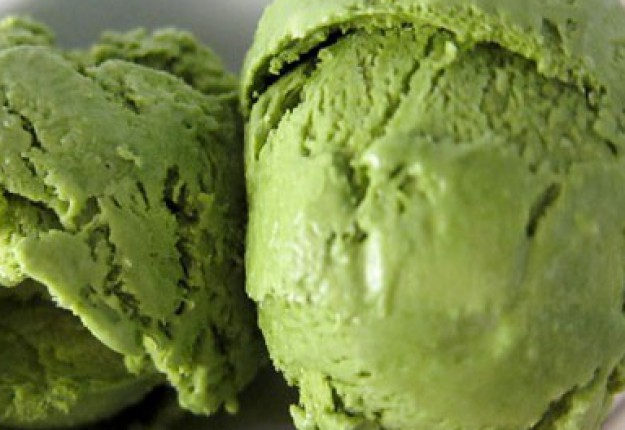 Green Apple Gelato
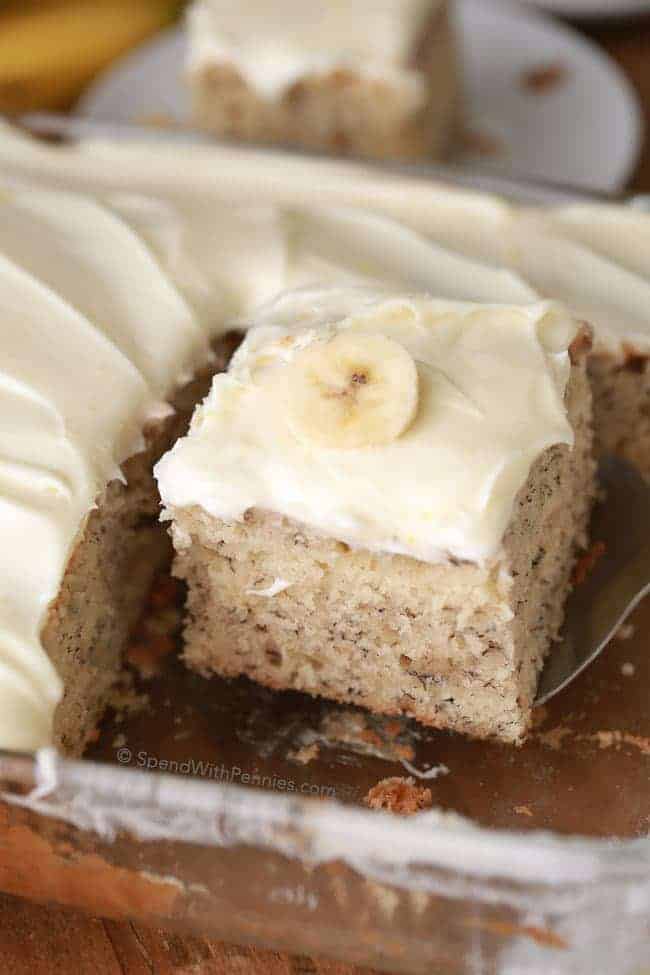 Fluffy Banana Cake
 Fruit Salad with Warm Pear Sauce
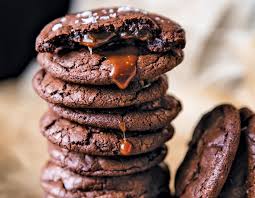 Addictive Salted Caramel-Stuffed Chocolate Cookies
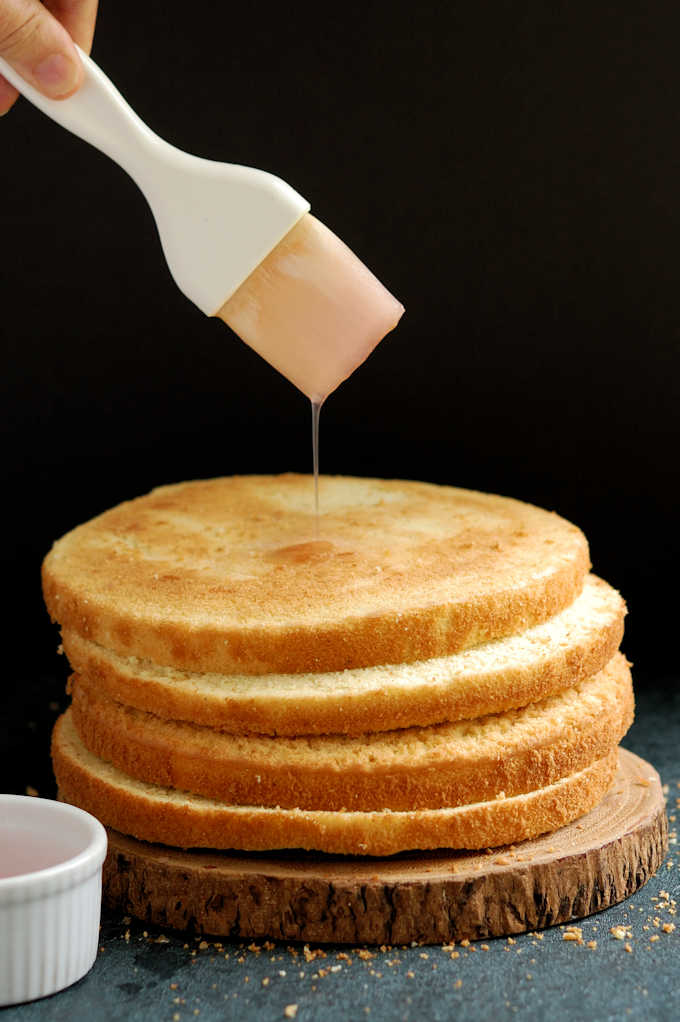
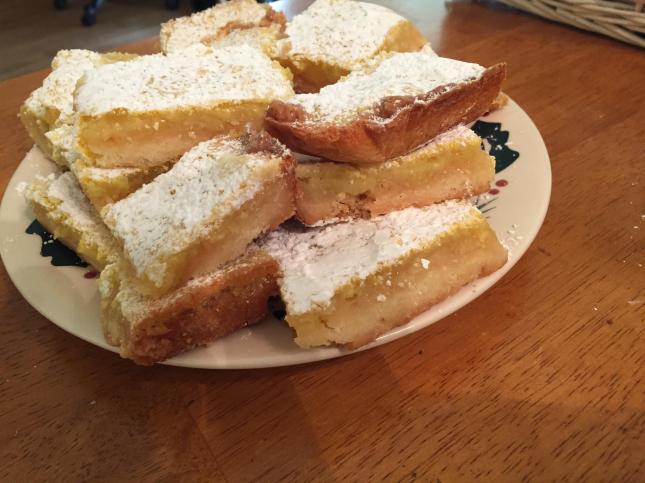 Lemon Squares
 Peach Bubble Cake
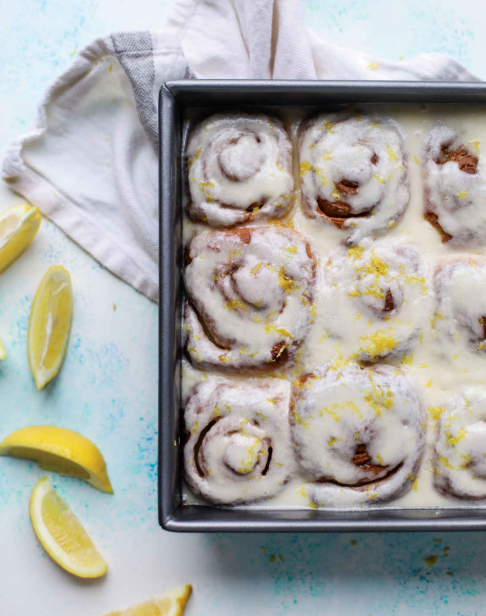 Lemon Mascarpone Sticky Buns