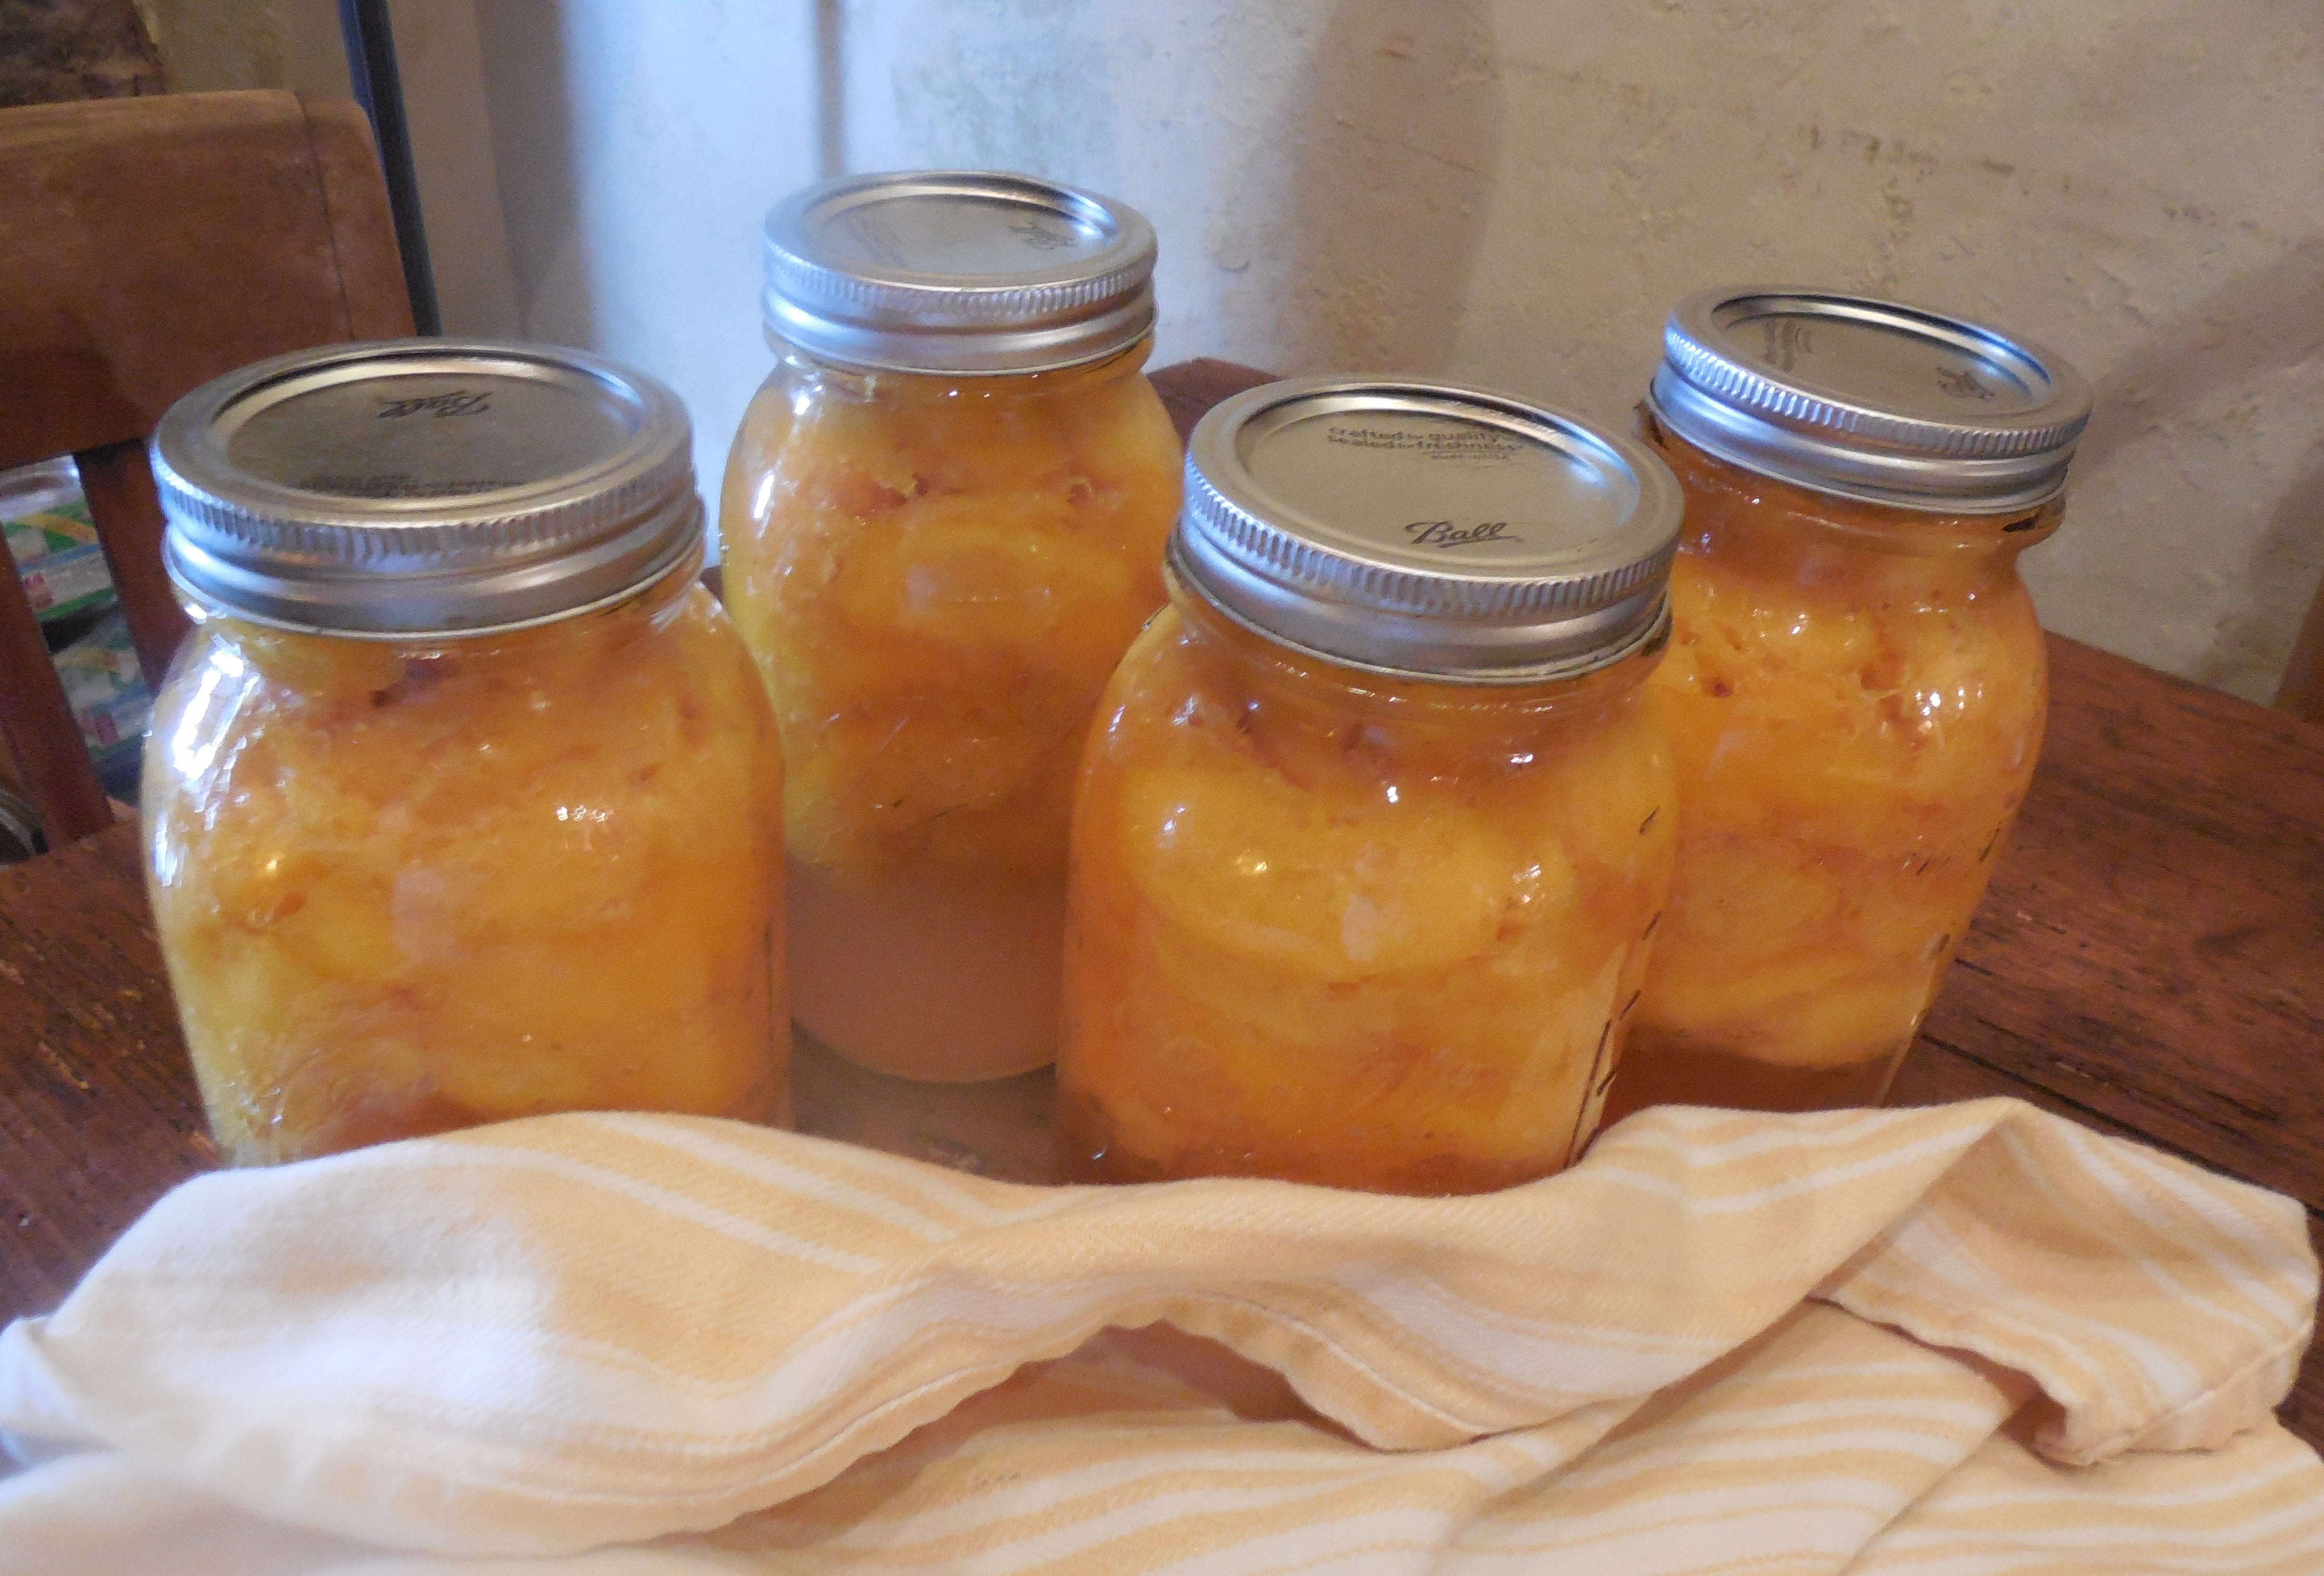
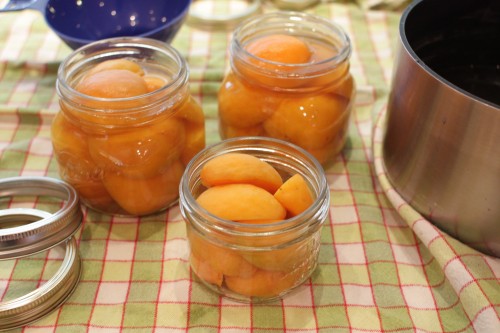
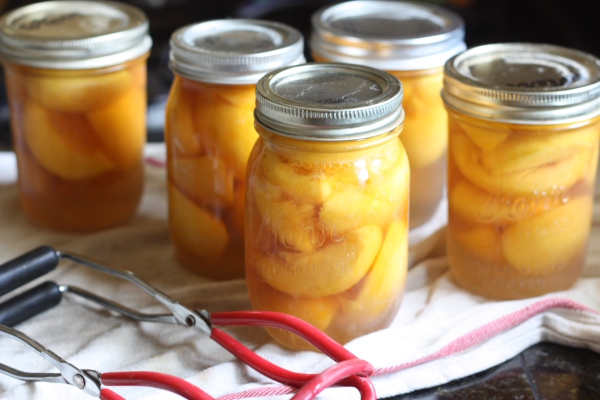
The trick to canning peaches is to look for the freestone varieties. They typically arrive in markets towards the middle point of peach season and they will make your workload far lighter. You can’t tell by looking what kind you have, so ask your grower or the produce person at your local market. Tell them you want them for canning, they’ll understand.
 6 pounds yellow peaches
6 tsp. bottled lemon juice divided
3 C. water
3/4 C. pure maple syrup
1/2 C. bourbon
Prepare a boiling water bath and 4 regular-mouth pint-size jars. Bring a large pot of water to a boil. While it heats, cut all your peaches in half and remove the pits. Fill a large bowl two-thirds the way up with cold water and add 2 tsp. the lemon juice. The cold water stops the cooking, and the lemon helps prevent the fruit from browning.
Working in batches, proceed to blanch all your peach halves for 60 seconds, placing them in the bowl of lemon water to cool as they come out of the pot. Make sure to give the water a chance to come back up to boiling between batches. If the water isn’t hot enough, you will have a hard time removing the skin during peeling.
Once all the peaches have been balanced and they are cooling down, make the syrup. Combine the remaining 4 tsp. lemon juice, the water, and the maple syrup in a nonreactive saucepan large enough to eventually hold all the peaches. Place the pan over medium heat and bring to a gentle simmer.
While the syrup heats, slide the peels off the peaches and cut the peach flesh into wedges, dropping the wedges into the heating syrup as you work. Once all the peaches are in the syrup, increase the heat to high and bring to pot to a boil. Once it boils, remove the pot from the heat.
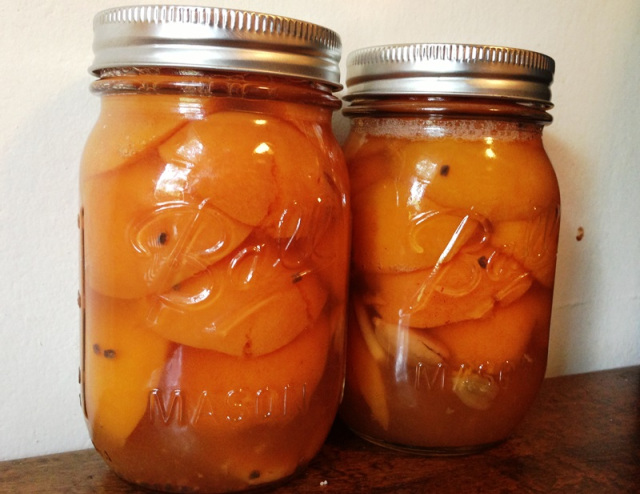
Using a slotted spoon, funnel the peaches into the prepared jars and top with the syrup, leaving 1 1/2 inches of headspace. Add 2 tsp. bourbon to each jar. Tap the jars gently on the countertop to settle the peaches and use a wood chopstick to dislodge any trapped air bubbles. Add more liquid to return the headspace to 1 1/2 inches if necessary.
Wipe the rims, apply the lids and rings, and process in a boiling water bath for 25 minutes. Note: Most the time I’ll tell you that you can use whatever jar you want, but for these peaches, I actually do recommend opting for regular mouth jars. Their shoulders will help keep the peach slices submerged in the syrup and that will ensure they keep their quality longer
 3 C. mango pulp, coarsely chopped into raisin-sized pieces