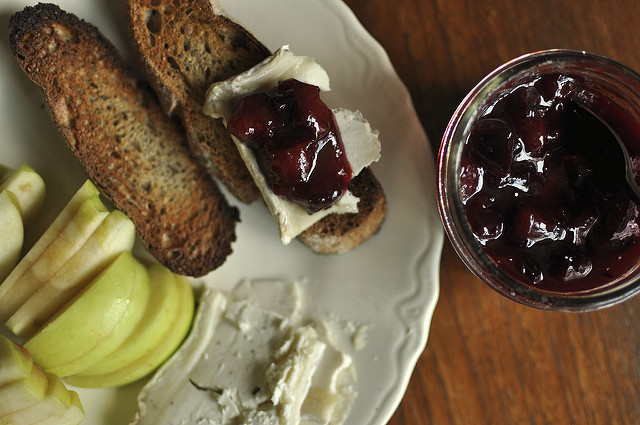
I love having a simple, versatile homemade cheese on hand for adding to sandwiches or pasta, or to dollop on fruit. This farmer cheese fits the bill and can be made without any special cheesemaking equipment. Officially, ricotta is made from “reboiling†the whey left over from other kinds of cheesemaking, but, unofficially, it’s a super simple fresh cheese requiring nothing more than milk, heat, and acid. If you’ve ever added both lemon and milk to your tea (I have—oops) then you know that acidic ingredients will curdle milk. In this ricotta recipe we take advantage of this, and use common acidic ingredients to make cheese.
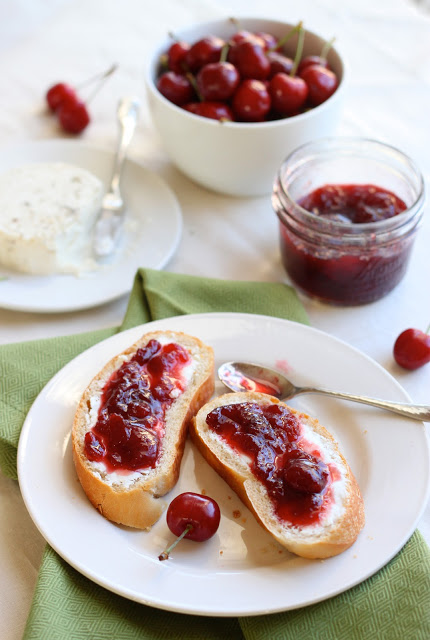
The three biggest determinants to the final flavor of your ricotta are the quality of the milk you start with, the acid you choose, and the amount of time you allow your cheese to drain. Start with very fresh daily. Pasteurized milk and cream are fine, but skip ultra-high-temperature pasteurized options; these often fail to form a nice curd. After thirty to sixty’ minutes of draining, this ricotta is thick enough to spread on toast or serve with fruit.
I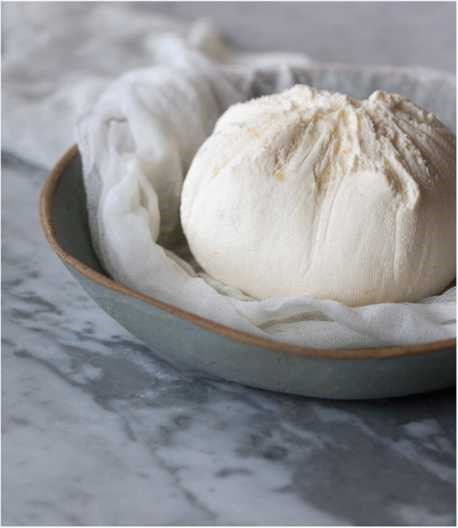 f you drain it long enough, or press it under weight to get even more liquid out, it will become firm and crumbly, much like Mexican queso fresco or Indian paneer. Save the whey that drains off your cheese—you can use it to replace some or all of the water used in bread making and other baking. It adds a nice tang and extra protein.
BASIC RICOTTA
1 quart whole milk
1 C. heavy cream
3 T. white distilled vinegar
l tsp. kosher salt
In a heavyweight, nonreactive saucepot, combine all the ingredients. Stirring occasionally, gently bring the mixture to a simmer over medium heat and watch for the mixture to begin to curdle. You may see some curds very early in the cooking process, but between 185 and 200 degrees F, the curds will become quite distinct from the whey and will float to the surface. Watch for the whey to change from white and milky to yellowish-clear with only a bit of milky haze. When you note district curds and mostly clear whey, remove the pot from the heat and let sit, undisturbed, for 30 minutes. Line a mesh strainer with a damp paper towel, several layers of cheesecloth, or a clean, damp lint-free towel. Set the strainer over the bowl and pour the curds and whey through the strainer. Let sit for at least 30 minutes to drain. Check the texture. The longer you strain the cheese, the firmer it will get. If you plan to strain longer than 1 hour, transfer the cheese to the refrigerator and strain chilled. For an even firmer texture, drain the mixture until the curd holds its shape, then form it into a disk shape and lightly salt the outside of the cheese. Wrap the cheese in a clean towel or several layers of cheesecloth and set the cheese on a plate. Place another plate on top of the cheese, and then set something heavy—like a big can of pumpkin or a jar of tomatoes—on top of the plate to weight the cheese. Transfer the whole contraption to the refrigerator. Periodically check for whey that has pooled on the bottom plate and discard it. Drain the cheese until it has reached the desired firmness, up to 12 hours. Wien the ricotta is ready, transfer it to a clean container with a tight-fitting lid and keep it chilled. It’s best eaten fresh but will keep for about 1 week in the refrigerator.
Try these ricotta variations. Simply follow the instructions above, but substitute these ingredients.
LEMON RICOTTA
1 quart whole milk
1 C. heavy cream
3 T. freshly squeezed lemon juice
l tsp. kosher salt
Zest of l lemon
LIME RICOTTA
l quart whole milk
l C. heavy cream
3 T. freshly squeezed lime juice
l tsp. kosher salt
Zest of l lime
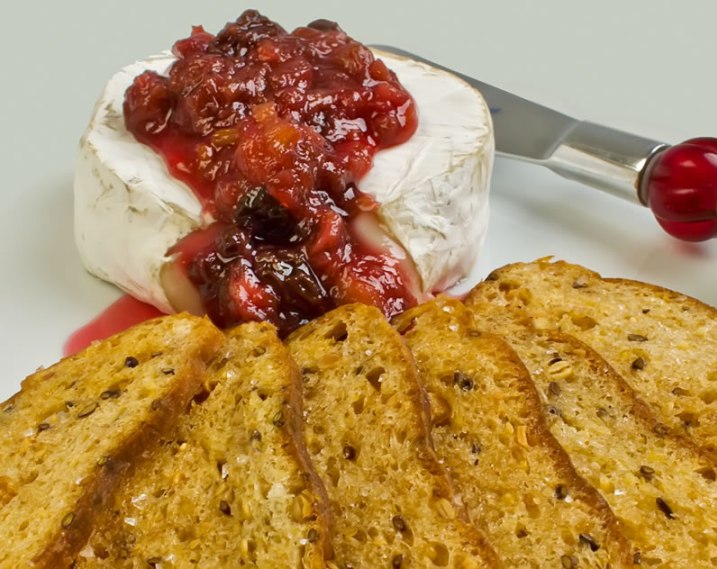
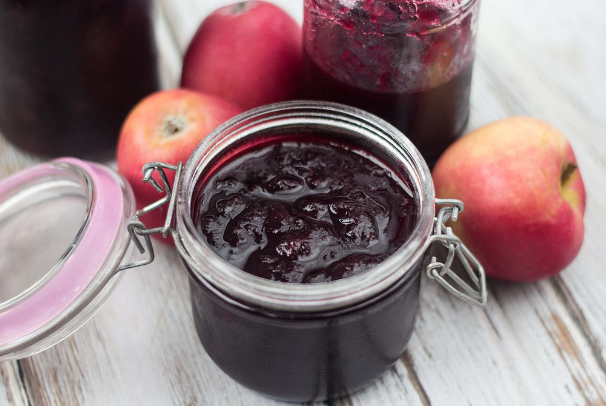
 1 lb. fresh cranberries

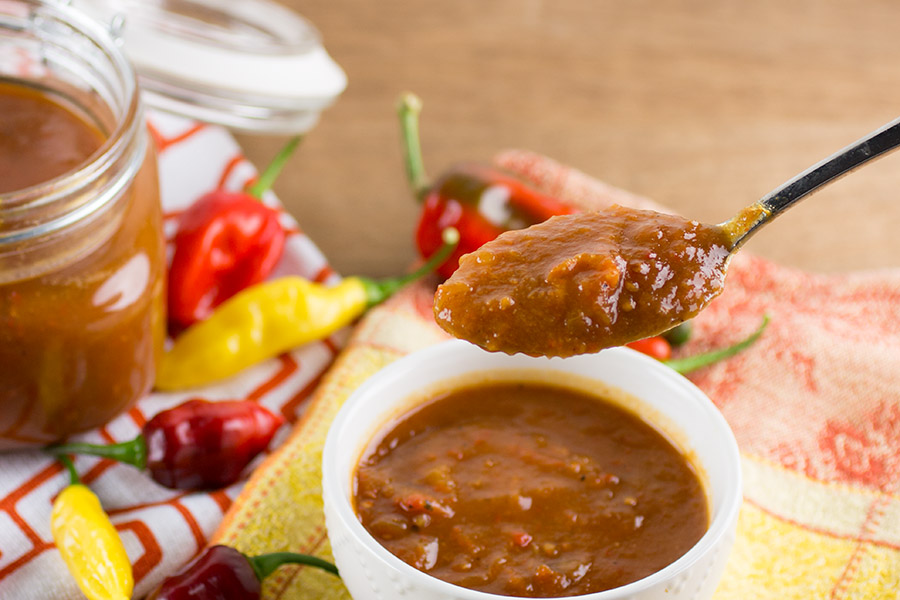
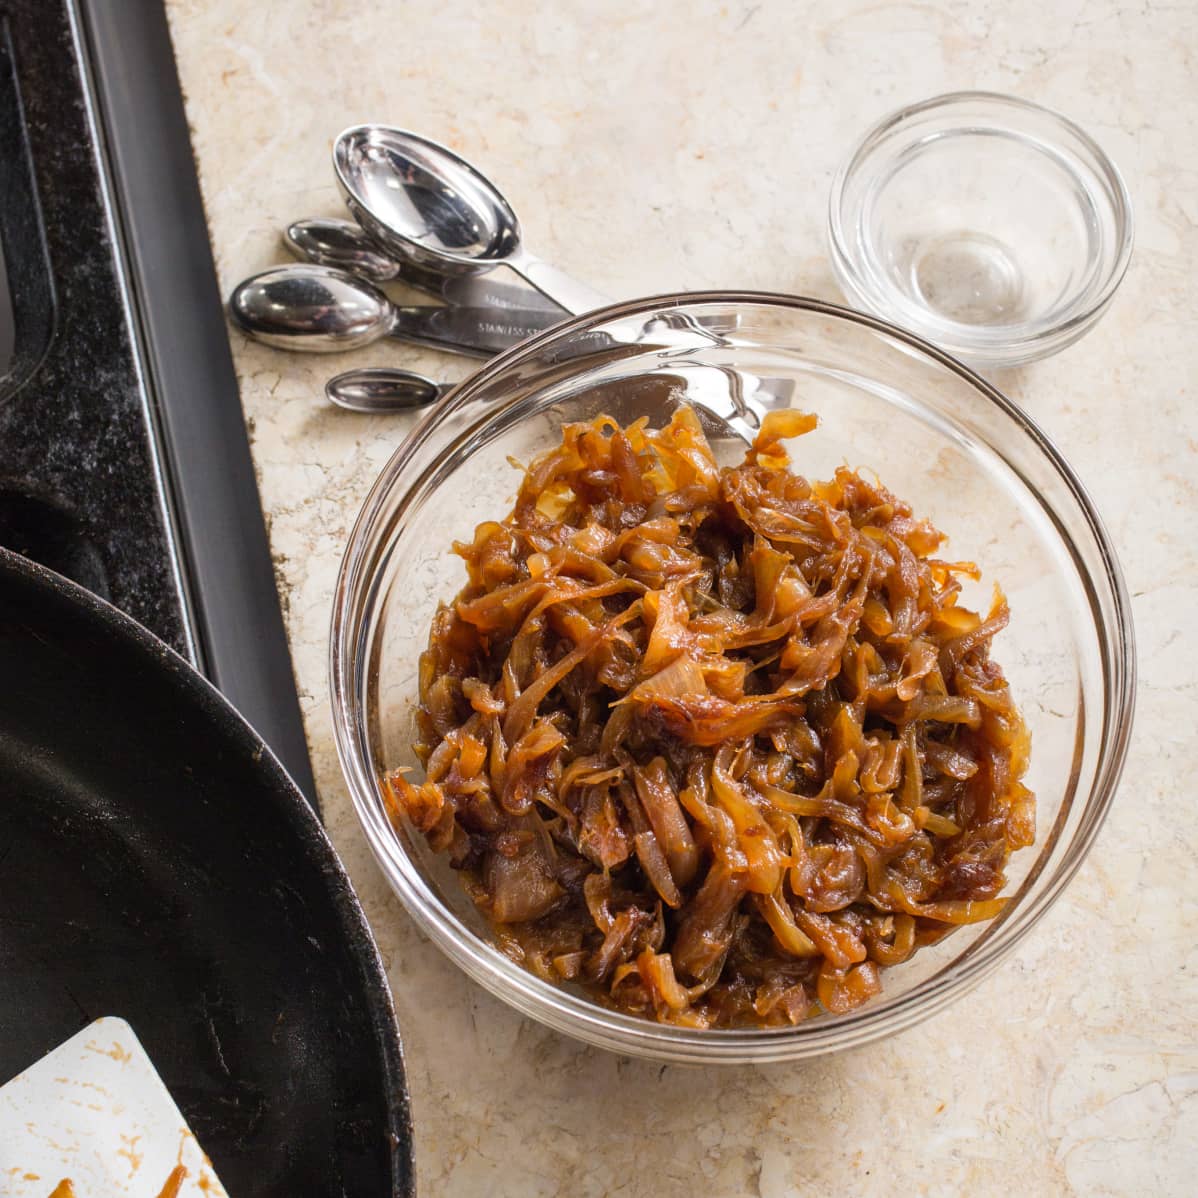 If the onions are sizzling or scorching in step 2, reduce the heat. If the onions are not browning after 15 to 20 minutes, raise the heat.