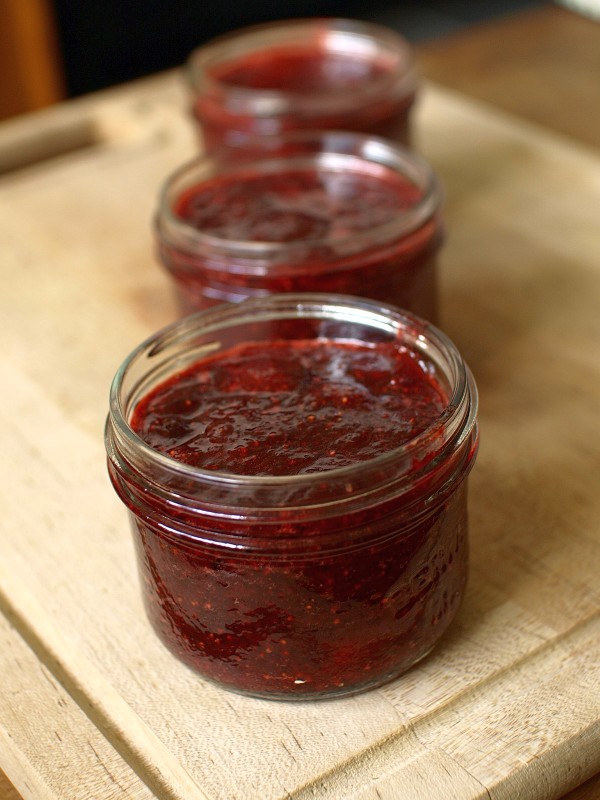
Strawberry, Balsamic and Black Pepper Jam
 3 pounds fresh strawberries, hulled and chopped (about 9 C.)
1 1/2 C. white granulated sugar
1/4 C. balsamic vinegar
1 tsp. finely ground black pepper (or to taste)
Start by getting a very large pot of water on the stove for processing the jars. It needs to be large enough so that there will be at least 1-inch of water above your jars – I use a very large soup pot. That much water takes a long time to boil, so put it on first. At the same time, place a small clean saucer in the freezer. If you time this whole process well, the jars should be done just a few minutes before your jam.
When the water starts boiling, add your empty jars to the water to sterilize. If you don’t have a canning rack, place a cotton tea towel in the bottom of the pot. Make sure your jars don’t touch the bottom or sides of the pot. Place the lids and rings in a heat proof bowl, ladle in some of the boiling water to cover, and leave to sit. Boil the jars for at least 10 minutes, and then carefully remove, dumping out the water from each one before placing on a dish towel. Keep the water boiling in the pot for processing.
In a large pot or dutch oven over medium heat, stir the sugar in with the strawberries and bring to a simmer. Cook for 5 minutes, then strain the fruit through a fine colander, stirring the fruit a bit to loosen the juices. Return the juice to the pot and reserve the fruit.
Simmer the juice uncovered for 20 minutes, or until you have about 1 1/2 C. remaining. Return the strawberries to the the pot with the juices, and add the balsamic vinegar. Continue cooking for another 15 minutes. To check if the jam is done, remove the saucer from the freezer, place a dab of the liquid jam on the plate, and return the plate to the freezer for 1 minute. The jam will be stiff, but won’t quite gel.
Remove from the heat, and skim off as much of the foam as you can. Stir in the black pepper to your taste. It’s difficult to get a sense of the amount of pepper when the jam is hot, so if you want to check the flavor put a big glob of jam on the plate in the freezer for a minute. When it’s cool give it a taste, and add more pepper until you’re happy with the result.
At this point your jars should be ready to go. Fill each jar to within a 1/4 inch of the top (I know, that’s really full!). Put on the lids and tighten the rings to just finger tight – you want the air to be able to escape during processing. If you don’t have quite enough jam left to completely fill the last jar, place it in the fridge and eat within a few weeks.
Carefully lower your jars into the boiling water, again using a rack or a towel, and keeping the jars from touching the bottom or sides of the pot, or from touching each other. That last thing you want after all this work is for a jar to crack or explode! Process for 5 minutes – if you live above 1000 ft, add 1 extra minute for each additional 1000 ft above sea level.
Remove the jars from the water and place on a towel in a corner of the kitchen where they can be left undisturbed for 12 hours. After about an hour, check that the tops of the lids are fully sealed by pressing down on the middle of the lid – if you find one that pops up and down, place that jar in the fridge immediately and eat within a few weeks.