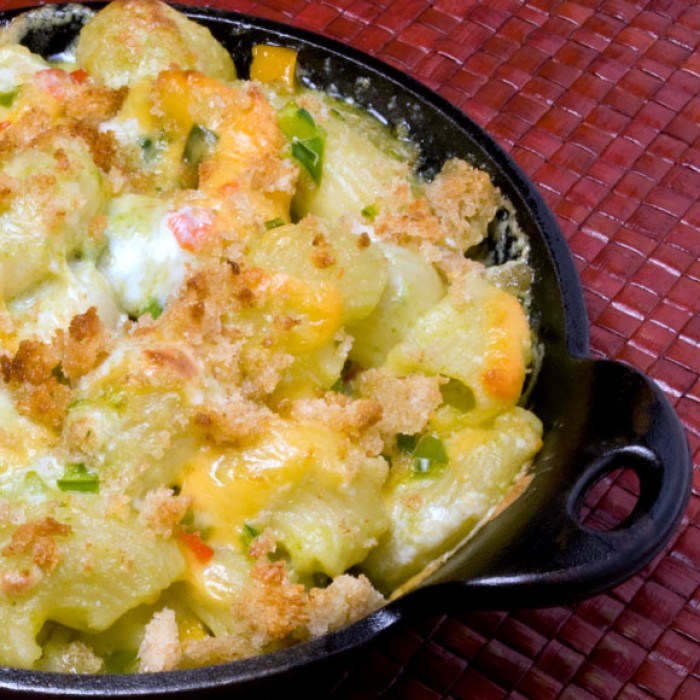
Even folks who are not especially enamored of traditional Mac & Cheese, love this hot and spicy, chile-laden version. For a rustic effect, serve in individual iron skillets or kettles.
1 pound, short, dried, tubular pasta, such as mini penne, garganelli, maccheroni, mostaccioli, tortiglione, or ziti (about 2¼ pounds cooked)
2 tsp. sea salt
6 tsp. unsalted butter, melted
2 C. dried white bread crumbs, coarsely crumbled
2 clove garlic, pressed or minced
sea salt, to taste
9 oz. Tillamook White Extra Sharp Cheddar (aged over 2 years)
9 oz. Queso Asadero cheese
1½ oz. (about 3/4 C.) finely grated Parmesan
2 tsp. unsalted butter 1 C. minced yellow onion (4 oz. or about ½ large onion)
¼ C. all-purpose flour
3 C. Green Chile Crema
sea salt, to taste
½ C. stemmed, ribbed, seeded, red bell pepper
½ C. stemmed, ribbed, seeded, orange bell pepper
½ C. stemmed, ribbed, seeded, green poblano or Anaheim pepper
½ C. fresh sweet corn sea salt, to taste freshly ground black pepper, to taste
Coat an 8- to 10-C. capacity, ovenproof casserole with vegetable spray or a dab of butter; or coat six 1½-C. capacity stoneware ramekins or iron skillets. Reserve. To prepare the pasta, bring a large pot of water to a rapid boil, add 2 tsp. salt, return to a boil, and add the pasta. Cook until still VERY al dente. Do not cook until fully tender. Remove the pasta pot from the stove and carefully pour the water and pasta into a large colander to drain. Run cold water over the pasta to cool it to room temperature. Add pasta to a large mixing bowl.
Toss the pasta in the bowl with all of the cheeses and reserve. To make the breadcrumb topping, in a small mixing bowl, combine the melted butter, bread crumbs, and garlic. Season to taste with sea salt. Reserve. To make the cream sauce, in a medium saucepan, melt the butter, add the onions, and slowly cook until onions are just beginning to soften. Add the peppers and corn, and stir to coat with butter. Stir in the flour and cook without browning for two minutes. Slowly pour in the Green Chile Crema and whisk constantly while bring the sauce to a simmer. Simmer, whisking continuously, for 2 minutes. Season to taste with sea salt. To finish the dish, pour the sauce over the pasta and cheeses in the bowl. With a large spatula, fold to combine. Spoon into the prepared casserole, mounding slightly at the center.
Sprinkle on the breadcrumb topping. Bake at 350º for 30-40 minutes for the single casserole or 10-15 minutes for individual ramekins, until heated through and just bubbling. (High heat or excessively long cooking time may curdle the cheeses.) Broil for a minute or two to finish browning the top.
Green Chile Crema
A creamy, silky sauce with a perfect balance of fiery heat, rich creaminess, and acidic and herbaceous counterpoints.
2 C. heavy cream
26 oz. fresh, stemmed, seeded, roasted, peeled green Anaheim chiles (about 3 C.)
1 tomatillo, papery skin removed, sticky coating rinsed off, stemmed, chopped
2 tsp. minced garlic
3 green onions, green parts only, chopped
sea salt, to taste
In a medium saucepan, heat the cream and add the chiles, tomatillo, and garlic. Simmer gently for 2-4 minutes and then remove from the heat. Let cool. Using a blender, pour the cream and chile mixture into the container and liquefy. Add the green onion and liquefy.
Season with salt to taste. Pour the crema through a single mesh strainer to remove any remaining coarse particles. The crema should be very smooth.
 1 tablespoon soy sauce


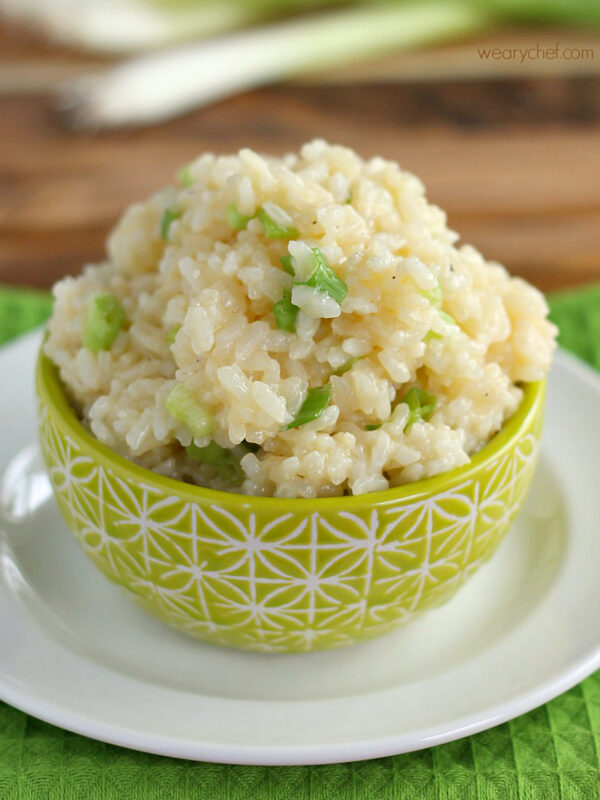 Cheddar Chive Rice
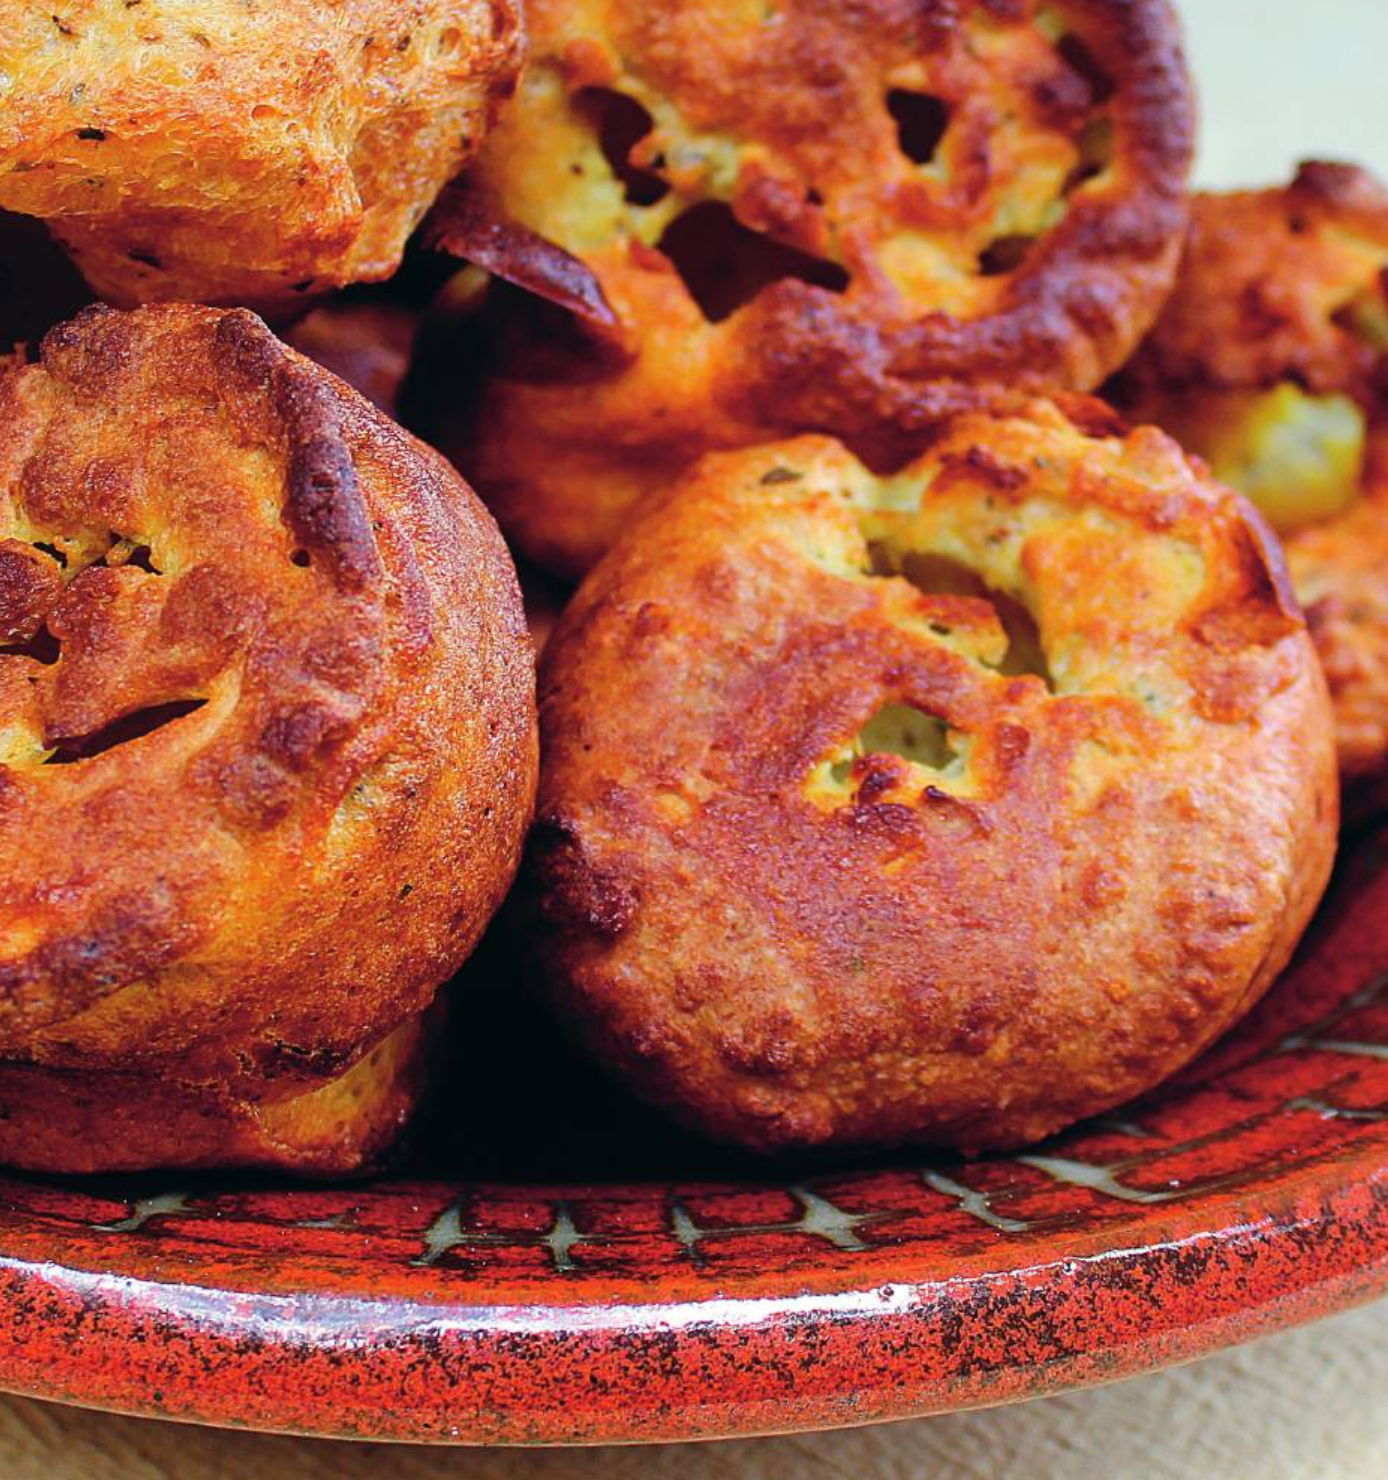 Porcini Yorkshire Pudding