Processing: Pressure Canner 65mins (pints), 75mins (quarts)
Yield: 36 C.
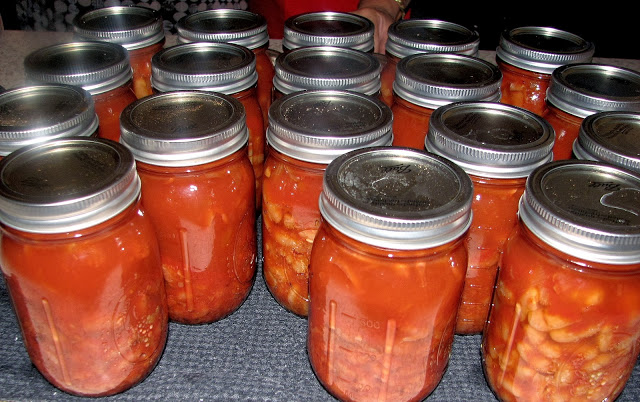
Baked beans are one of the most popular pressure canned food you can make easily at home – and cheap to can in bulk, too! Only use small amounts? Can in half-pint jars. Sunday breakfasts or for atop potatoes, or as a snack with some toast? Pressure can in pints. You can also pressure can in quarts for a family meal ready to heat and eat in minutes. Baked beans are easy, cheap, delicious AND versatile – make your own flavor using different beans and spices!
 4 lb. dried haricot beans – or other dried bean (or a mix)
water
16 C. tomato juice
4 C. finely diced onion
6 T. kosher salt (or pickling/canning salt)
2/3 C. raw sugar
dried spices/garlic (optional)
Boil beans 2mins, soak for 1 hour. Weigh dried beans amongst two large pots. Cover with water by 2 inches (5cm). Bring to a boil and boil for 2 minutes. Then turn the heat off, cover and leave for 1 hour. Then drain well. FACT: draining the water several times during cooking helps to remove the complex sugars from the beans, which create gas in your intestine. Boil beans 5mins, soak 15mins. Return soaked beans to pots, cover with fresh water by 2 inches (5cm). Bring to a boil and boil for 5 minutes. Then turn the heat off, cover pots and leave for 15 minutes. Then drain well.
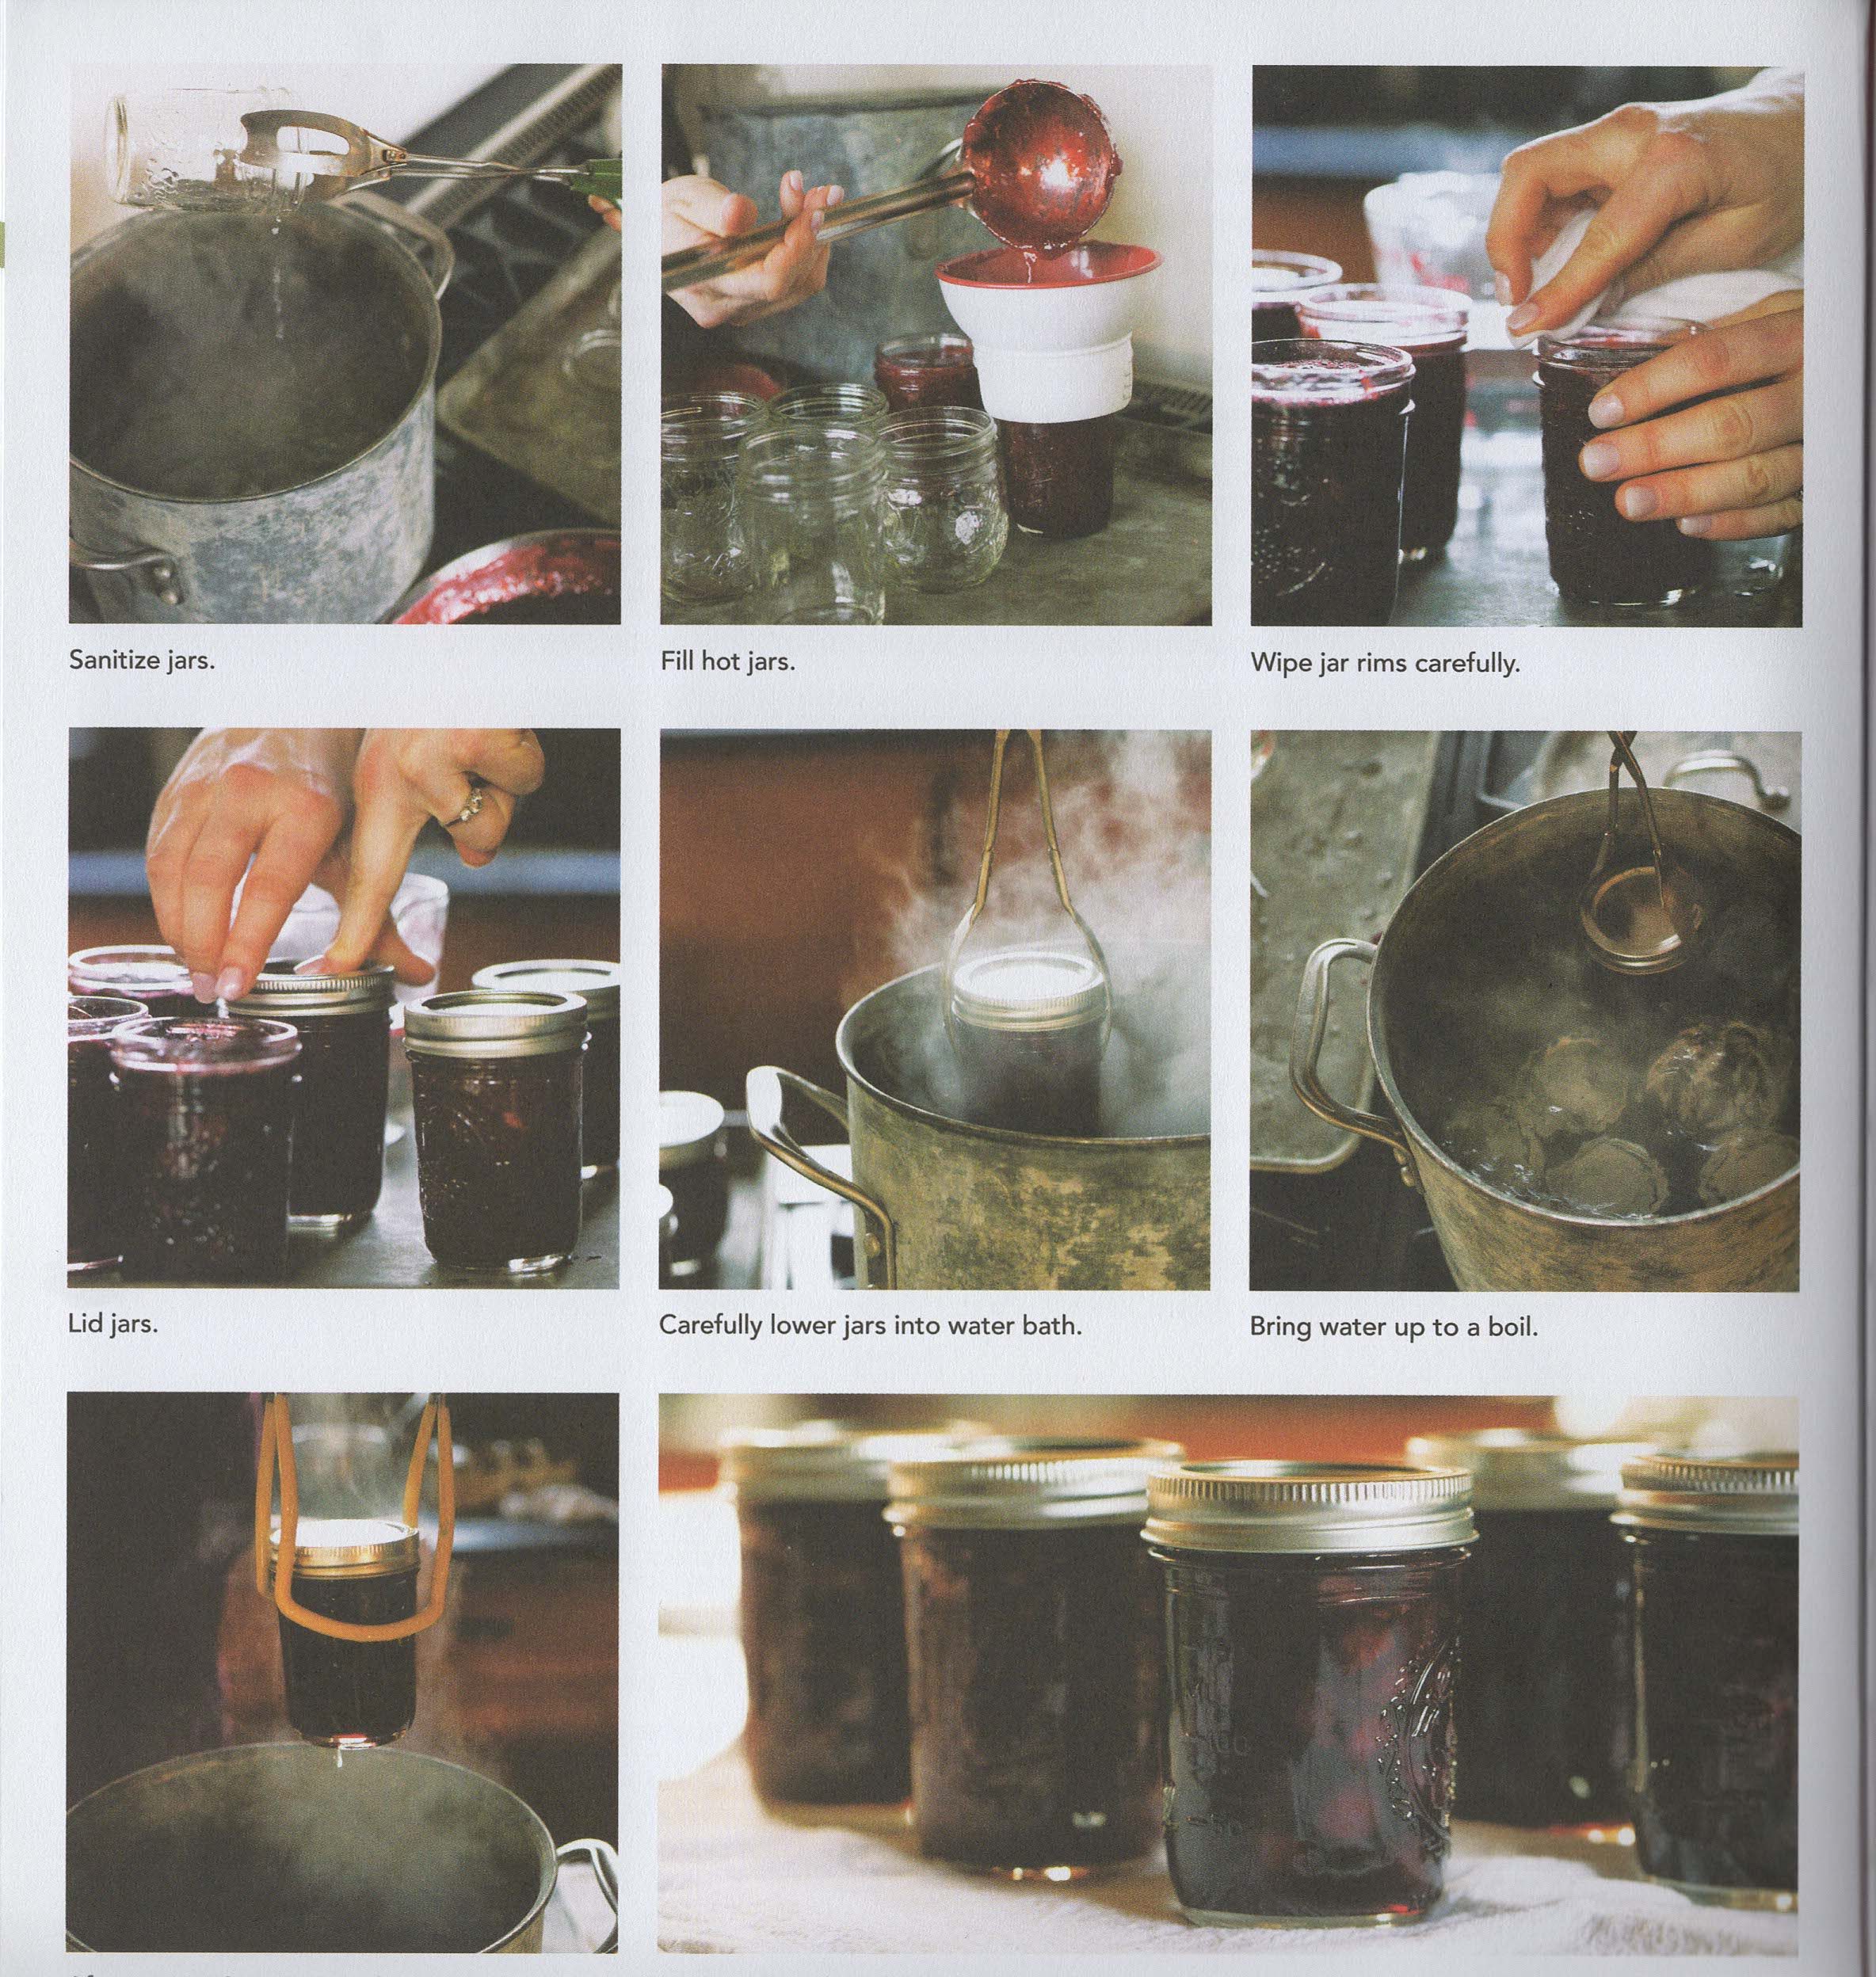
Prepare jars. Prepare jars by covering in water and boiling for 10 minutes.
Make tomato sauce. Combine the tomato juice, onion, salt and sugar in a pan. Bring to a boil.
Prepare lids. While you are making the sauce, place the lids into a bowl of boiled water. Do not simmer or boil, just let the lids heat through for 5 minutes while you fill the jars, removing the lids from the water when you are ready to place them onto the jars so they stay hot.
Ladle hot beans into hot jars. Spoon the hot soaked beans (no water) into your hot jars: fill jars 2/3 full with the beans. Ladle the hot tomato sauce over the beans, filling to 1 inch headspace (the headspace is the distance from the jar rim to the sauce level). Remove bubbles using a non-metal utensil (ie chopsticks) and top up with extra sauce to the 1 inch headspace if required. Wipe rims clean with paper towel and add warmed lids and screw on bands to fingertip tight.
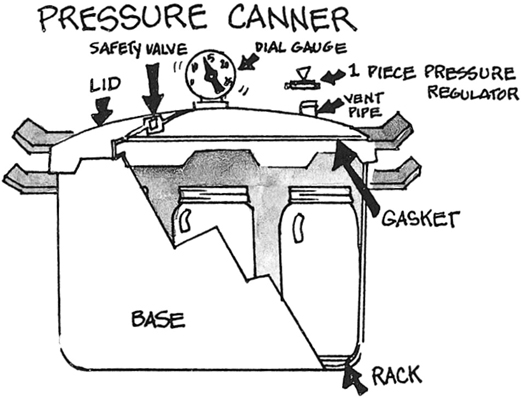
Pressure canner processing. Your pressure canner needs 2 inches (5cm) of pre-boiled water in the bottom (and a jar rack inside the base) before adding the hot jars. Once you have one layer of jars in the canner, add a second jar rack and add the second layer of jars onto the second rack. Put the lid onto the canner and turn onto high heat. Once the white steam is present (constant stream), vent for 10 minutes before adding the weight and bring up to pressure (10lbs weighted, 11lbs dial gauge). Adjust pressure level according to your altitude if required. Once pressure is reached, start your timer for 65mins (pints) or 75mins (quarts). Once the time is up, turn the heat off and allow pressure to return to zero. Then remove the weight and wait another 5 minutes before removing the lid and cooling jars overnight on a towel-covered bench.
Next day check for seals. Check jars have sealed before labelling and storing in a cool, dry and dark place for up to 12 months.
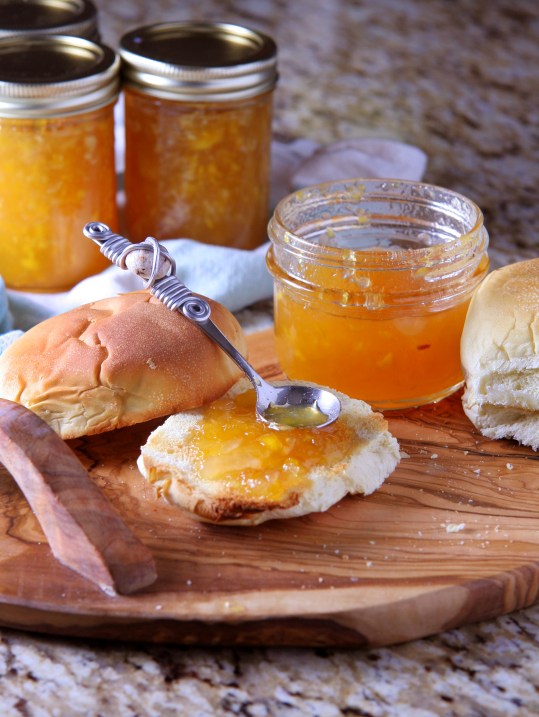
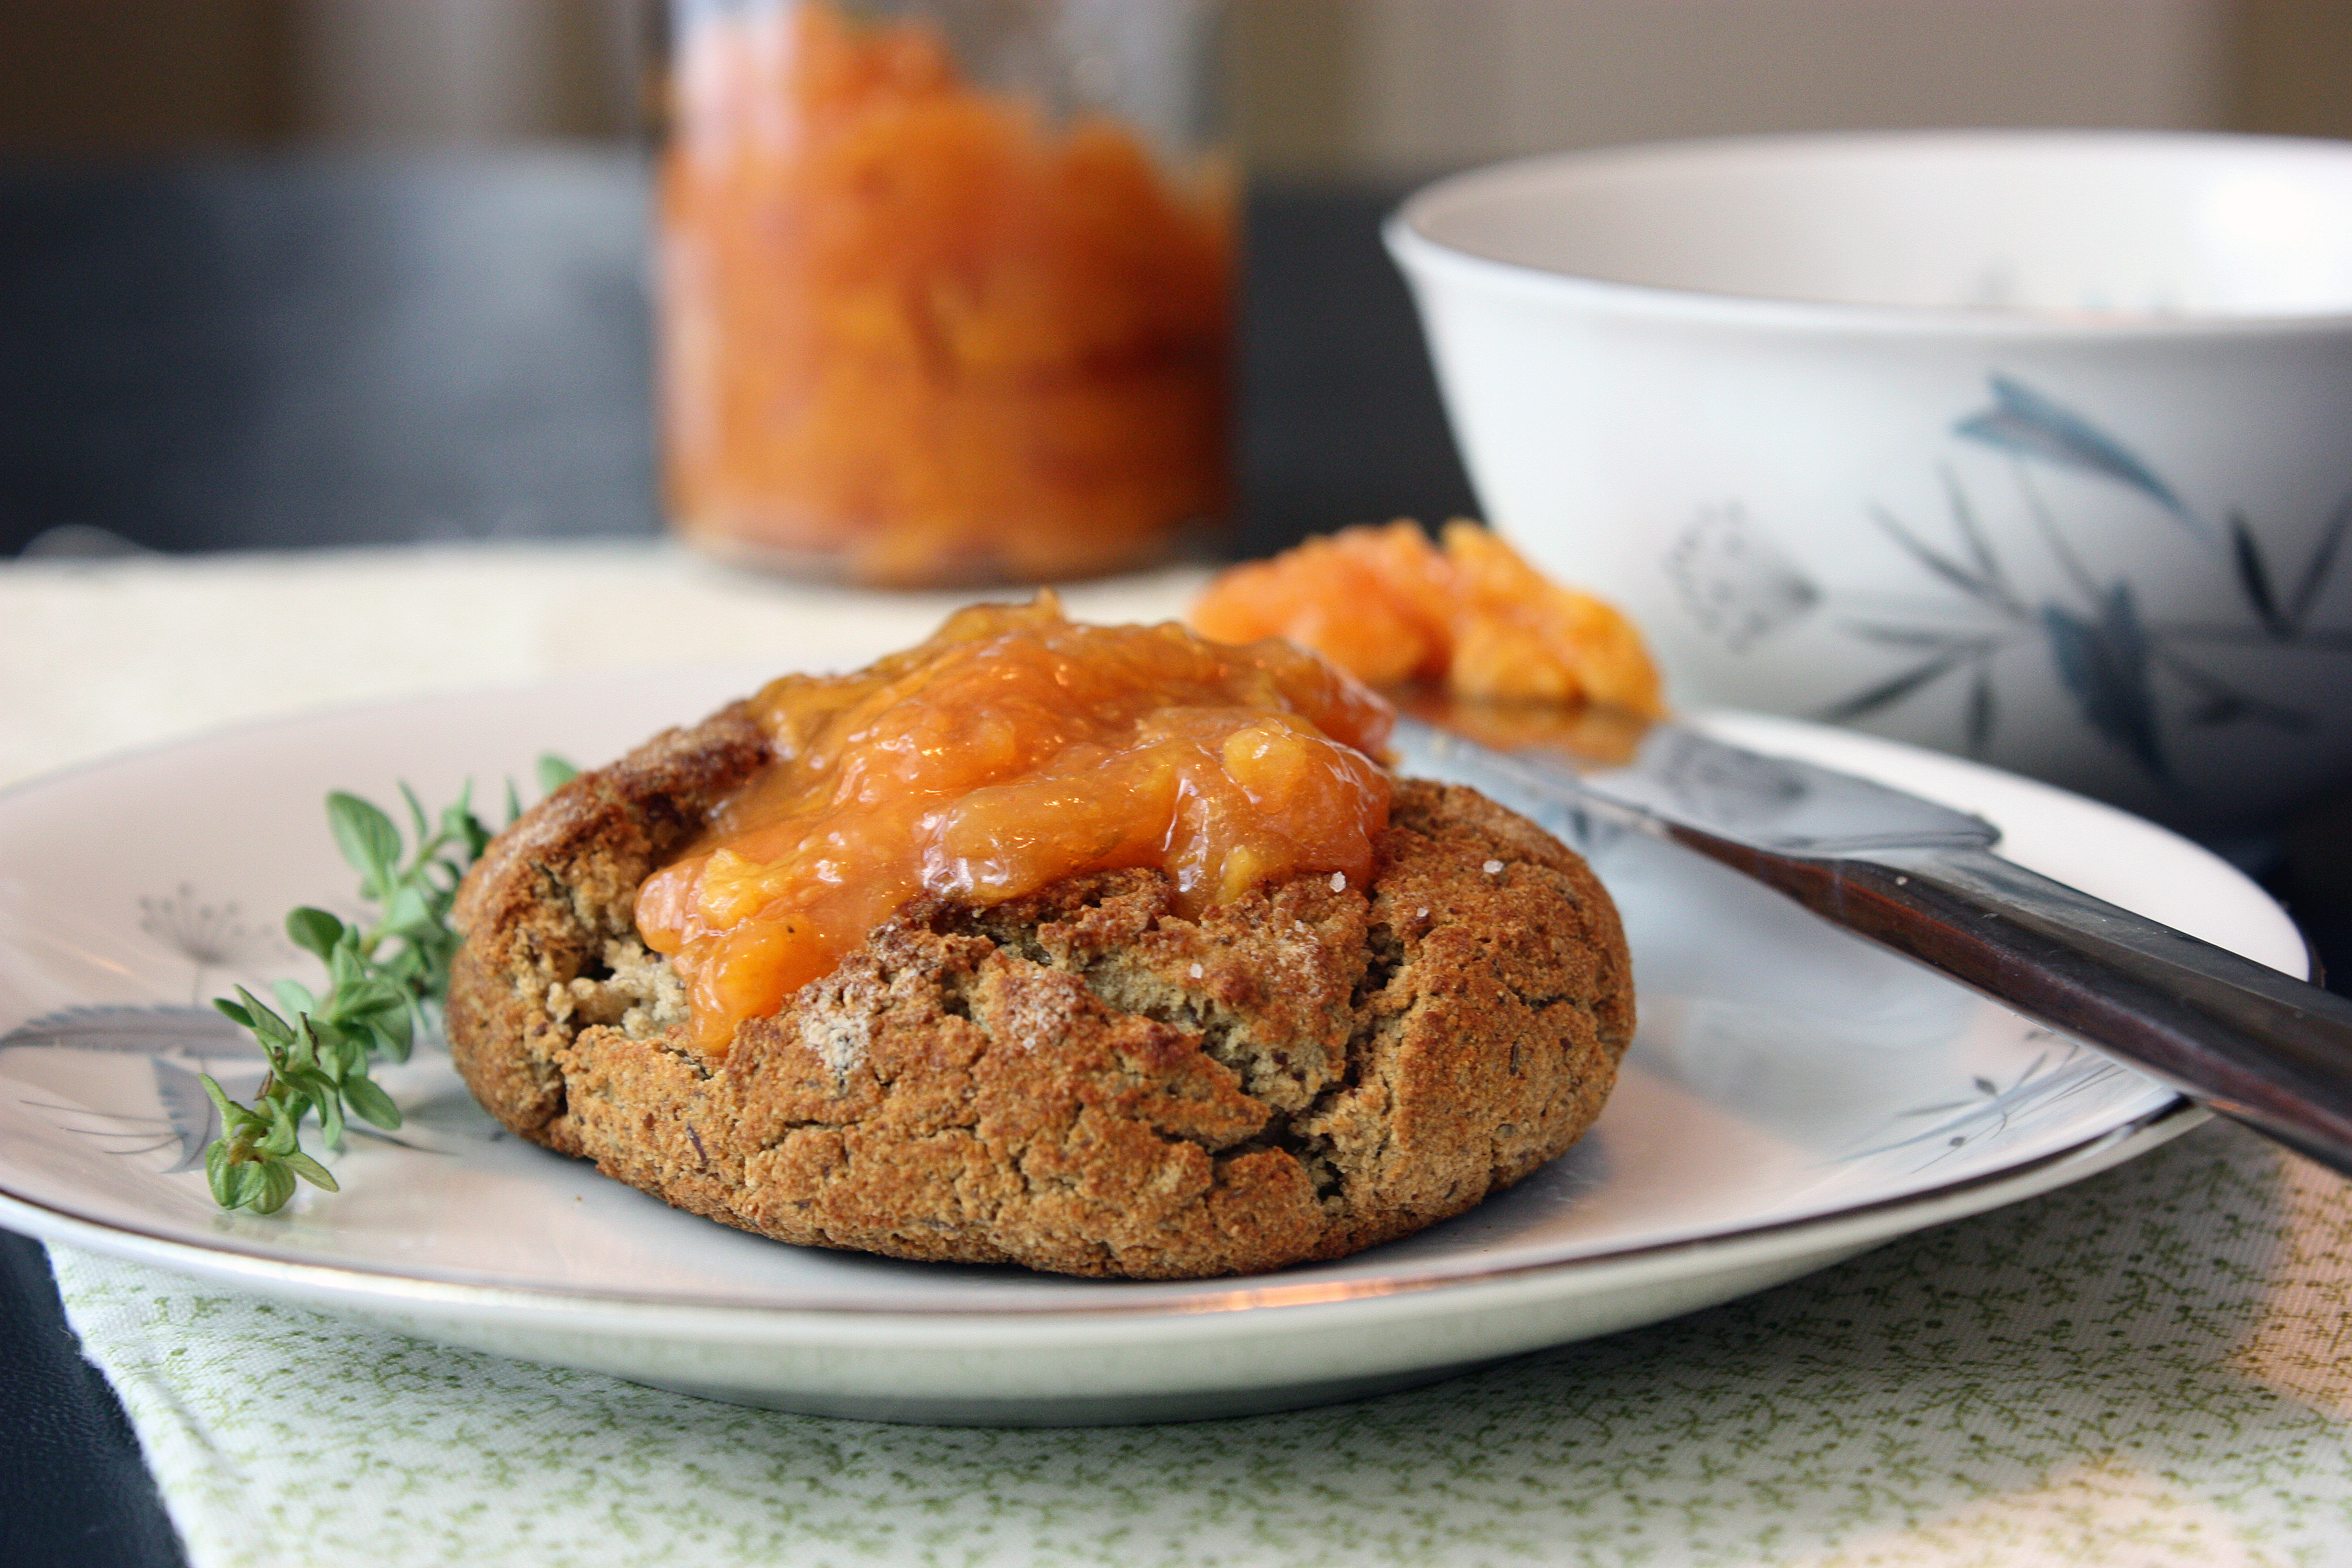 4 C. peeled, chopped, and/or mashed peaches
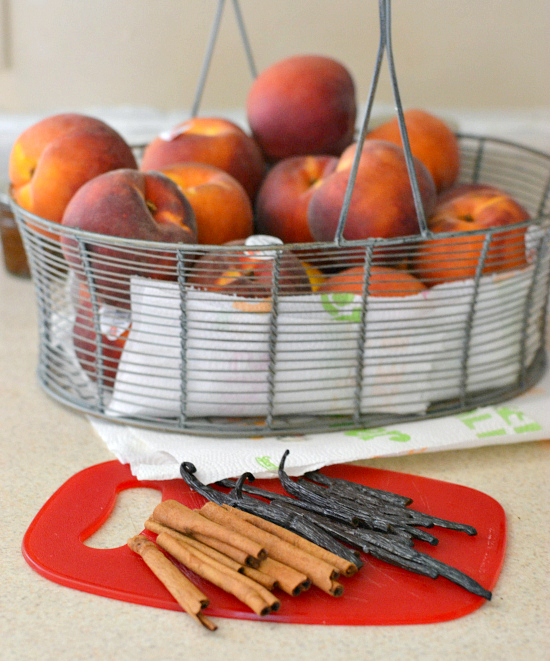
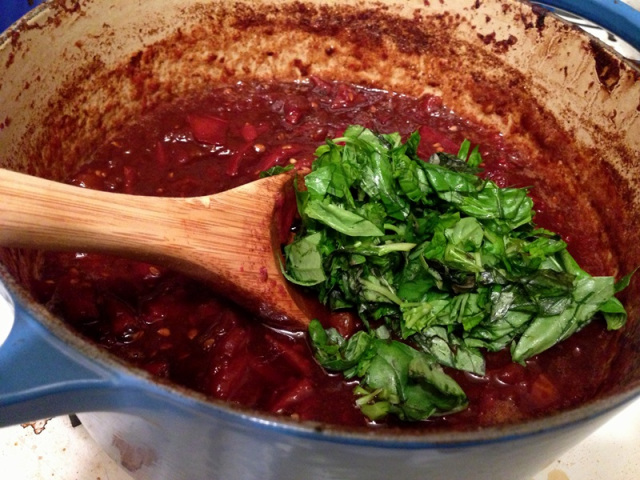


 Easy Peasy Tomato Sauce
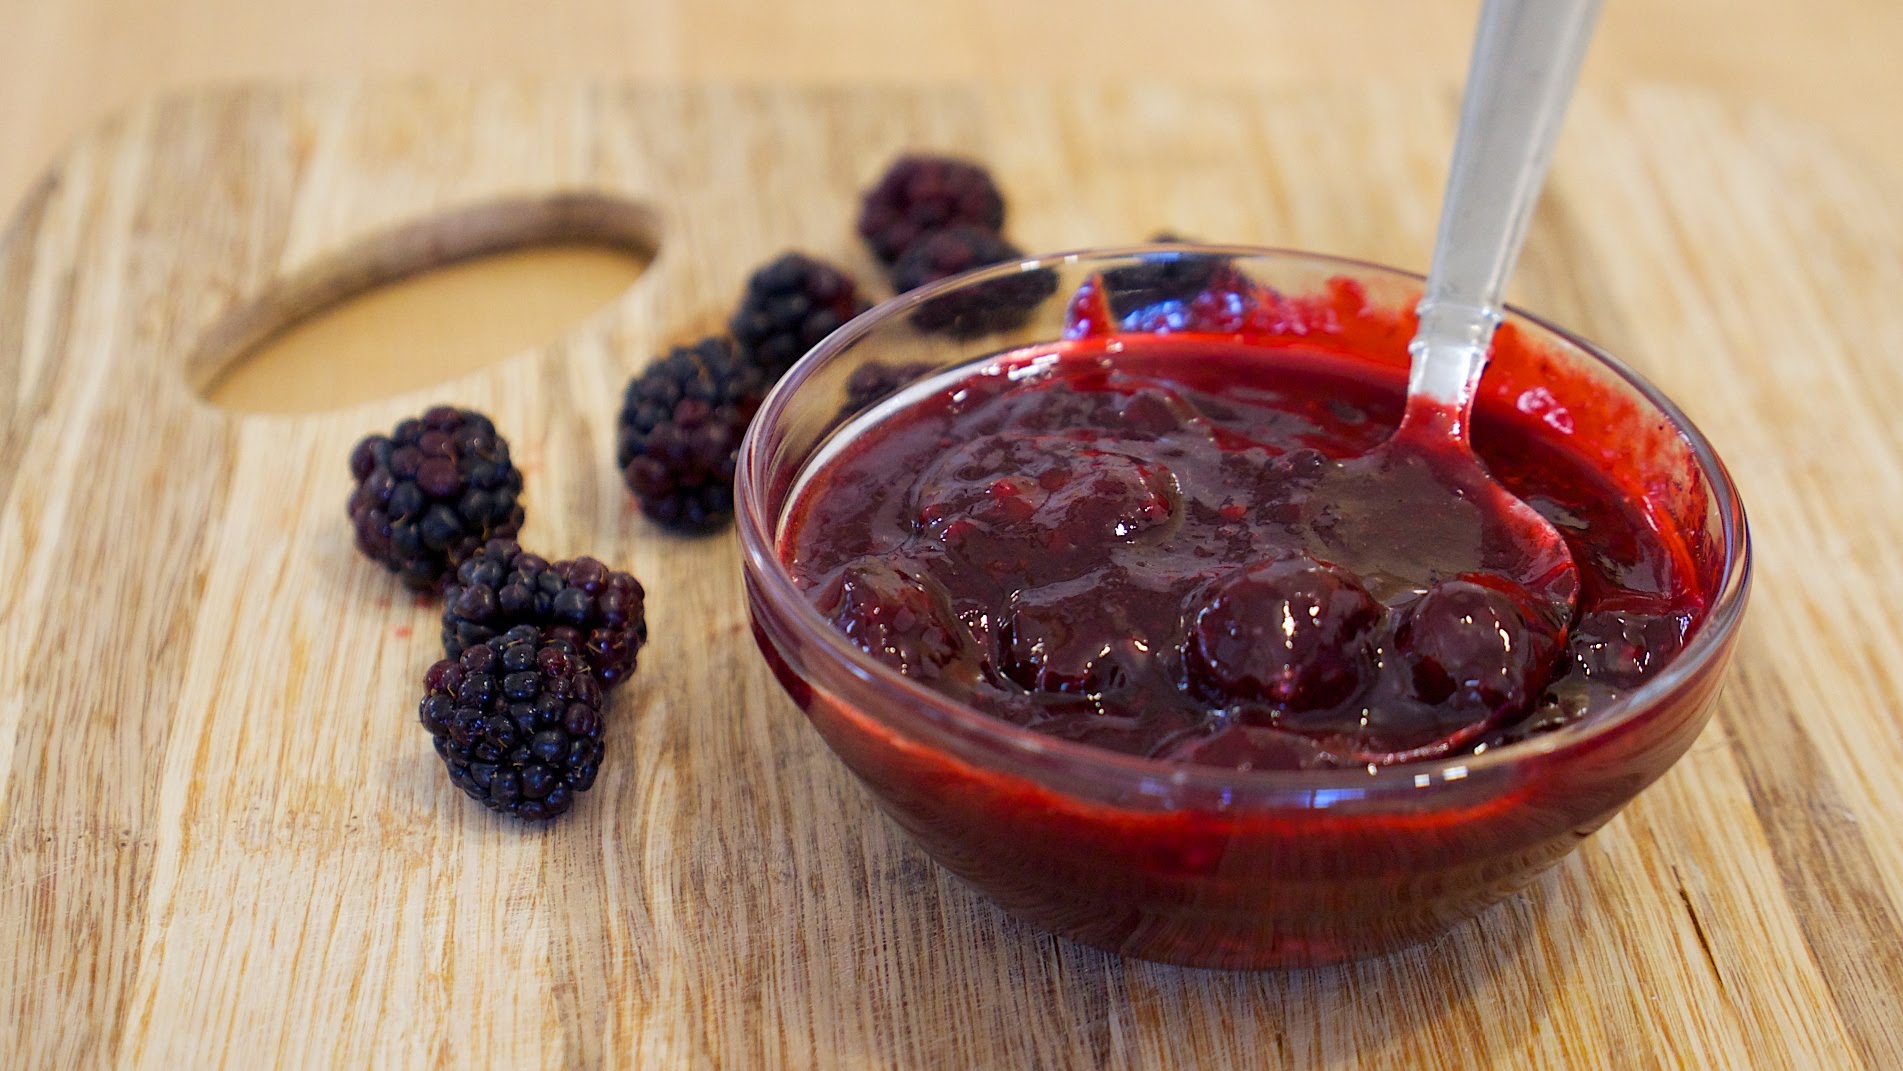
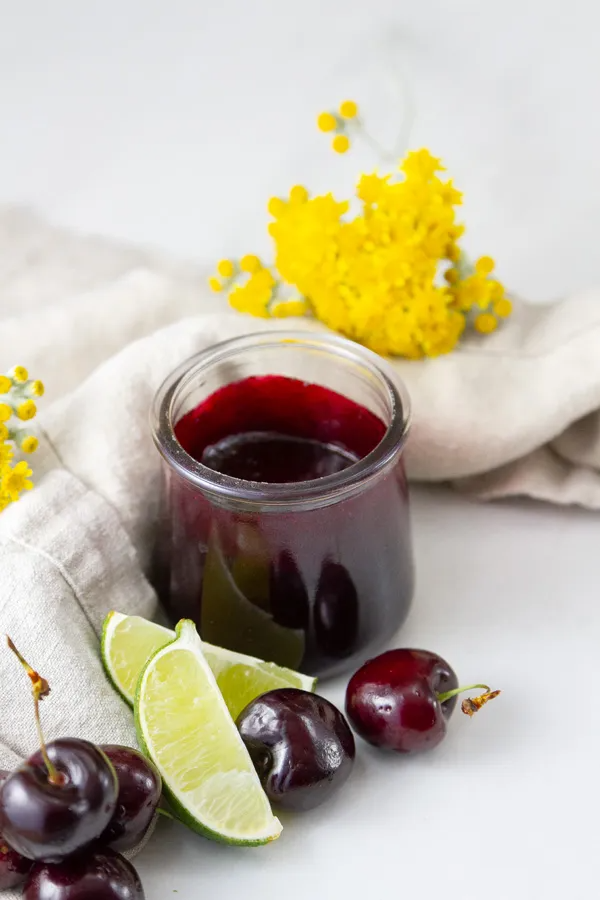 Cherry Limeade Jam
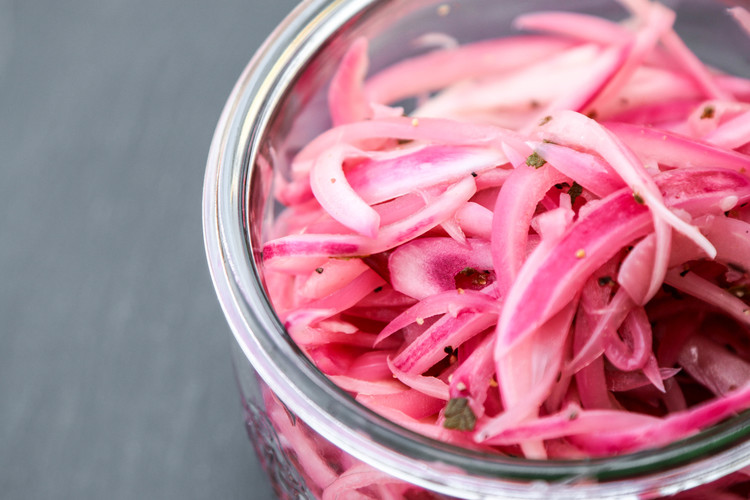
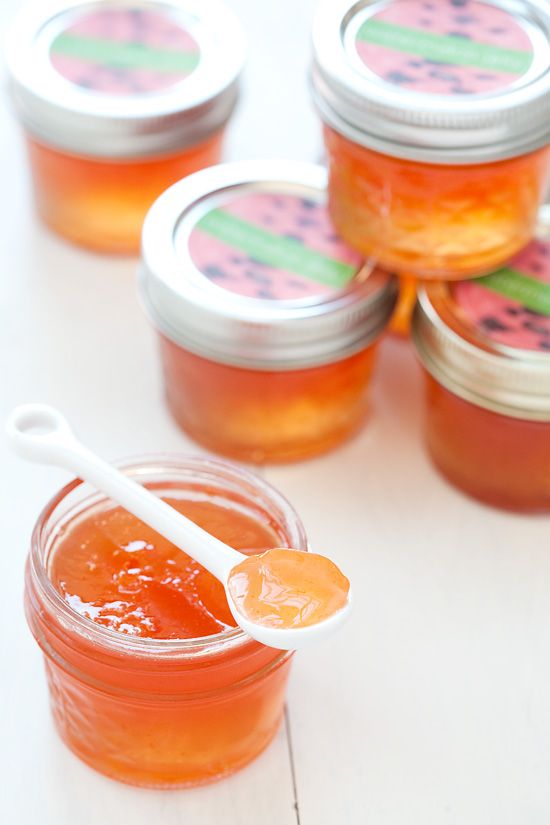

 Cape Gooseberry-Rose Preserves
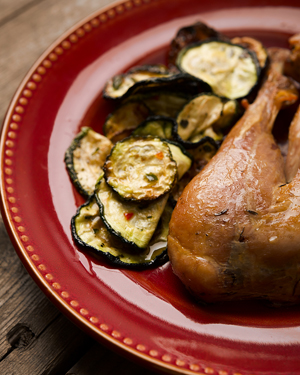
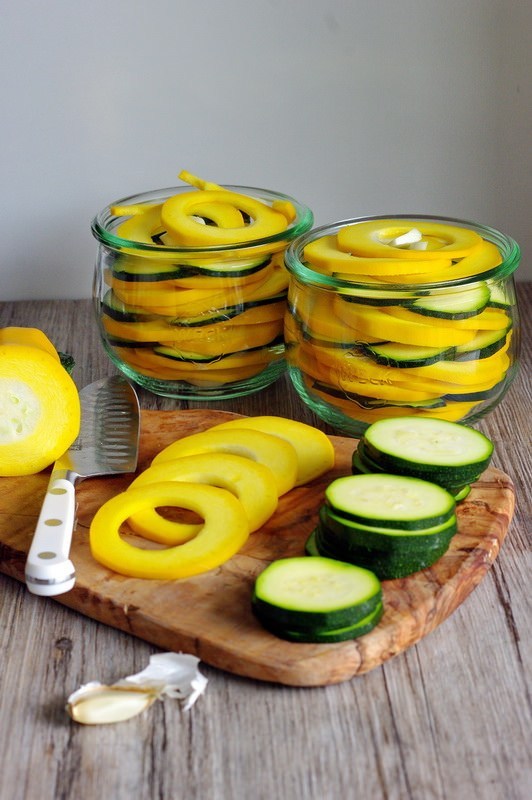 Sweet & Sour Layered Summer Squashes
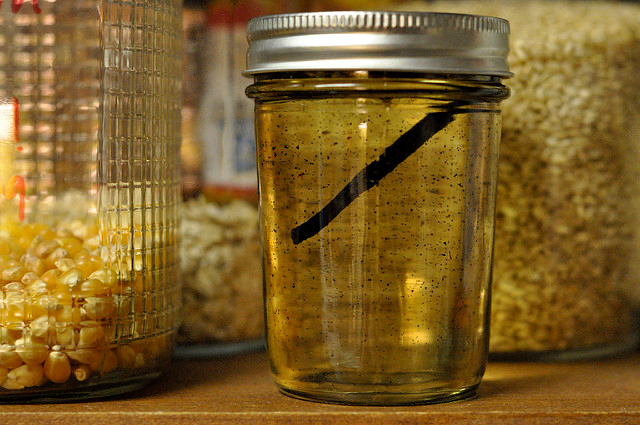
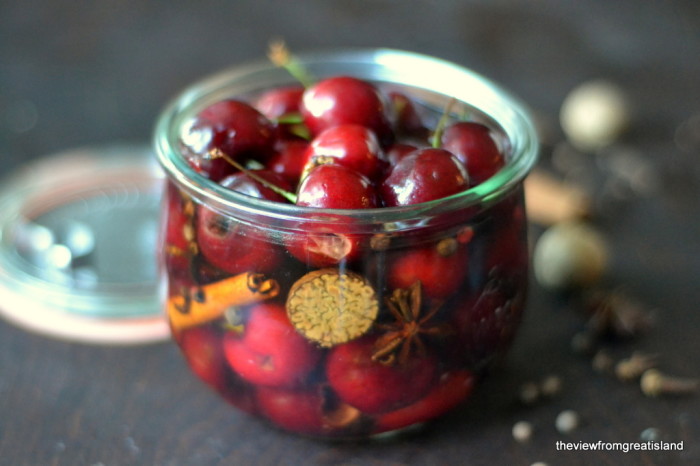
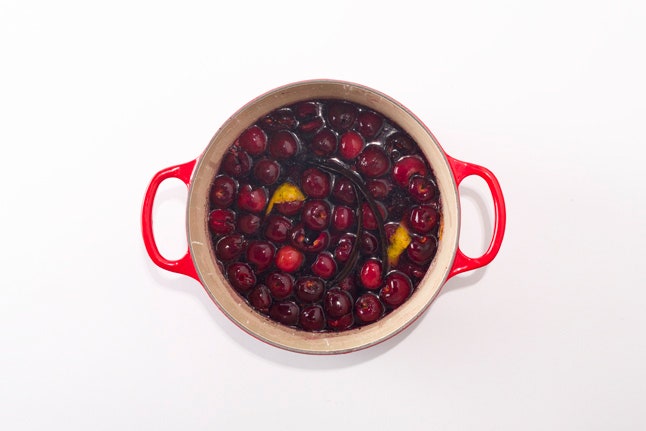 Cherries in Vanilla Syrup
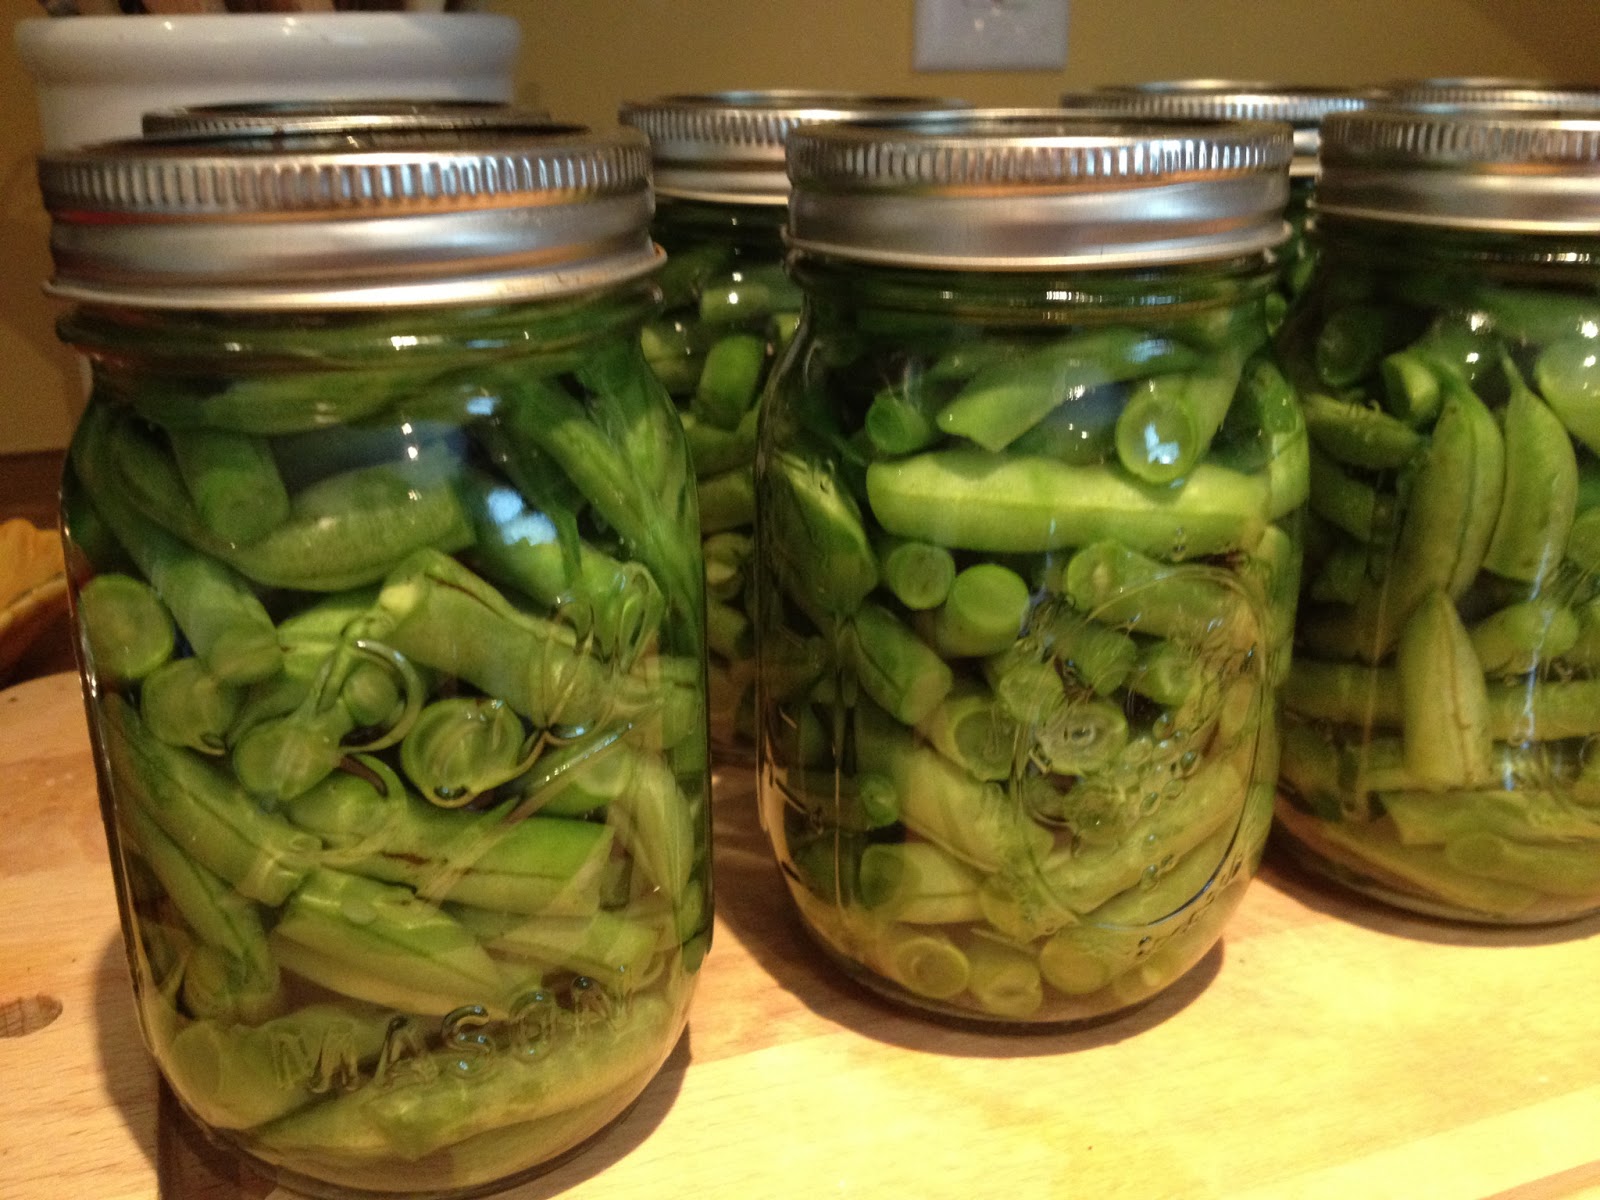
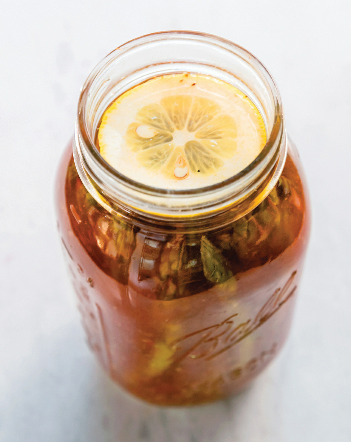 Bloody Mary Pickled Asparagus
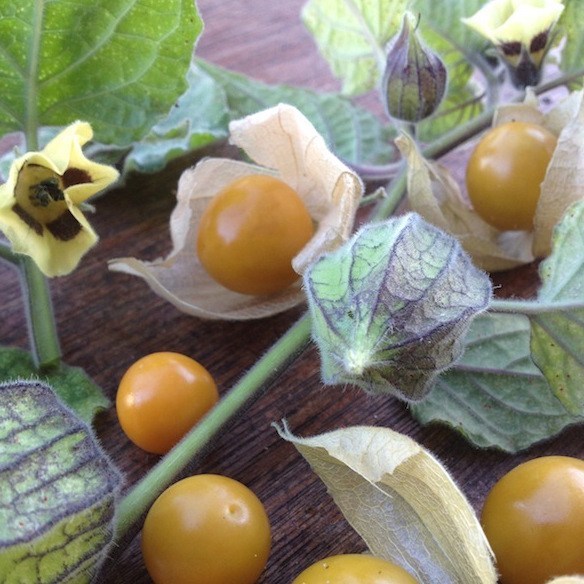
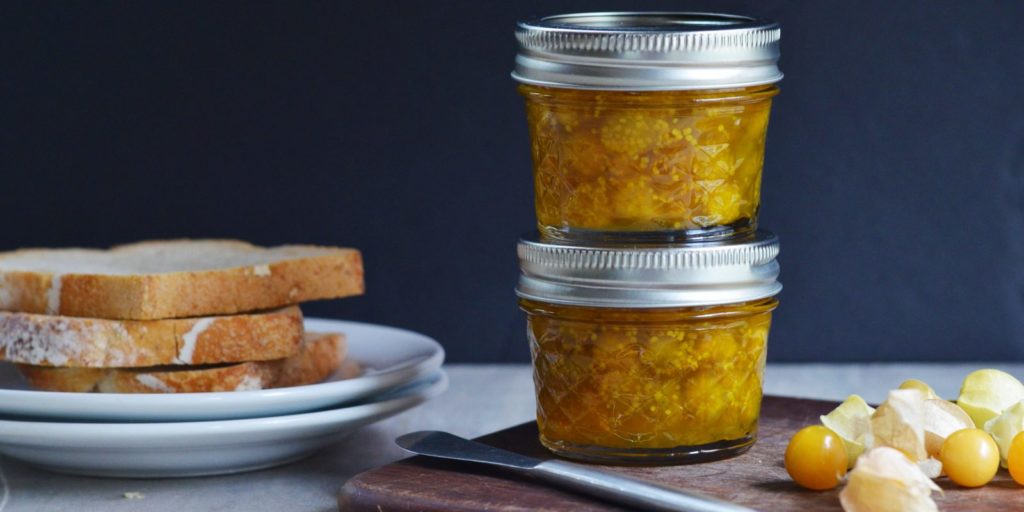 Easy Cape Gooseberries Preserves
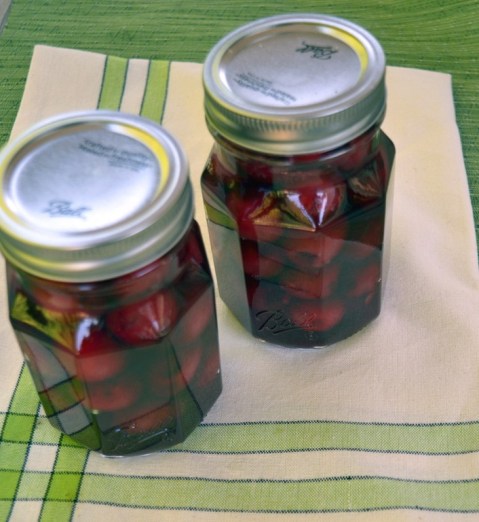 Sweet Cherries in Honey-Vanilla Syrup
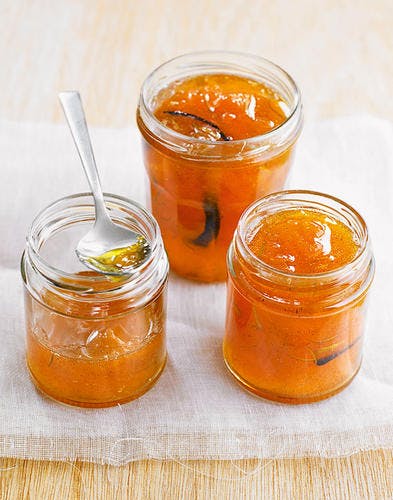 Melon Jam with Lime and Vanilla
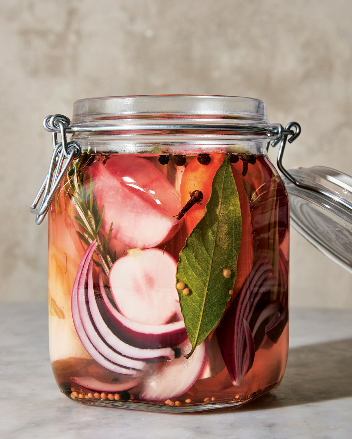 Instant Pot Pickled Vegetables