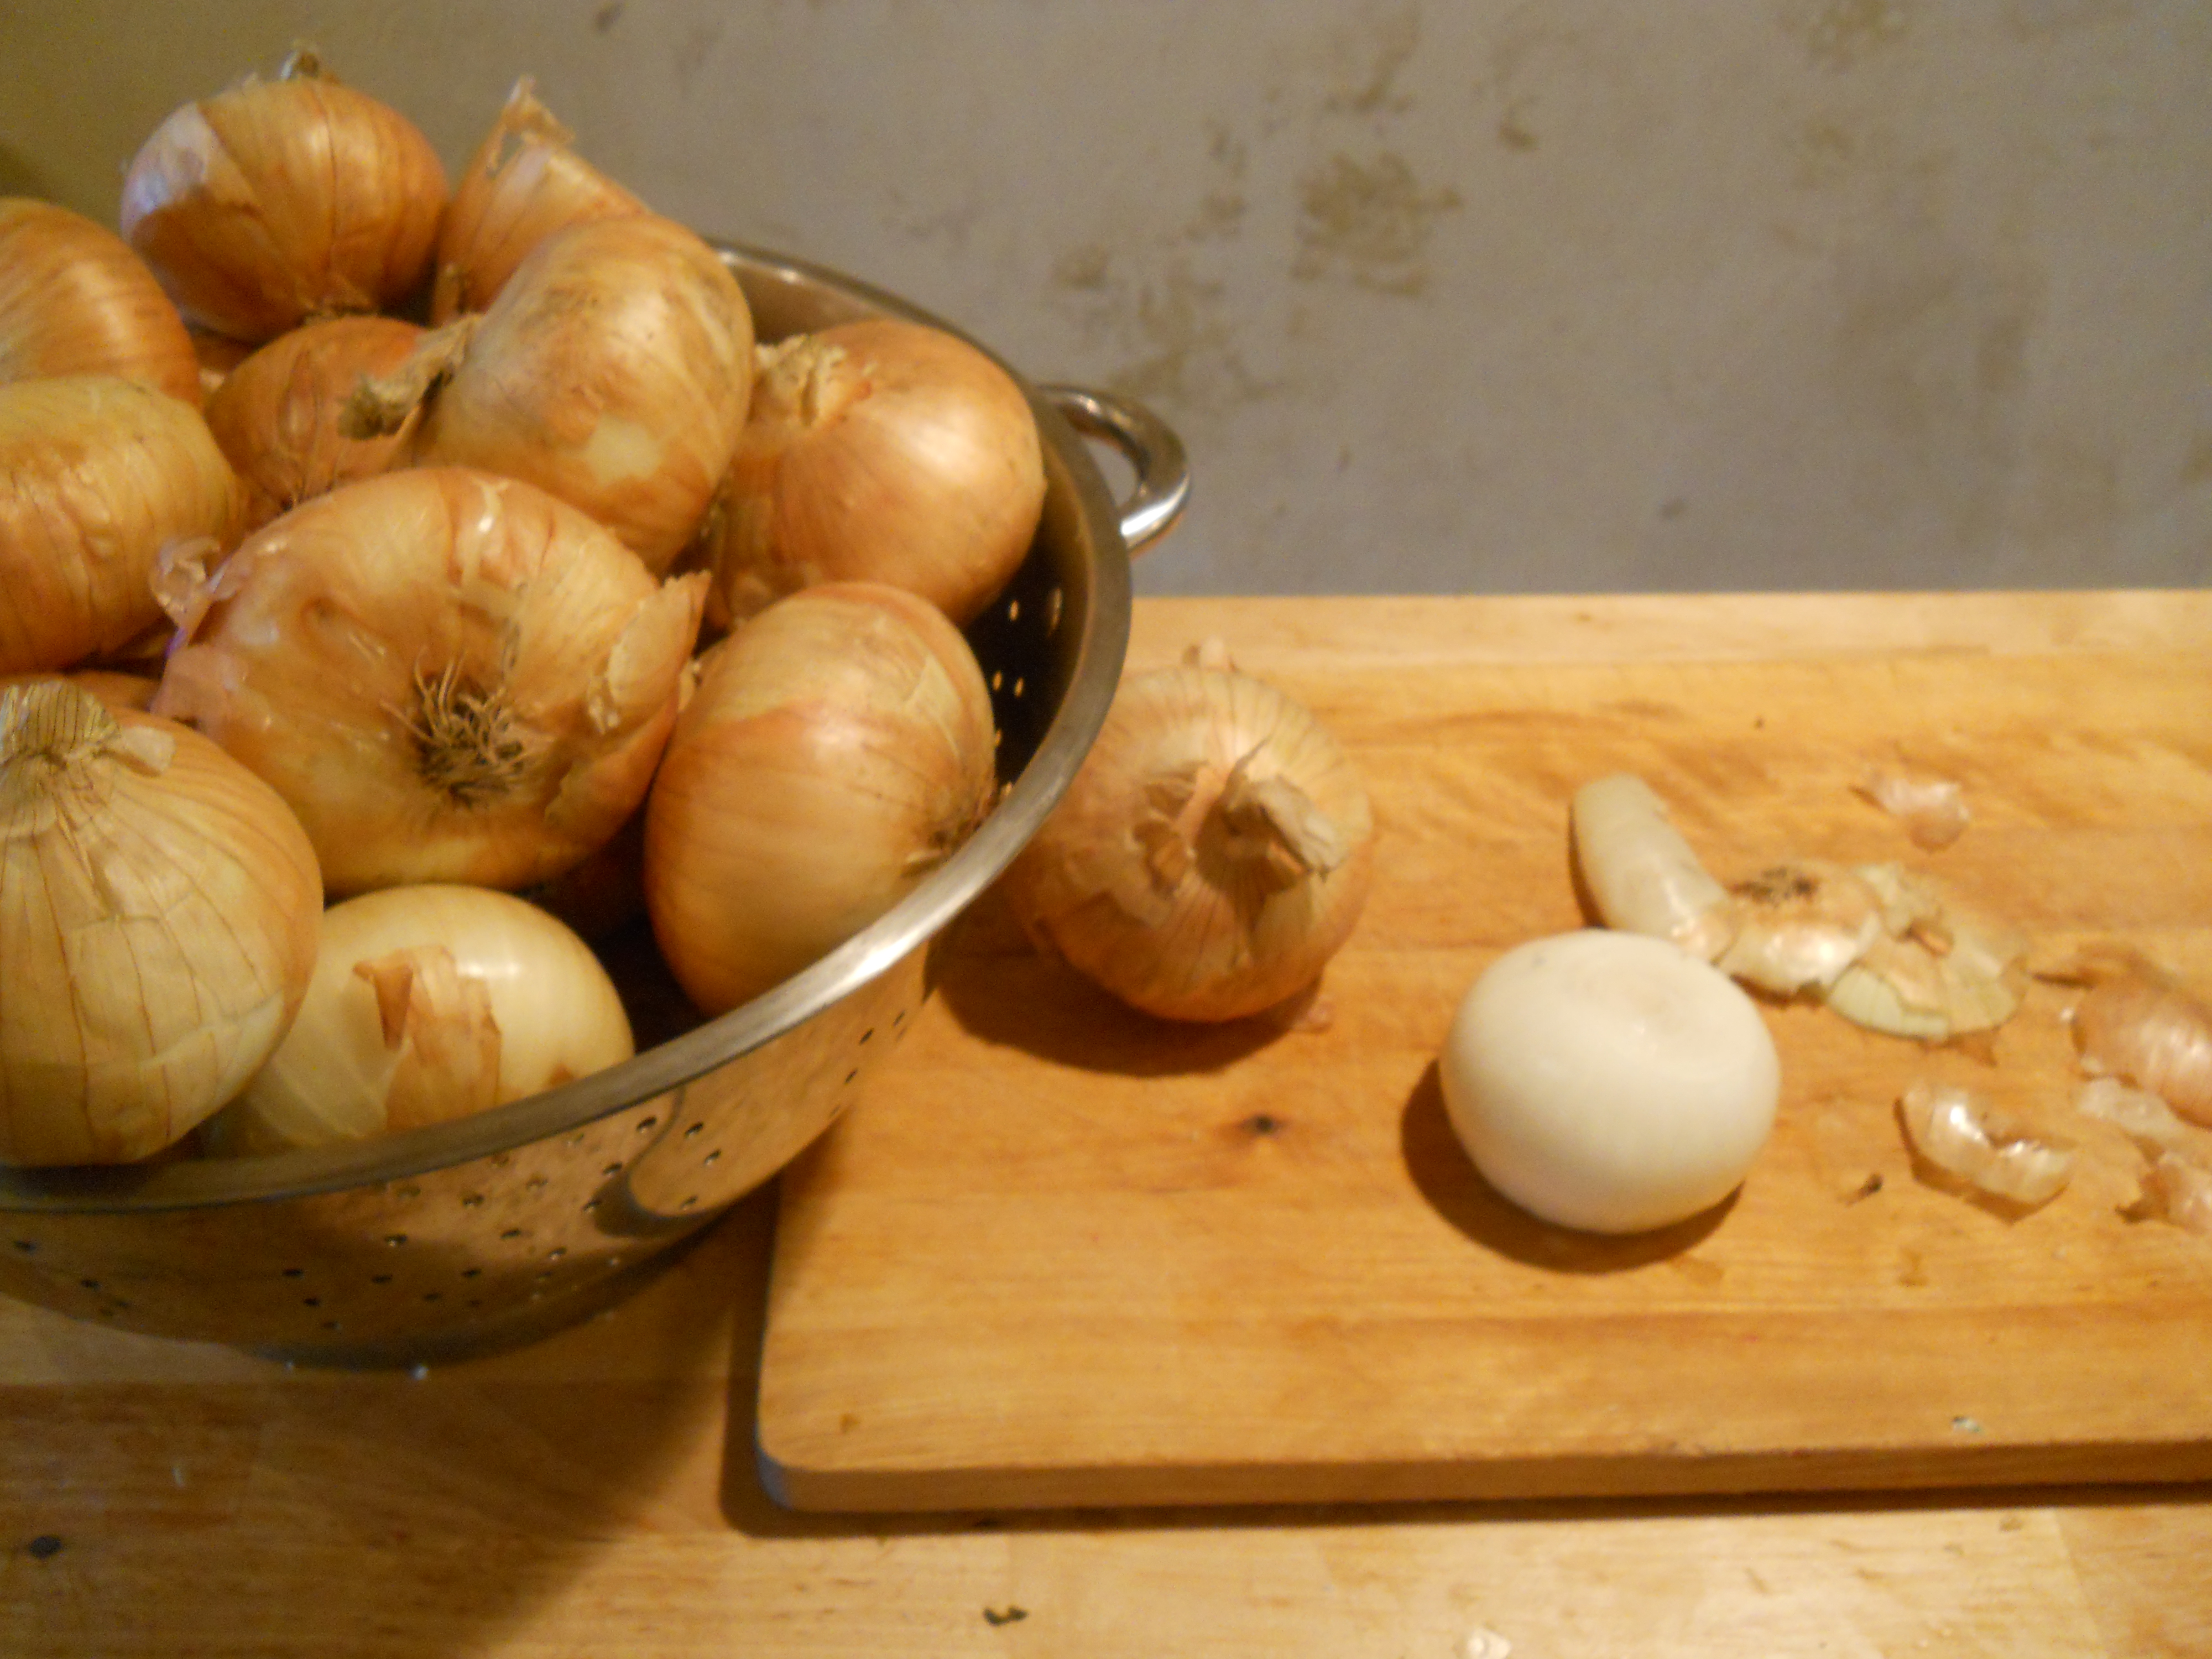
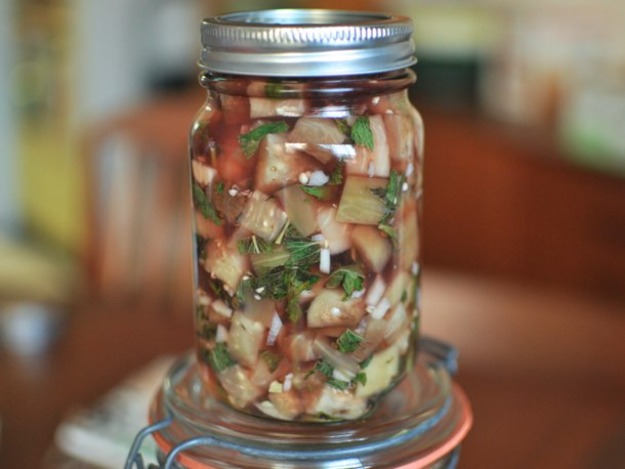
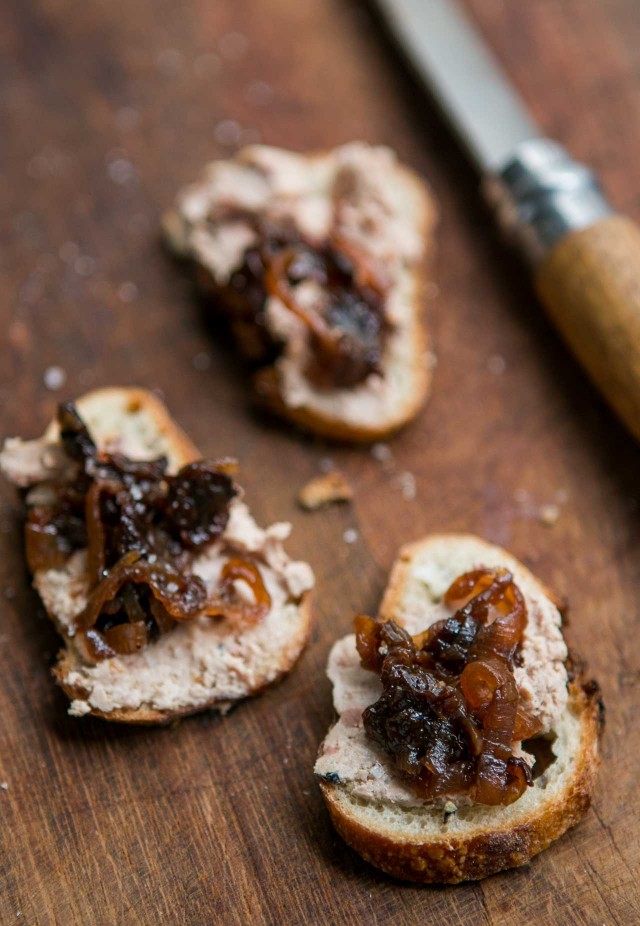
Shallot Marmalade
This condiment goes great with pate or as a sweet counterpoint to anything rich and meaty. In Paris, there’s normally a gathering before dinner for drinks, such as a kir or a glass of Champagne. I’ve served this with slices of foie gras on toasted brioche, a perfect partnership. You can use large or small shallots. Feel free to another dried fruit (diced, if necessary), such as apricots, figs, dried cranberries, or cherries, in place of the raisons or prunes.
In place of the beer, you can use half white wine, half water, or water with a squeeze of lemon or orange juice in it.
 1 pound (450g) shallots, peeled and thinly sliced
2 tsp. unflavored vegetable oil
big pinch of coarse salt
a few turns of freshly-cracked black pepper
1/2 C. (125ml) beer
1/4 C. (50g) sugar
2 tsp. honey
3 tsp. apple cider or balsamic vinegar
1/2 C. (80g) raisins or dried currants
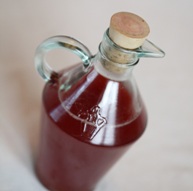
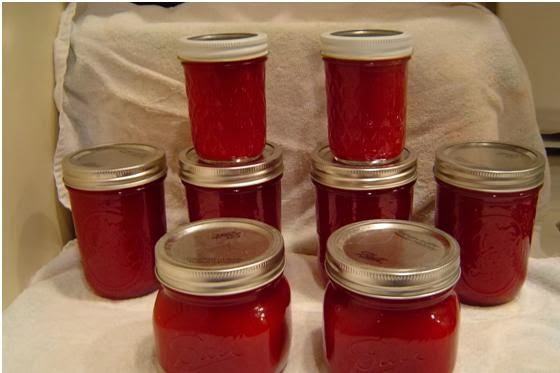
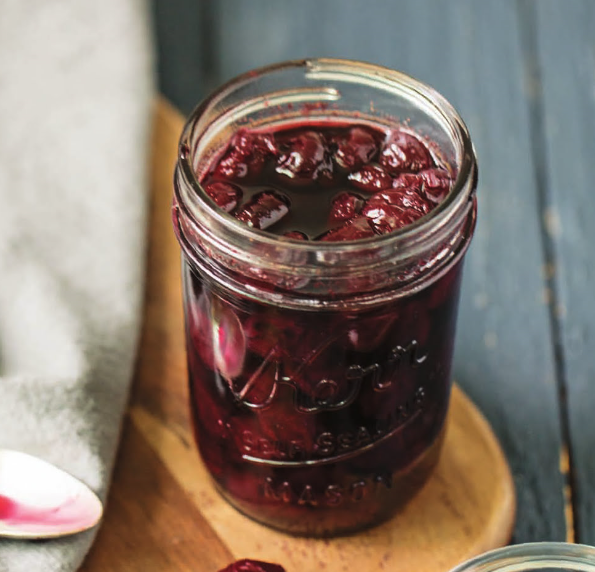
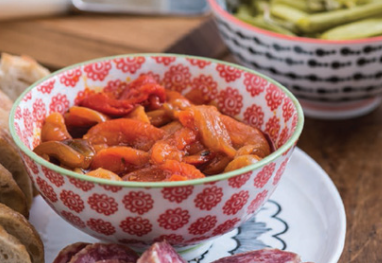
In a medium-sized saucepan, warm the oil and sauté the shallots over moderate heat with a pinch of salt and pepper, stirring frequently, until the shallots are soft and wilted, which should take about 10 minutes. Add the beer, sugar, honey, vinegar, and raisins or currants, and continue cooking, stirring frequently, until the shallots begin to caramelize. While cooking, continue stirring them just enough to keep them from burning. If the mixture seems to be very dry, add a small splash of water toward the end of cooking, to encourage a little juiciness. The jam is done when the shallots are nicely-caramelized, as shown in the picture in the post. Do not overcook; there should still be a bit of juices in the pot when it’s ready. Transfer to a jar. Storage: Store the jam in the refrigerator, where it will keep for at least 2 months.

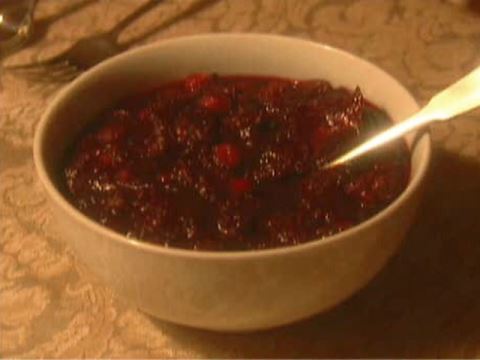
 4 lb. tomatoes, peeled, cored and chopped