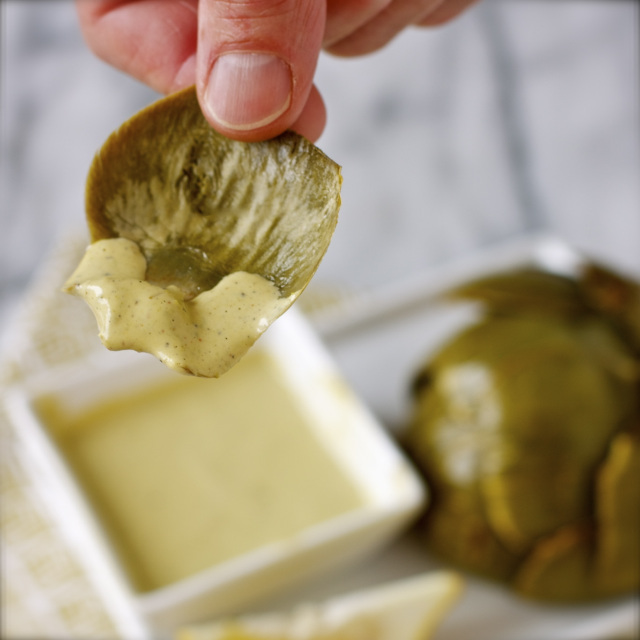
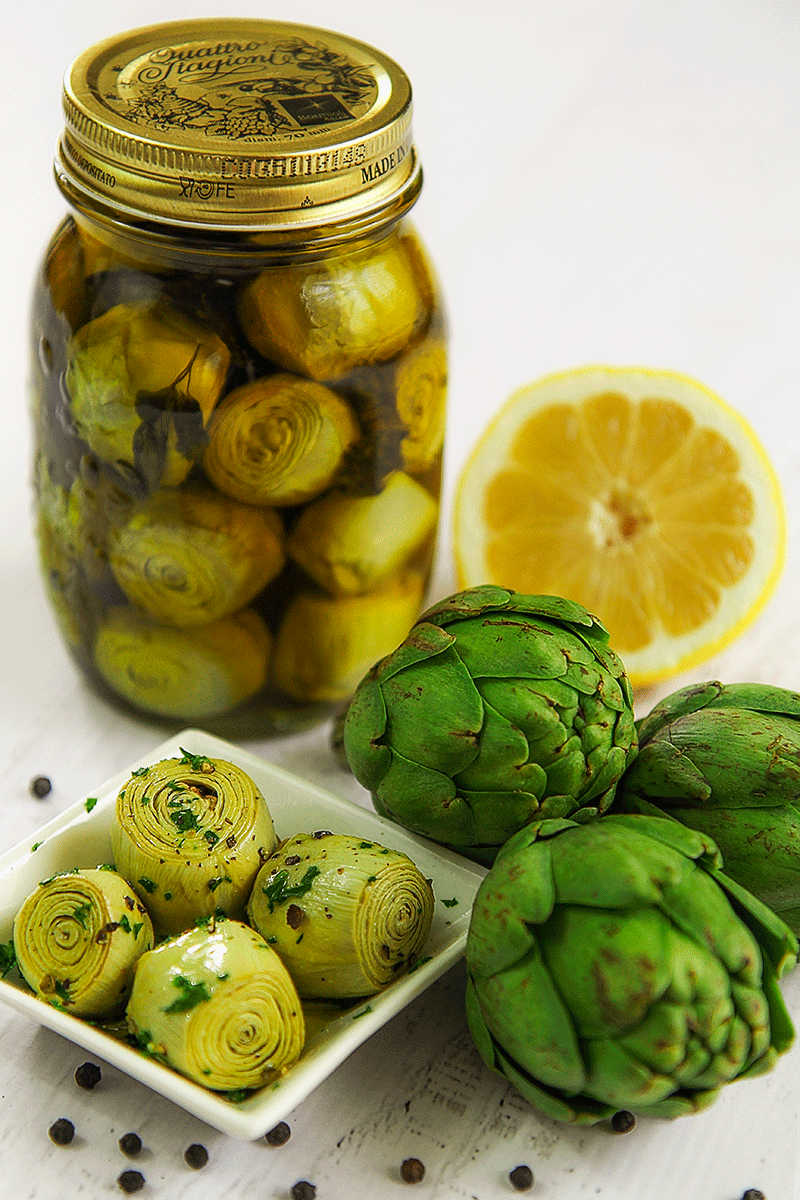
 Grilled Artichokes with Shishito Pepper Aioli
2 globe artichokes
8-10 whole black peppercorns
pinch of salt
2 bay leaves
2 cloves garlic peeled
half a lemon
olive oil, as needed
shishito pepper aioli, for dipping (recipe follows)
Rinse artichokes under cold, running water. Pull off lower petals and cut off bottom stems. Cut about 1/2 inch of the pointed top of the artichoke. For a nice presentation, trim tips of leaves with scissors to remove thorns. Cut artichokes in half lengthwise and scrape out the fuzzy chokes and any purple-tipped petals. Place artichokes in boiling water seasoned with black peppercorns, salt, bay leaves, garlic, and half a lemon. (I squeeze the lemon juice and then throw in the half a lemon in the pot.) Cook until the bottoms of the artichokes are tender and the petals pull off easily. Remove from water and drain well. Brush artichokes with a little olive oil. Place cut side down on a hot grill and cook lightly browned, about 5 to 7 minutes. Turn artichokes over and brush with more olive oil. Grill until petals are lightly charred, about 3 to 4 minutes more. Artichokes may be served either hot or room temperature with shishito pepper aioli.
Shishito Pepper Aioli
Yields 1/2 cup
1 large egg yolk
1 small garlic clove, finely grated
1/4 teaspoon kosher salt, or to taste
2 teaspoons water
1/4 cup grapeseed oil, or other neutral oil
1/4 cup good-quality extra-virgin olive oil
3 tablespoons puréed shishito peppers
2 generous dashes of cayenne pepper, or more, to taste
Fresh lemon juice, to taste
Freshly ground black pepper, to taste
In the work bowl of a blender, combine the egg yolk, garlic, 1/4 teaspoon salt, and water and blend. Slowly drizzle in grapeseed oil, 1 teaspoonful at a time, until sauce is thickened and emulsified. Whisking constantly, add olive oil in a slow, steady stream. Stir in the puréed shishito peppers and the cayenne. Season aioli with lemon juice, pepper, and more salt, if needed.
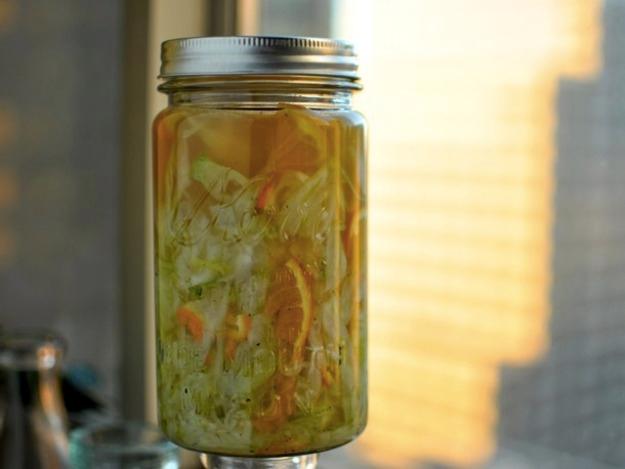
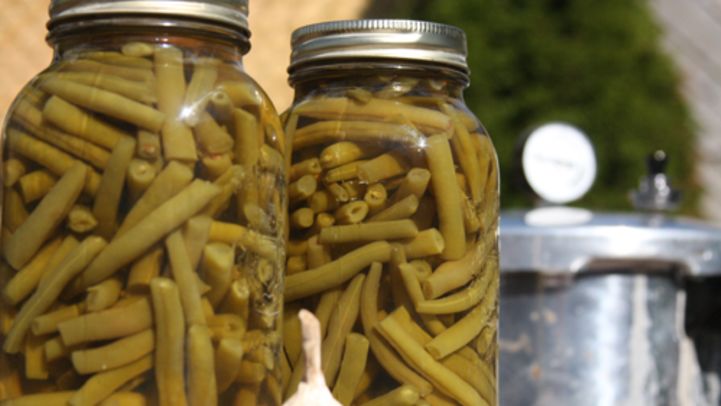
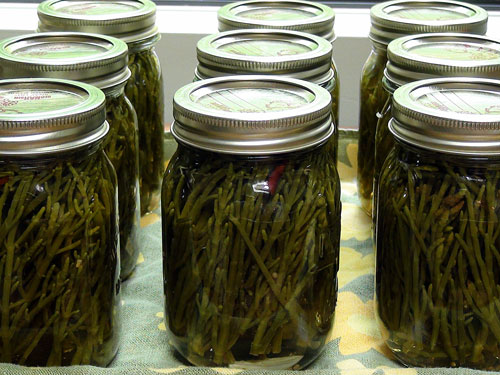
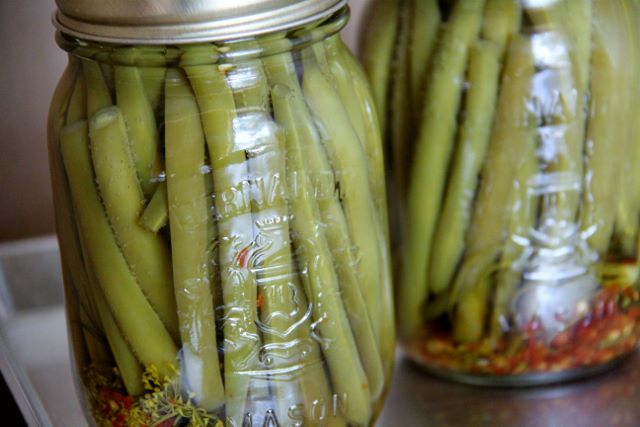 5 lb. Green Beans


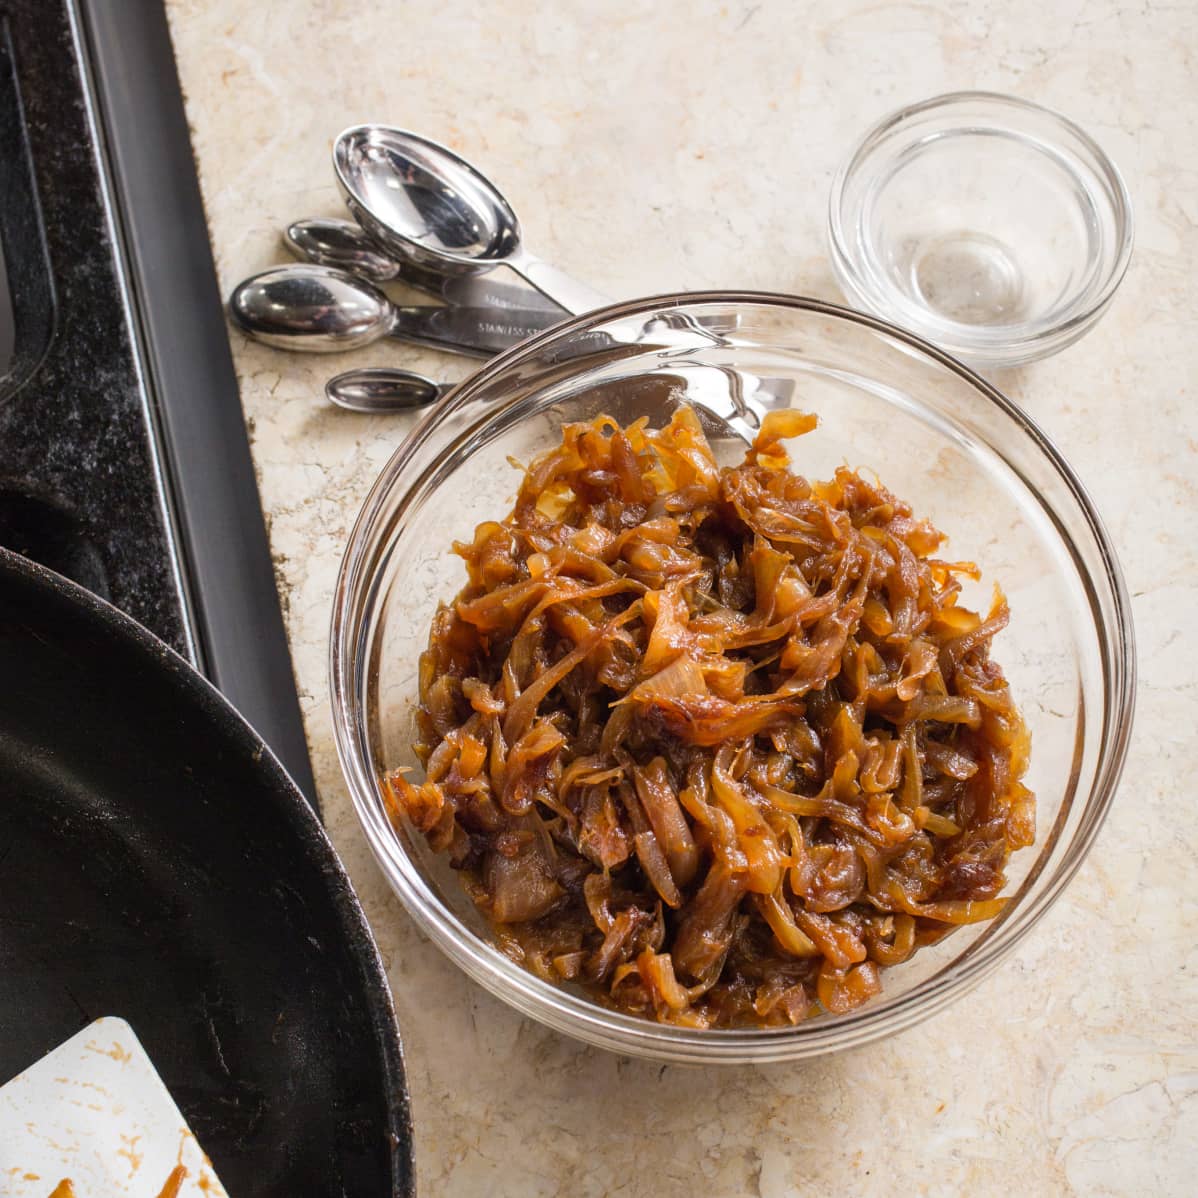 If the onions are sizzling or scorching in step 2, reduce the heat. If the onions are not browning after 15 to 20 minutes, raise the heat.
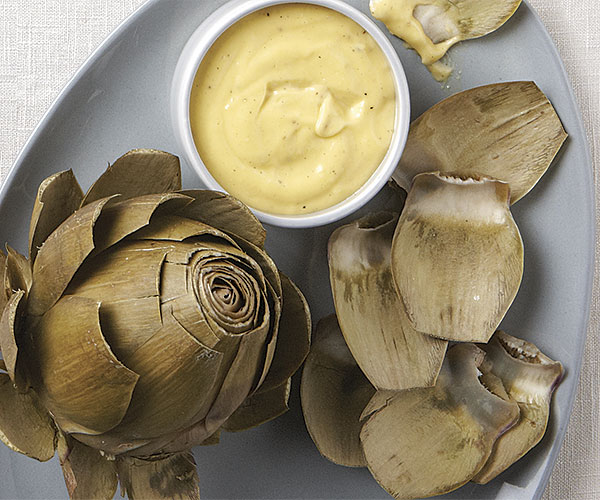

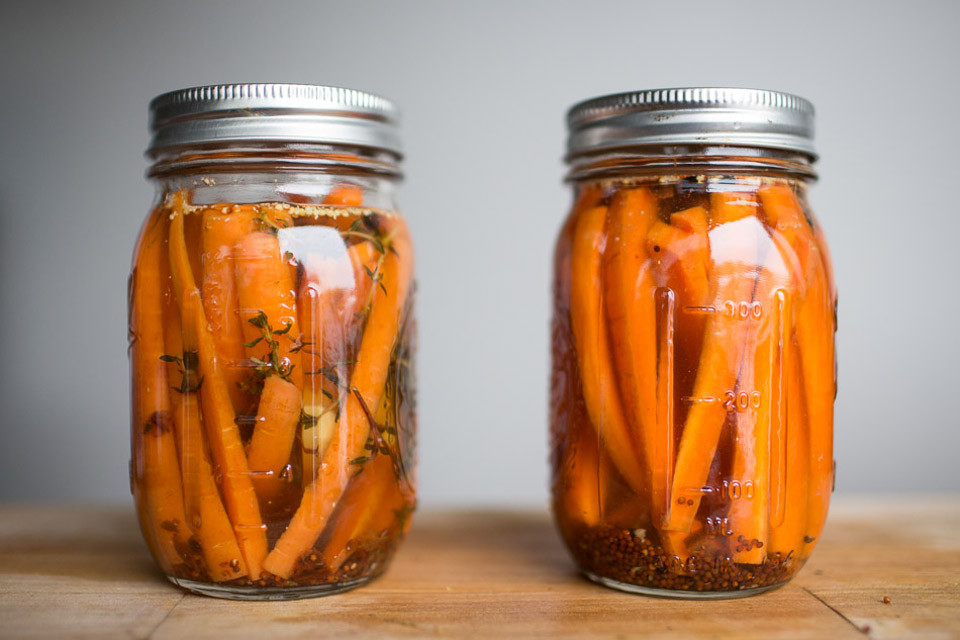

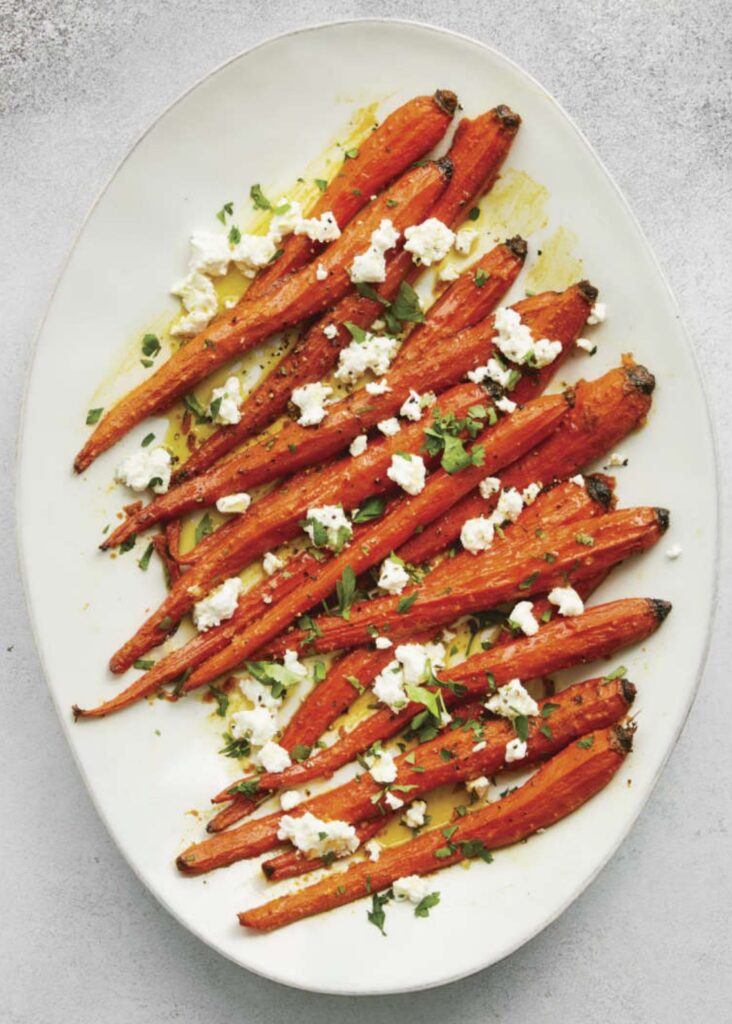 Sweet Tahini Roasted Carrots