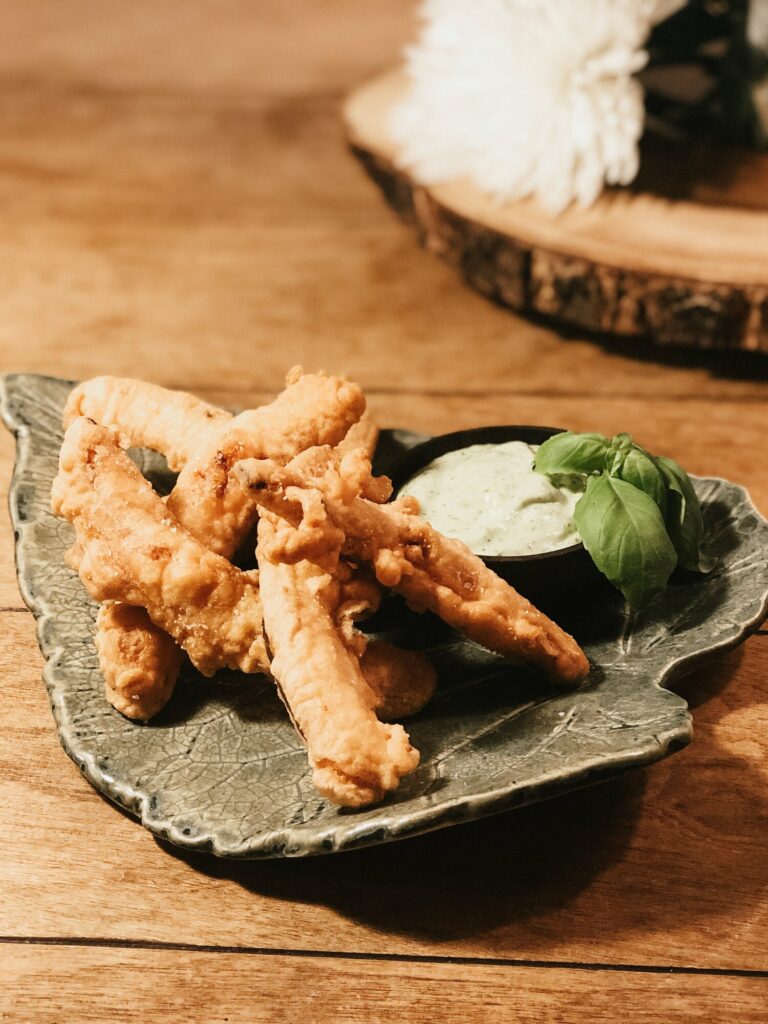
 Tempura Pumpkin with Basil Aïoli
1 C. basil leaves, packed tight
1–2 cloves of garlic, peeled and grated on a microplane
3 egg yolks
2 T. Dijon mustard
1 T. apple cider vinegar
1 T. lemon juice
1 C. neutral oil (safflower, sunflower or avocado work well)
Roughly chop the basil leaves and add them to your blender (or food processor, which works just fine). Add the garlic, egg yolks, Dijon, vinegar and lemon juice and blend until incorporated. Scrape down the sides of the blender to make sure everything is evenly mixed.
While the blender is running, dribble in the oil slowly in the thinnest stream possible. It’s important not to dump the oil in all at once, because the gradual addition of oil to the egg and mustard mixture is what will emulsify the sauce into an aïoli.
Once all of the oil has been incorporated, season with salt to taste and scrape out the finished aïoli with a rubber spatula. This condiment is delicious on everything from sandwiches to shellfish, and we especially love it with tempura veggies.
For the tempura
Serves 2–4
1 medium sized pumpkin or squash
2 large eggs, cold
2 C. flour, sifted
2 C. water with several ice cubes added
Oil for frying
Fill a large, thick bottomed pot with 4” of oil. Pick a pot that has high sides and a nice heavy base. This will regulate the heating and temperature of the oil, which makes for more even frying. Set this pot over medium heat until the oil reaches a temperature of 375°F. This takes a few minutes. Meanwhile, prepare the pumpkin for frying. Cut the entire pumpkin in half, scrape out the seeds and guts until the flesh is smooth and uniform. Remove the outer skin with a vegetable peeler. Cut the pumpkin pieces in half vertically, making four quarters of a sphere. Slice the quarters again vertically into long, ½-inch thick strips. Keep in mind not to cut the strips too thick, or they will take too long to cook fully in the oil. Continue until you have cut the entire pumpkin into strips of the same thickness. Due to the curvature of the fruit, some strips will be longer than others—this is fine, as long as they are all relatively the same thickness. Set up a “drop zone”, or a place where the pumpkin will cool and rest once it is removed from the oil, like a wire rack placed over a sheet tray, or a large bowl or dish lined with paper towels. Place a long-handled metal slotted spoon or “spider” strainer near the heating pot of oil. When the oil reaches the proper temperature, crack the eggs into a deep mixing bowl. Whisk until homogenous. Add the ice water and mix again, then add the flour. Mix, gently, trying to prevent too many air bubbles from forming. Some small clumps are good, so don’t over mix. The less you agitate the batter, the better. (Chopsticks are a better mixing tool than a whisk.) Once everything is combined, drop in a handful of your pumpkin sticks. Coat them evenly with the batter, and then using tongs (or chopsticks), remove them from the bowl and drop them into the oil one by one. Once this batch of pumpkin has been added to the oil, place the tempura batter in the fridge to keep cold while they cook. The pumpkin slices should float right to the top, but depending on the water content of the pumpkin, some may sink to the bottom of the pot. This is fine, just give them a slight nudge off the bottom and they should rise right up. Make sure to adjust the heat of the oil so that it stays at 375°F. Adding lots of ice cold batter and veggies will definitely drop the temperature significantly, so adjust accordingly. Once the slices are golden brown they are ready to be removed from the oil with the slotted spoon. Place them in the “drop zone” and season with salt and pepper. Repeat the frying process as many times as necessary, or until you run out of pumpkin or tempura batter. Serve hot with the basil aioli for dunking.
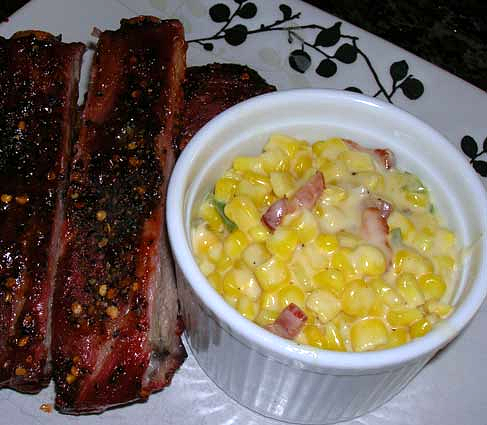 Creamed Corn with Jalapenos, Cheese & Bacon
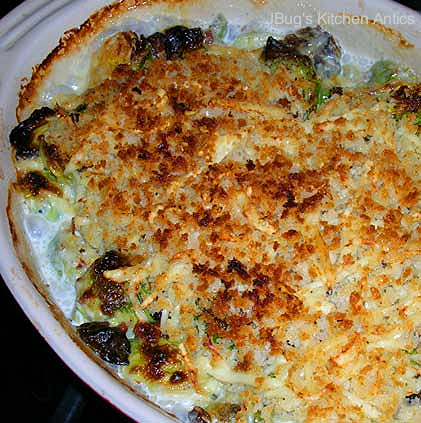 Creamy Brussels Sprouts Gratin
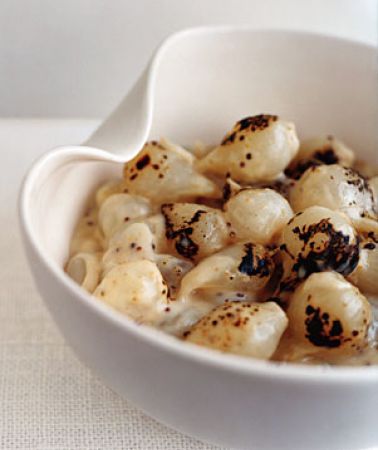 Gratineed Mustard Creamed Onions
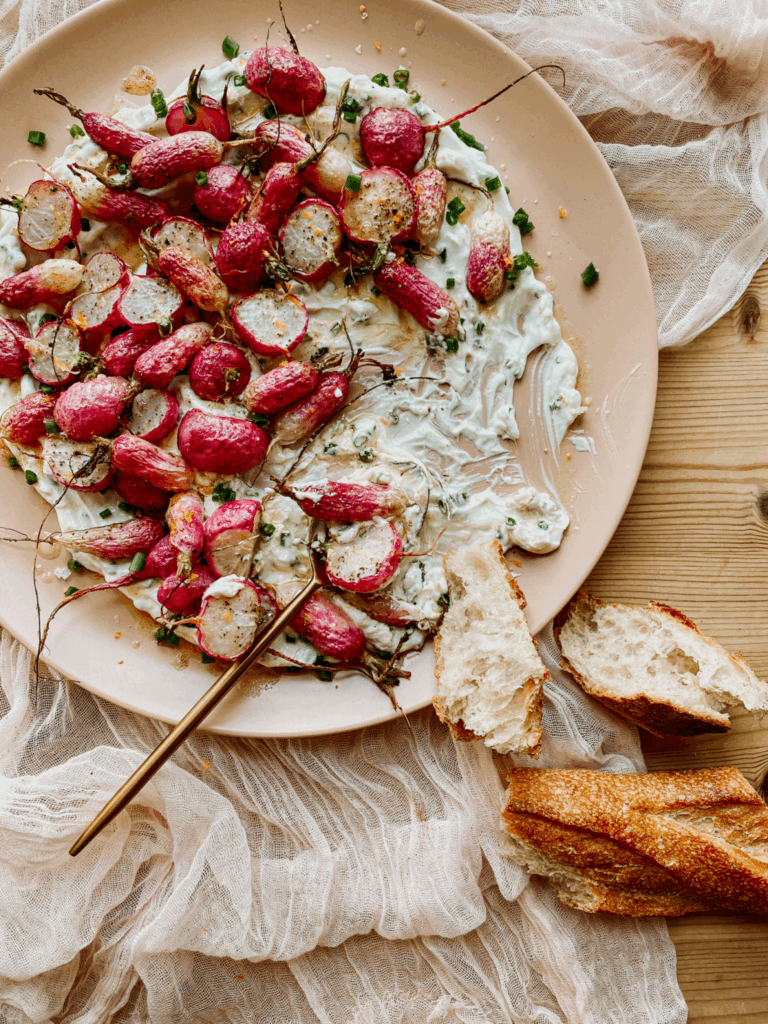 Roasted Radishes with Garlic Chive Yogurt
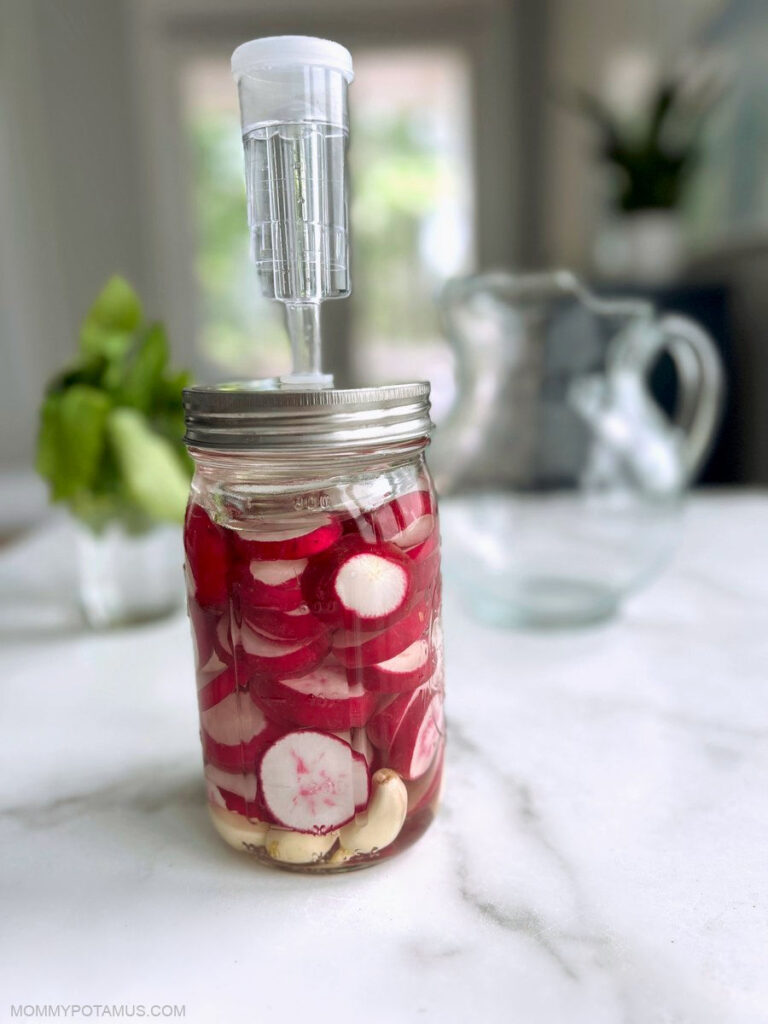 Garlicky Fermented Radishes
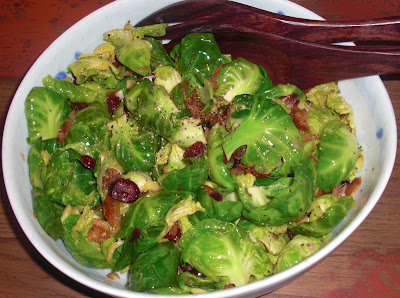

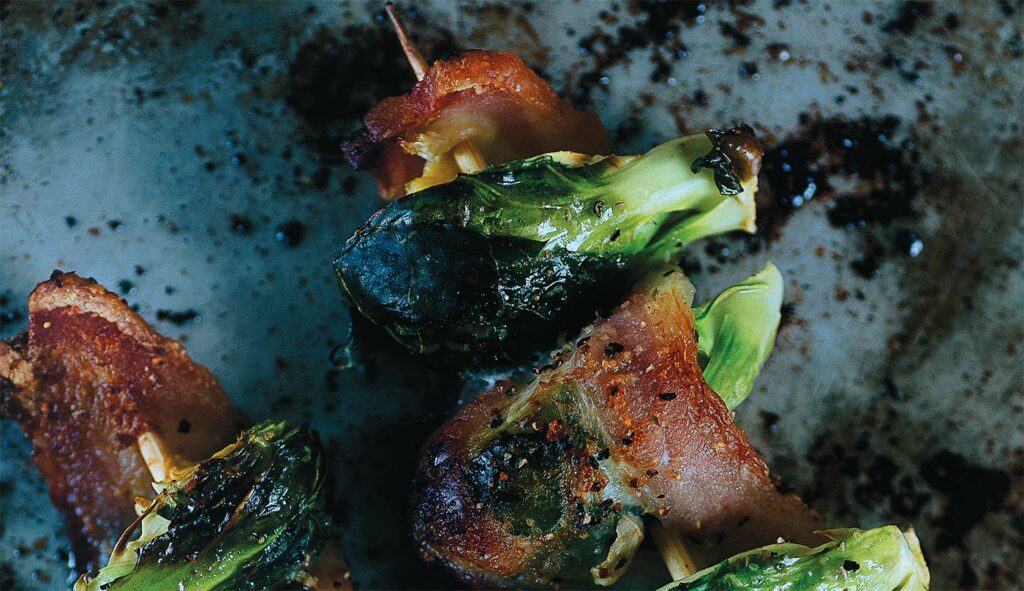 Brussels & Bacon Skewers
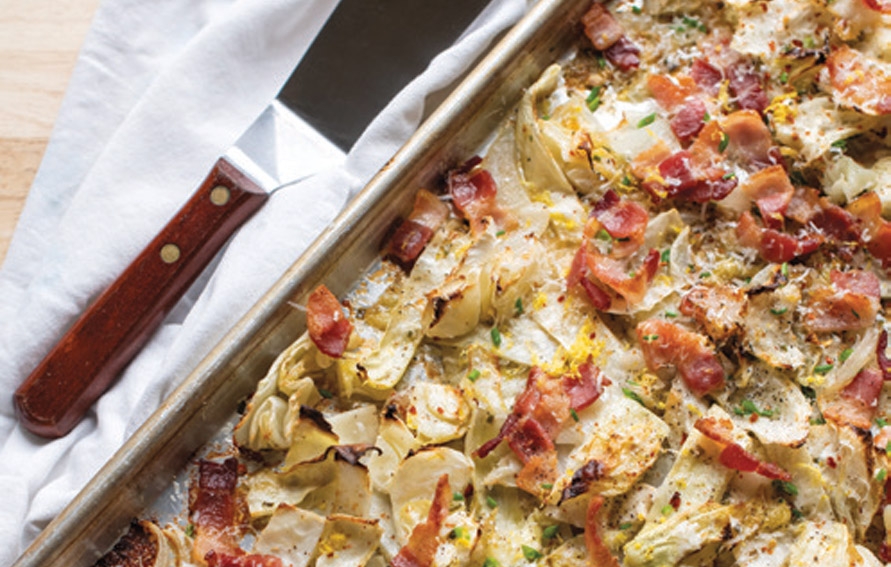 Sheet Pan Roasted Lemony Parmesan Cabbage and Bacon
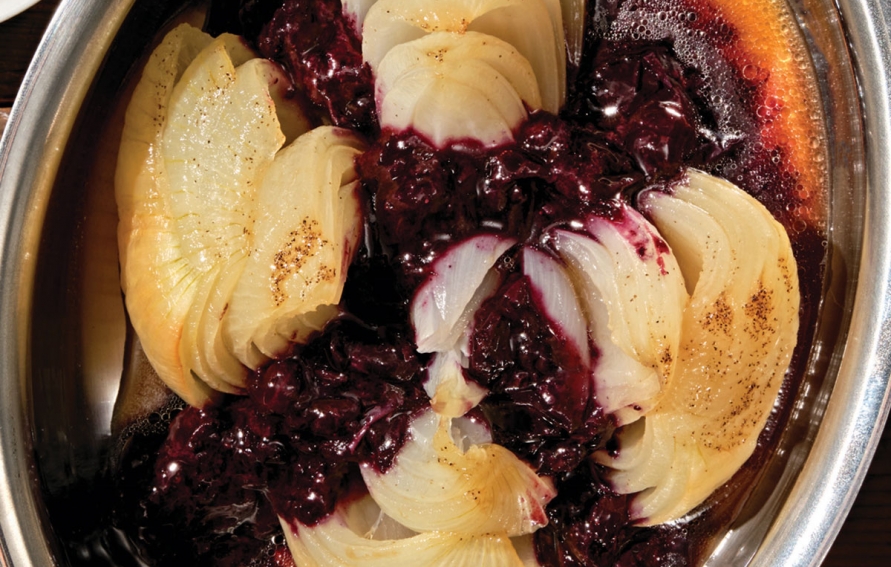 Melting Onions with Berry Compote
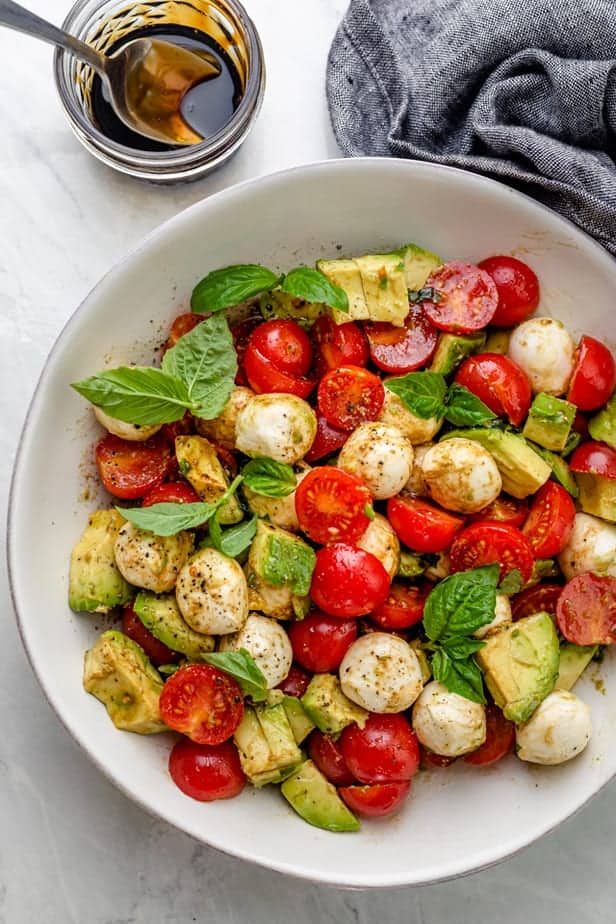 Avocado Caprese Veggie Starter
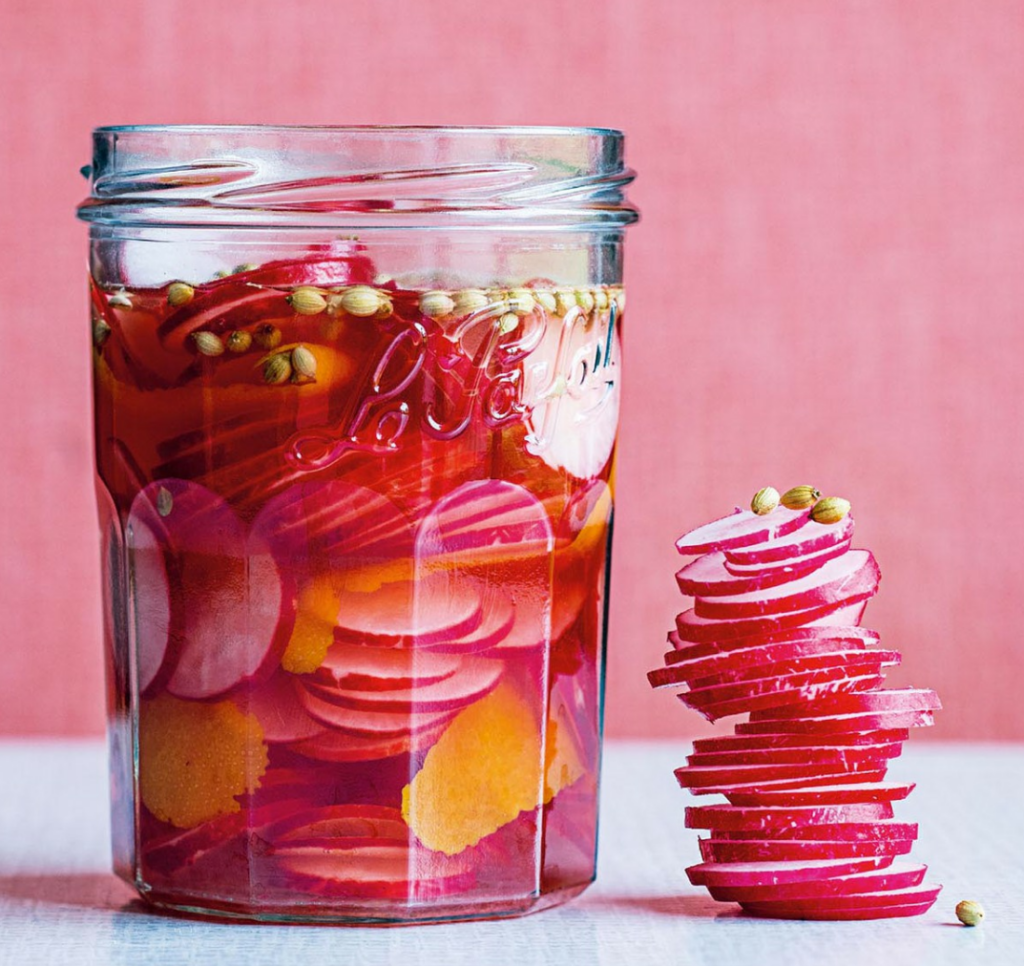 Coriander & Orange Pickled Radish
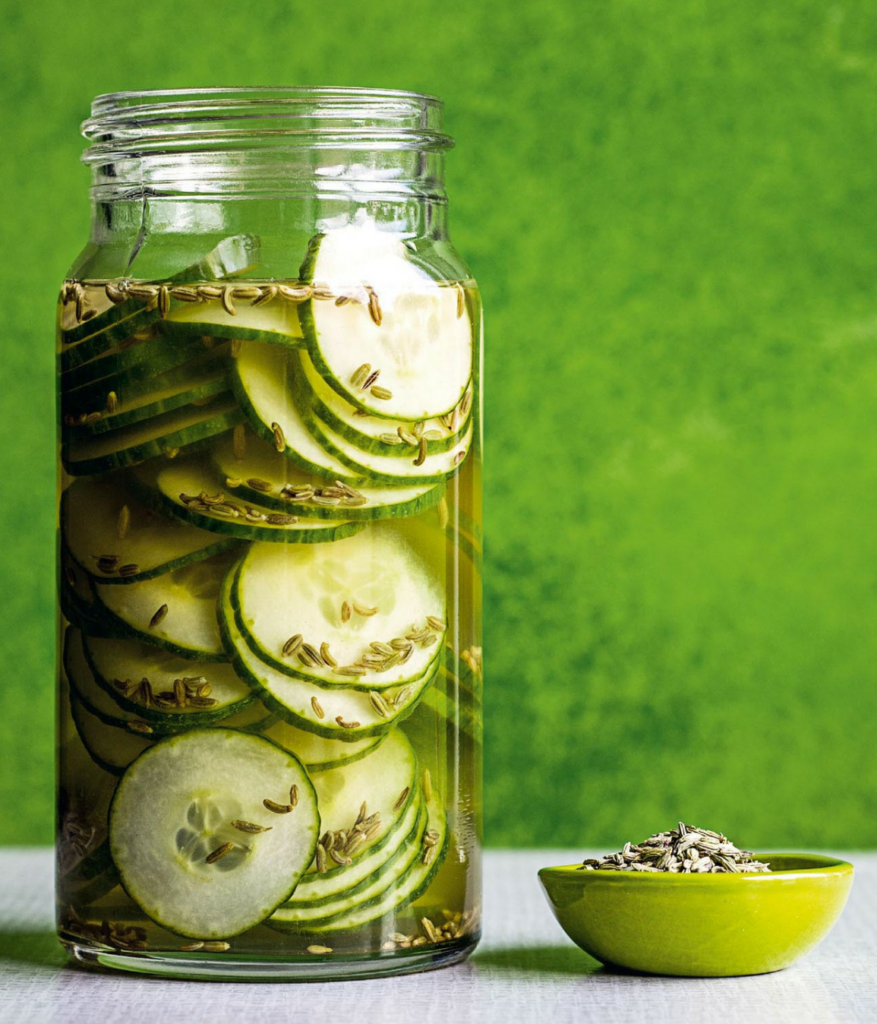 Cucumber & Fennel Refrigerator Pickles
 Roasted Parmesan Creamed Onions
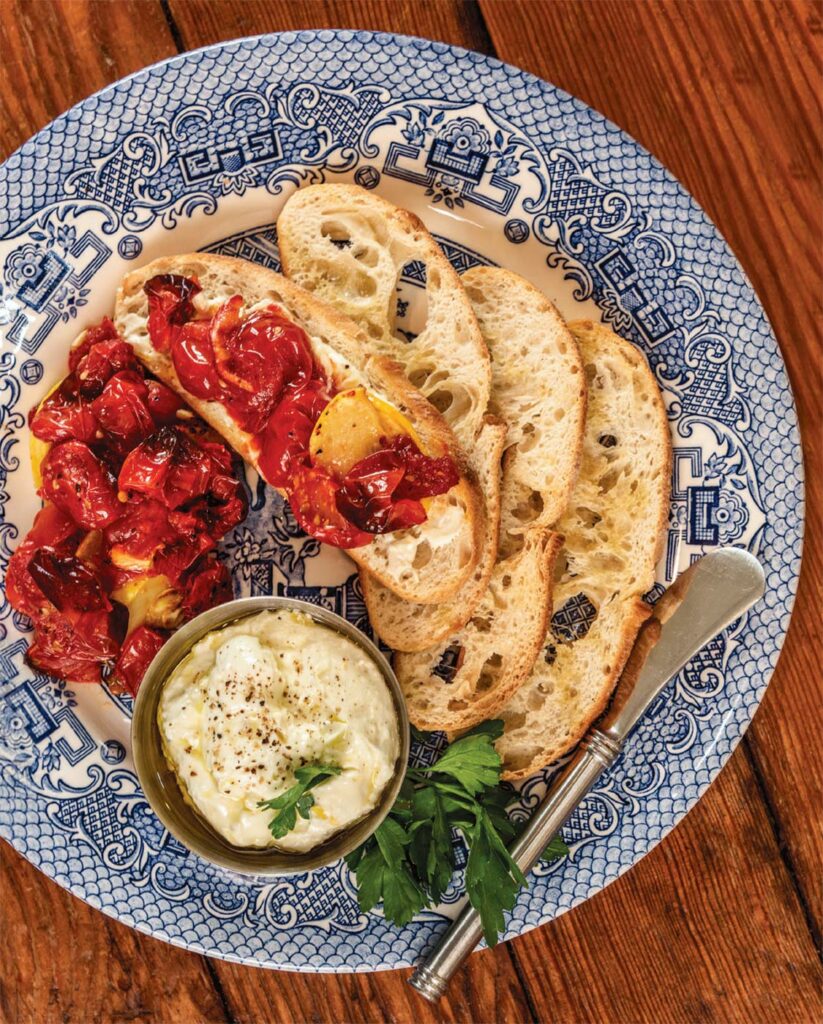 Blistered Tomatoes and Squash with Whipped Feta
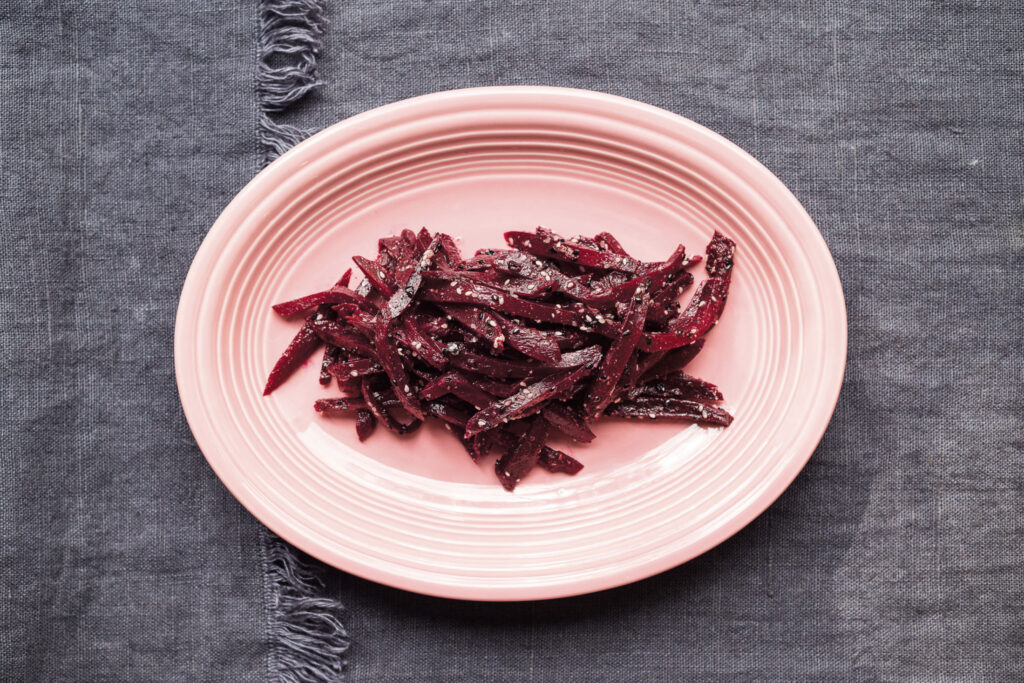 Cold Sesame Beets
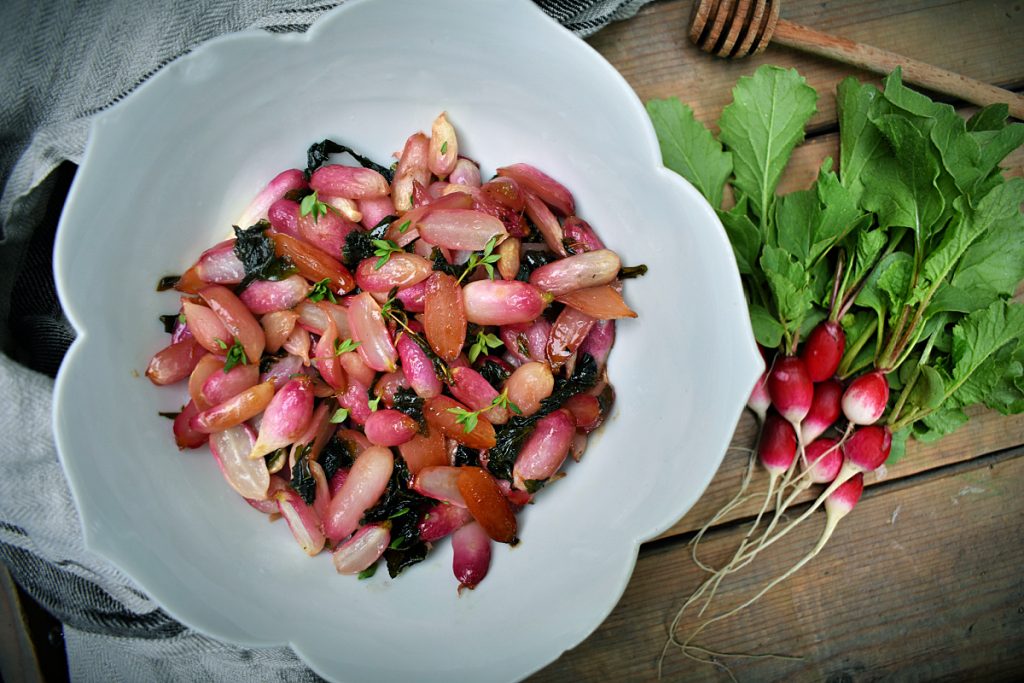 Roasted Radishes with Honey Butter & Thyme
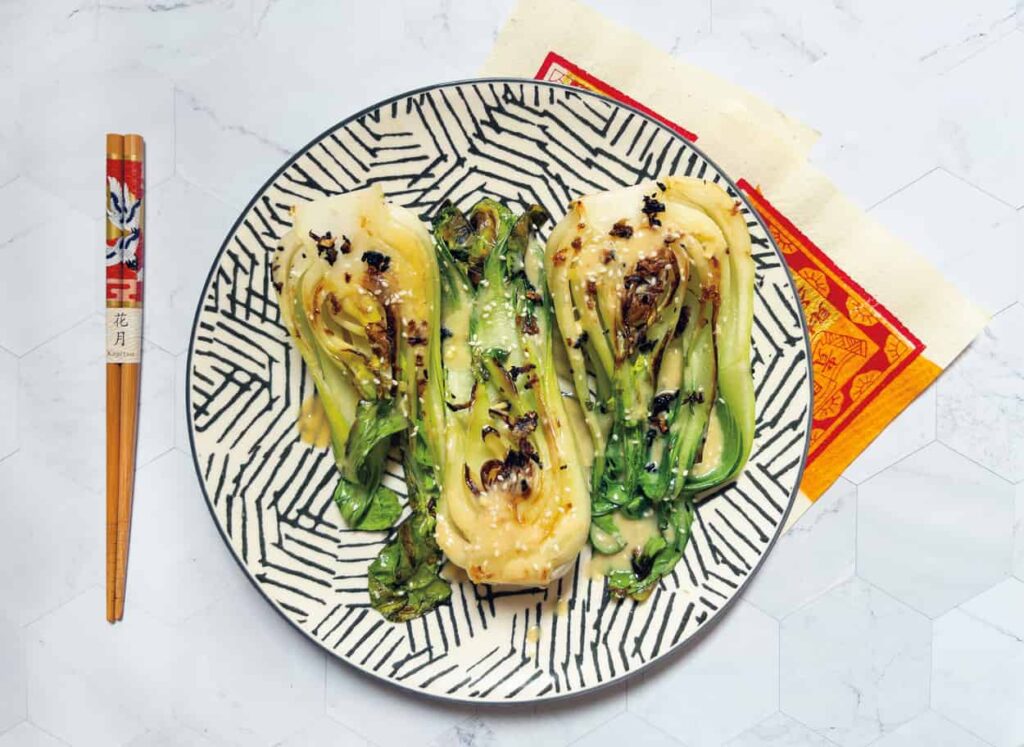 Bok Choy with Miso Ginger Dressing
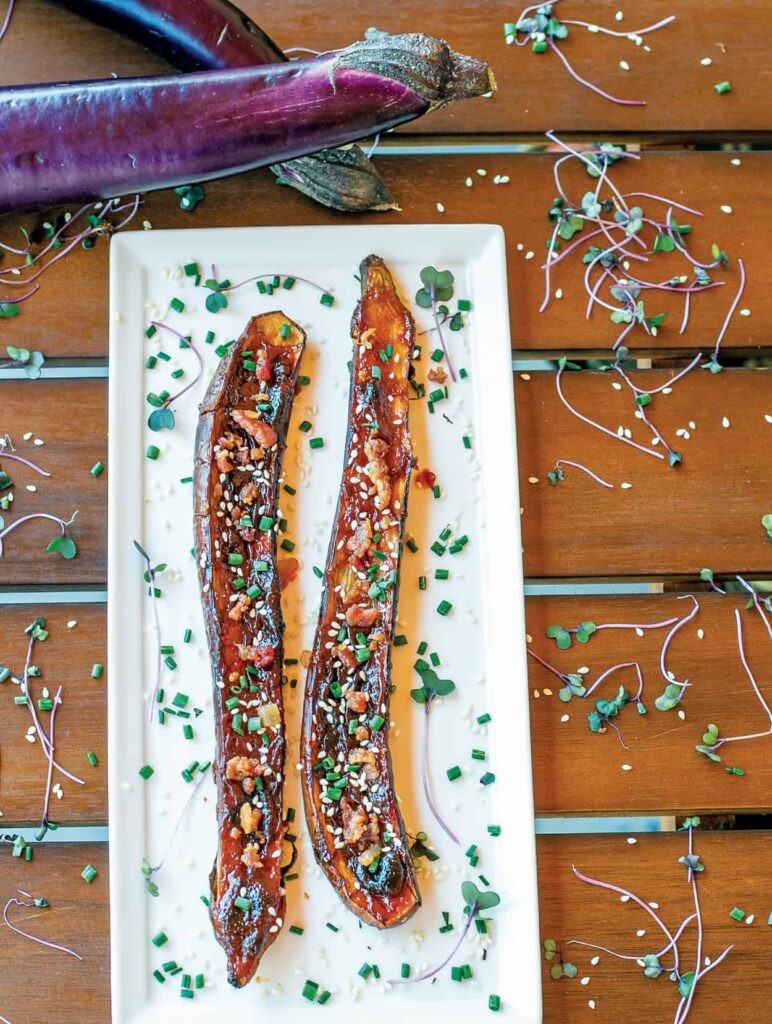 Nasu Dengaku (Miso Glazed Eggplant)
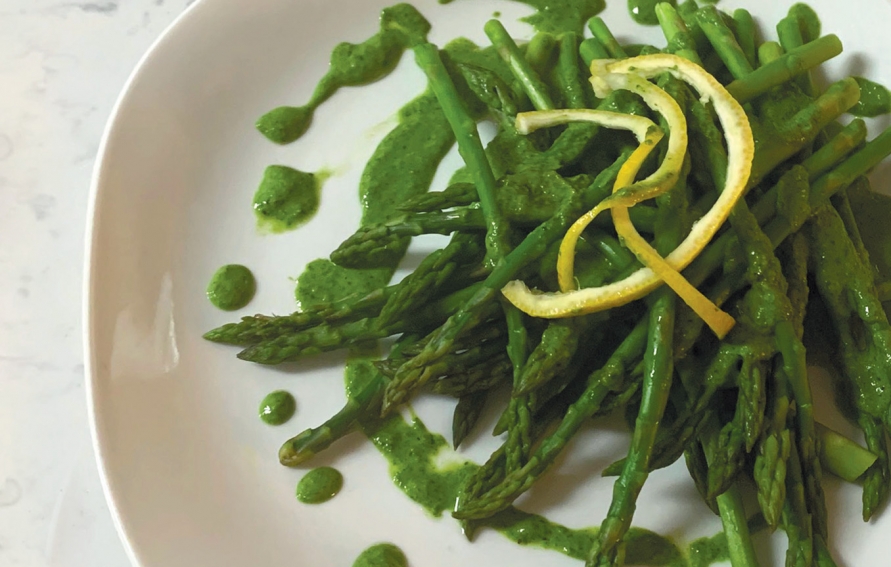 Creamy Sorrel Sauce
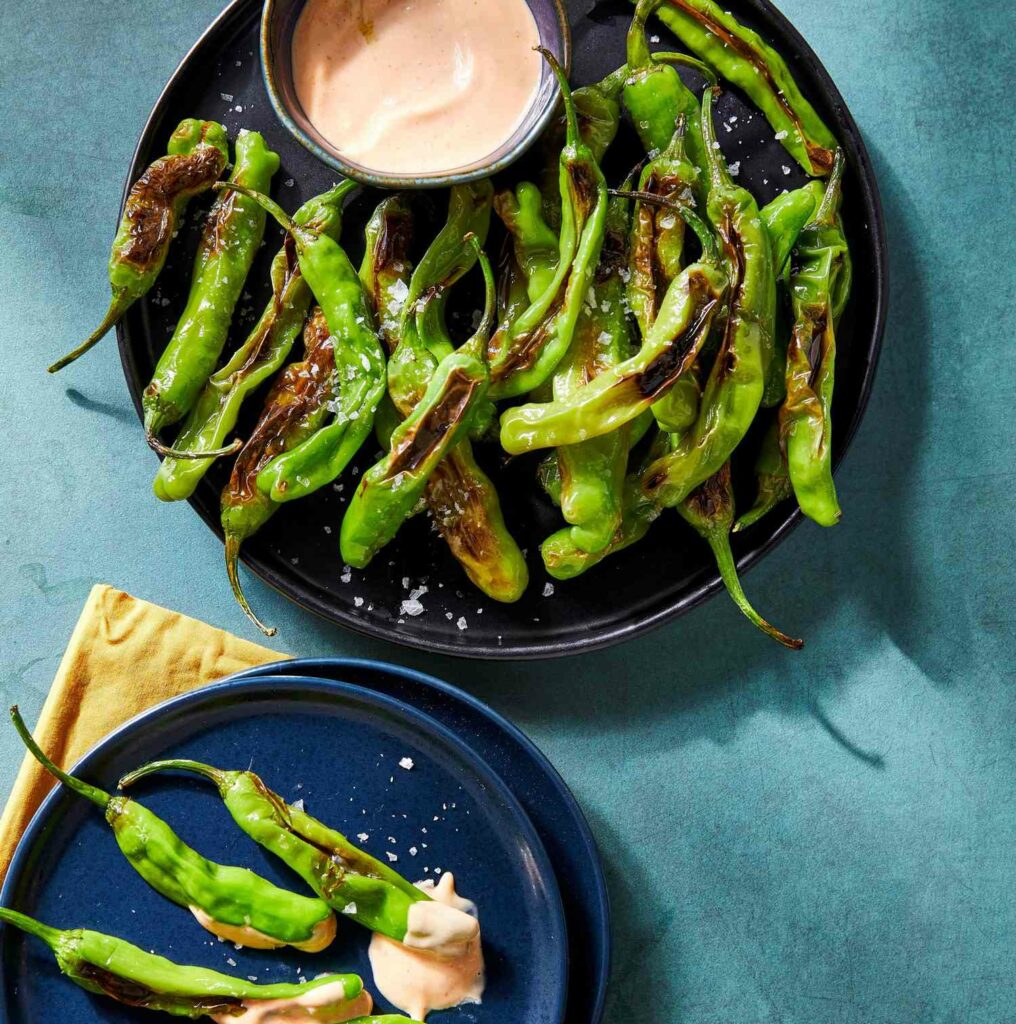 Blistered Shishitos with Sriracha Aioli
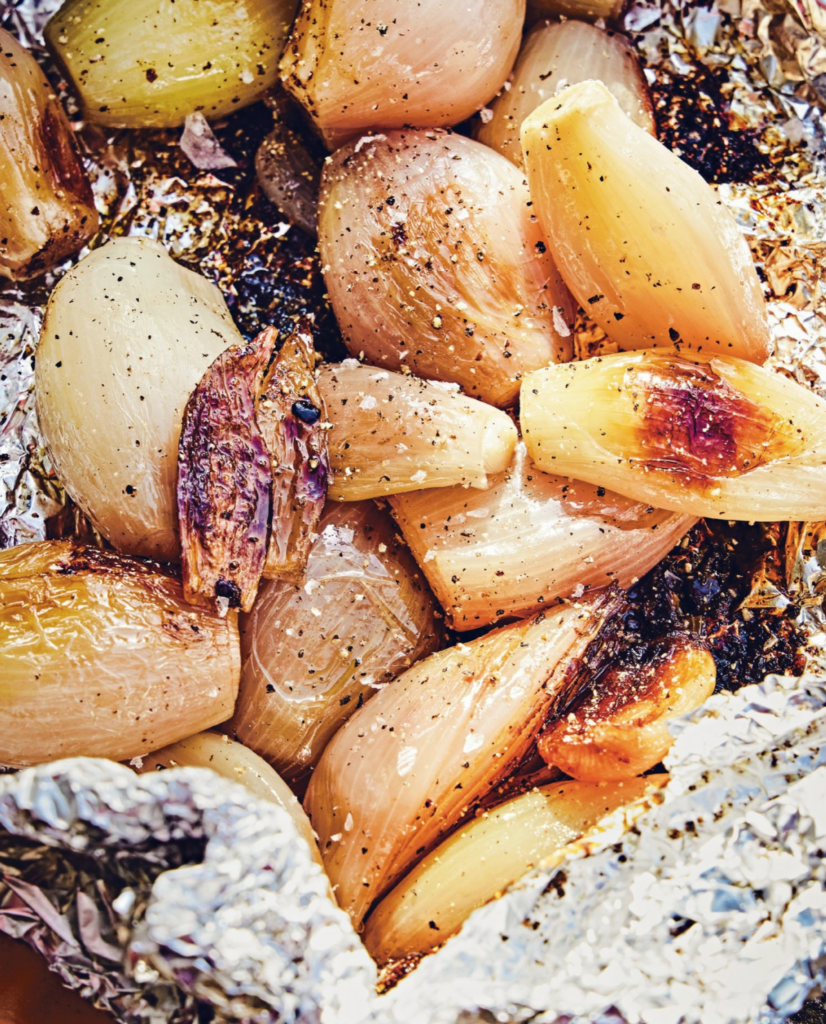 Sweet-Sour-Sumac Roasted Shallots
 Leeks in Vinaigrette with Black Olives and Bread Crumbs
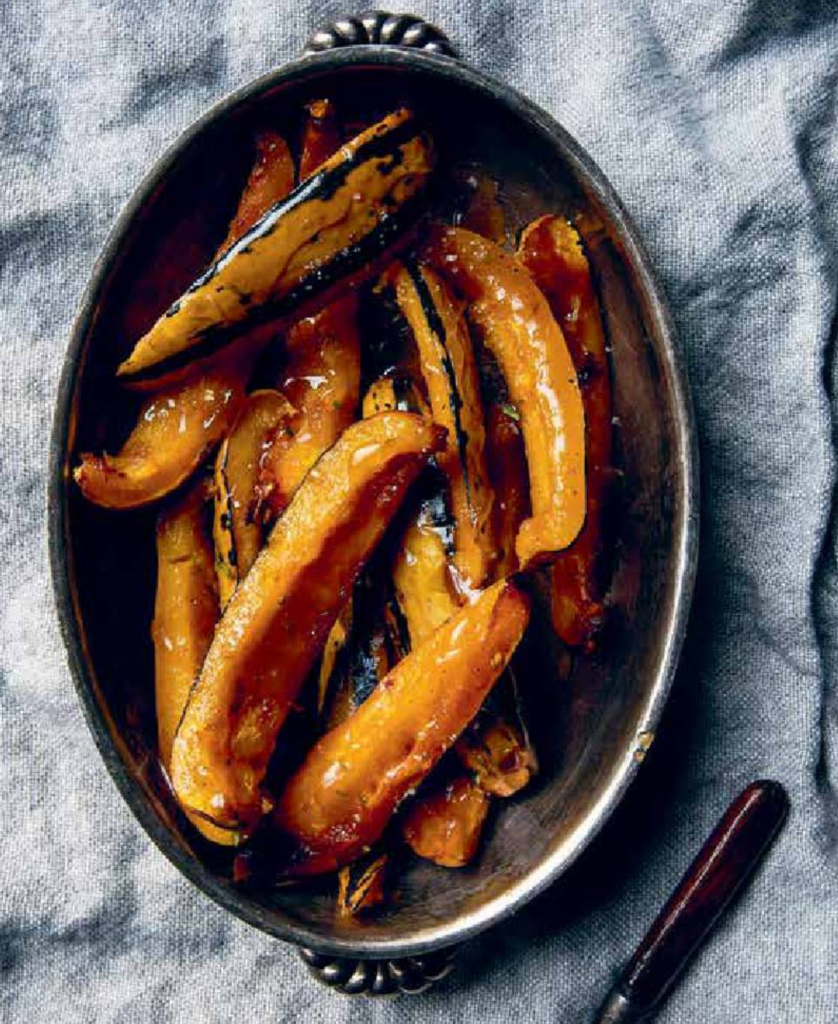 1 large or 2 small (2-3 lb in total) delicata squash
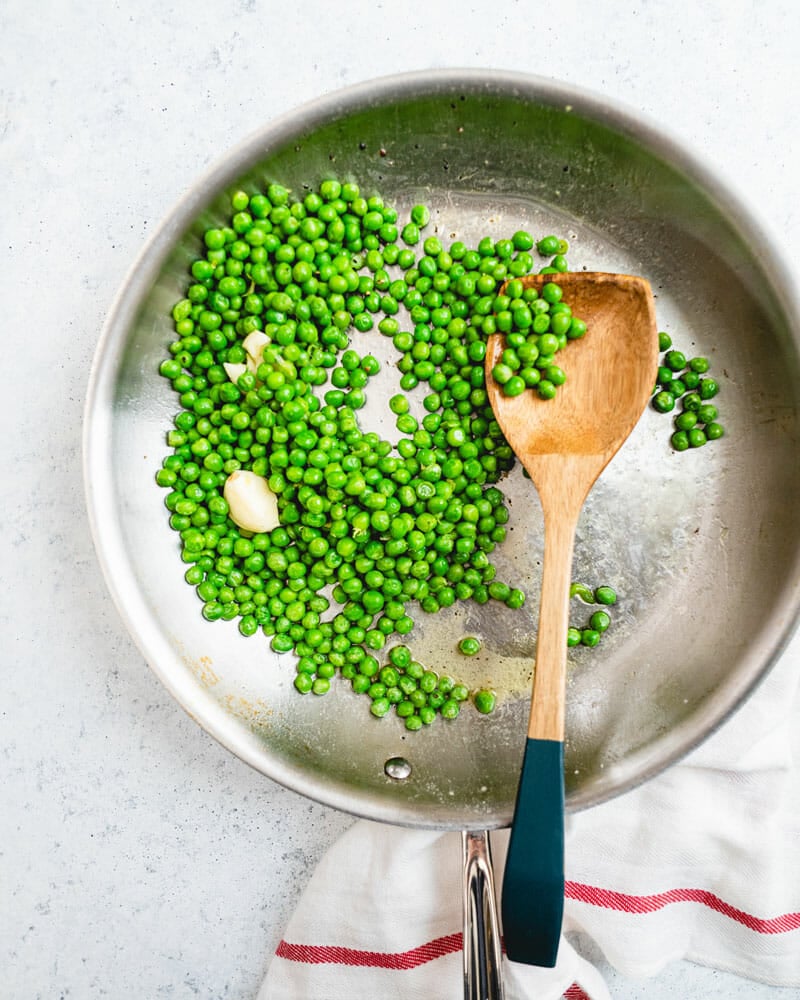 Frozen Peas with Lemon Butter
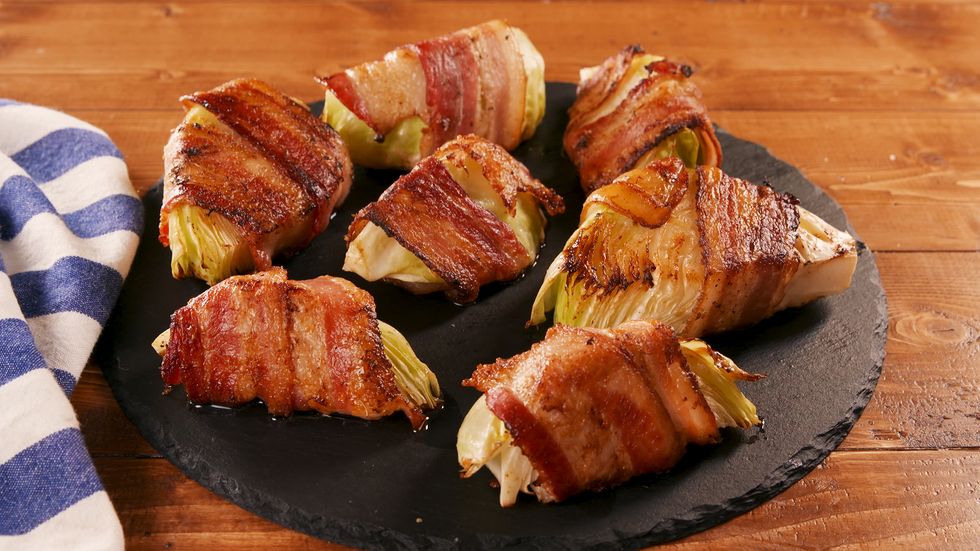 Bacon Cabbage Dippers
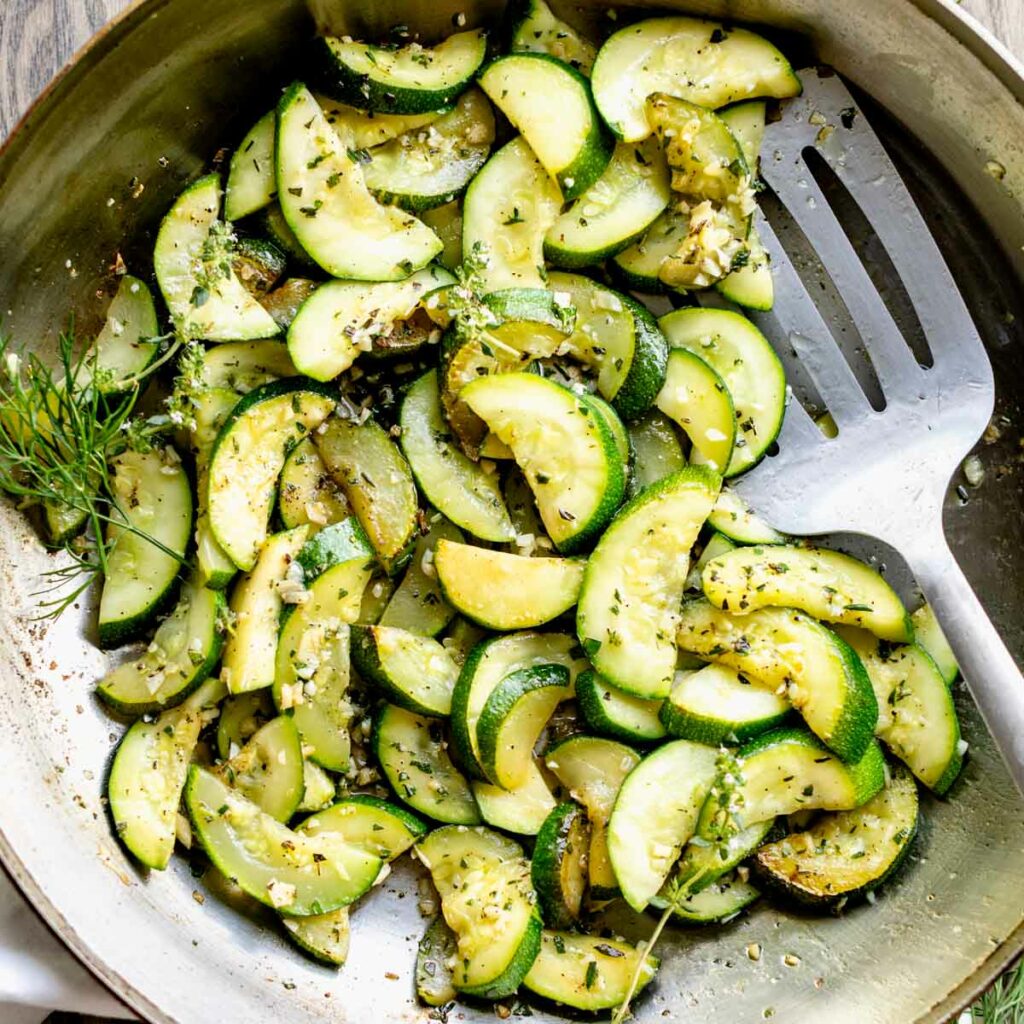 Sauteed Zucchini with Herbed Dressing
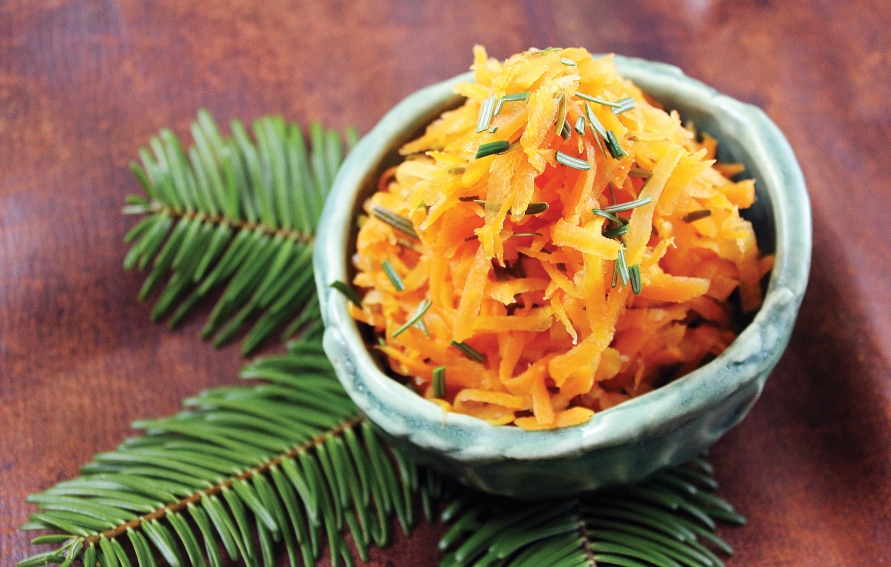 Grated Carrot and Fir Needle Pickled Salad
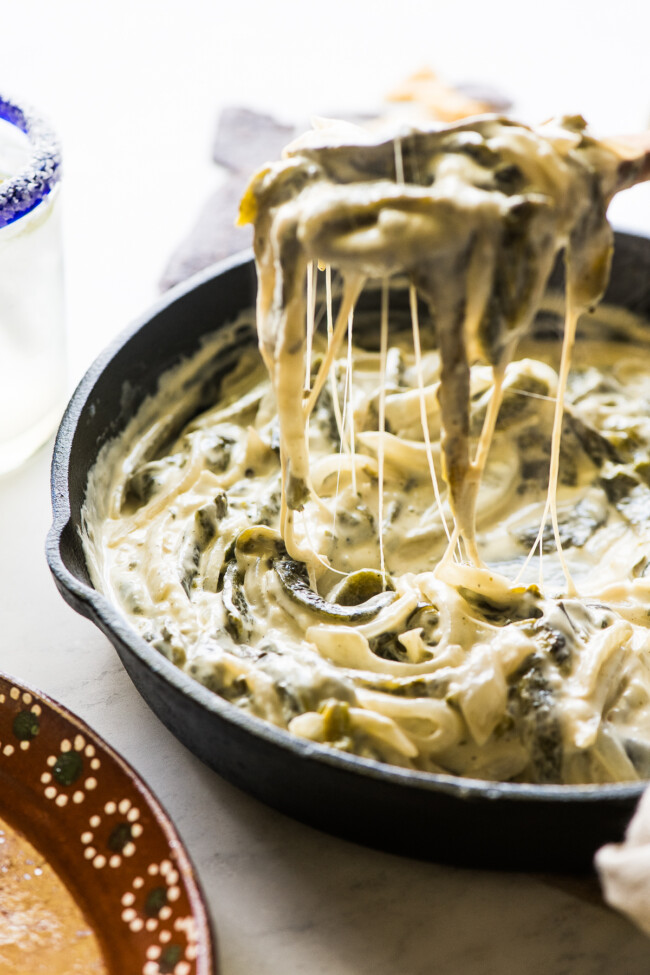 Rajas con Crema
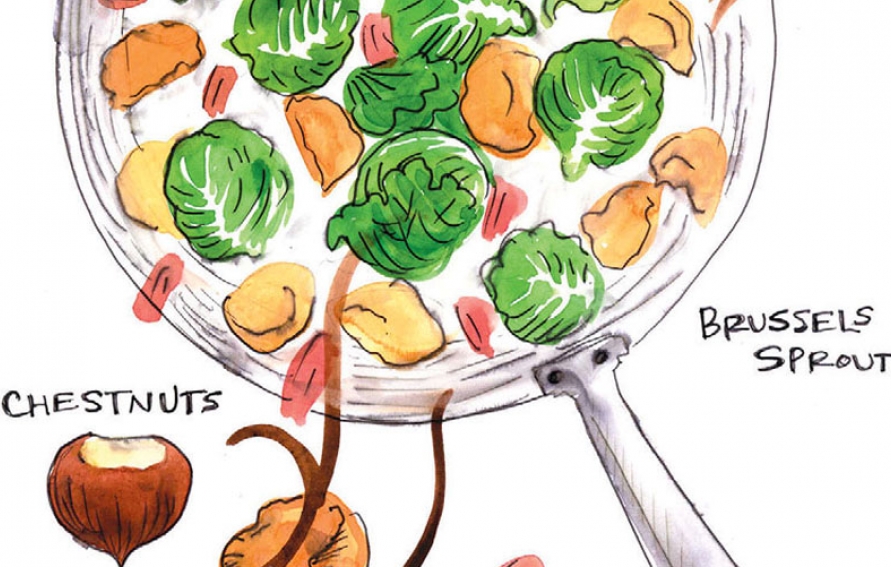 Roasted Brussels Sprouts with Bacon and Chestnut
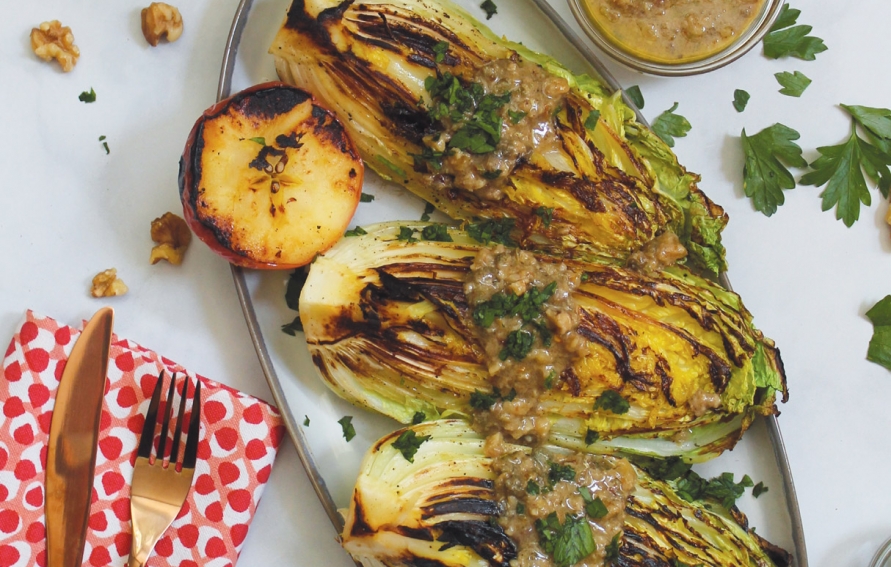 Blistered Cabbage and Apples with Walnut-Anchovy Caper Sauce
 Cheesy Spinach Pancakes
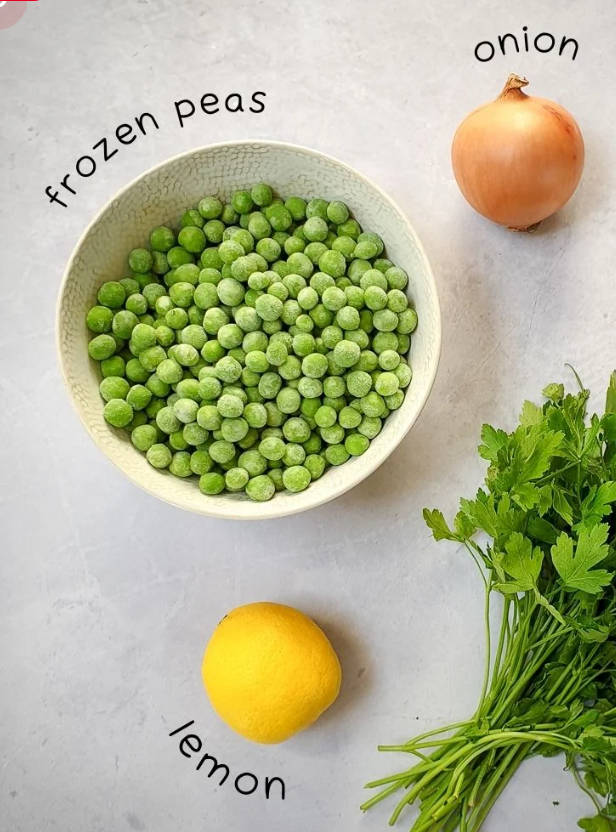 Peas with Fried Onions & Lemon