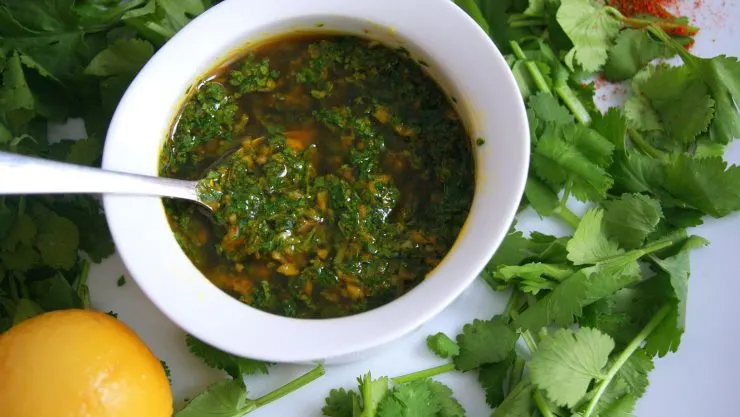
 Moroccan Chermoula
Chermoula is used as a marinade, a seasoning rub but also as a sauce or condiment served on the side. With that in mind, you can use it to:
marinate raw meat, fish, poultry or vegetables;
baste ingredients as they cook;
lift a sauce in a stew or tagine by adding it to simmering cooking liquids;
serve alongside grilled vegetables or fish or meat, a bit like a chimichurri or a sauce vierge.
The best chermoula is made using a pestle and mortar after first chopping all ingredients to release their oils. However, for a large batch or if you don’t have the magic mortar, a blender or food processor will do. In that case, you might need to add some olive oil or tiny bit of water to help with blending.
3 cups fresh coriander (cilantro), – roughly chopped,
1 cup fresh flat leaf parsley, – roughly chopped, leaves only
6 to 8 cloves garlic, – peeled and roughly chopped
1 tsp salt
1 T. ground cumin
1 T. sweet paprika, – powder or paste
1/4 cup extra virgin olive oil
2 T. water – optional not needed if using a pestle and mortar
Optional ingredients depending on recipes
1 T. tomato paste – (double it for a red chermoula)
5 T. lemon juice, – freshly squeezed
1 tsp harissa paste, – or to taste
1/2 tsp ground black pepper
1 tsp ground ginger
1 tsp ground turmeric – (for a yellow chermoula)
1 small preserved lemon, seeds removed – (for a lemony chermoula)
Roughly chop the herbs and crush the garlic, then follow one of the methods below.
Using a Food Processor: Place the herbs and the rest of the ingredients in the blend. Give a few pulses until you are satisfied with the texture. To help with blending, you can thin the mixture with a few T. of olive oil, water or a mix of the two.
Using a Mortar and Pestle (Mehraz): Start by pounding garlic and salt. Add the chopped herbs and spices in batches and pound until you are happy with the texture. Note: It is important to chop the herbs properly before crushing them with the pestle, otherwise you will end up with a stringy chermoula.
Use immediately or store in a jam jar or similar sealed container. If the paste is quite thick, you could top it off with olive oil. Keep in the fridge for up to a week.
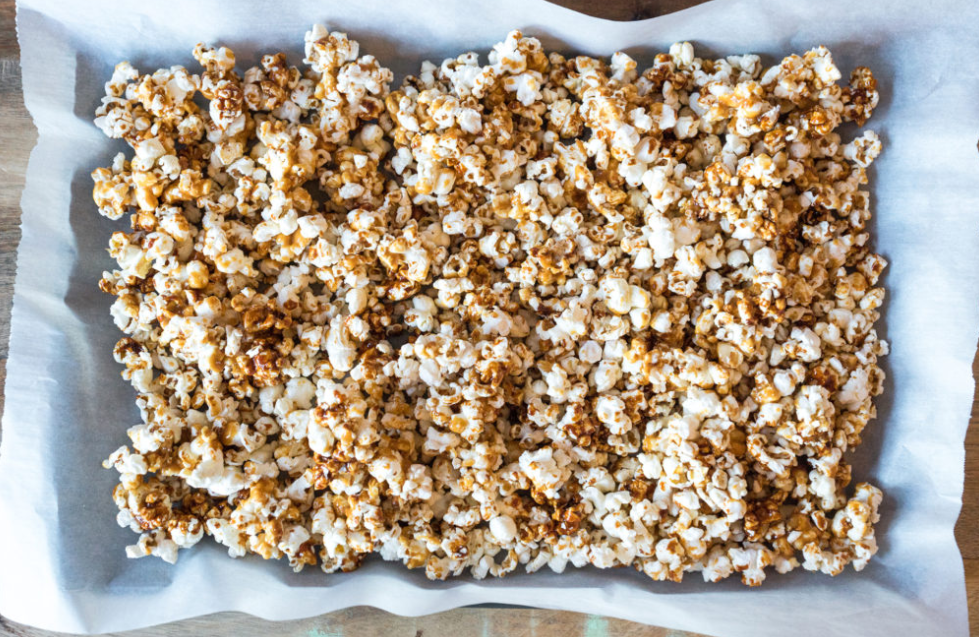 Agave Caramel Corn
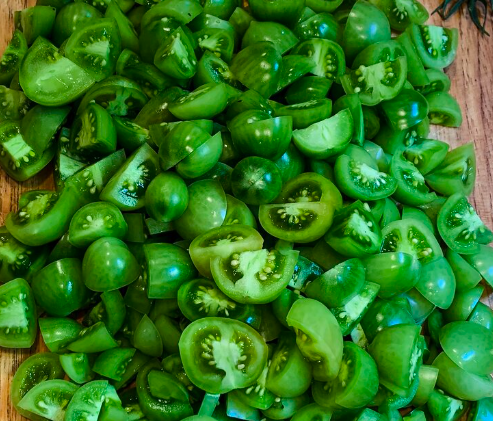 Green Tomato Glaze
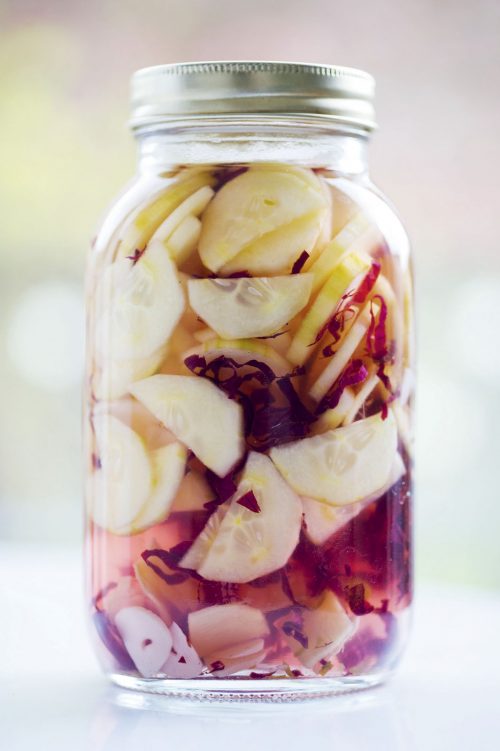 Shiso Pickled Cucumber
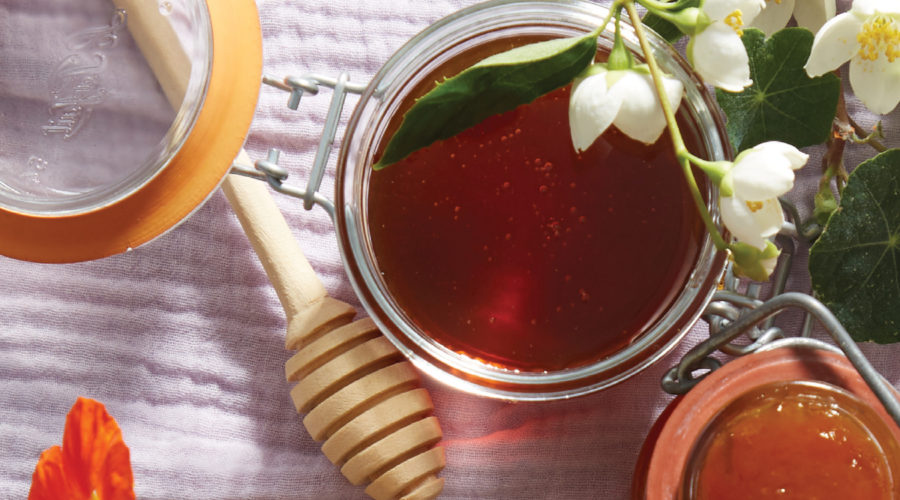 Apricot-Chamomile Jam
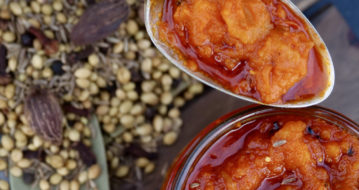 Hubbard Squash Chutney
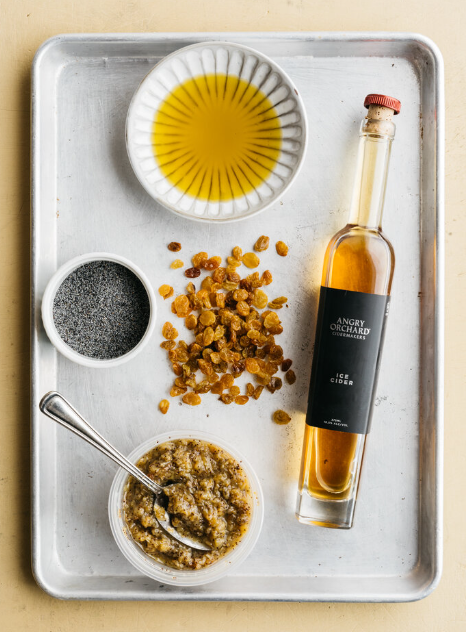 Raisin Jam
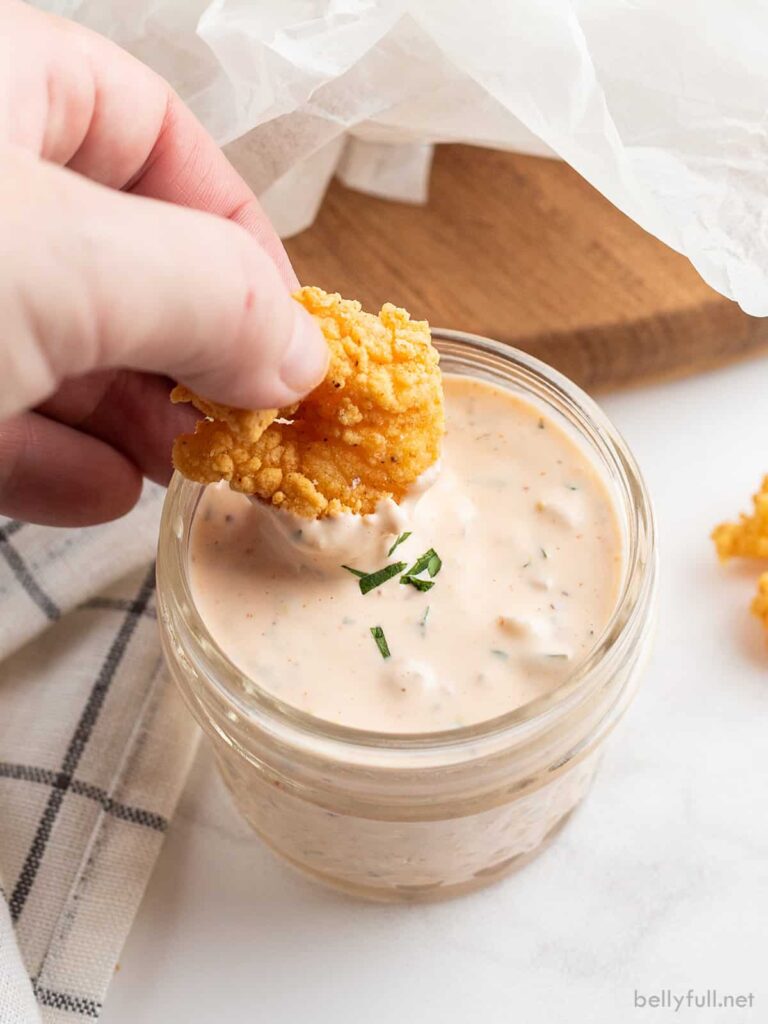 Simple Remoulade Sauce
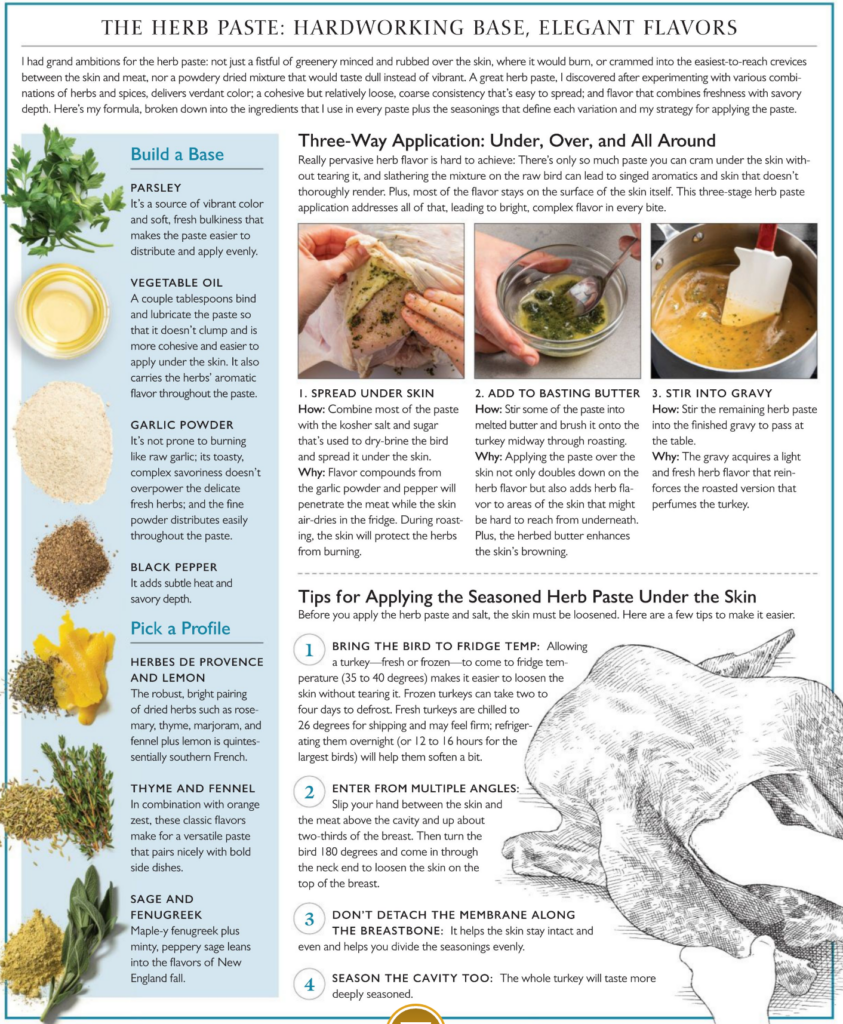
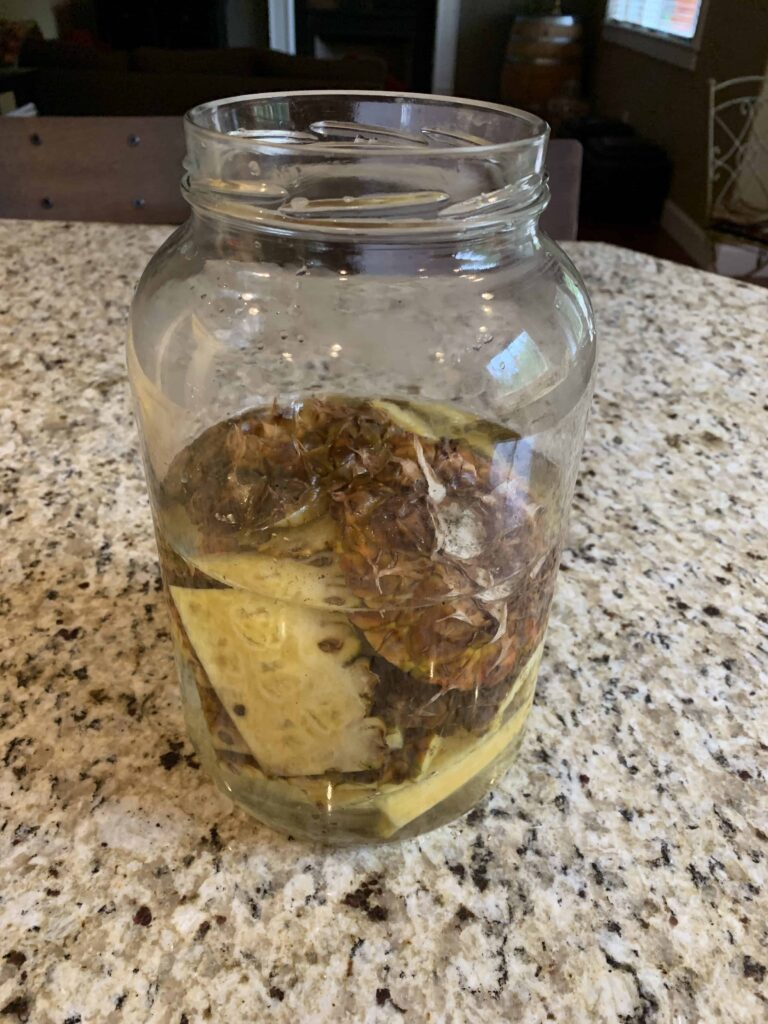 Pineapple Scraps Vinegar
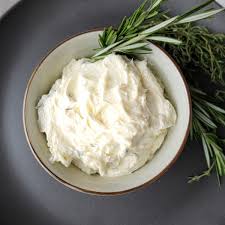 Horseradish Butter
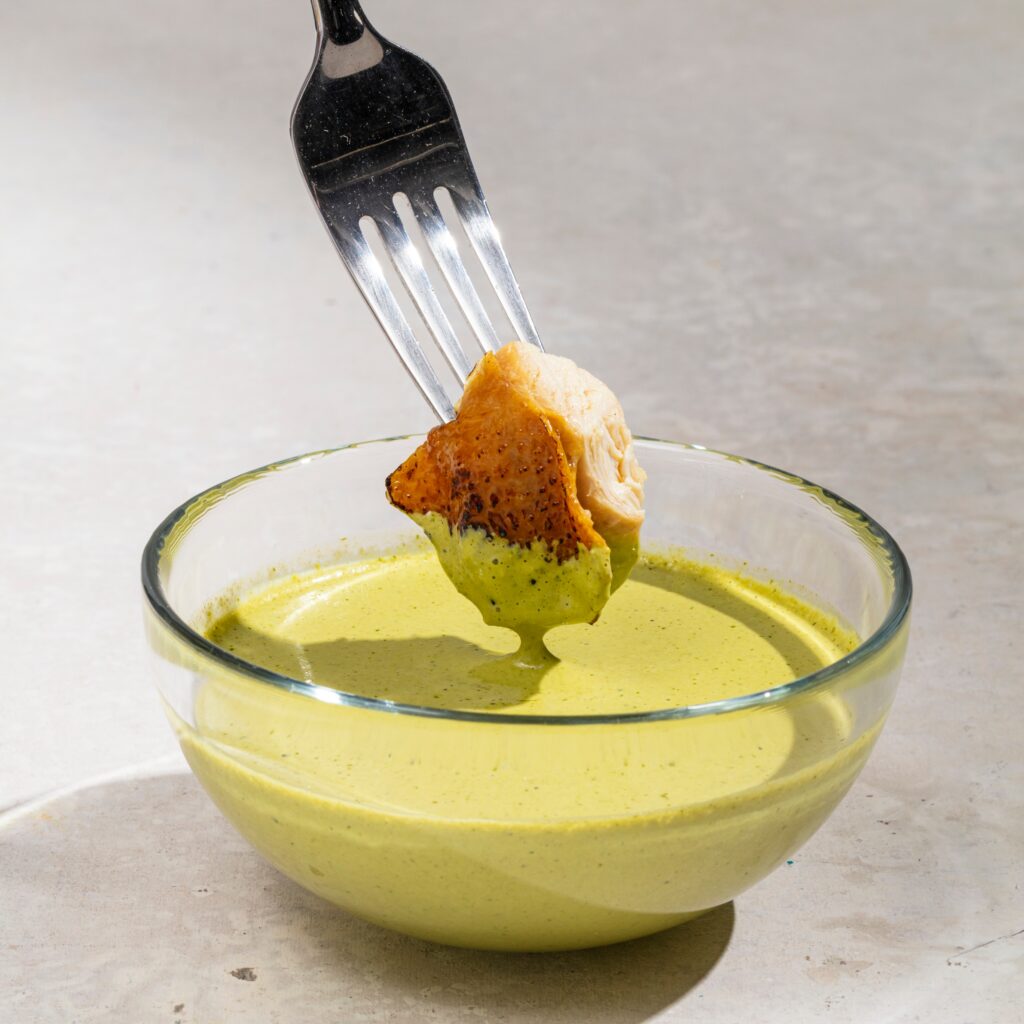
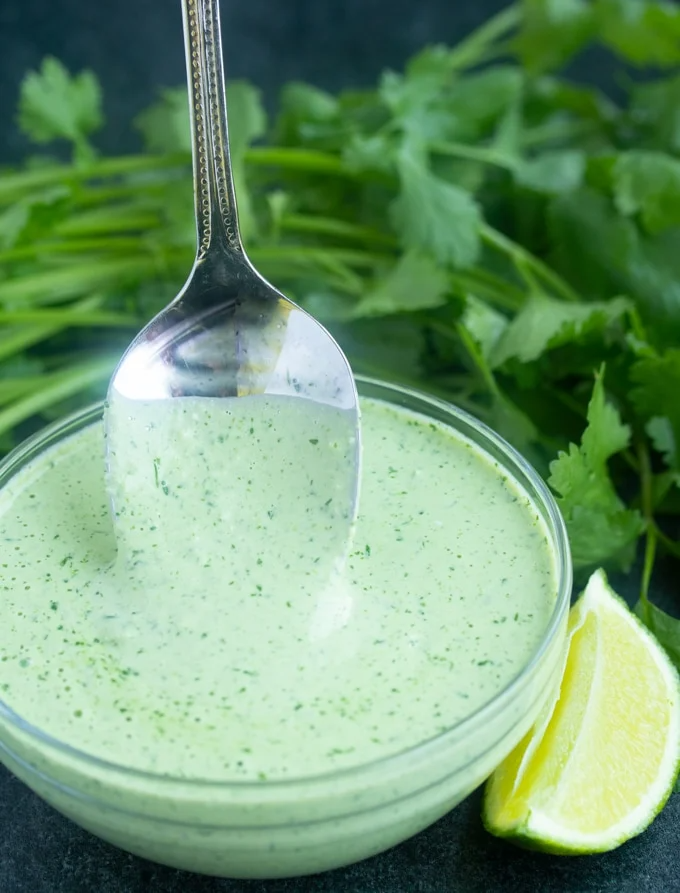 Peruvian Green Sauce
 Lemon, Garlic, and Thyme Pan Sauce for Chicken
 Roasted Red Pepper Sauce
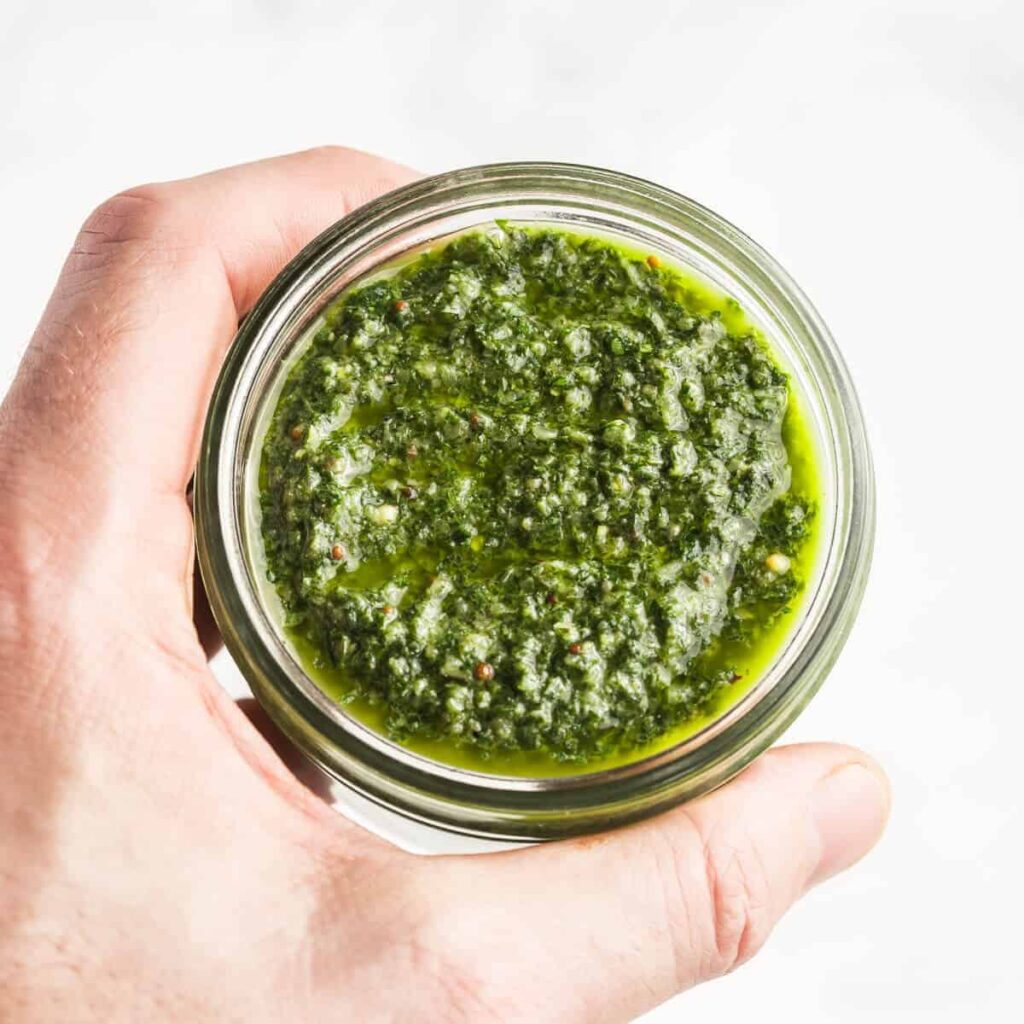 Salsa Verde
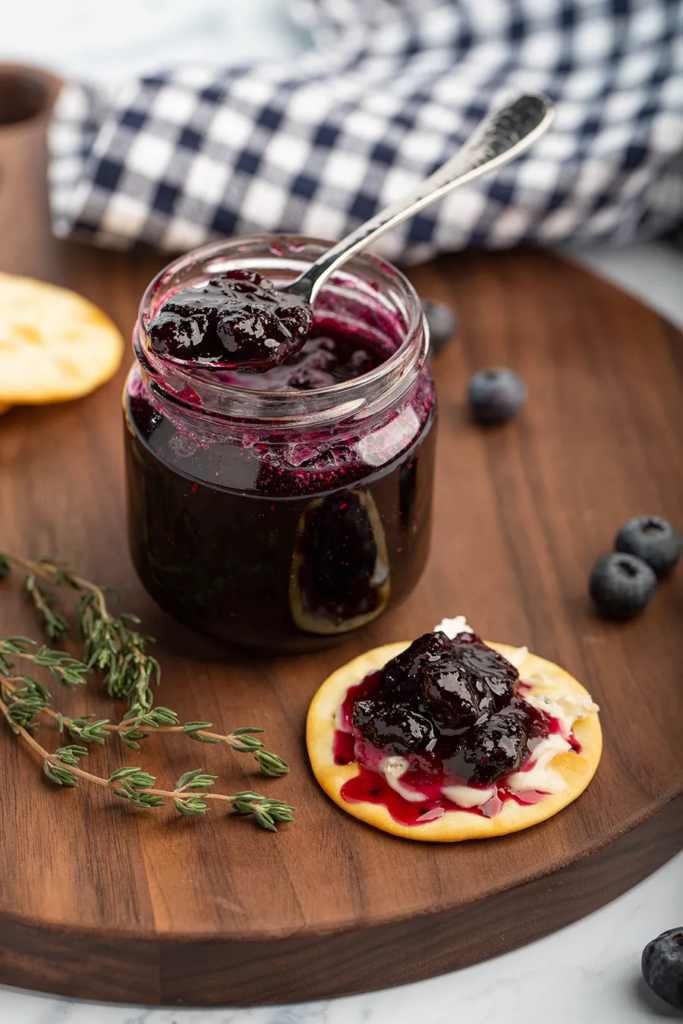 Small Batch Blueberry Thyme Jam
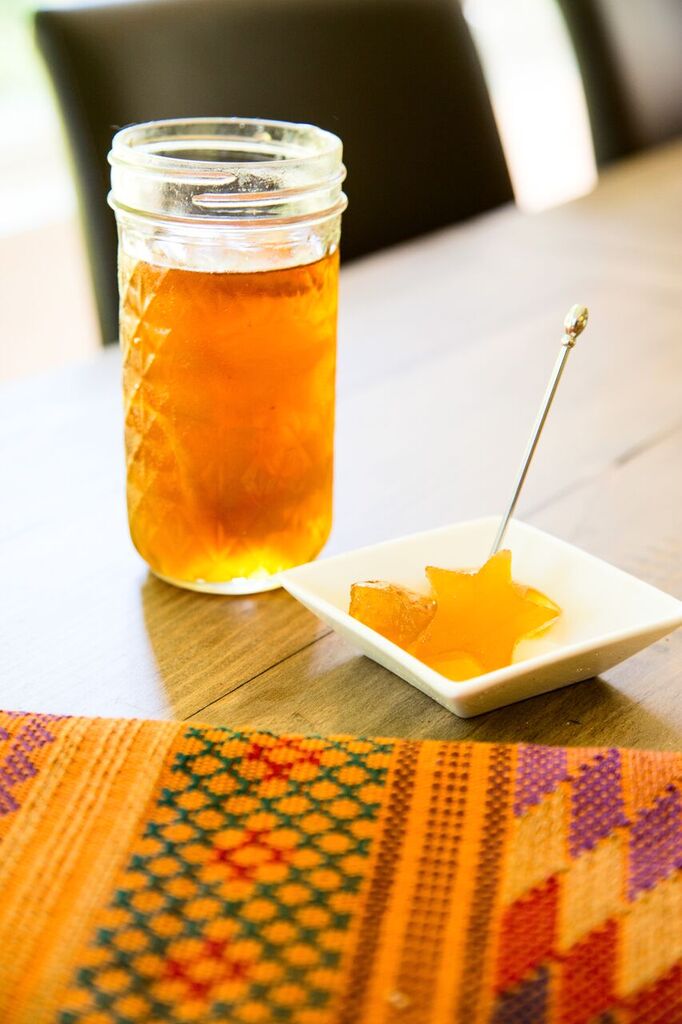 Watermelon Rind Pickles
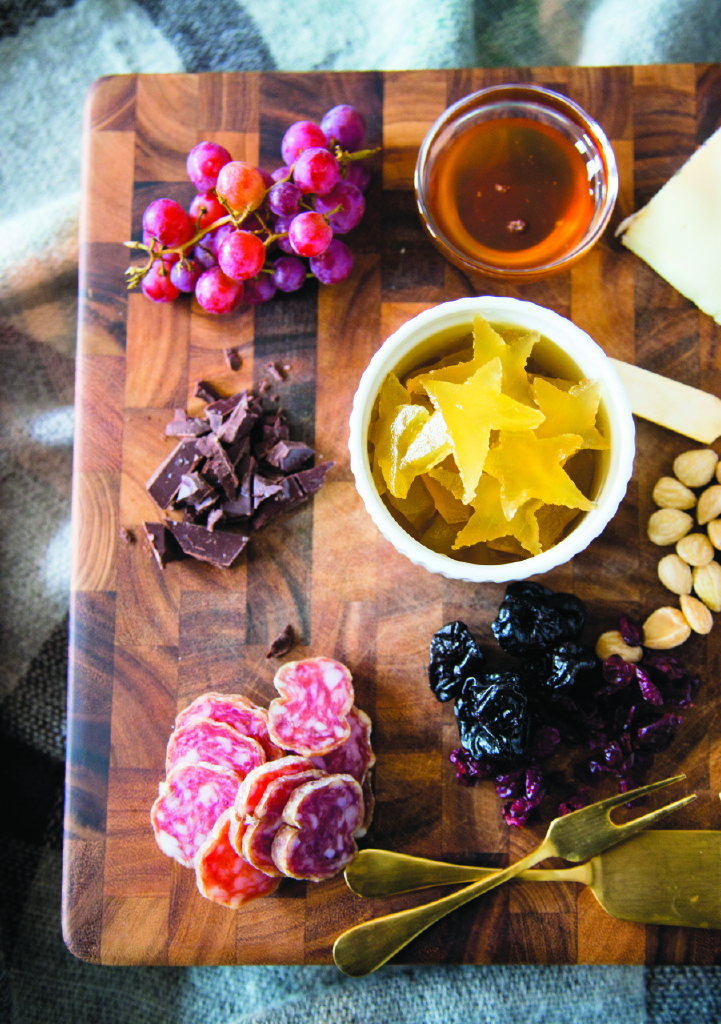
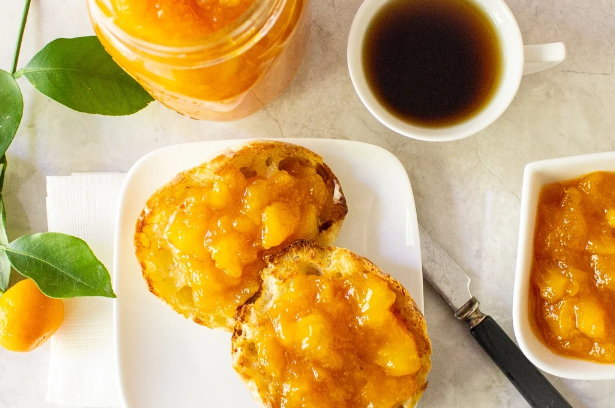 Peach Marmalade
 Cucurbit Salsa
 Stone Fruit Salsa
 Mixed Seed Sprinkle
 Sweet Mango Chili Sauce
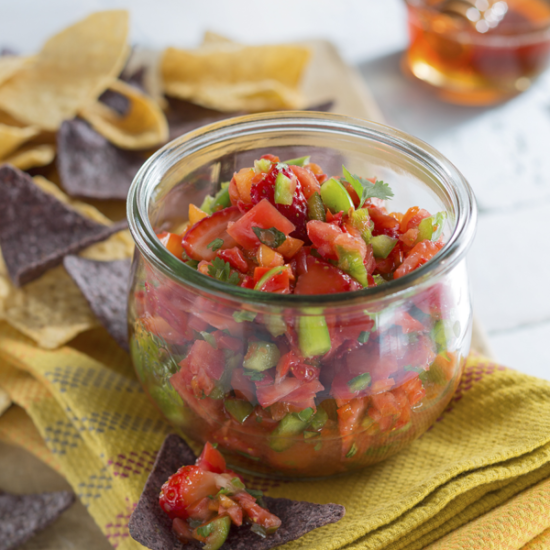 Honey Strawberry Salsa
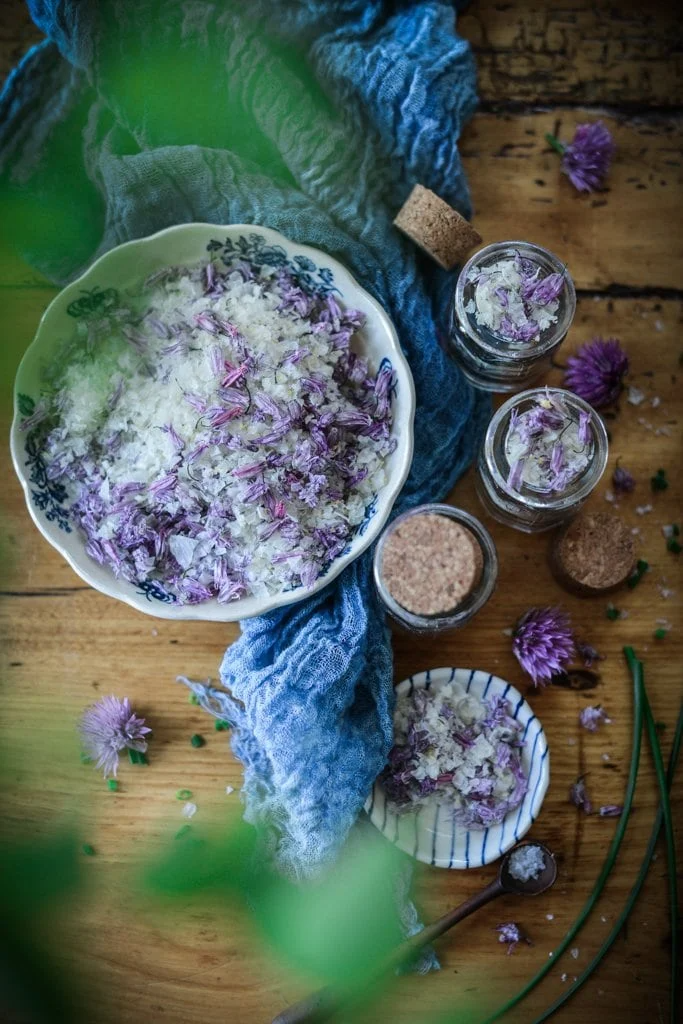 Marjoram and Chive Salt
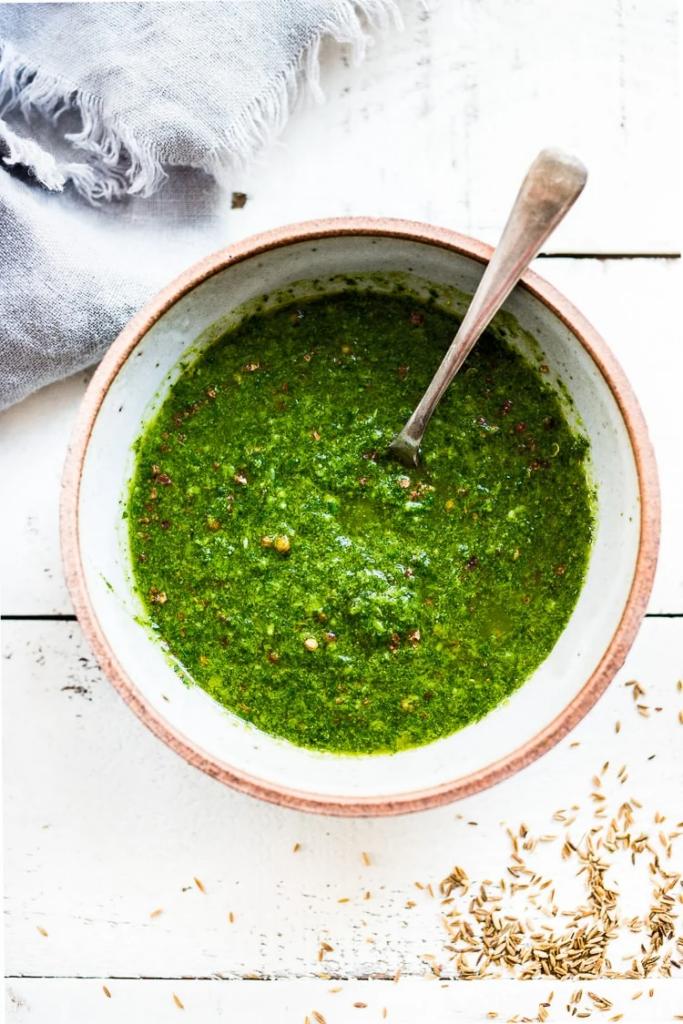 Chermoula Herb Sauce
 Veggie Cream Cheese
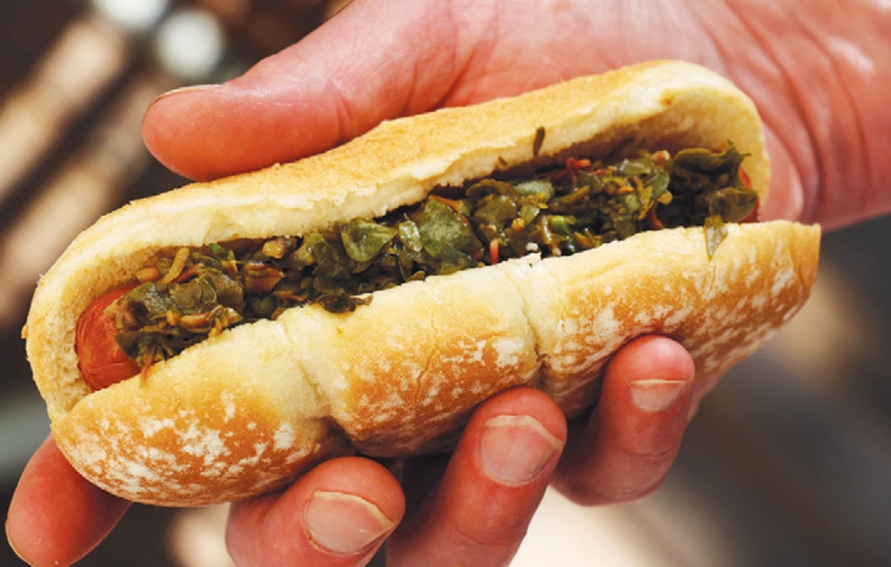
 Ají Verde (Peruvian Green Chile Sauce)
 Ají Amarillo (Peruvian Yellow Chile Sauce)
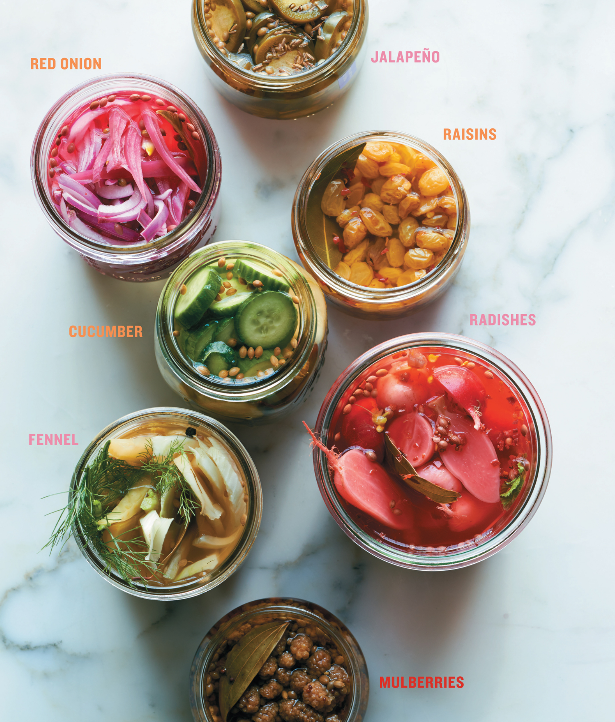 Quickles
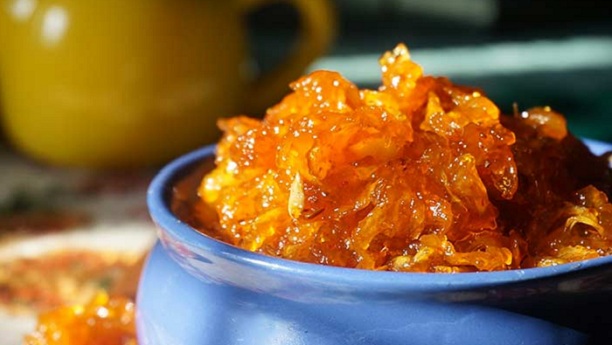 Mango and Roasted Red Pepper Chutney
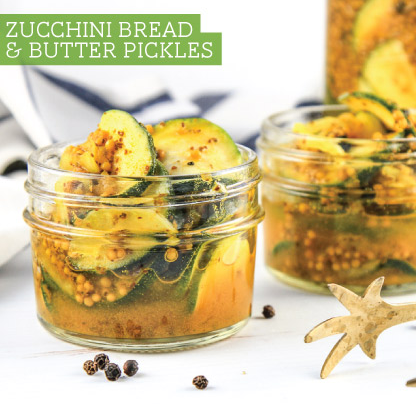 Zucchini Bread & Butter Pickles
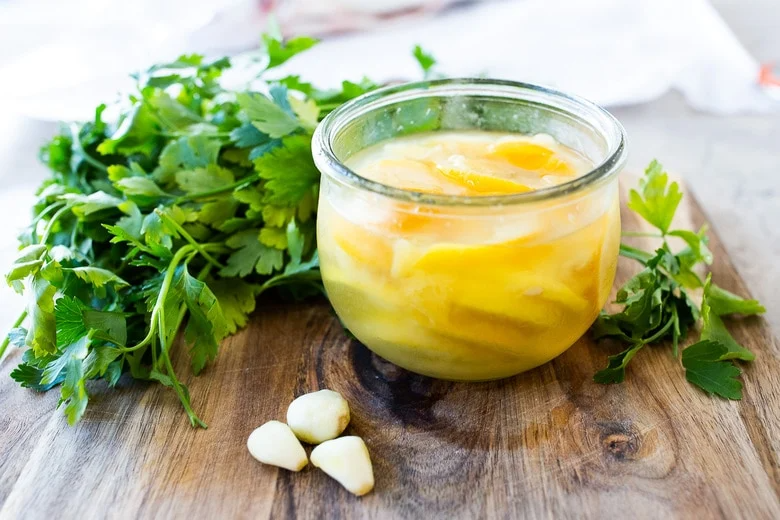 Herb and Preserved Lemon Salsa
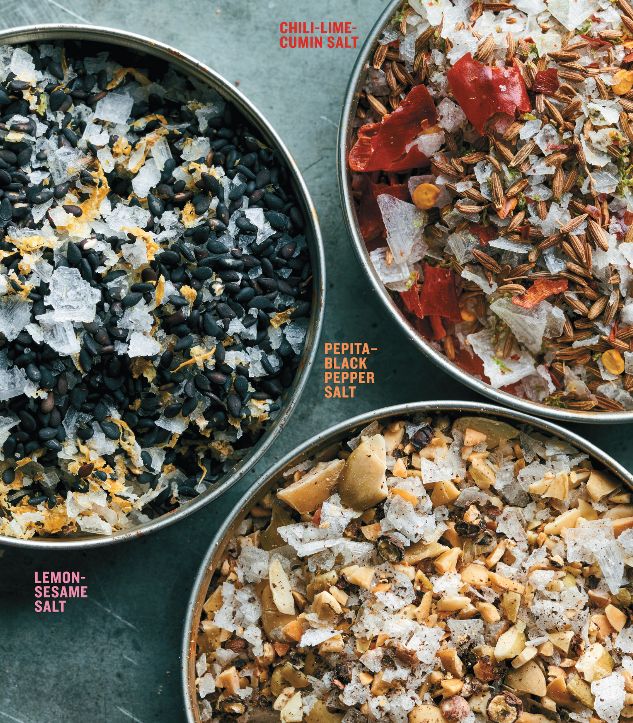 Finishing Salts