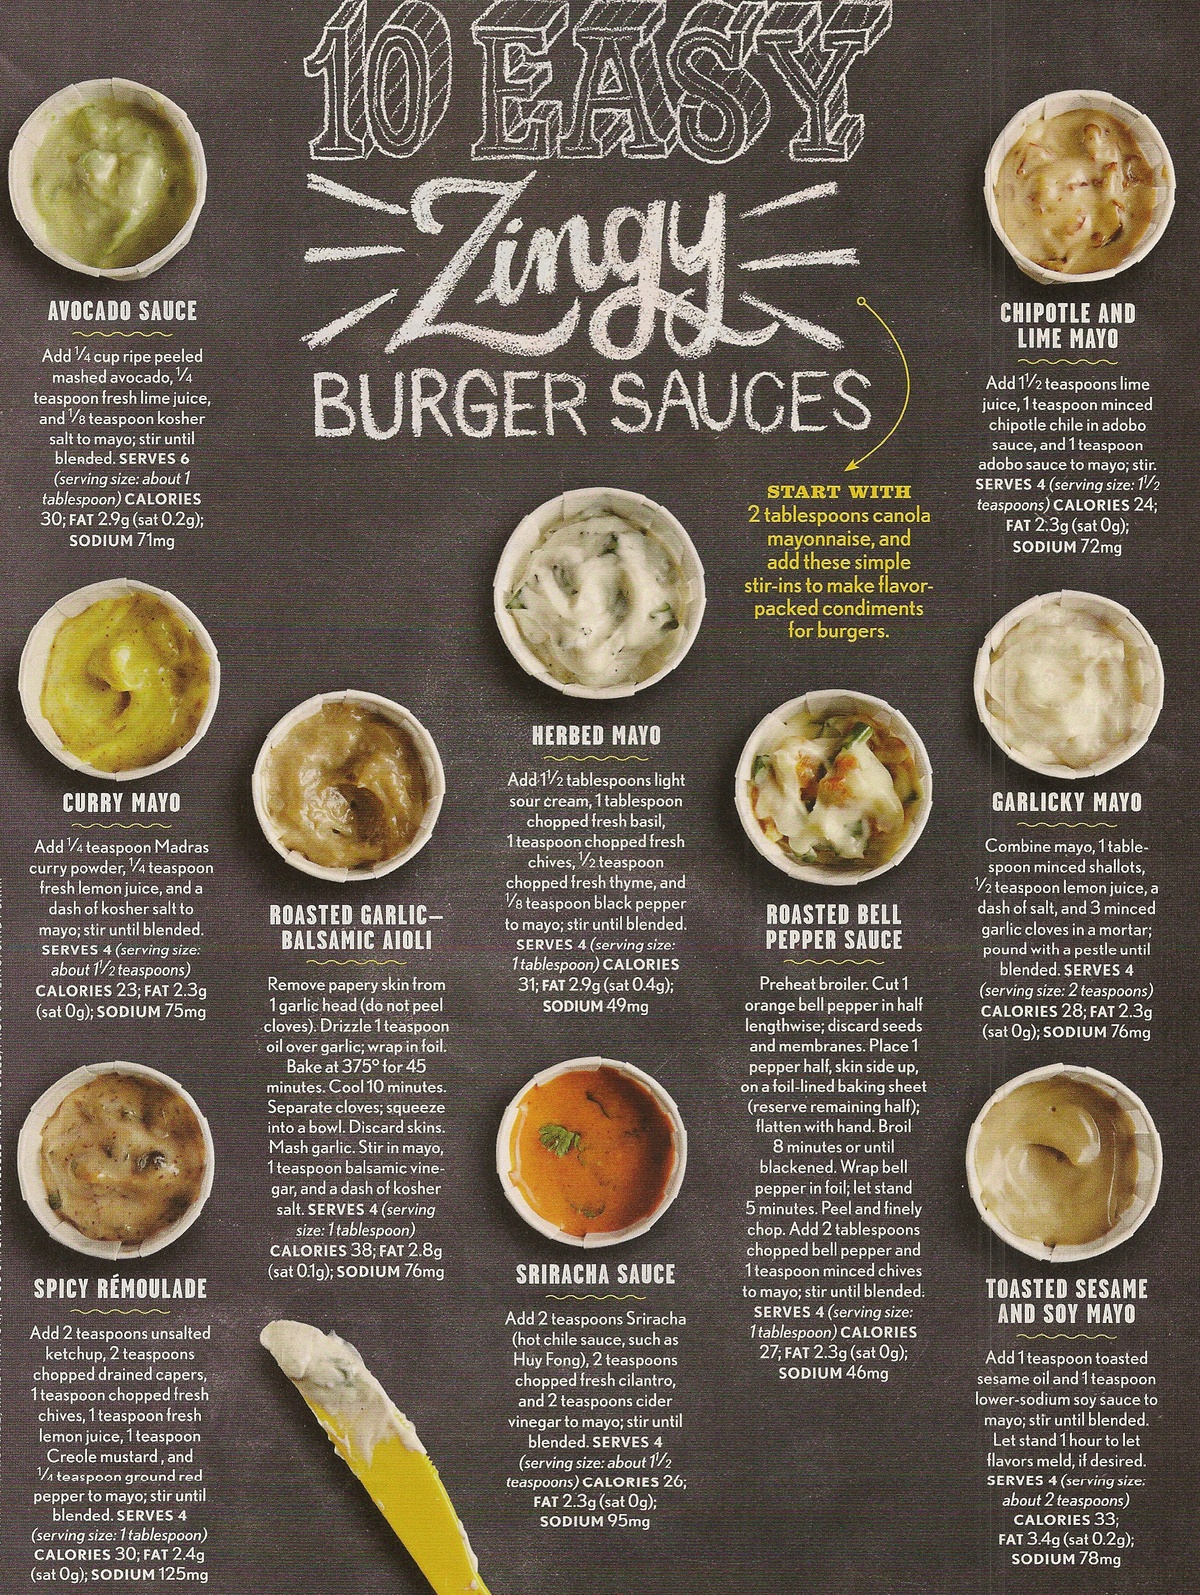
Crema de Aguacate Oazaquena (Oaxacan Avocado Cream)
1 lg. Ripe Hass Avocado
½ C. Oazacan Sour Cream or Creme Fraiche
1 T. Lime Juice
Salt
Using a 6-inch (15-cm) knife, carefully slice through the stem end of the avocado until you can feel the pit. Proceed to run your knife down one side following the pit, but don’t press too eagerly. A ripe avocado will be very easy to cut, so don’t exert yourself or you can risk a cut. Continue cutting all the way around the pit until you reach the original cut. Set your knife down, hold each side of the avocado in your hands, and twist in opposite directions. Carefully remove the pit of the avocado either with a spoon or fork. (If your avocado isn’t ripe enough, this may prove difficult; if so, stab your knife into the pit and twist in order to remove it. If you are unable to remove the pit, use another avocado, as this avocado is not ripe and will taste too earthy.) Run a large spoon along the inside of the skin of the avocado to remove the flesh from the skin. Don’t worry how perfectly the avocado comes out, as you are going to be pureeing it anyway! In a small blender or food processor (a mini food processor works well), combine the avocado flesh, sour cream, and lime juice, and blend until smooth. If your avocado is not ripe enough or the sour cream is too thick, add a tablespoon or so of water to get things moving in the machine, but make sure to keep the consistency thick and mousse-like. Remove from the blender and season with salt. Fit a piping bag with a small circular tip and add the avocado cream to the bag or spoon the cream into a squeeze bottle. To plate with tamales or tacos, place your point close to the plate, squeeze out a little cream, and lift the tip straight up. This will make your dollop look like the perfect kiss! Because avocados are finicky and will turn brown and dull, this creme will not keep longer than 4 hours, even when stored in an airtight container. So put it on everything and be generous with it!
Oaxacan sour cream is denser than typical sour cream and is salted and textured much
like a creme fraiche. If you cannot find it, use creme fraiche or, in a pinch, regular sour cream and a bit more salt to achieve a similar balance of flavor. Err on the side of thicker (but not chunky) than thinner for your avocado cream, because if it is too thin, you will have a dripping mess that cannot be piped.
Chipotle Crema (Chipotle Cream Sauce)
1 tablespoon canola oil
1/2 medium white onion, minced
2 garlic cloves, minced
1 teaspoon dried Mexican oregano
1 small tomato, chopped
1 cup (240 ml) heavy cream
1 to 2 canned chipotle chiles in adobo sauce
Salt
Heat the oil in a medium sautepan over medium heat. Add the onion and cook for 30 seconds, or until fragrant. Add the garlic and oregano and cook for an additional 30 seconds, or until the garlic starts to soften. Add the tomato and saute until softened, about 2 minutes. Reduce the heat to low, carefully pour in the cream, and bring to a simmer. Immediately remove from the heat. A little bit goes a long way with smoky chipotle chiles, so if you have never worked with them, start with one, and then add another if you want to turn up the heat. Place the chile in a blender, carefully pour in the hot cream mixture, and blend on medium speed for about 1 minute, until smooth and bright orange in color. Taste for salt and season accordingly; if the sauce is not spicy enough for you, add an additional chile and blend again until smooth. This is a dairy-based cream sauce that will keep a maximum of 3 to 4 days in the fridge, so use it quickly.
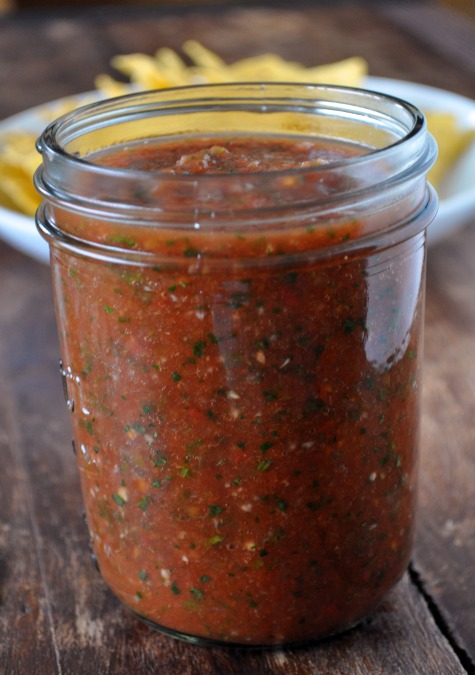
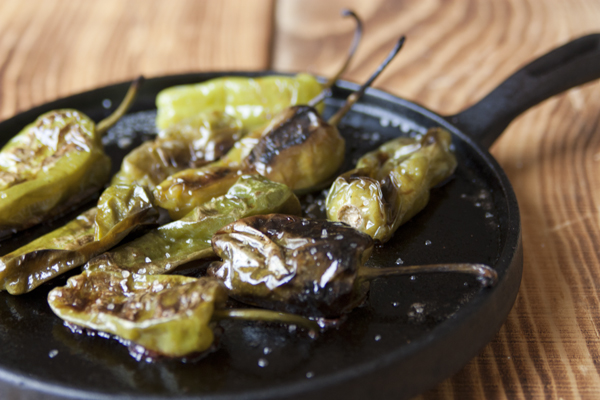
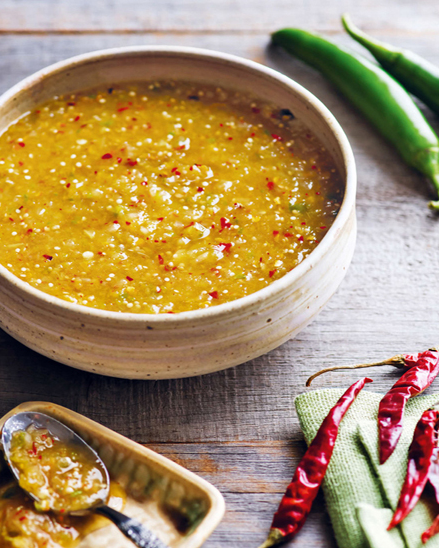
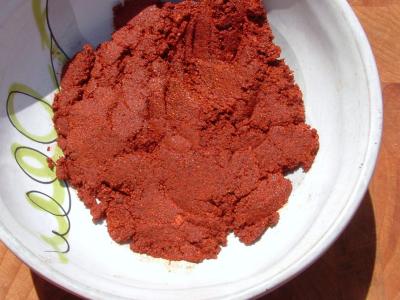
Salsa de Chile Tatemado (Roasted Red Pepper Sauce)
2 medium Roma tomatoes
1 jalapeno chile
1 pound (455 g) fresh piquillo peppers, roasted, or 1 (14-ounce/400-g) can roasted piquillo peppers, drained
4 garlic cloves, peeled
1 small yellow onion, quartered
½ cup (120 ml) beef stock or veal demi-glace, plus more if needed
4 sprigs fresh thyme, tied with kitchen string
Salt and freshly ground black pepper
Cayenne pepper (optional)
Heat a skillet or comal (tortilla griddle) over medium-low heat. Place the tomatoes and jalapeno on the skillet and heat until the tomatoes are almost completely darkened on all sides, softened, and releasing their juices and the jalapeno is fragrant and blistered. Remove the stem and cut the jalapeno in half. Remove the seeds using a spoon if you’d like your sauce on the milder side. In a blender, combine the tomatoes, jalapeno, piquillo peppers, garlic, onion, and stock, and blend until smooth. Pour the mixture into a medium saucepan. Add the thyme and season with salt and pepper. Place over low heat and bring to a simmer, adding a little more stock if it’s too thick. Once it simmers, remove the thyme, taste for heat, and add a little cayenne if needed. The sauce will keep in an airtight container in the refrigerator for 5 to 7 days. Bring it to a boil before serving.
Aceite de Cilantro (Cilantro Oil)
2 large bunches fresh cilantro
1 1/4 cups (300 ml) canola oil
Salt
Start by cutting 1 inch (2.5 cm) from the thick ends of the cilantro stems. Chop the leaves and tender stems (stop about 1 inch/2.5 cm from the bottom of the cut stems) until you have 2 packed cups (80 g). Save any remaining cilantro for another recipe. Place the cilantro in the blender with ¼ cup (60 ml) of the oil. Blend on low speed, slowly drizzling in the remaining oil through the hole in the top of the blender. Do not overblend or blend on high speed, as this can cook the cilantro and turn it a dark green or brown color. Season with salt and pulse until incorporated. Line a fine-mesh sieve or chinois with a double layer of cheesecloth. Pour the blended oil into the sieve and, using a large rubber spatula, push the oil mixture through the sieve into a large bowl, pressing on it with the spatula to get out all the flavored oil. Discard the cilantro pulp. Using a funnel, pour into a squeeze bottle for ease of plating. It will keep, refrigerated, up to 5 days.
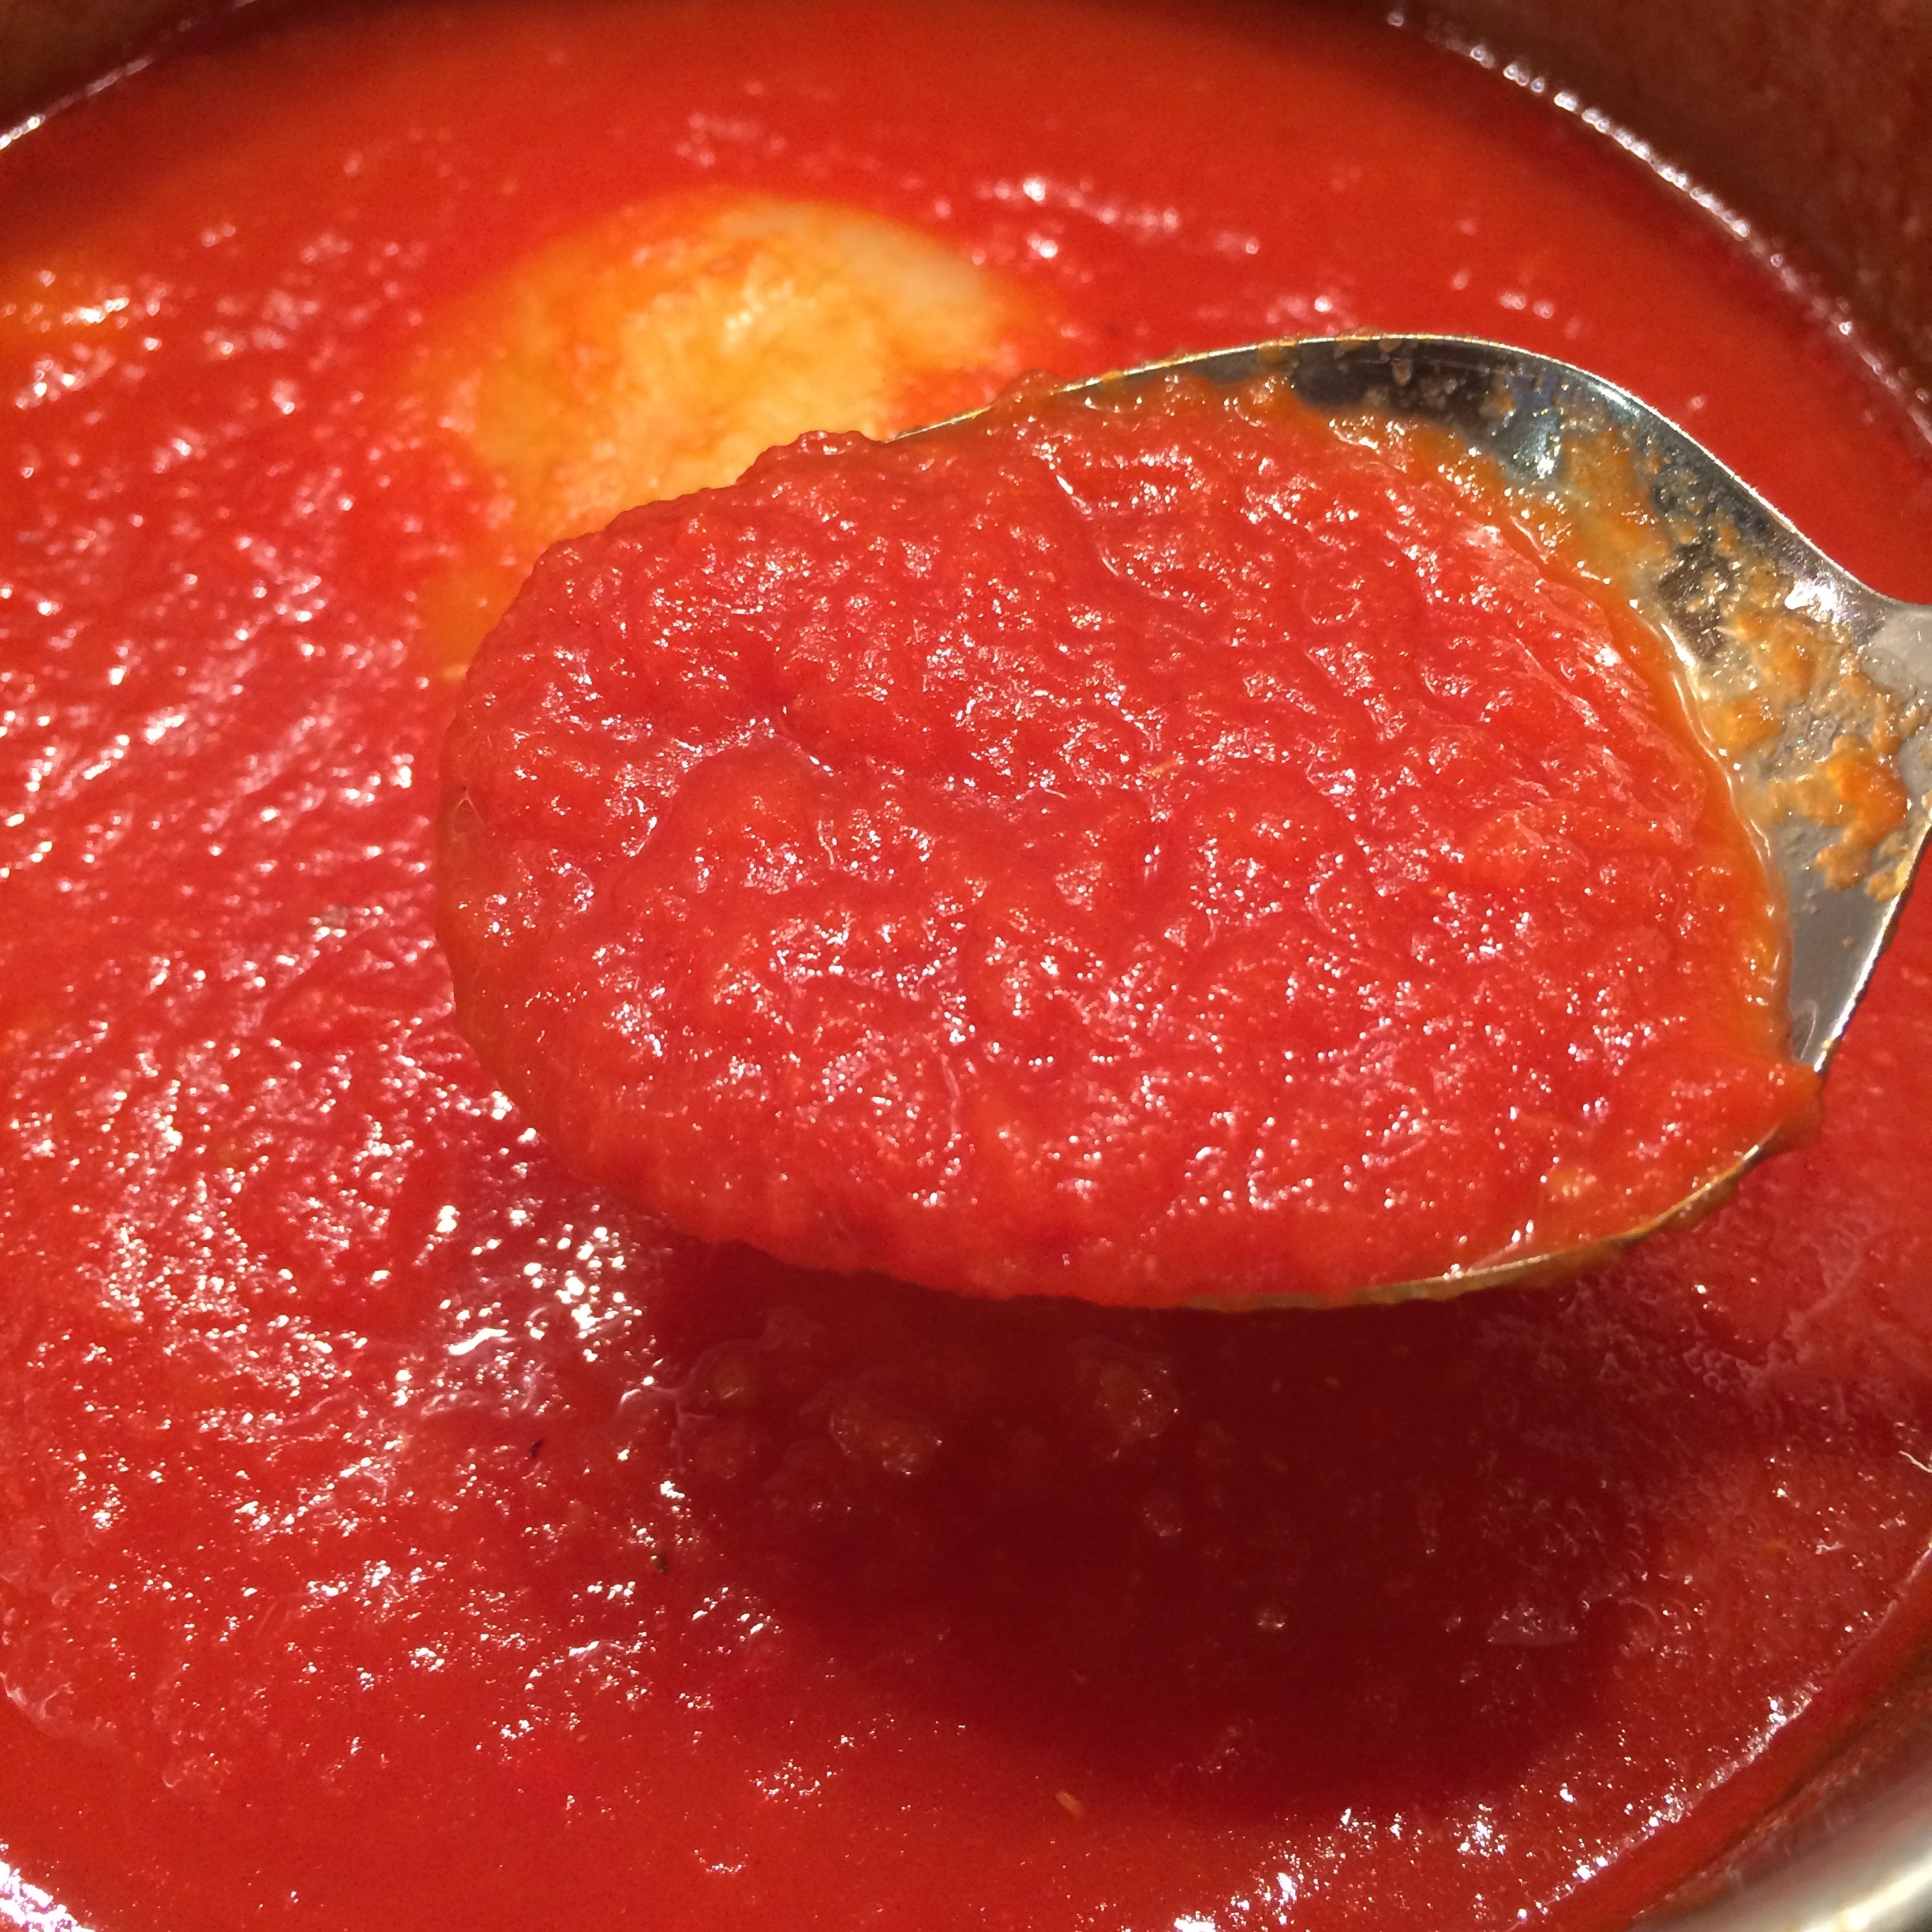
 Easy Peasy Tomato Sauce
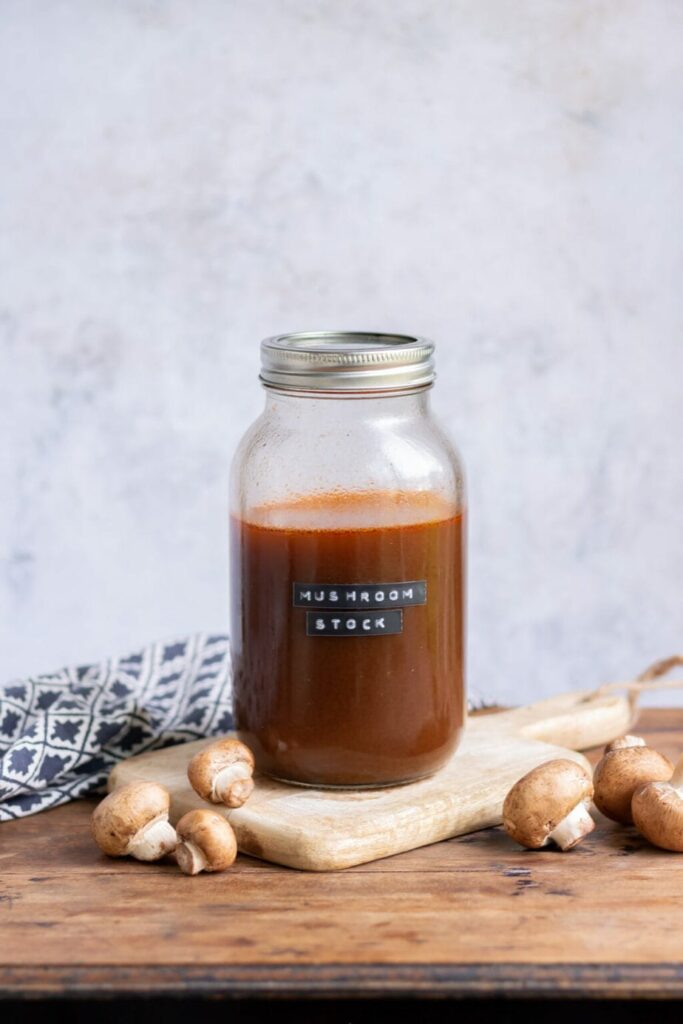 Mushroom Vegetable Stock
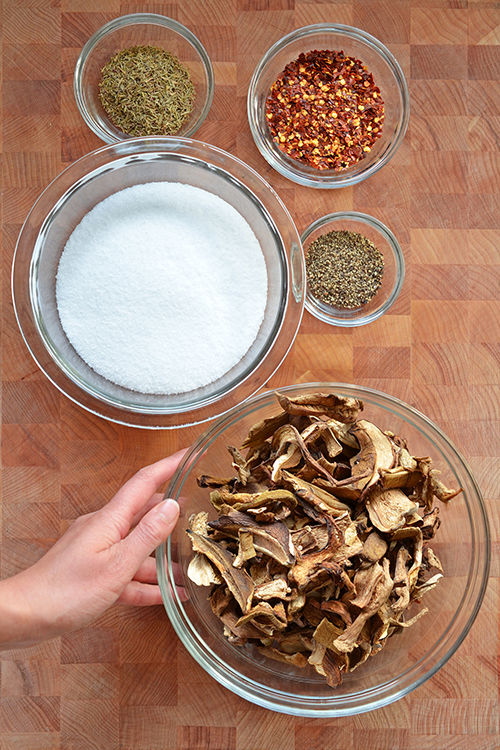

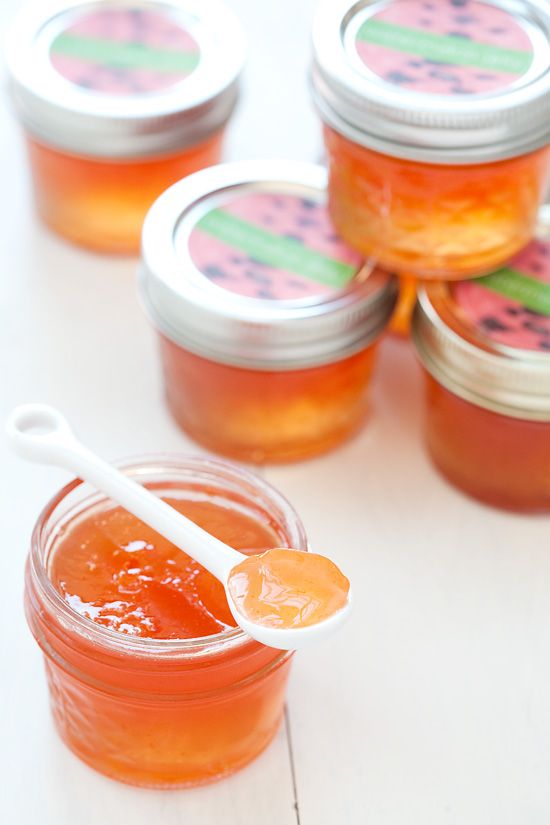
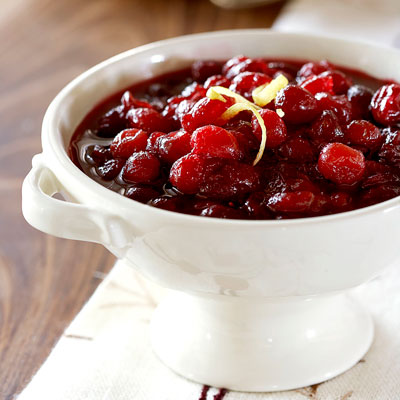
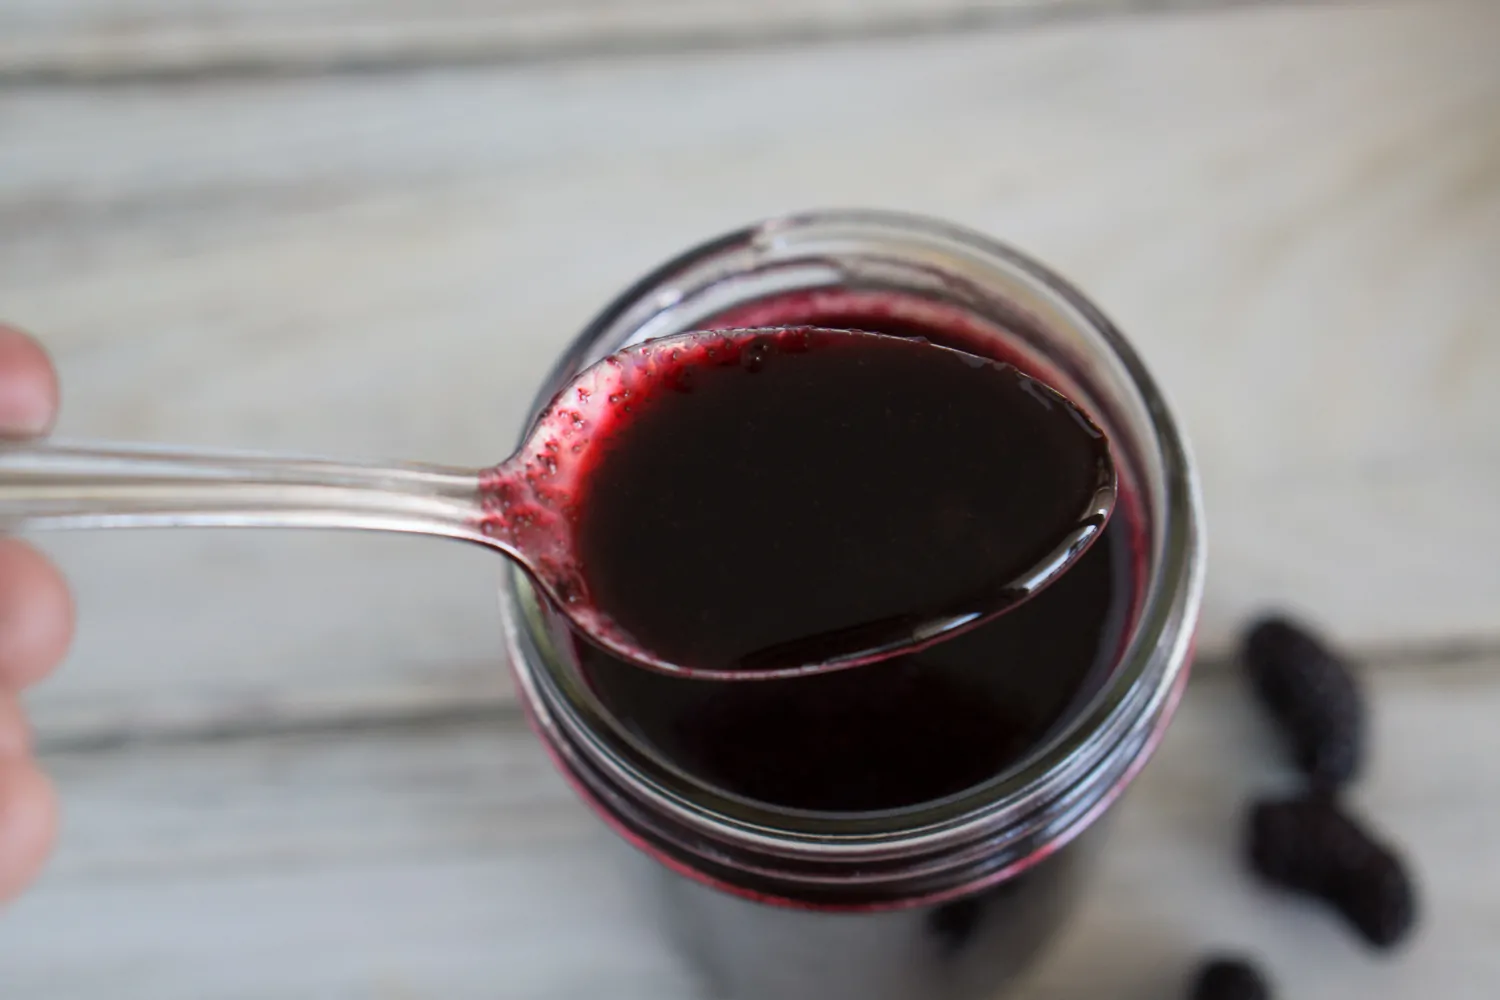
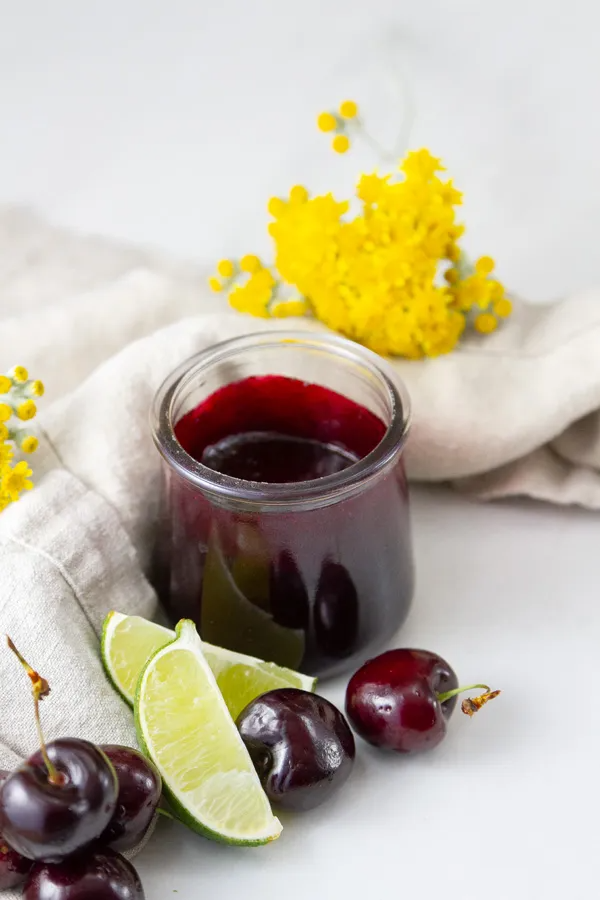 Cherry Limeade Jam
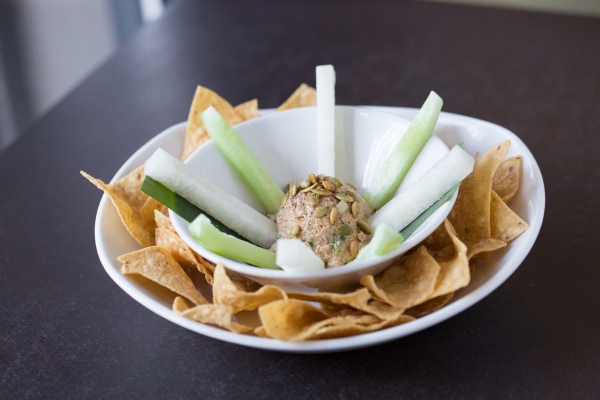


 Swiss Chard-Tahini Dip