1. Make Easy Flavored Kool-Aid Frosting
Stir a package of Kool-Aid into a can of vanilla frosting.
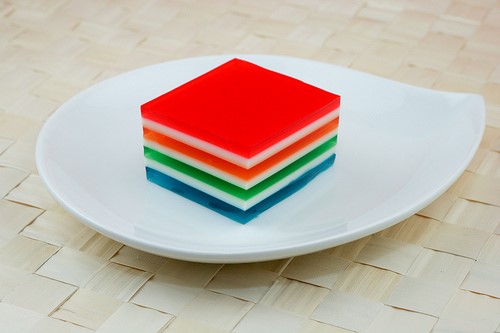
2. Frosting for a Jello Cake
Fold in a pack of Kool-Aid into a container of thawed whipped topping. If the frosting tastes a little too sour, add in a little sweetener to taste.
3. Make Kool-Aid Lip Gloss
To make a fruity lip gloss put a small amount of petroleum jelly into a microwave-safe bowl. Stir some Kool-Aid in, enough to make it the color you desire. Add a little sugar, then, place the bowl in a microwave oven for about five or six seconds, just enough to soften it.
4. Make Sand Art With Kool-Aid
Draw pictures on paper, spread a thin layer of Elmer’s glue over one part of the picture. It’s better to start at the top of the picture and work down. Sprinkle Kool-Aid over the glue and press it down gently. Shake off the excess powder off, and go on to the next color.
5. Temporarily Dye Your Hair With Kool-Aid
In a glass bowl mix a packet of Kool-Aid with a teaspoon of corn starch and just enough water to make a paste. Apply the paste to clean, dry hair and let set for five minutes, rinse the paste out.
6. Make Spooky Party Decorations
Just place some dry ice- don’t touch it with your hands!- into a glass, and pour a packet of any flavor Kool-Aid into it. Kids will watch with fascination as the dry ice and Kool-Aid bubbles and mists.
7. Make Kool-Aid Clay for the Kids
Mix together 1 cup of flour, a 1/4 cup of salt, 2 tablespoons cream of tartar and a pack of Kool-Aid in a pan. Stir in 1 cup of water and 1 tablespoon of vegetable oil. Heat over medium heat stirring until the mixture thickens, remove from heat and let it cool. Knead the Kool-Aid clay until smooth. Store in airtight container in the refrigerator until use.
8. Remove Chlorine From Your Hair
Use Lemonade flavored Kool-Aid. Pour a little Kool-Aid in your hand, then add shampoo and lather up. Let the Kool-Aid/shampoo set on your hair for fifteen minutes before you rinse it and then shampoo out well. (and we drink this??)
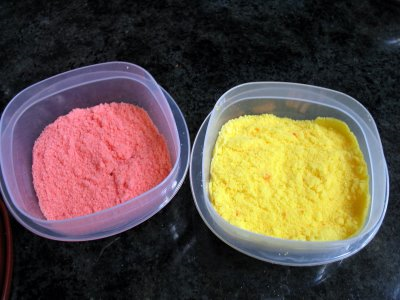
9. Kool-Aid Water Colors
Pour Kool-Aid into ice cube tray, one compartment per color. Stir 1 tablespoon of water into each compartment; stir until the powders are completely dissolved.
10. Tie Dye with Kool-Aid
You can dye any cotton item such as tee shirts, socks, bed sheets, towels, as long as it is cotton. The article you want to tie dye must be clean and dry. Pour each color package of Kool-Aid into an individual glass bowl. Stir an ¼ cup of white vinegar into each bowl; make sure the powders dissolve completely. Gather the fabric up in several places and secure with several rubber bands. Dip each bunch into a bowl of Kool-Aid. Leave the rubber bands in place and set aside to dry. Once dry, remove the rubber bands and spread it out so it can completely dry. Put it in the clothes dryer by itself and dry on high for 15 minutes to set the colors in.
11. Use Kool-Aid to Check for Toilet Tank Leaks (this is funny to me)
Lift the lid off the toilet tank and pour Kool-Aid into the tank. The darker colors work the best. Don’t flush the toilet! Just watch the toilet bowl, if you see the Kool-Aid float through from the tank, then you have a leak. The test can take fro 10 to 30 minutes, depending on the size of the leak.
12. Removing Rust Stains
Remove rust stains on your driveway by mixing unsweetened lemon Kool-Aid with just a little water and scrub. (see #8)
13. Cleaning the Inside of your Dishwasher
Dump a packet of unsweetened lemon Kool-Aid into the soap dispenser, run the wash cycle. Removes stains and hard water deposits.
14. Dyes for Easter Eggs
Mix a packet of Kool-Aid in a cup with 2 tablespoons of vinegar and ½ cup of water
15. Kool-Aid Stands
Send the kids out to sell and play–they can sugar up other people’s kids.:)
16. Decorating Cookies
Use in place of colored sugars, just sprinkle a little across the top
17. Science Project with Plants
Place a stalk of celery in water with Kool-Aid in it to demonstrate how the Kool-Aid is drawn up into the stalk with the water.
18. Coloring Flowers
Place carnations, daisies or any white flower in water with Kool-Aid in it and watch the flowers turn colors.
19. Demonstrate a Non-Newtonian Substance
Mix equal parts cornstarch and water that has been colored with a pack of Kool-aid. Mix with fingers and observe that this substance fluctuates between solid and liquid.
20. Shower Prank (look out, Gourmet Dad!)
This is a simple prank. All you have to do remove the shower head from your shower and pour in the kool-aid packet into the shower head. NOTE: Make sure you are not the next one to take a shower.:)
As a side note:
A dab of toothpaste on a damp paper towel cleans up stubborn Kool-Aid stains off both skin and countertops.
Yield:
Calories:
Fat:
Fiber:
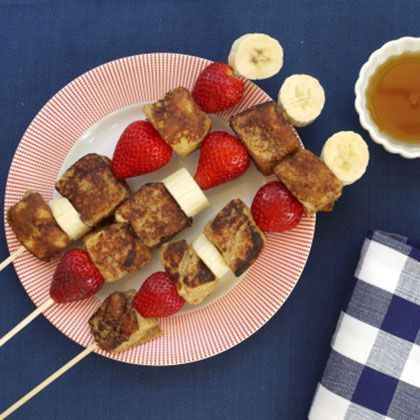
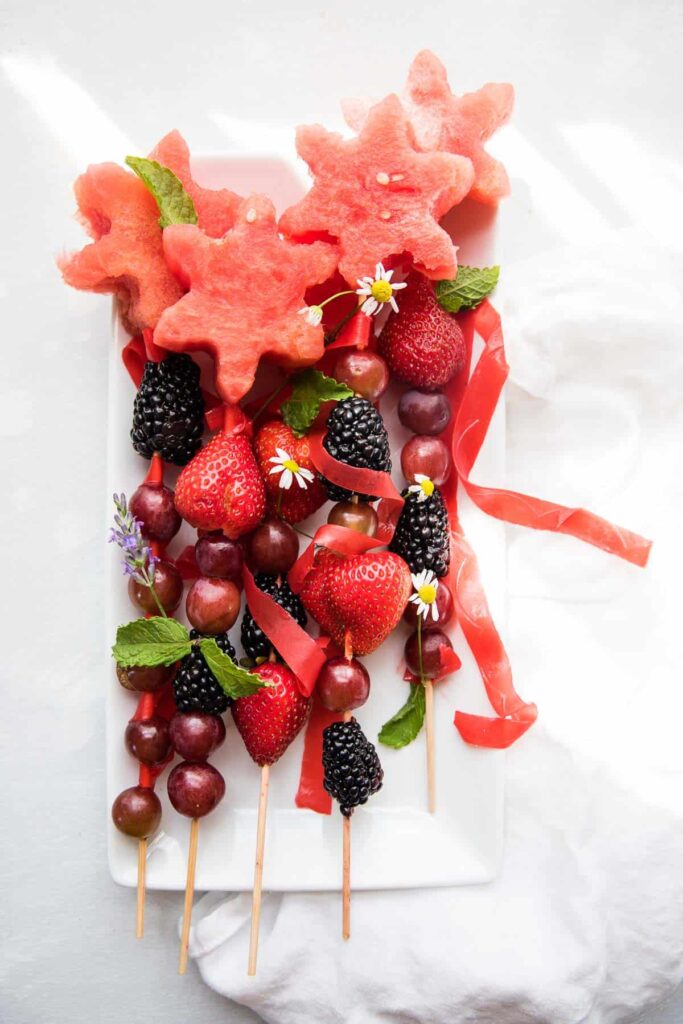 Magic Fairy Fruit Wands
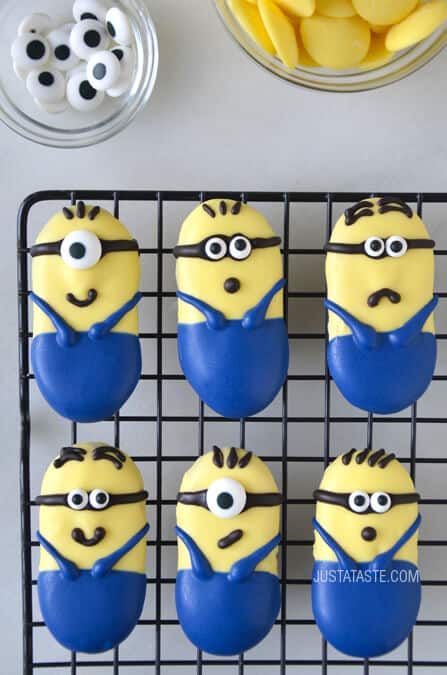 No-Bake Minions Cookies
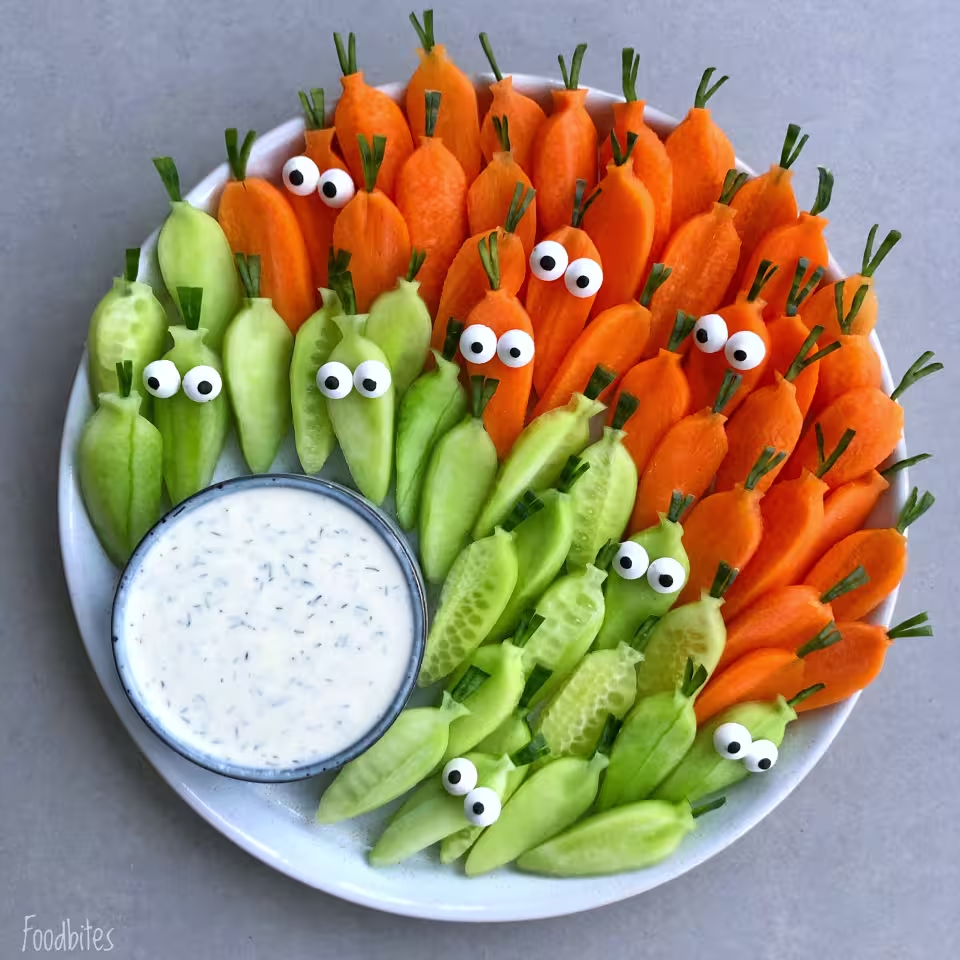 Vegetable Garden on a Plate
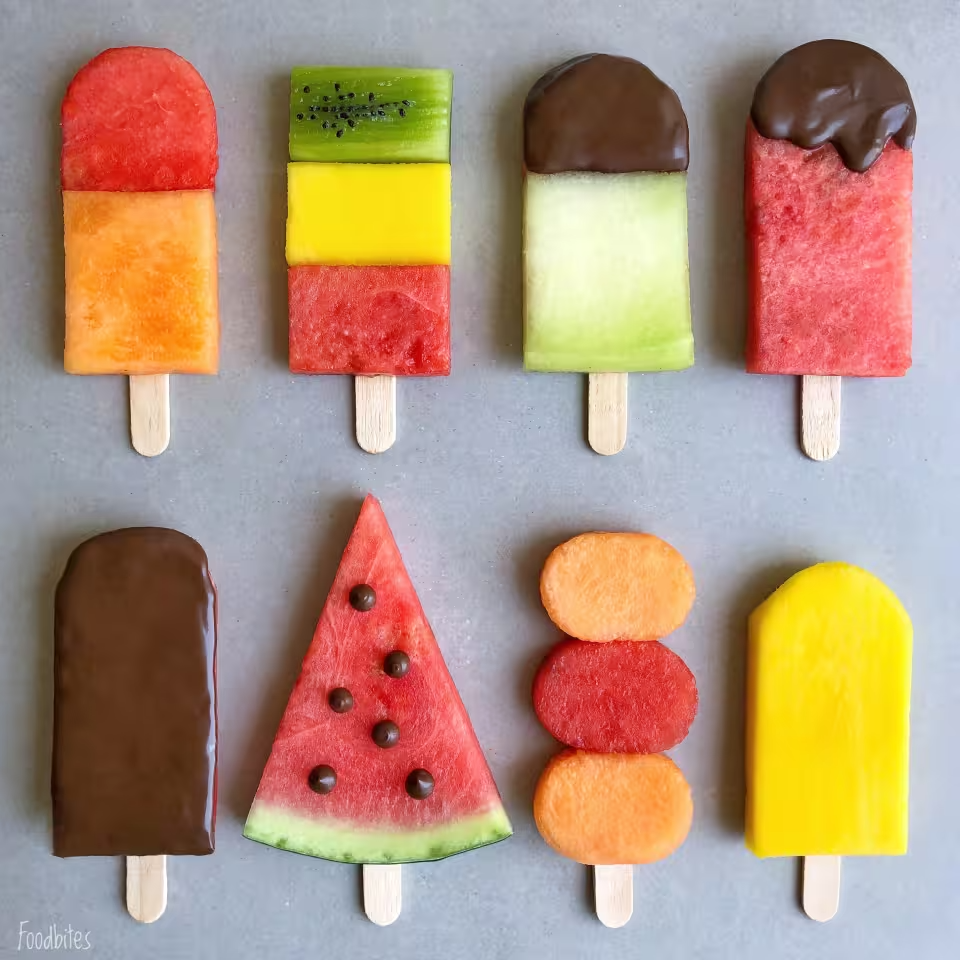 Fruit Ice Lollies
 Toadstool Caprese Toast


 Â
 

