Browsed by
Tag: Dehydrator

Pina Colada Fruit Leather

Pina Colada Fruit Leather

Pina Colada Fruit Leather


1 pineapple, cored and cut into chunks

2 Tablespoons orange juice

1 (14-ounce) can coconut milk, unshaken

1/4 cup maraschino cherries, sliced in half


Preheat the oven to its lowest setting, about 170° F. Line a rimmed baking sheet with a silicone mat or wax paper. Set aside. In a blender, combine the pineapple and orange juice. Open the can of coconut milk, scoop the cream off the top and into the blender. It should be about 74 cup or so. Blend the mixture until it is pureed. Place a medium saucepan over medium heat, add the fruit puree, and cook until it reduces by half, about 20 minutes. Remove from the heat when it measures about 2 cups. Pour the mixture onto the prepared baking sheet. Tilt the sheet to all four corners to evenly cover it with the puree. Sprinkle the cherries across the top of the puree. Bake until tacky, checking for doneness every 30 minutes, about 2 to 3 hours. Remove from the oven and let cool completely. Peel the sheet from the liner, and slice into strips. Stack strips with wax paper in between, or roll up each strip.

Mango Raspberry Fruit Leather

Mango Raspberry Fruit Leather

Mango Raspberry Fruit Leather

1 large ripe mango, peeled and chopped

6 ounces fresh raspberries

2 T. sugar


Preheat the oven to 15O°F. Line a rimmed half-sheet pan with a silicone baking mat. In a blender or food processor, blend the mango until smooth. Transfer the mango to a bowl and set it aside. Add the raspberries and sugar to the blender and blend until smooth. (It is important to blend the raspberries with the sugar, as the sugar helps liquefy the berries.) Place dollops of the mango and raspberry purees on the prepared pan. With a small offset spatula, spread the purees evenly over the pan—try to spread them as evenly as possible, not too thin and not too thick, and try not to spread them to the very edges, so you’ll have room to grab the fruit leather and peel it off the mat when it’s cool. Bake for 2 hours 30 minutes to 3 hours, rotating the baking sheet every hour. The leather is done when it is still tacky but not too sticky or wet. Let the leather cool. Remove it from the mat and place it on top of a sheet of wax paper. Cut the leather and wax paper into strips with scissors and roll them up paper-side out, then store them in a sealed container at room temperature for up to 1 week.

Dried Apple Rings

Dried Apple Rings

Dried Apple Rings

6 tablets vitamin C, crushed

2 cups cold water

6 apples

Preheat the oven to 17O°F. To prepare an anti-browning ascorbic-acid bath, dissolve the crushed vitamin C tablets in the water in a large bowl. Peel and core the apples and cut into V4-inch slices. Add the apple slices to the acid bath as you cut them. Soak for 10 minutes. Pat the slices dry and arrange them on a metal screen or cake cooling rack and place the rack in the oven. Prop open the oven door with a wooden spoon handle to enable moisture to escape. Dry the apples in the oven until leathery, 3 to 4 hours. The slices are fully dry when you can squeeze a handful and they don’t stick together. Cool the apple slices, and then condition them by transferring to a covered container and letting sit for 1 week. This allows the dried fruit to redistribute any trapped moisture. If you notice moisture on the sides of the container, repeat the drying process for another hour or so. Fully dried apple rings keep in an airtight container for up to 1 year.

Whole Wheat Flakes

Whole Wheat Flakes

Whole Wheat Flakes

2 cups finely ground dried wheat (approximately)

1 teaspoon ground cinnamon

1 teaspoon ground nutmeg

1/2 teaspoon salt

1/2 teaspoon baking soda

1/4 cup warm water

1/2 cup molasses


Combine l cup of the wheat with the cinnamon, nutmeg, and salt. Dissolve the baking soda in water and stir quickly into the molasses. Add the flour mixture, then enough of the remaining wheat to make a very stiff dough. Roll very thin and cut into strips. Dry according to your preferred method.  Dehydrator: Lay strips on trays without overlapping. Dry at highest setting until crisp, about 4 to 6 hours. Remove and cool. Crumble into small, flat pieces. Spread over trays again and dry at highest setting for 2 hours longer, or until very crisp.  Sun: Lay strips over trays and dry in full sun where there is good air circulation. Dry until crisp, about 6 to 8 hours, turning once. Crumble into small pieces and spread over trays. Continue drying for 2 to 4 hours longer, stirring occasionally. Take trays inside at night, if necessary.  Oven or homemade dryer: Lay strips on trays. Dry at 15o°F for 4 to 6 hours with door ajar until crisp. Remove from oven or dryer and crumble, then return to trays and dry for 2 to 4 hours longer, or until very crisp.  Store dried cereal in an airtight container. Serve with sugar and milk as a ready-to-eat cereal. Yield: 10 servings

Crispy Parmesan Tomato Chips

Crispy Parmesan Tomato Chips

Crispy Parmesan Tomato Chips


6 cups thinly sliced beefsteak tomatoes

2 tablespoons extra virgin olive oil

2 teaspoons sea salt

1 teaspoon garlic powder

2 tablespoons fresh chopped parsley

2 tablespoons grated Parmesan cheese


Gently drizzle and toss the sliced tomatoes in the olive oil to coat slices. Place slices without overlapping onto dehydrator shelves or a baking pan. If you are baking preheat oven to 200 degrees F. In a small bowl whisk together the remaining ingredients. Sprinkle mixture over each slice. Depending on how thick the slices of tomato are, dehydrating could take anywhere from 12-24 hours. If baking check every 30 minutes until edges show some charring, could take 4-5 hours.

Salt & Vinegar Zucchini Chips

Salt & Vinegar Zucchini Chips

Preheat oven to 200°F.  Combine zucchini, vinegar, and oil in a medium bowl, tossing to coat well. Let stand 10 minutes. Place zucchini slices in a single layer on 2 baking sheets lined with parchment paper; sprinkle evenly with salt. Bake at 200°F for 2 to 2 1/2 hours or until chips are dried, crisp, and lightly golden, flipping chips halfway through baking. Remove from oven; cool completely.

Dehydrator: Rhubarb Candy

Dehydrator: Rhubarb Candy

Dehydrator: Rhubarb Candy

Harvest rhubarb stalks and clean well. In large pot mix equal parts sugar and water. You’ll need just enough to coat rhubarb. Bring up to almost a boil, stirring to dissolve the sugar, then remove from heat and allow to cool. Meanwhile, prepare your rhubarb. Cut each stalk into pieces 4-5 inches long. Slice each piece lengthwise into thin strips, about 4-5 strips per piece. Once done, submerge rhubarb in simple syrup (it doesn’t need to be completely cool). Coat each piece and then transfer to lined dehydrator trays, evenly spaced and not touching. Dry on the vegetable setting (125 degrees) and dry until the pieces have shrunk by about half and are just slightly flexible. If you want to be fancy, remove them carefully while still warm and twist them around a dowel or your fingers to make it curly. Store in airtight container.

Dried Mushrooms

Dried Mushrooms

Mushrooms are good for you, and when dehydrated they get an intense mushroom flavor, so you can use less.

Rinse or brush mushrooms clean. If rinsing, pat dry with a towel to get them as dry as possible so they take less time in the dehydrator. Slice them uniformly so they will dry at the same rate. A mandolin or even an egg slicer can help with this. Spread on your dehydrator racks in a single even layer. They can touch a little bit (since they shrink) but should not be stacked. Mushrooms should be dried until they are no longer spongy, but not completely brittle. Time and temperature vary, depending on your dehydrator. Try around 100 overnight, or if hotter, they will need less time. Store in airtight containers in dark place.

Air Dry: Clean shrooms with wiping method. Place clean mushrooms on a metal rack in a warm spot. Make sure they don’t touch. Walk away. Leave them be until they’re dry and brittle, two to five days, and store in a clean, airtight Mason jar on a shelf.

Mushroom Powder: You can process dried mushrooms in a blender to render them down to a fine powder. Carefully open the lid so it doesn’t whoosh up into your face. Strain through a fine mesh sieve into a funnel and into a jar. Re-process any larger mushroom pieces and repeat. This can be added to ground meats for meatloaves or patties, stirred into a soup or stew shortly before serving, sprinkled over salads or steamed vegetables. Use this to encrust steaks along with some salt and pepper. Major umami flavor!

Dehydrated Green or Yellow Beans

Dehydrated Green or Yellow Beans

4-5 lb. Green and/or Yellow Beans

Beans with edible shells are dense and best dried in a dehydrator. They are easily rehydrated and an interesting ingredient to add to stews or rice as it cooks, as they will absorb liquid while also infusing their flavors across the dish. This will also work with shelled peas.

Dehydrator: Fill a large pot with salted water, leaving enough room to add the beans without overflow. I recommend using a pasta pot with a matching colander that will make it easy to remove the beans at one time. Bring the water to a hard boil over high heat. Place the beans in the pot, cover with a lid, and blanch for 4 minutes, filling the sink with cold water as they boil. Remove the beans from the pot and transfer to the cold water. Chop into 1/2-inch pieces and spread on drying racks. Dehydrate at 125°F for 8-10 hours, until brittle. Store in a jar with a lid that will prevent moisture from entering.

Air-Dried: Air circulation is the key to dehydrating food. Spread the shelled peas or beans on drying racks. Thin-shelled beans can be tied into strands, like you would with hot peppers. Place the veggies out of direct sunlight in a dry spot in your kitchen (I often use the top of a cabinet). They are done when bone dry.

Magic Mushroom Powder

Magic Mushroom Powder

Magic Mushroom Powder can be used in place of salt in virtually any dish, adding an immediate flavor punch to everything from scrambled eggs and ground meat to roasted veggies and chicken wings.

3 oz. dried Mushrooms (try Porcini!)
2 C. Kosher Salt
3 tsp. Red Pepper Flakes
2 tsp. Dried Thyme
1 tsp. Pepper

Dump your dried ’shrooms in the food processor and pulse a few times to chop them up uniformly. If the lid of your food processor isn’t on tight, a fine mist of mushroom dust will erupt from the crack, so check the seal before you continue blitzing. Next, turn the processor on for 2 minutes or as long as it takes for the mushrooms to break down into a fine powder. (If you use a super-charged blender like a Vitamix, you’ll finish in less time.) Warning: Do not open the container immediately after switching off your processor. A mushroom cloud will literally explode out of the top and you’ll find yourself coughing up Magic Mushroom Powder for the next few minutes. Instead, be patient and let the powder settle before you open it. Combine powder with remaining ingredients and mix well. Store in airtight jar.

Trout Jerky

Trout Jerky

Any kind of homemade jerky makes a great snack for a hike or a camping trip, as it is nonperishable and provides a good dose of protein. But this trout jerky is the caviar of all jerkies. Made from freshly caught river trout, it is both sweet and salty, and has just the right chewy texture and flavor. The recipe can be made in either a dehydrator or the oven, using low heat.

One 13-oz. trout fillet, skinned
1/4 C. soy sauce
1 tsp. raw honey
1 garlic clove, crushed
1 T. lemon juice
1 tsp. freshly ground black pepper
Extra-virgin olive oil, for the oven rack

Cut the fish into i-by-6-inch strips. Make sure the slices are even so they dry at the same rate. Place in a wide shallow bowl. Combine the soy sauce, honey, garlic, lemon juice, and pepper in a small bowl. Pour the mixture over the fish slices, cover, and let marinate for 4 hours in the refrigerator. Drain and discard the liquid. To use a dehydrator, lay the fish slices flat on the dehydrator trays. Don’t let the fish slices touch. Dry at 145°F to 155°F. The jerk}’ is done when the trout is dry and chewy but not crunchy; start checking for doneness after about 4 hours. Once the strips are cooled, store them in airtight containers or vacuum seal them. They will keep for 2 to 3 months in the refrigerator. To use the oven, preheat the oven to the lowest possible setting. Wipe an oven rack with olive oil and place the marinated fish directly on the rack. Set a cookie sheet underneath to catch the drippings. Flip the pieces after about 2 hours. The drying time depends on the thickness of the fish slices; check for doneness after about 3 hours. The jerky is ready when there are no moist spots left.

Oven-Dried Tomatoes

Oven-Dried Tomatoes

8 plum tomatoes (about 1-1/2 lb.)
1 T. Olive Oil
1 tsp. sugar
1 T. balsamic vinegar OR: red-wine vinegar

Heat oven to 225 Slice each tomato lengthwise into 4 equal slices, discarding seeds. Toss with the olive oil. Spread in a single layer on rimmed sheet pan. Sprinkle with sugar and vinegar. Bake in 225 oven 2-1/2 hours, until dried but still pulpy, turning slices over after first hour. Store in airtight container in refrigerator for 1 week or freeze for longer storage.

Yield: 32 Tomato Pieces
Calories: 10
Fat: .5g
Fiber: .4g

Dehydrator: Tomato Leather

Dehydrator: Tomato Leather

Heirloom organic tomatoes–preferably plum tomatoes or another variety that has more flesh and not as much juice.
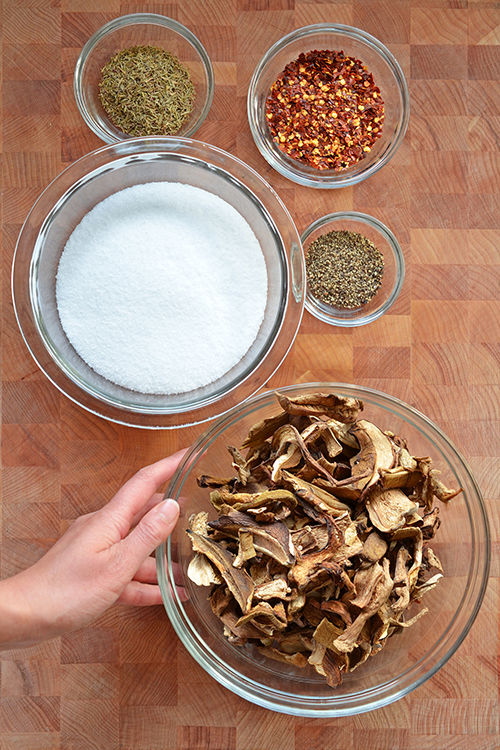
Honey–organic and local if possible
Lemon wedges
You can experiment with spices and seasonings once you get the hang of it.

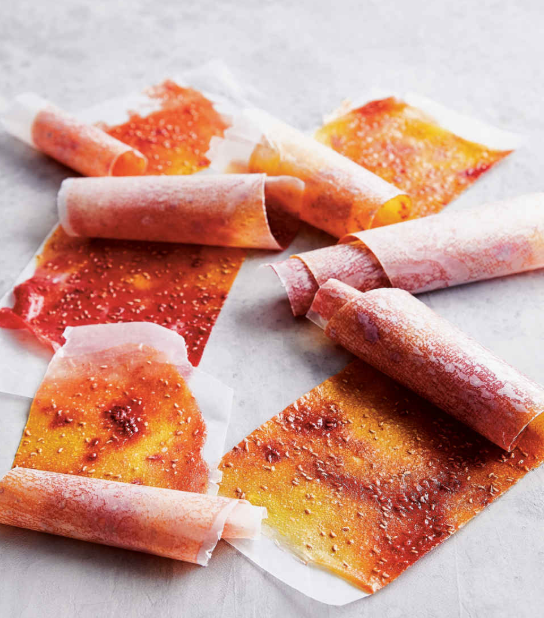
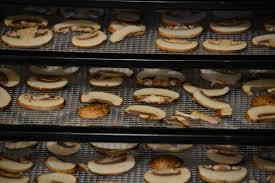
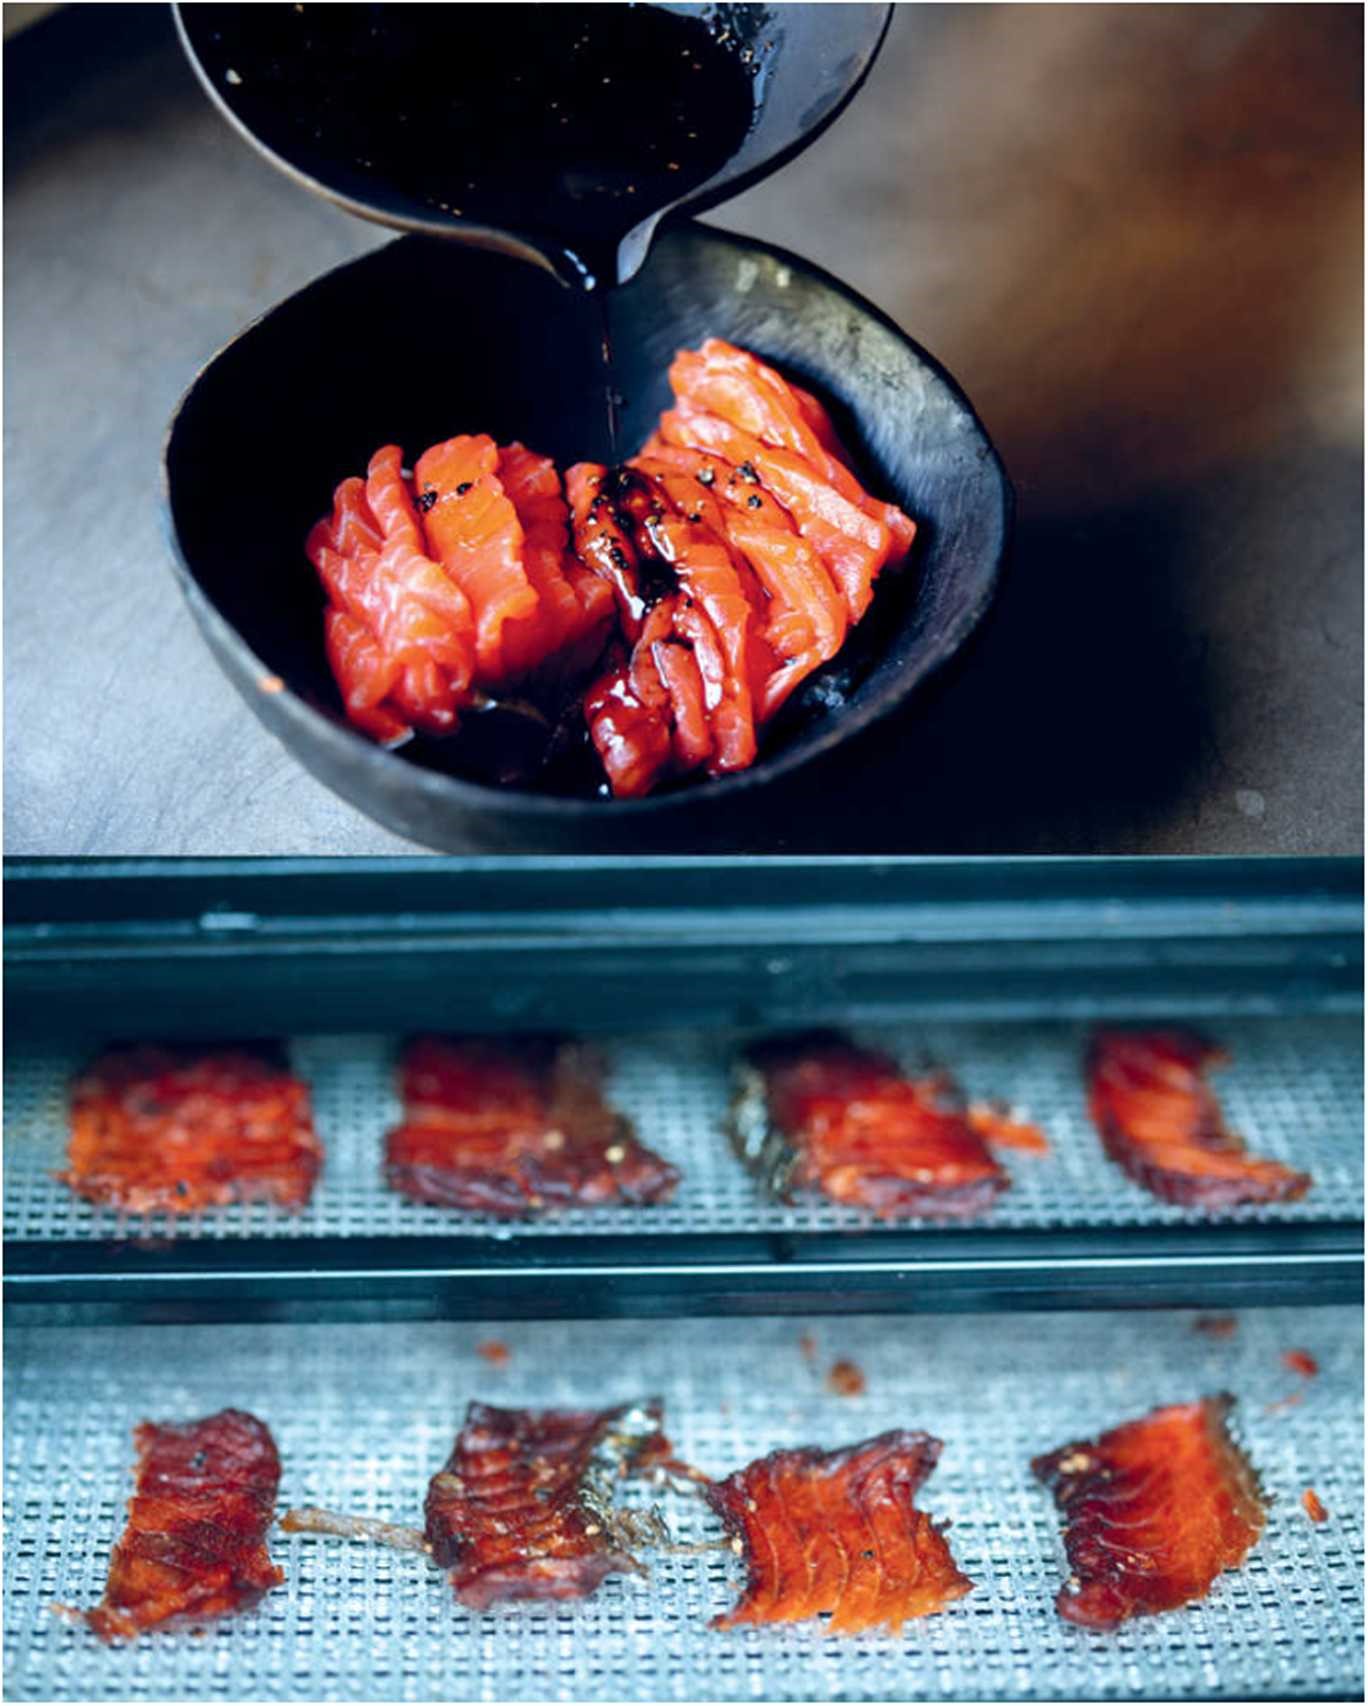
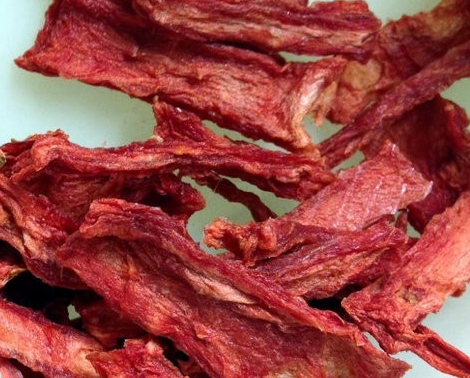
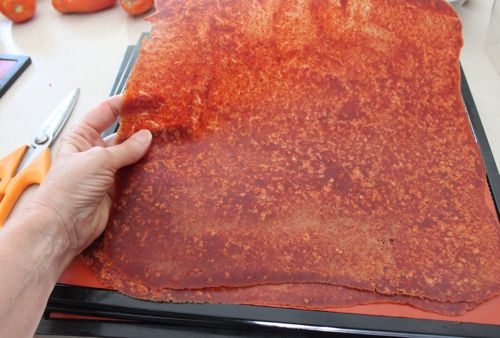
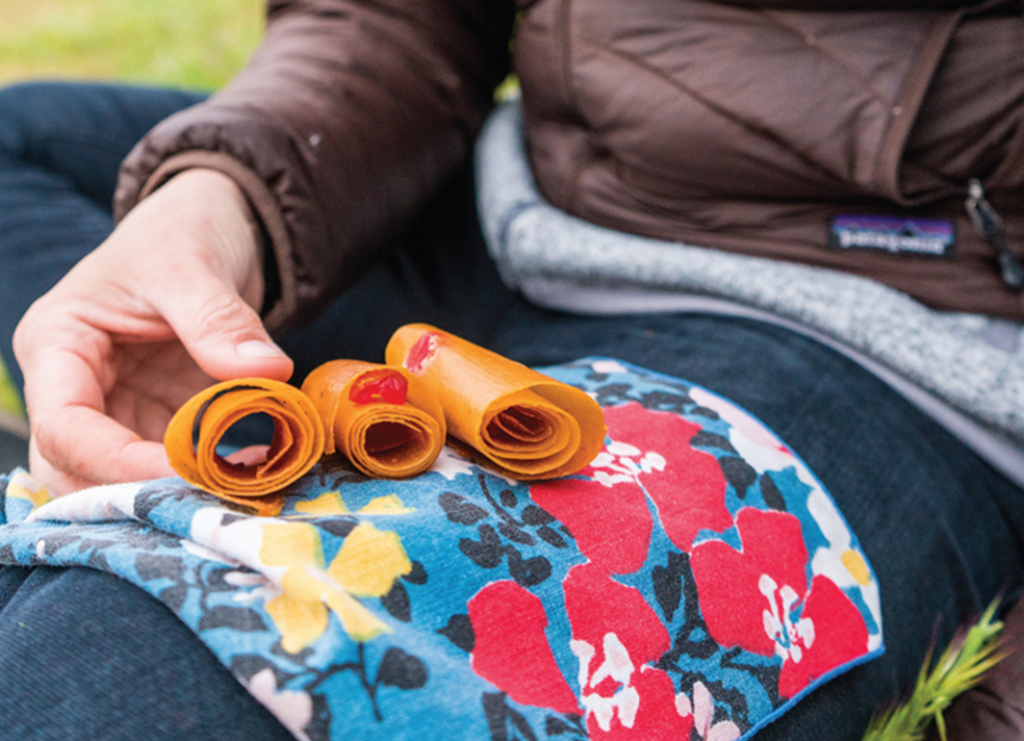
Wash the tomatoes thoroughly and cut out all blemishes and stems. Puree 6 C. tomatoes (large chunks) in a blender (I love my Vitamix). This will give you about 3-4 C. puree depending on how juicy your tomatoes are. Add 1 tsp. honey per C. liquid and a slice of lemon (with the rind). Puree this into the tomatoes. Line the dehydrator tray with kitchen parchment paper (trim it to fit the tray) or Paraflexx®*, which is made by the Excalibur company and is perfect for this sort of thing. I also tried the shiny side of freezer paper and it worked okay. DO NOT USE foil, waxed paper or plastic bags. Pour about 3/4 to 1 C. the mixture onto each tray. Depending on how runny your puree is, you may need more or less per tray. You want it to be about 1/8″ thick at the center and about 1/4″ at the edges. This keeps the edges from drying out too fast and getting brittle. Leave about 1/2″ between the puree and the edge of the tray. Carefully load the trays into the dehydrator. Set the thermostat for 135˚F. Tomato leather should be ready in 8-10 hours depending on the moisture content of your puree. If you want to shorten the drying time, rotate the trays 180˚ halfway through the process. They are ready when there are no sticky spots in the middle but they are leathery and pliable. You can pull a tray out and see if the leather is easy to remove. It should come off in one piece. Place leather on a piece of plastic wrap. You can either roll it up on itself or roll it up in a piece of plastic. Which ever way you prefer, each rolled piece should be wrapped in plastic. Store in airtight containers in a cool dark place. If you make fruit leathers as well, do not store them with vegetable leathers. If you will not eat them all within a month, you might want to keep some of them in the freezer. Sometimes mine have gone bad after a while. But usually we eat them pretty quick. NOTE: One batch of my tomato leathers got a little too crisp around the edges. But after they had been wrapped up for a day, they were just fine.

Variations

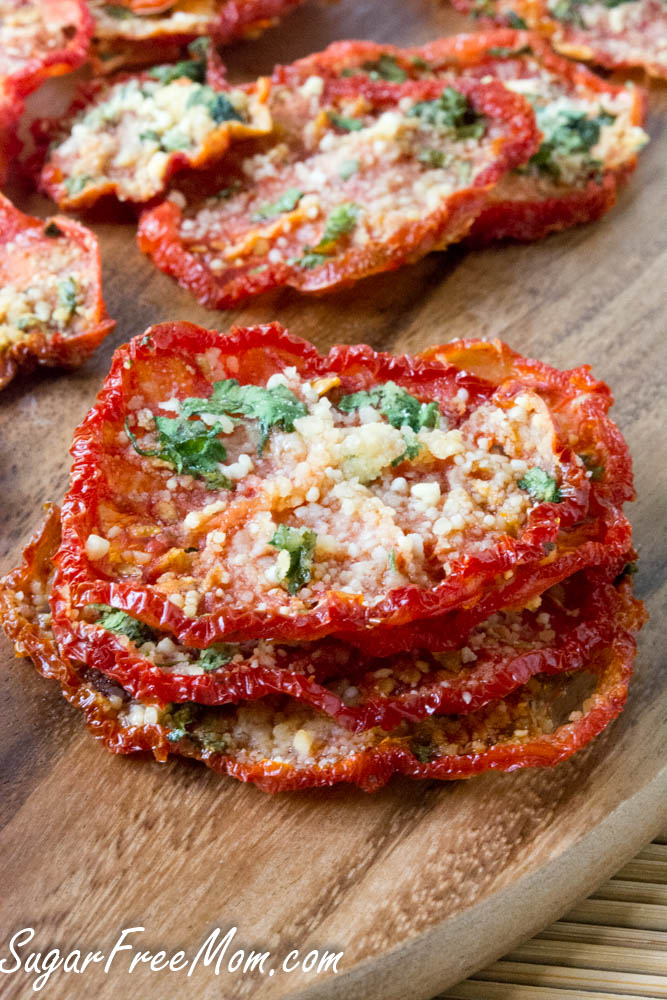
You can also add other goodies to your tomatoes. Try some onion, green pepper, and/or garlic. Maybe some fresh basil or other herbs and spices. For starters, add

1 medium onion
1 green pepper
a clove of garlic

to 3 C. tomato puree and process until well blended. Then just follow the same instructions for drying plain tomato leather.
What to Do with Tomato Leather

Marinara Sauce: In a pan sauté onion, garlic, shredded carrot and dried or fresh herbs in olive oil. When everything is cooked, add in your reconstituted sauce and cook for several more minutes.

Pizza Sauce: Place tomato leather into an amount of boiling water. Add dried Italian seasoning and garlic for instant pizza sauce.

Tomato Paste: Add tomato leather pieces to the least amount of hot water possible. Better yet if you can pulverize the leather in a blender or food processor first.

Chili, Soups & Stews: Add squares of tomato leather directly to your pot of simmering chili, soup, or stew to thicken it and add extra tomato flavor.

Tomato Cream Sauce: Sauté onion and garlic until softened, then add in heavy cream or half and half and add tomato leather directly to it; simmer very low until leather has softened.

Tomato Sprinkles: Cut the leather into fine strips or whirl in the food processor or blender to make a fine crumb. Use for a topping on eggs, a green salad or even broccoli. Add some to chicken with pesto, or use in veggie dips. Roll it up in a pork or beef roulade. How about on a turkey sandwich or wrap? It is great in deviled eggs, crock pot recipes, vinaigrette dressings, and in hamburger patties. Tomato basil bread, anyone?

Dehydrator: Watermelon Candy

Dehydrator: Watermelon Candy

Watermelon becomes as sweet as candy when dehydrated and the sugars intensified. Watermelon being mostly water, it will shrink up mightily.

Watermelon

Cut watermelon and remove flesh from rind. Cut flesh into ¼” thickness and remove as many seeds as you can. Place on lined dehydrator trays and dehydrate at 135 for 18-24 hours, or until it is as dry as you like it. Dry less for a chewy snack, more for a crisp version. Store in airtight container.