 4 pounds duck legs
Kosher salt, freshly ground pepper
12 sprigs thyme
10 garlic cloves, crushed
2 bay leaves, crumbled
2 tsp. juniper berries
1 T. vegetable oil
1 large onion, chopped
2 medium carrots, peeled, chopped
2 celery stalks, chopped
1½ cups dry red wine
1½ cups milk
Kosher salt, freshly ground pepper
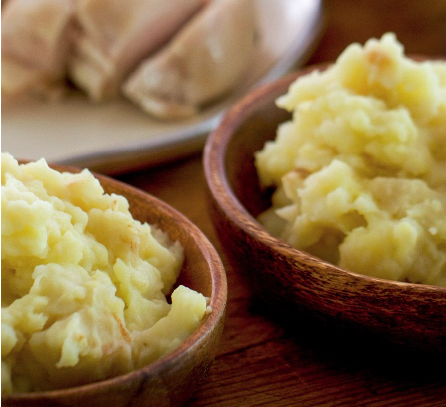
â…” cup coarse-grind polenta
1 tsp. Sherry vinegar or red wine vinegar
1 bunch large Swiss chard
3 T. olive oil, divided
6 garlic cloves, crushed
Kosher salt, freshly ground pepper
½ tsp. crushed red pepper flakes
1 lemon, halved
1 ounce Parmesan, finely grated (about 1 cup)
2 T. unsalted butter
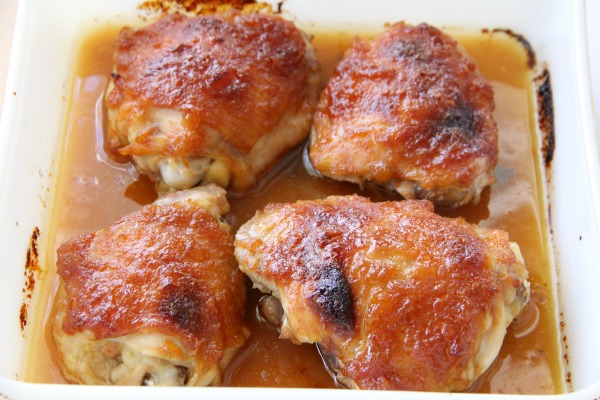
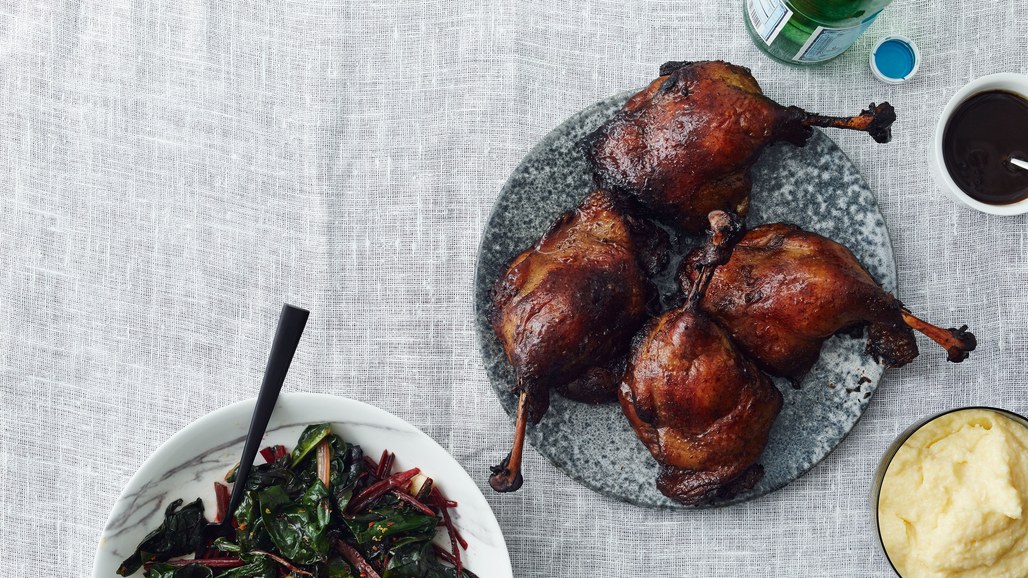
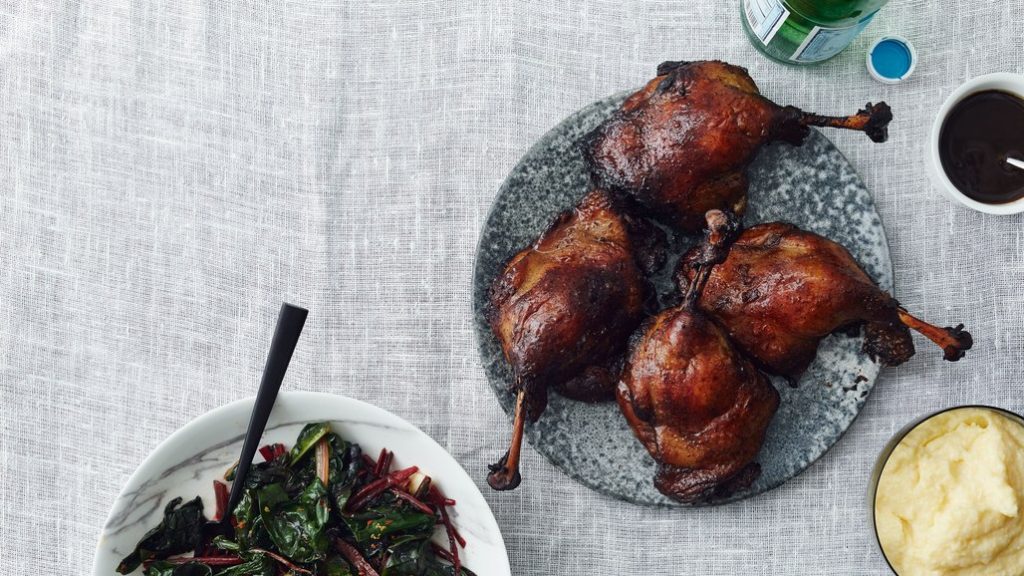
Prick duck skin all over with a paring knife or carving fork; season with salt and pepper. Place duck on a large rimmed baking sheet. Toss with thyme, garlic, bay leaves, and juniper berries, pressing aromatics onto legs to adhere. Let sit 30 minutes (or preferably do this the day before; cover and chill). Place racks in upper and lower thirds of oven and preheat to 225°. Heat oil in a large Dutch oven or other heavy pot over medium and cook onion, carrots, and celery, stirring occasionally, until softened, 8–10 minutes. Add wine, bring to a boil, and cook until reduced by half, 6–8 minutes. Add 1 cup water and slip duck legs (including aromatics), skin side down, into liquid. Cover and braise in oven on lower rack until duck is submerged in its fat, 1½–2 hours. Turn duck skin side up and cook, covered, until tender (the bones will wiggle easily in the joint), 1½–2 hours longer. Transfer duck to a deep baking dish; strain liquid into a large measuring glass or medium bowl. Skim fat into dish with duck; set aside braising juices. Chill duck, at least 1 hour and up to 2 days (cover and chill juices if chilling duck more than a couple of hours).
While duck is chilling, preheat oven to 225°. Bring milk and 2 cups water to a boil in a large saucepan. Season with salt and pepper; slowly stream in polenta, whisking constantly. Cook, whisking often, until it begins to thicken, about 5 minutes. Cover and transfer to lower rack in oven. Bake until polenta is thick and grains are soft, 20–30 minutes. Whisk to smooth out.
While the polenta is in the oven, bring reserved braising juices to a boil in a medium skillet over medium-high heat and cook until thick enough to coat a spoon, 15–20 minutes. Stir in vinegar; keep sauce warm. Remove polenta from oven; keep warm. Increase oven temperature to 400°. Transfer duck legs, leaving fat behind, to a large rimmed baking sheet, placing skin side up. Roast on top rack until skin is crackling crisp, about 20 minutes.
Meanwhile, remove ribs and stems from chard leaves by slicing away leaf from both sides of stalk. Slice stalk in half lengthwise; cut into 3″-long pieces. Tear leaves. Heat half of oil in a large skillet over medium-high. Cook garlic, tossing, until golden, about 2 minutes. Transfer to a large bowl. Add stems to skillet and cook, tossing, until crisp-tender, about 5 minutes. Transfer to bowl with garlic. Add remaining oil to skillet; add chard leaves a handful at a time, letting them wilt slightly before adding more, and cook, tossing, until chard is just wilted, about 2 minutes. Season with salt and pepper. Toss in chard stems and garlic and transfer to a platter. Top with red pepper flakes and squeeze lemon over. Whisk Parmesan and butter into polenta. Serve duck with polenta, wilted chard, and sauce alongside.
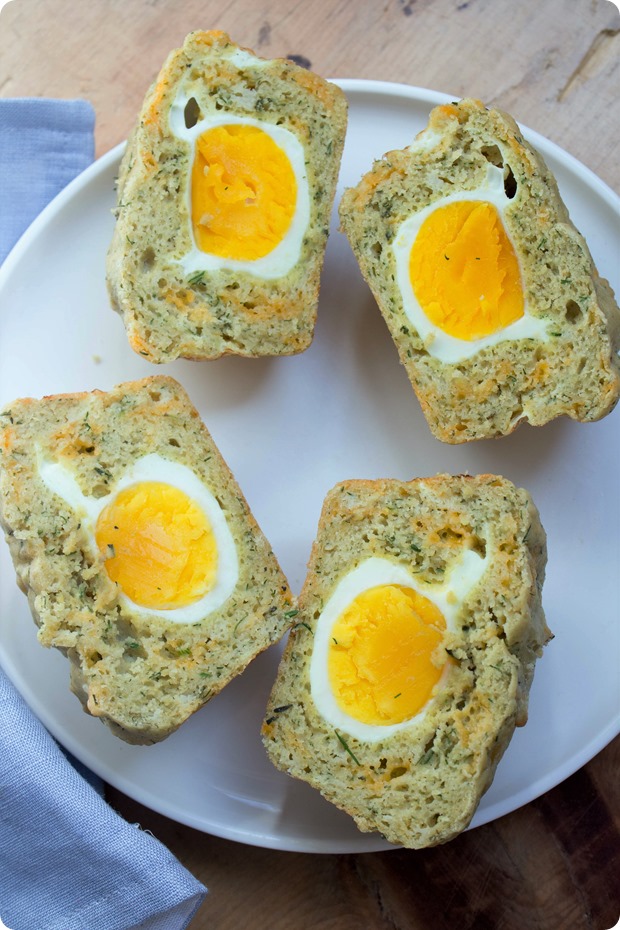 11 lg. Eggs, room temperature
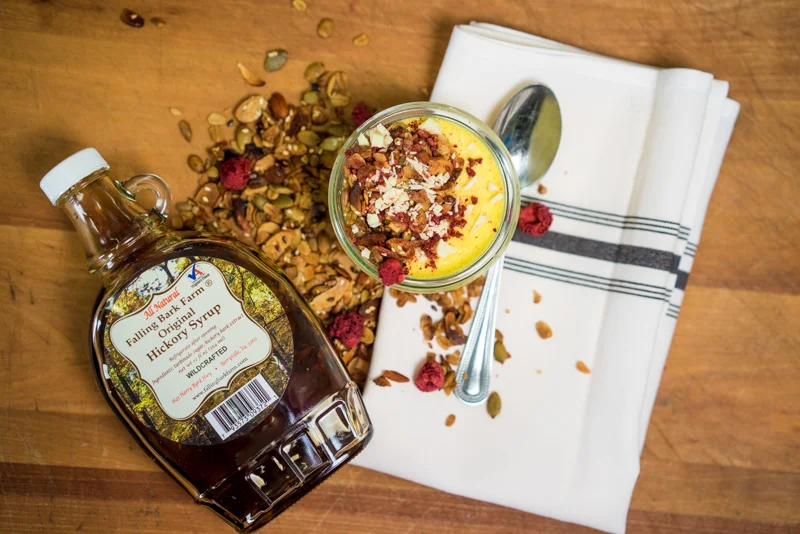 Hickory Syrup Granola