Stuffed Olive Cocktail Picks
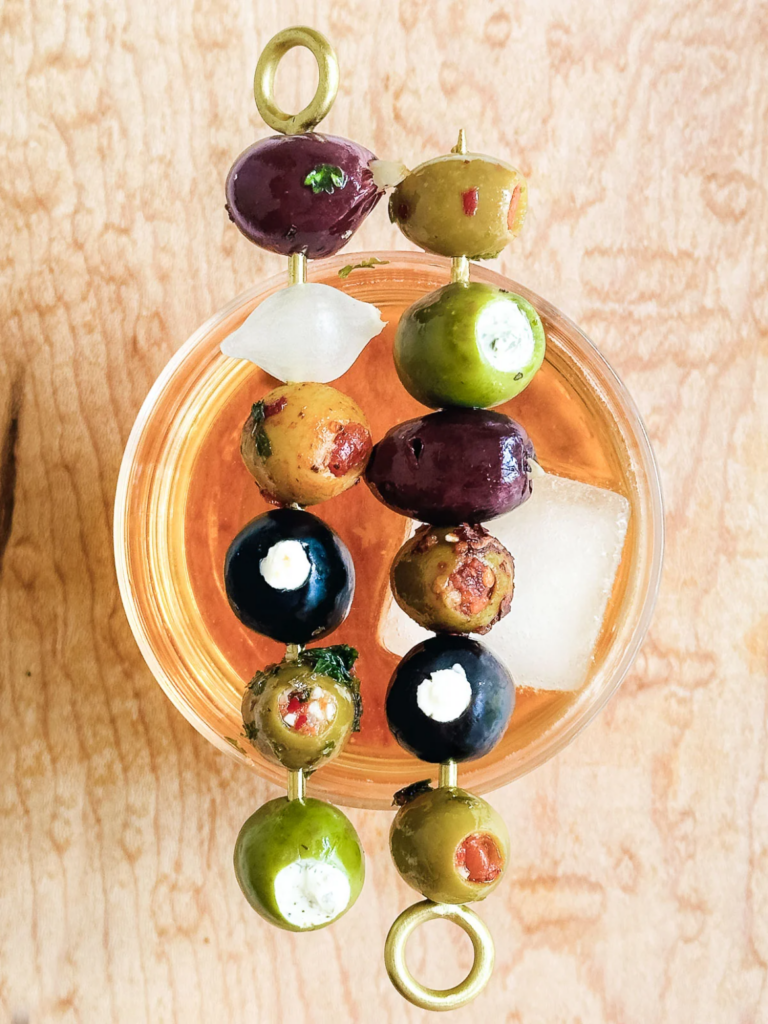
Stuffed Olive Cocktail Picks
10 5-inch cocktail picks or skewers
olives (you’re going to need a total of 60 olives)
24 small readymade stuffed olives, choose different types from your olive bar or condiment aisle.
Boursin Stuffed Olives
12 pitted black olives
1/2 cup Boursin cheese
2 Tbsp cream, to thin the cheese
Jalapeño cream cheese stuffed olives
12 pitted green olives
1/2 cup cream cheese
1 small jalapeño, chopped
marinated stuffed olives
12 jarred pimento stuffed olives
4 Tbsp chili crisp
Stir together the Boursin and cream until it is smooth. You want it to be thin enough to pipe into your olives, so add a bit more cream if yours is very thick. Load into a small piping bag (or baggie) and cut a very small snip off the tip. Pipe the cheese into the hole of each olive. Blend cream cheese with chopped peppers in a small food processor until very smooth and creamy. You don’t want any larger bits of pepper because they can get caught in the piping tip. Load into a small piping bag (or baggie) and cut a very small snip off the tip. Pipe the cheese into the hole of each olive Put the stuffed olives in a small bowl and top with chili crisp. Stir to combine and let sit for at least an hour, or overnight in the fridge. You should have about 60 olives, allowing about 6 to each pick. Thread the olives on your cocktail picks, alternating types for a pretty presentation. If your picks are shorter or longer than mine, adjust the olives to fit. These picks are best served soon after assembling, but you can keep them covered in a damp cloth or paper towels in the fridge for a few hours if you need to.
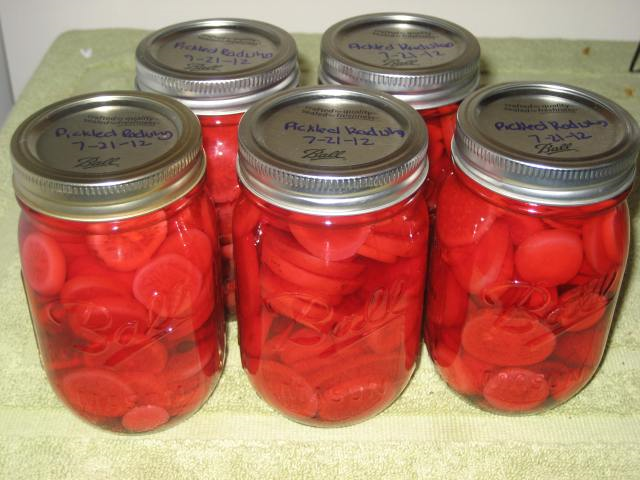
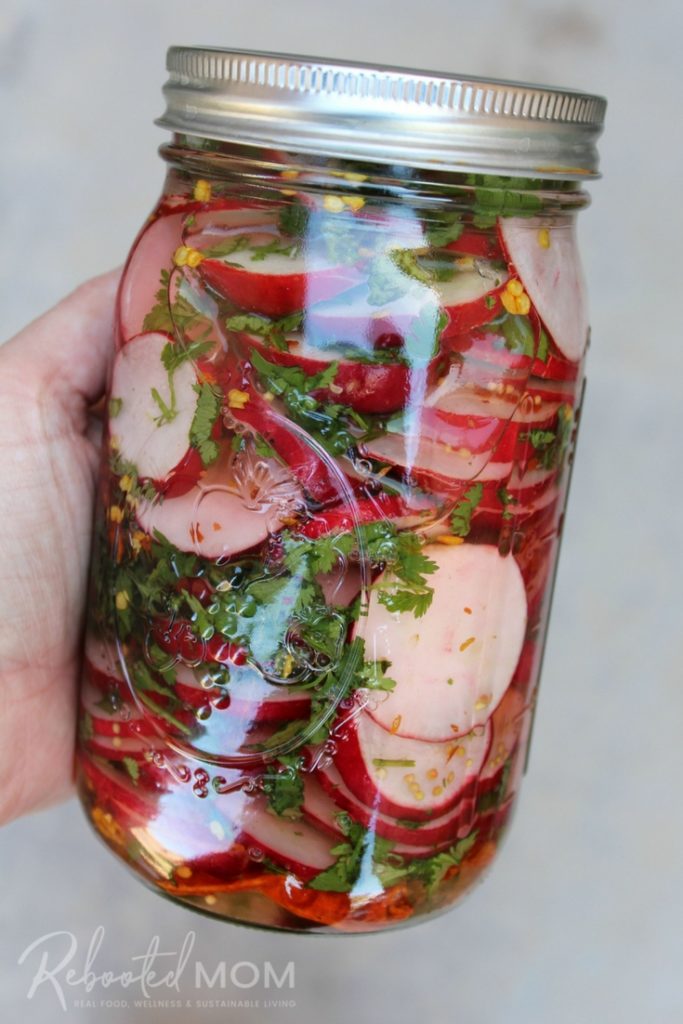
 Pickled Sweet-and-Sour Radishes
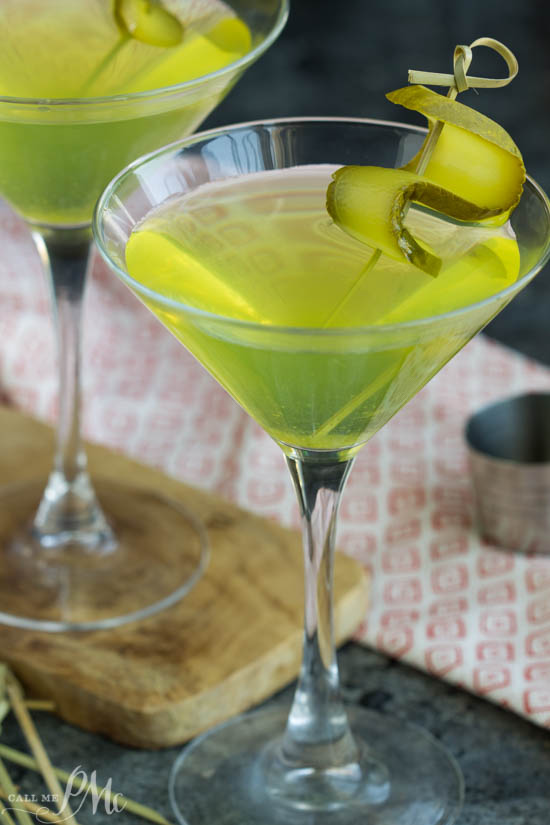 Dill Pickle Martini
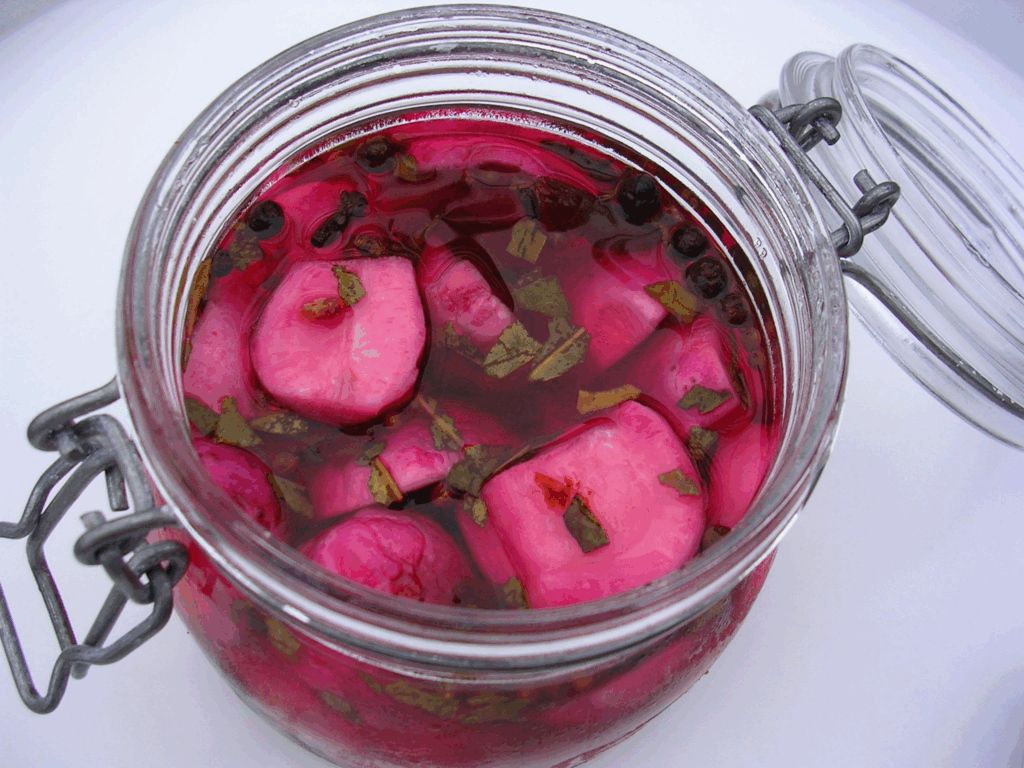
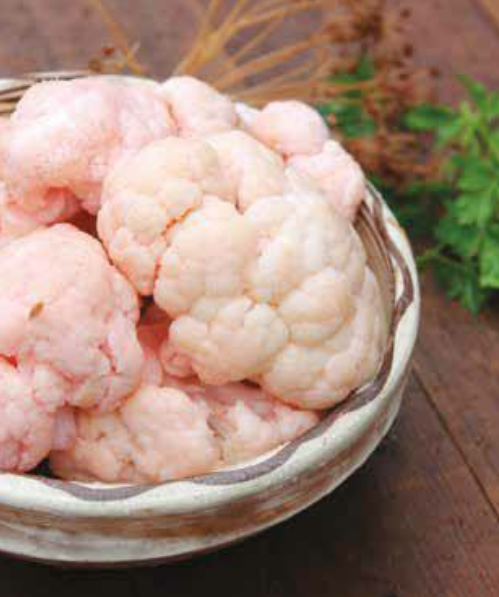
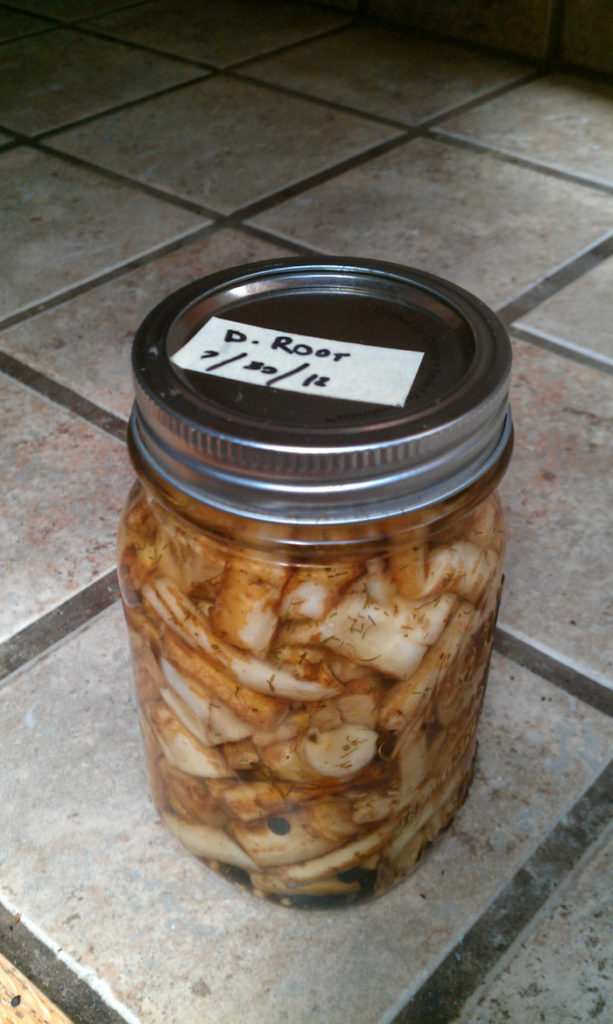
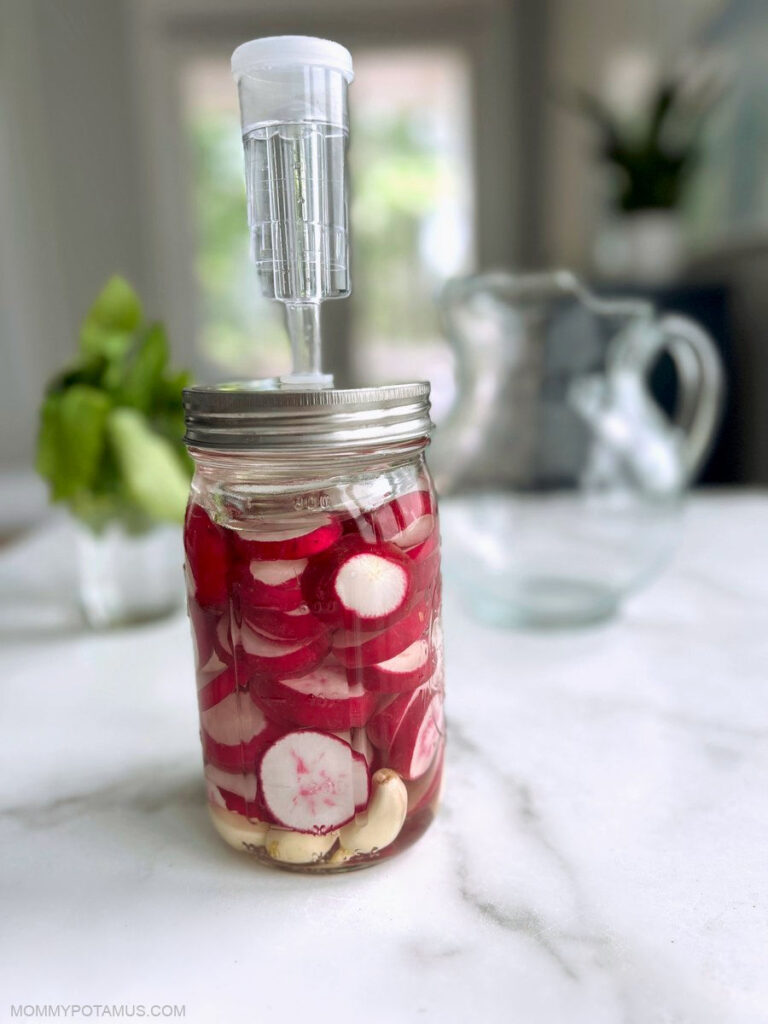 Garlicky Fermented Radishes
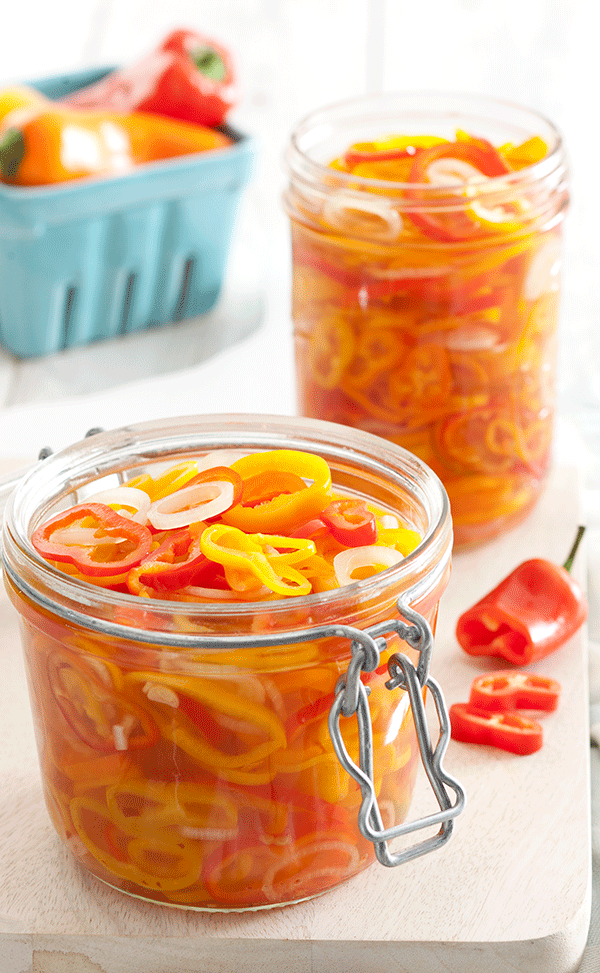
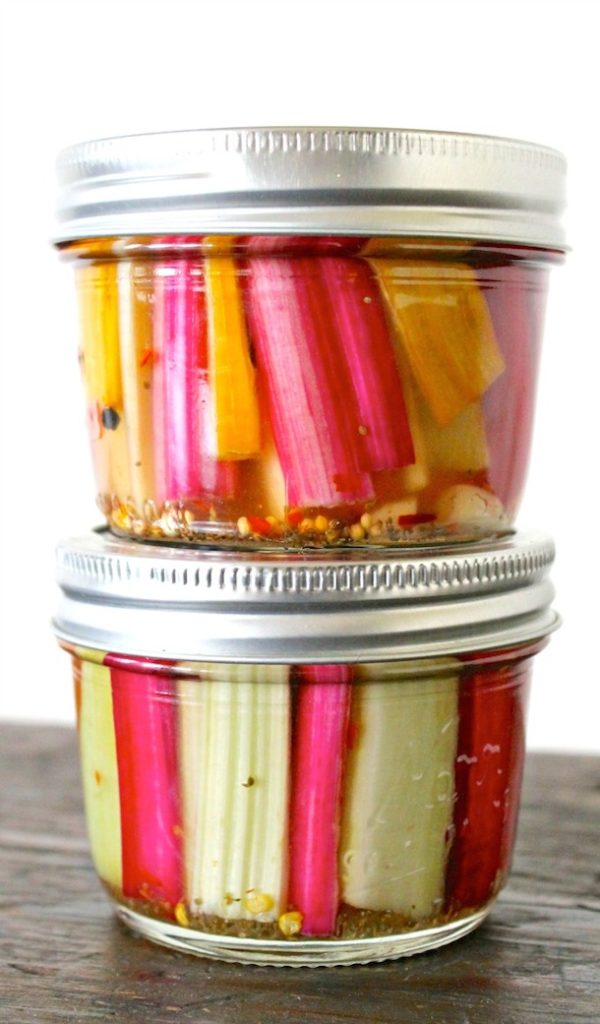
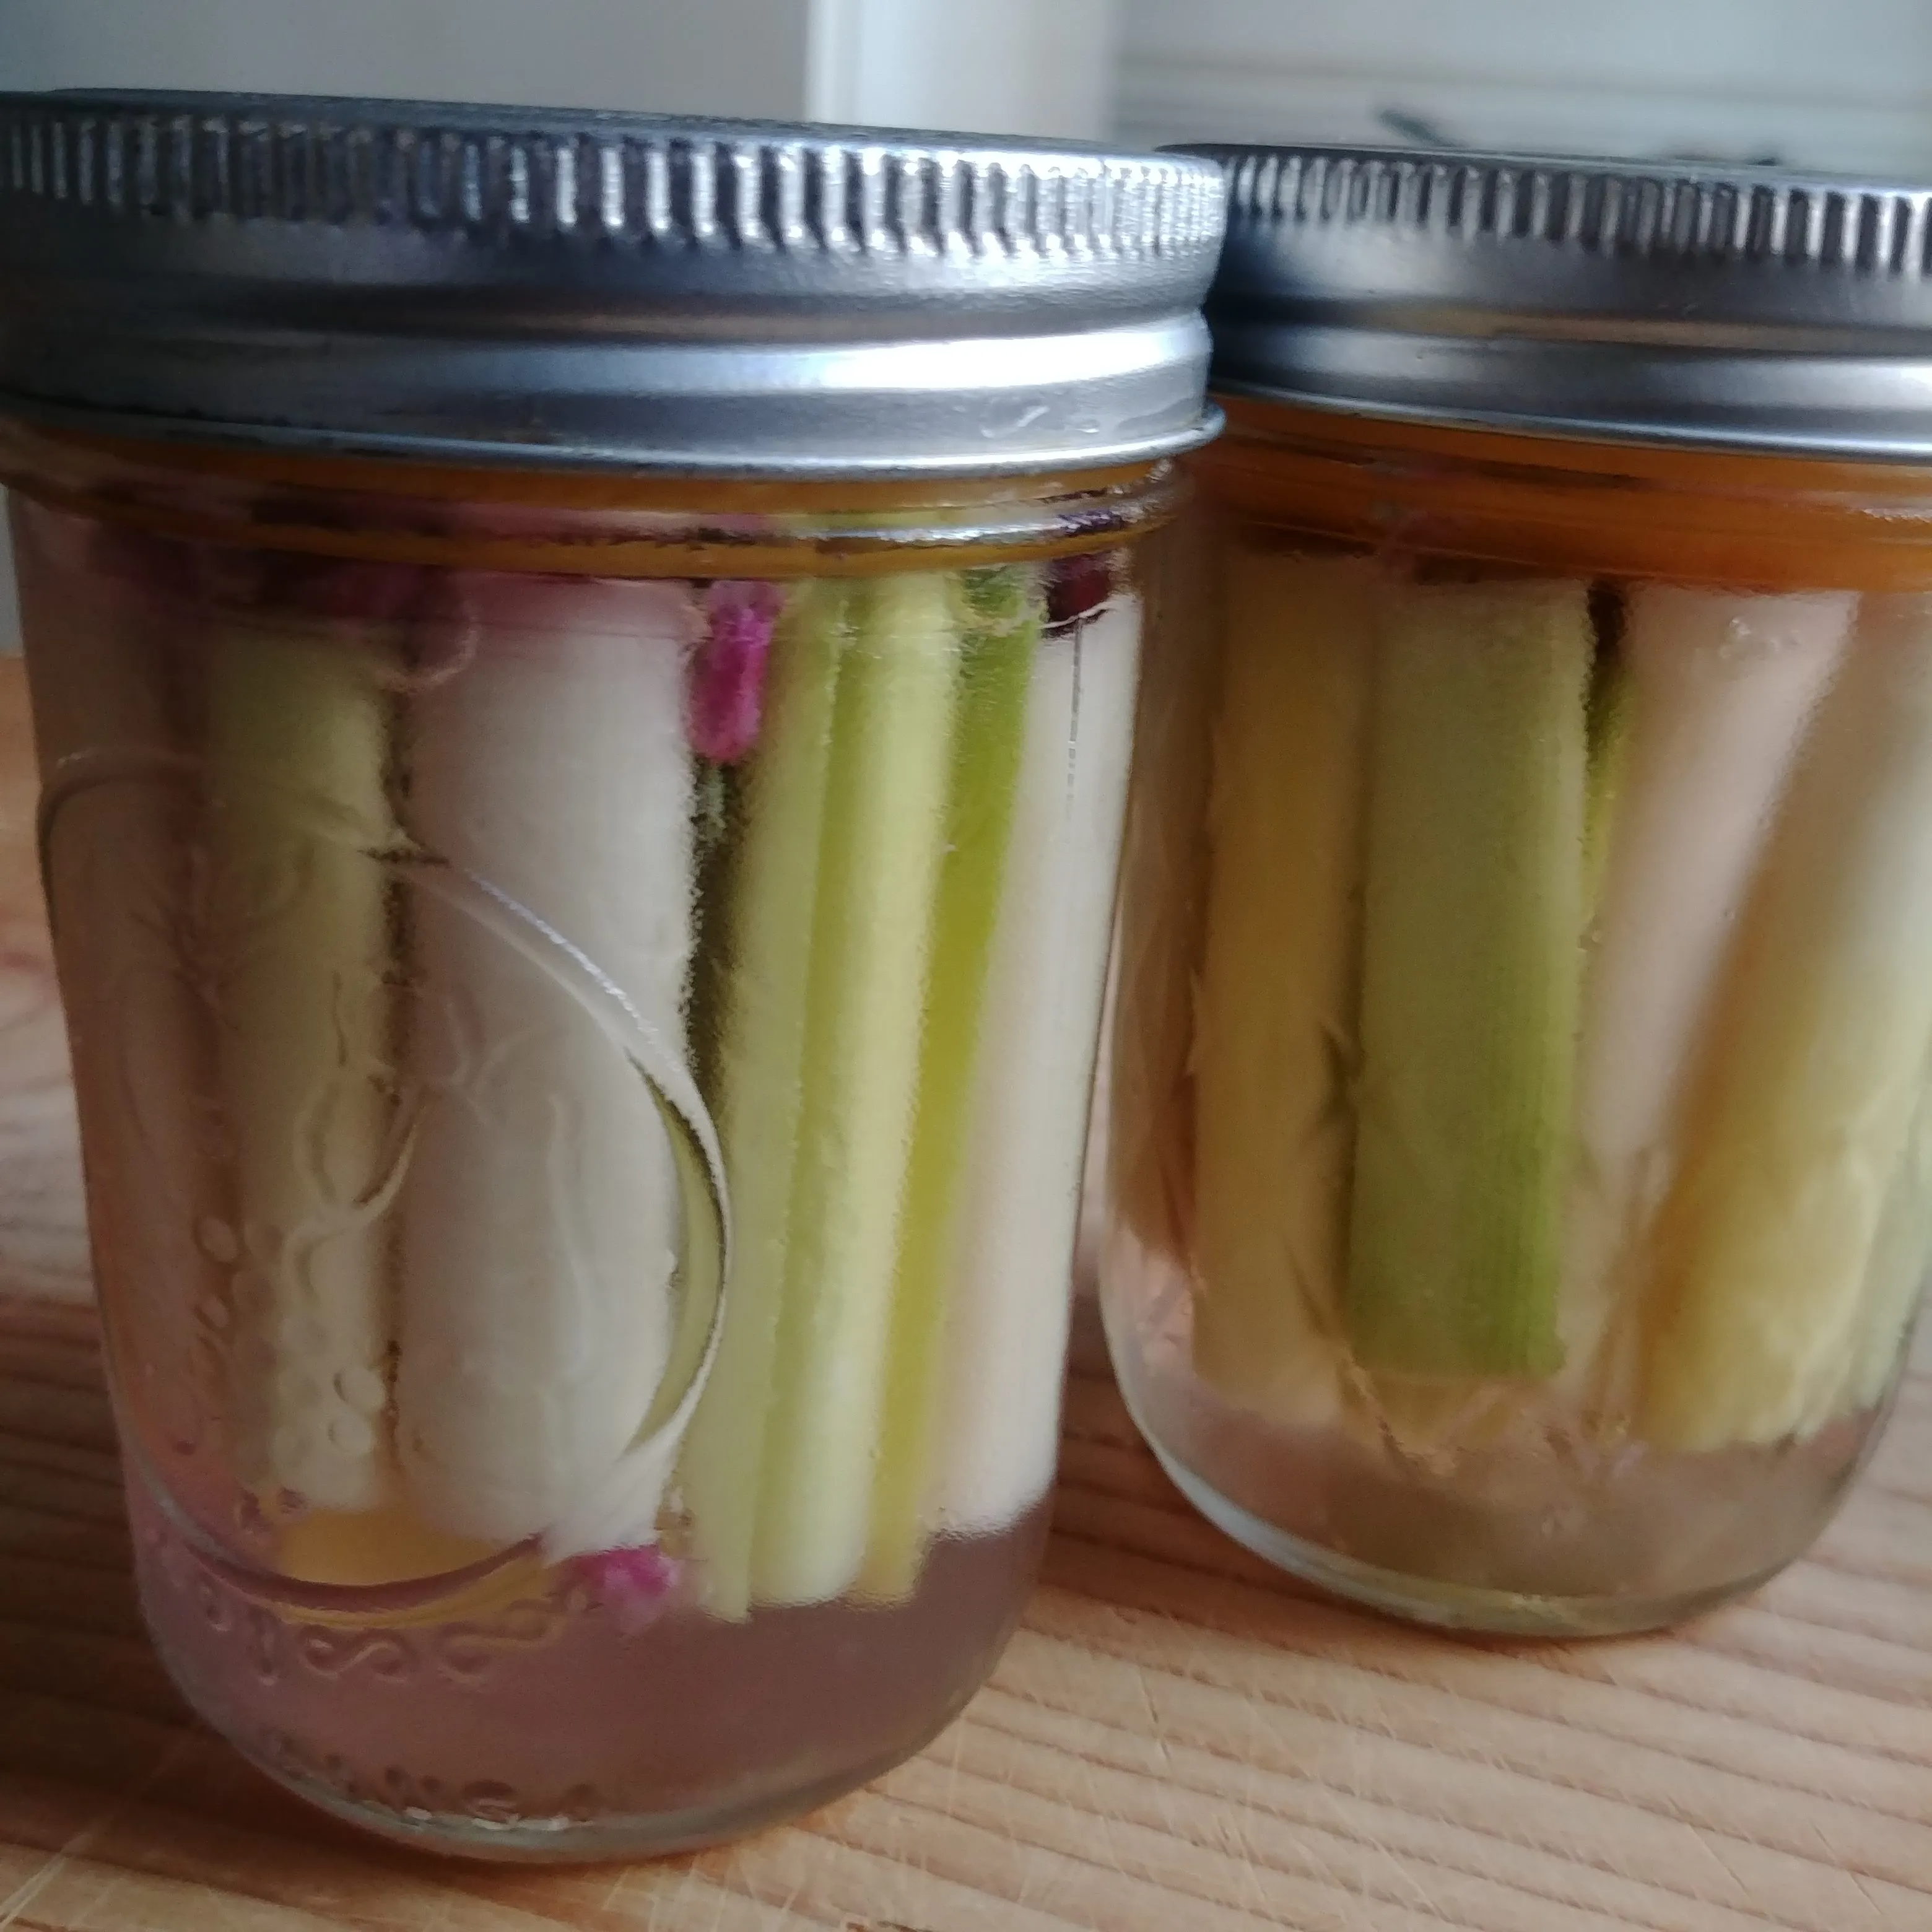
 Spicy Pickled Rainbow Chard Stems
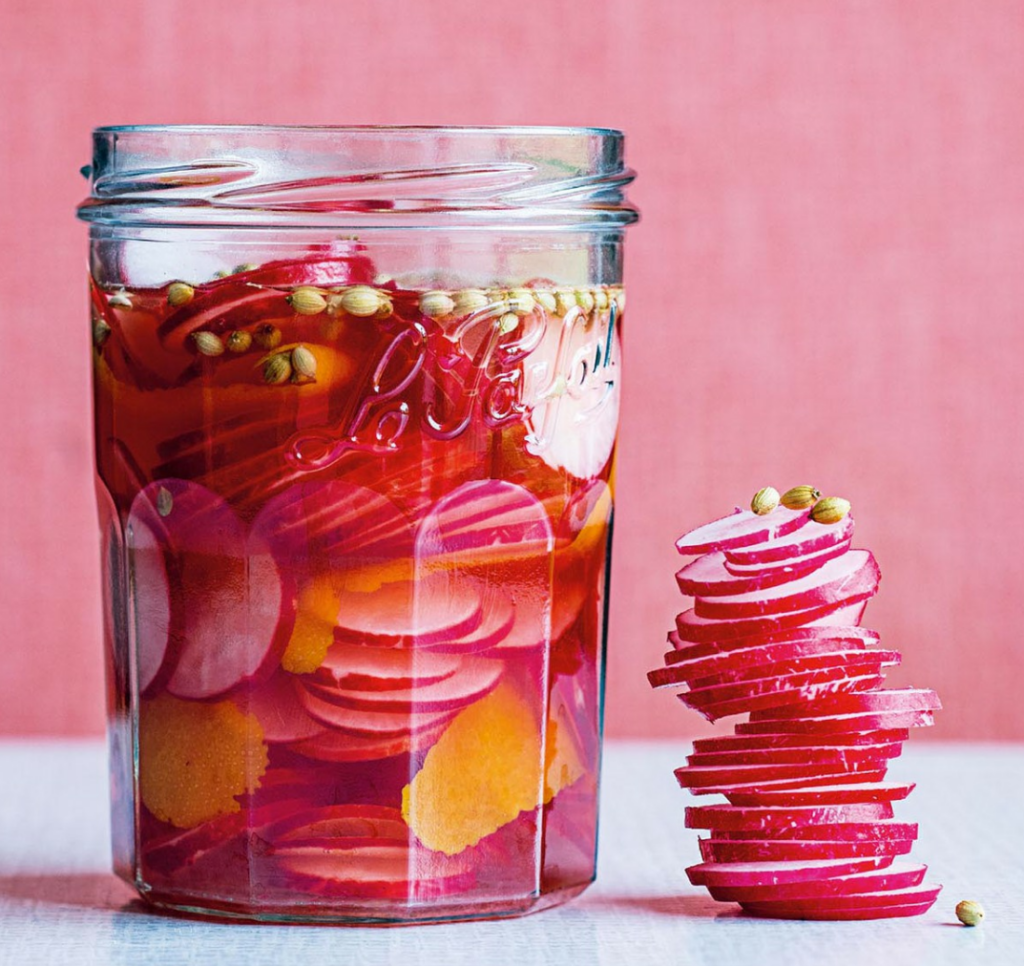 Coriander & Orange Pickled Radish
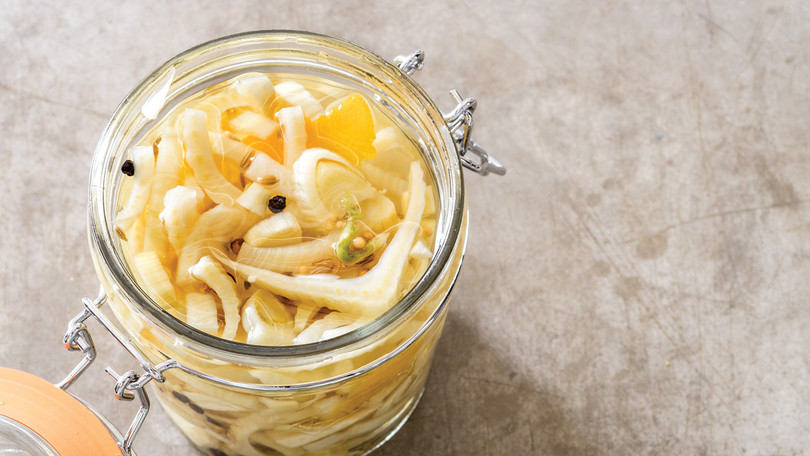
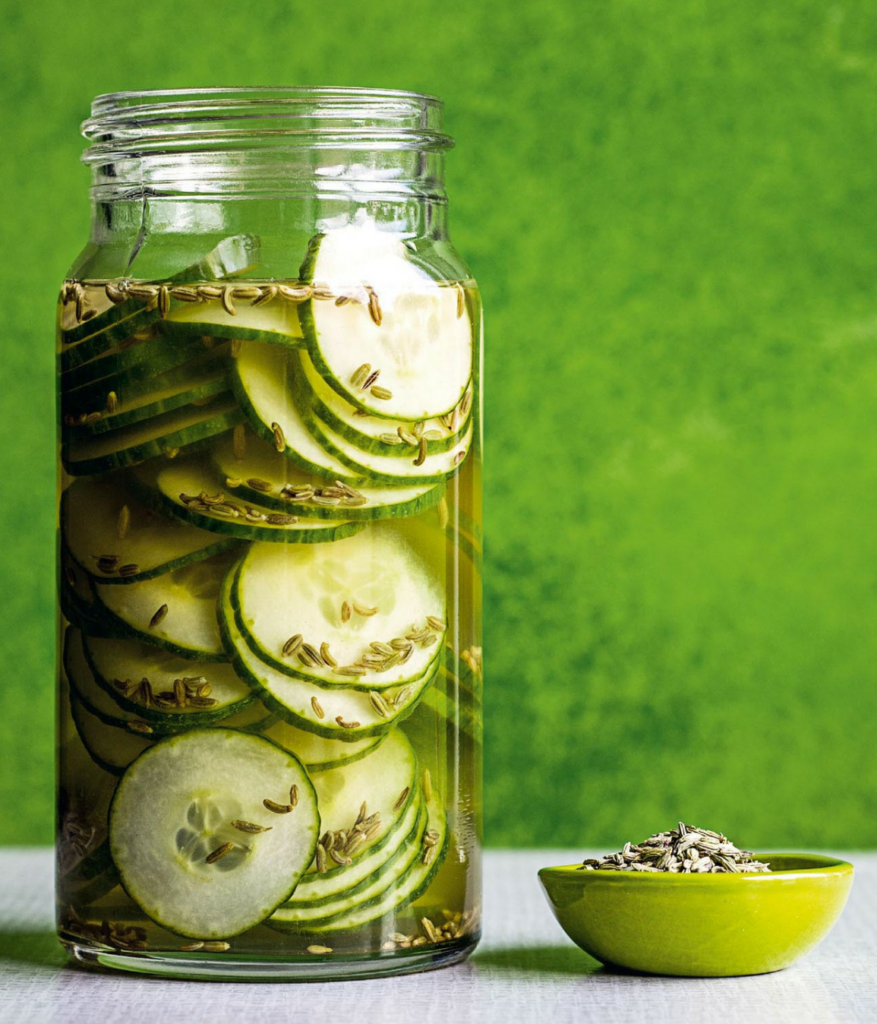 Cucumber & Fennel Refrigerator Pickles
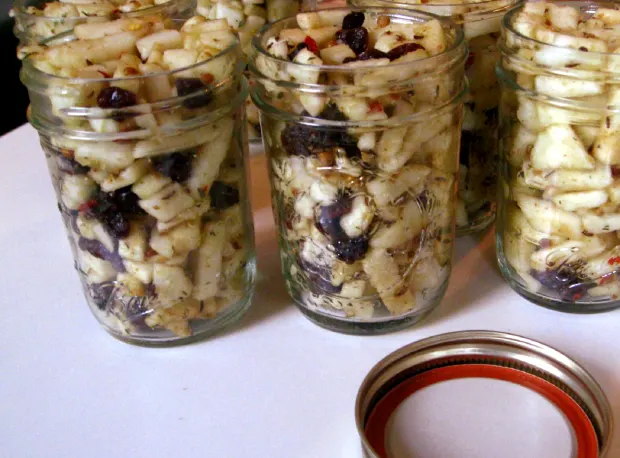
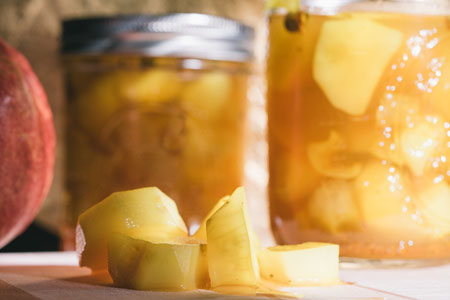 1½ lbs sunchokes (a.k.a. Jerusalem artichokes), thoroughly scrubbed and cut into ½-inch dice
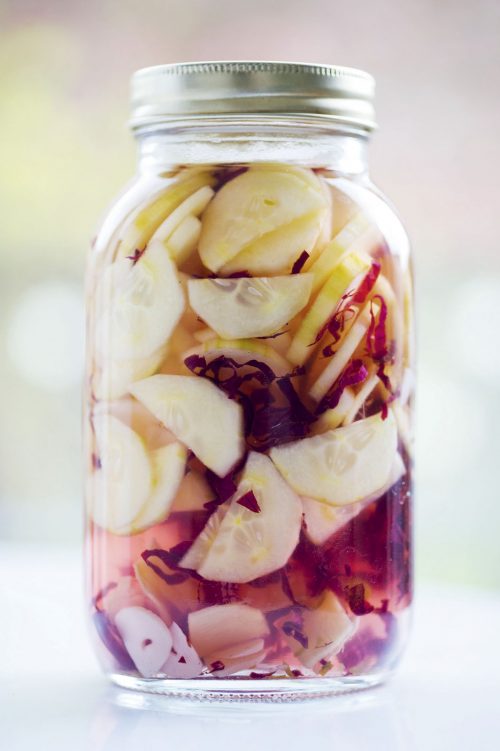 Shiso Pickled Cucumber
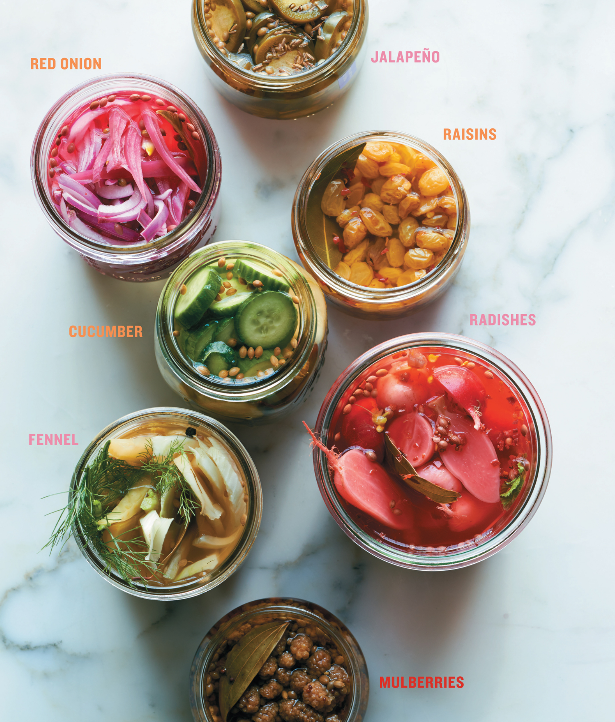 Quickles
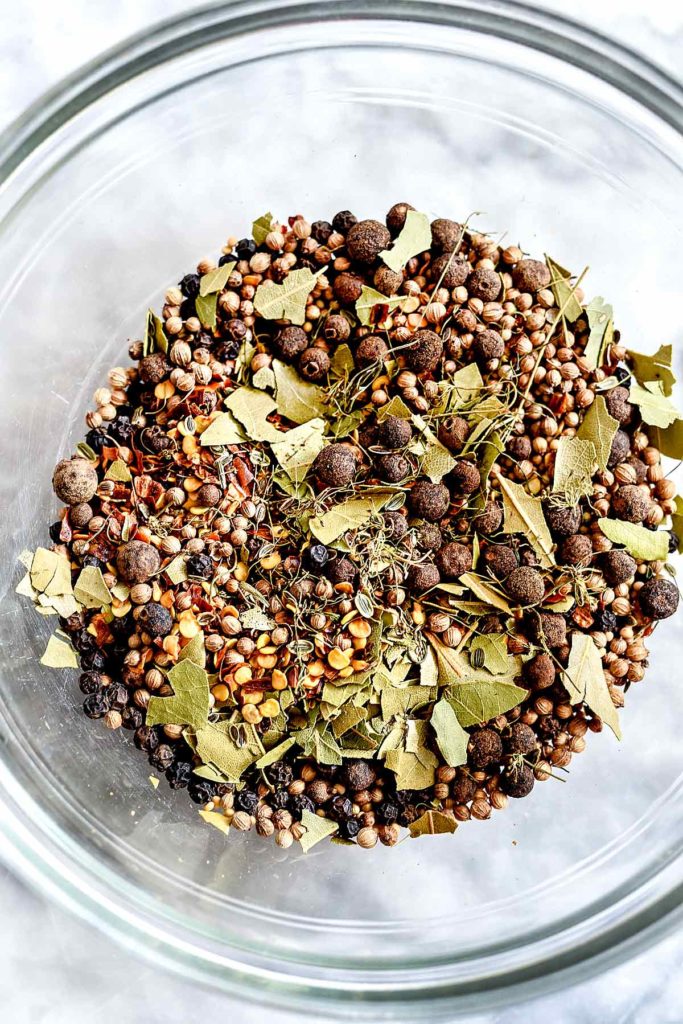 Pickling Spice Blend
 Pickled Kohlrabi
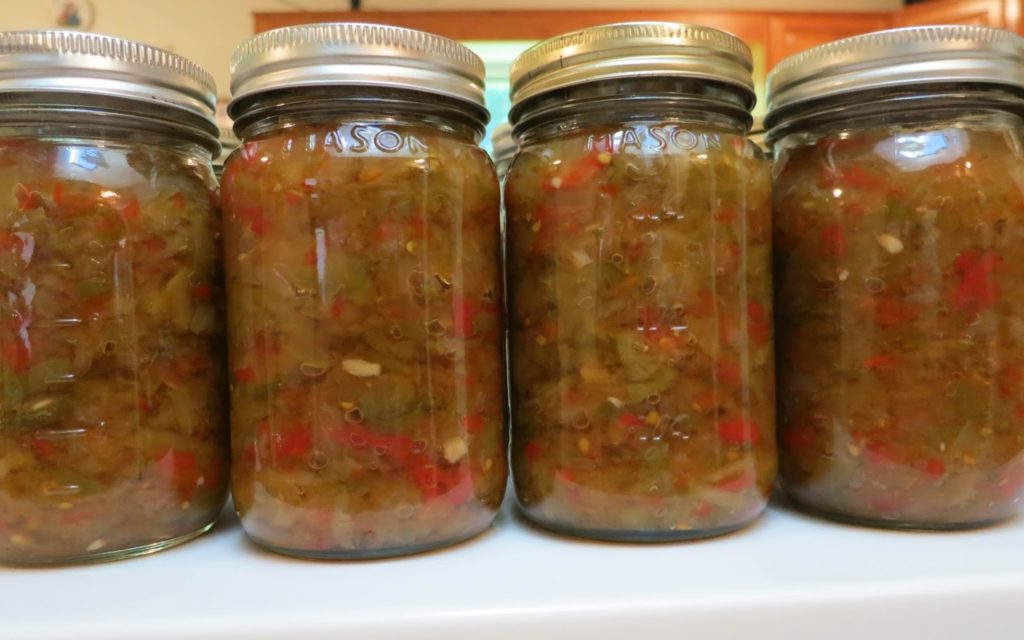 Green Tomato Relish
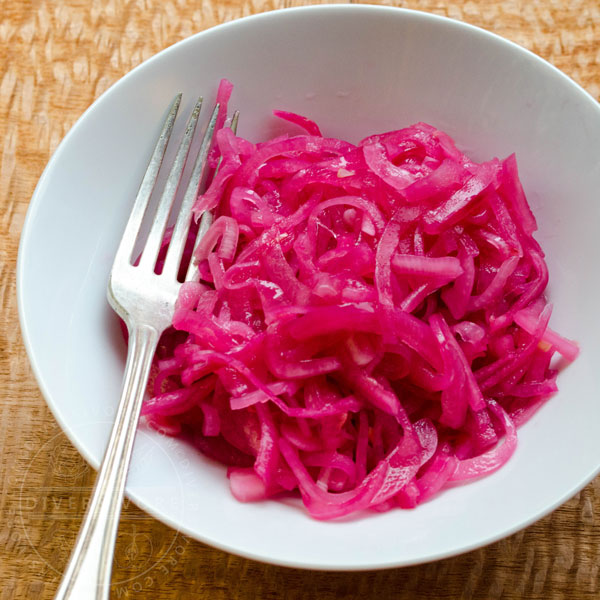 Pickled Onions, Yucatan Style
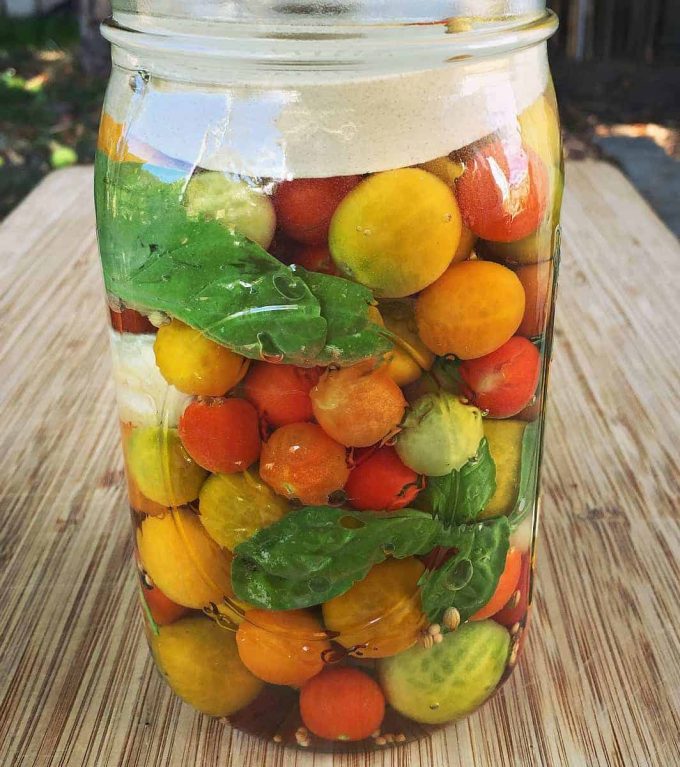
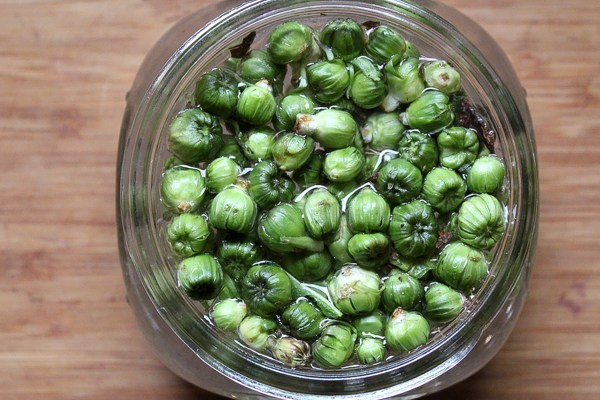
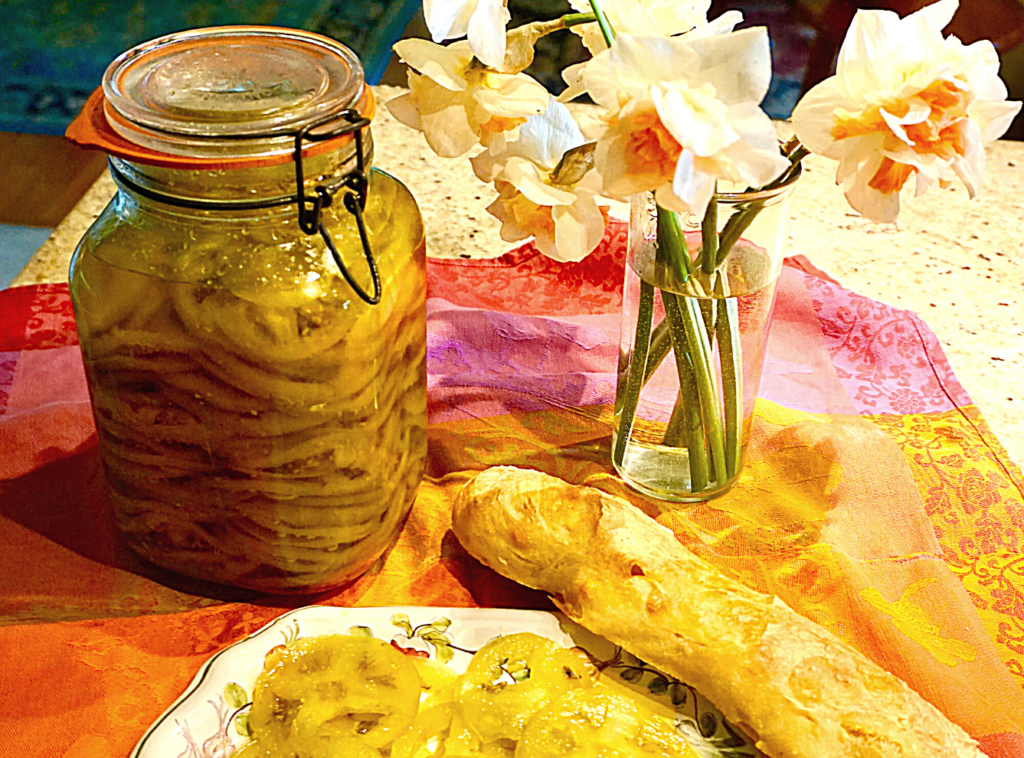 Pickled Green Tomatoes
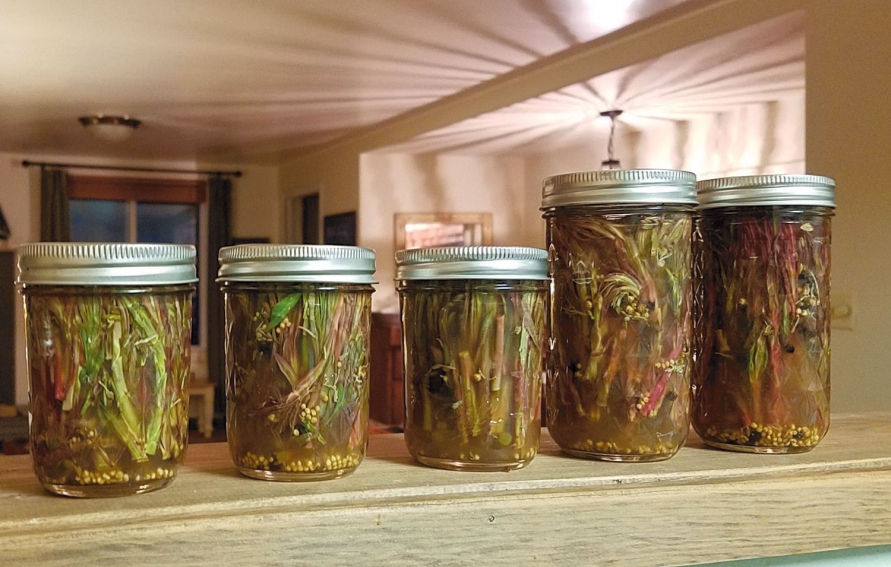
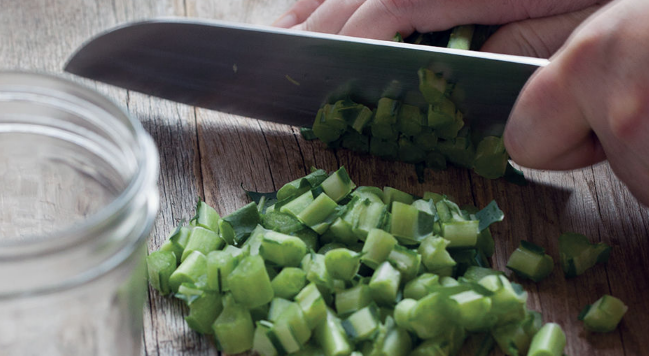

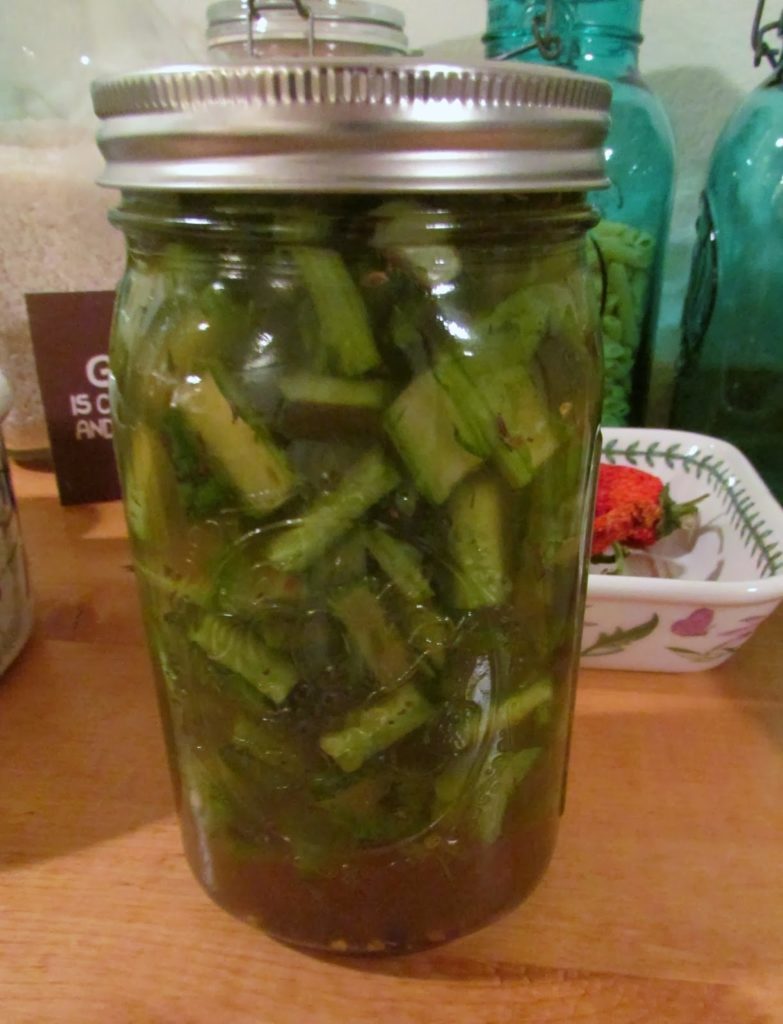 Pickled Mustard Green Stems
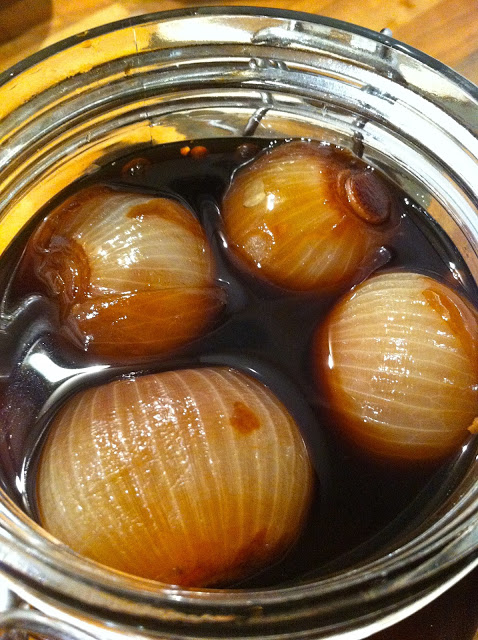
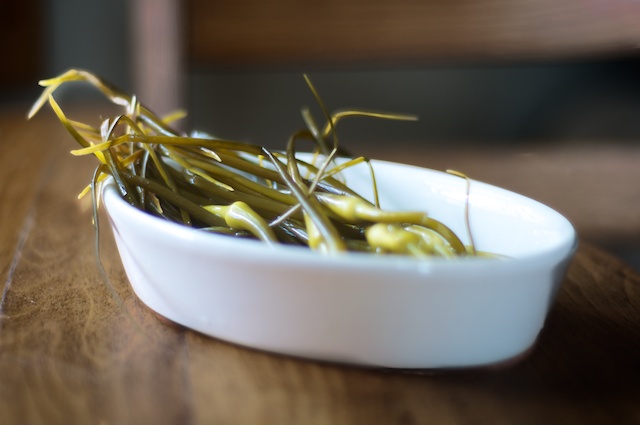
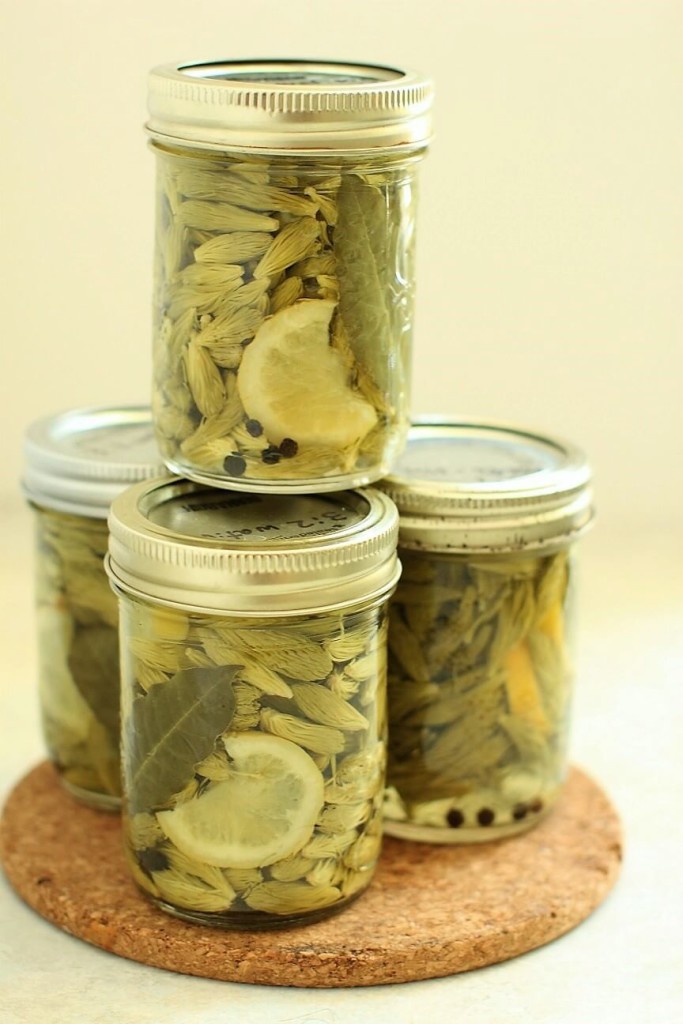
 Pickled Cattail Shoots
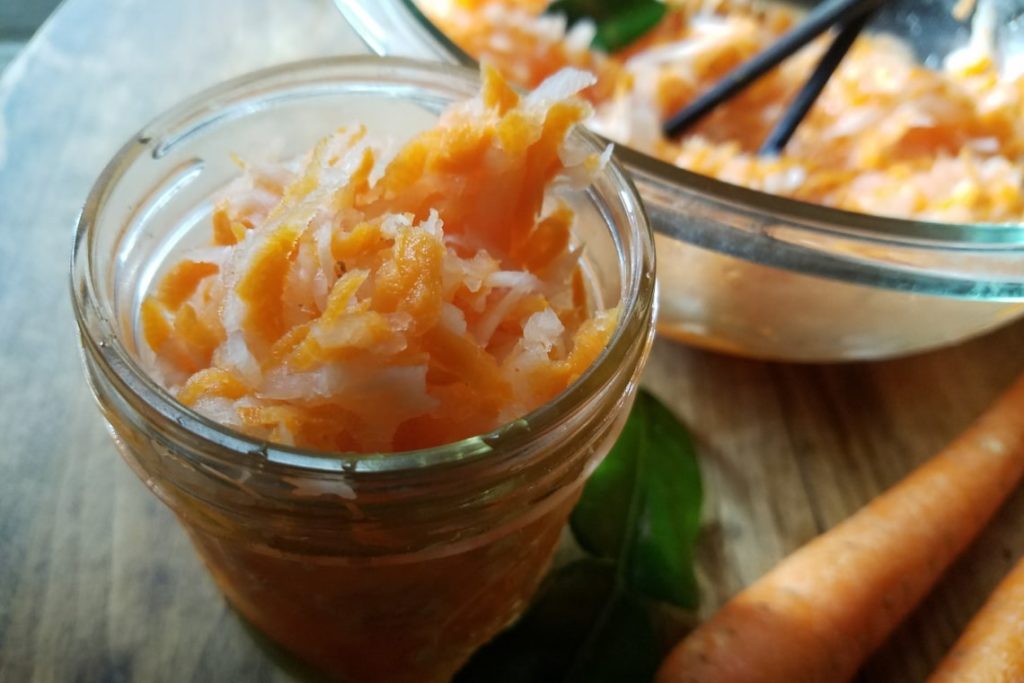
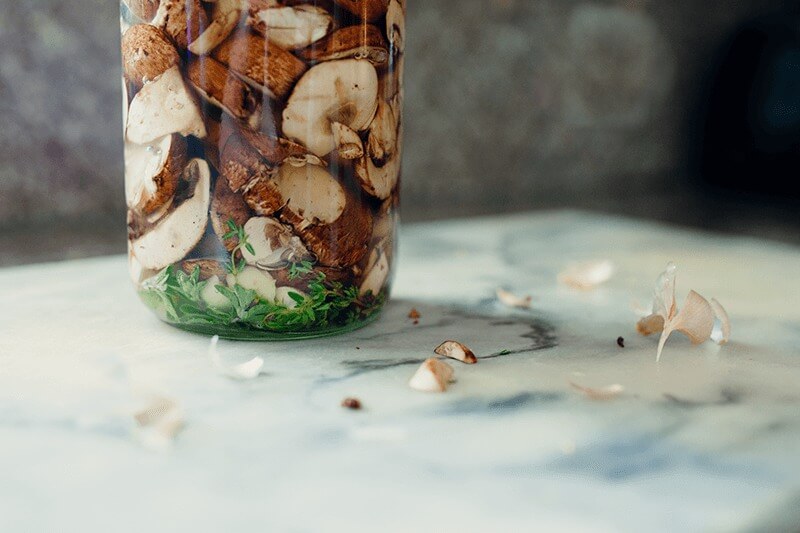
 Robin’s Mushroom Conserva