Browsed by
Tag: Frugal

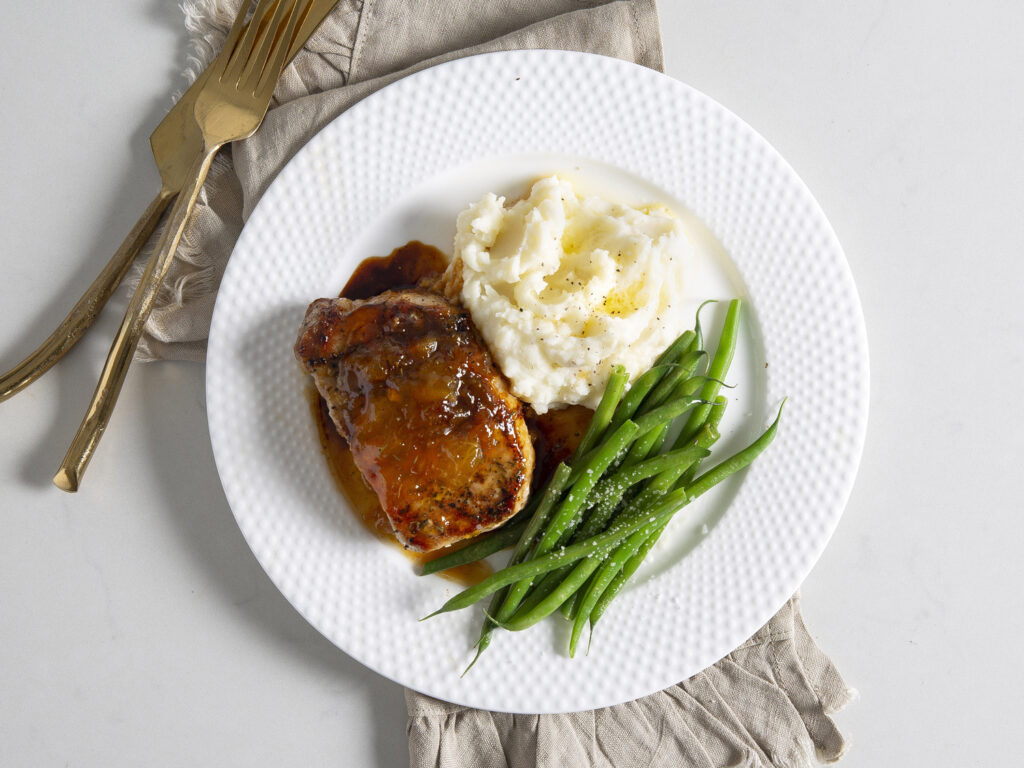
Peach Glazed Pork Chops 

Peach Glazed Pork Chops 


1½ lb boneless pork chops

½ tsp salt

½ tsp pepper

2 T. olive oil

¾ cup peach preserves

2 T. apple cider vinegar

½ tsp dried thyme (or use dried crushed rosemary)


Sprinkle pork with salt and pepper. Cook pork, in batches if necessary, in hot oil in a large skillet over medium-high heat 4 minutes per side or until browned. Reduce heat to medium; add preserves, vinegar, and thyme. Cook 3 to 4 minutes or until glaze is thickened and pork is done.

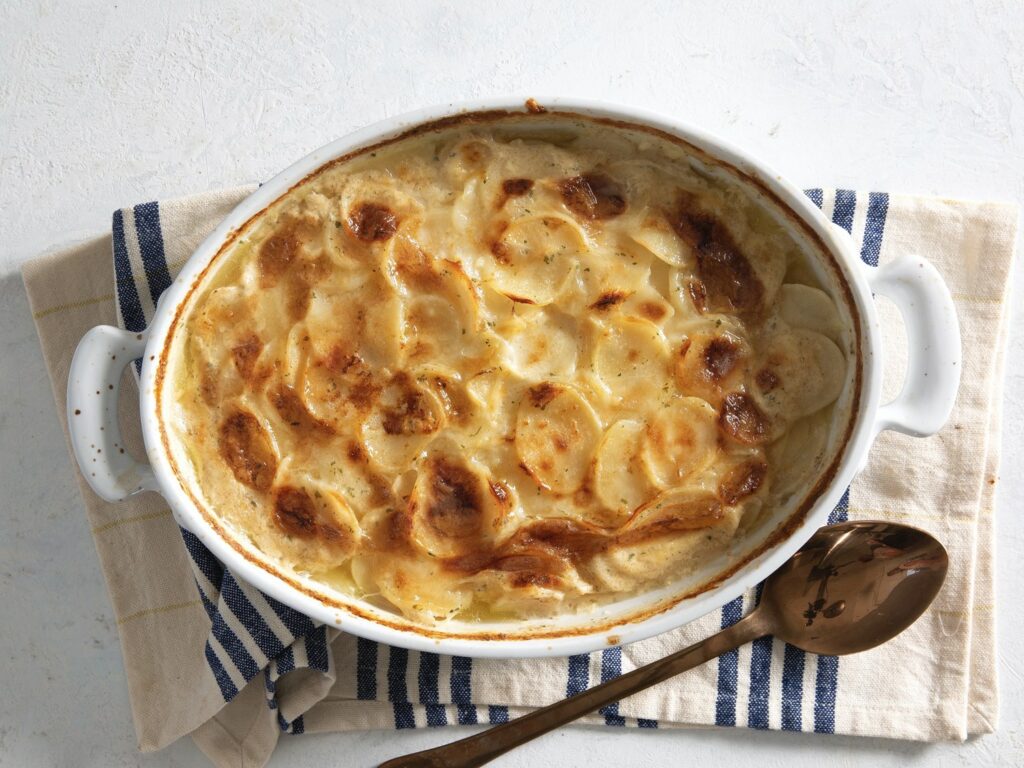
Beef and Scalloped Potato Casserole & Romaine Salad 

Beef and Scalloped Potato Casserole & Romaine Salad 

Beef and Scalloped Potato Casserole & Romaine Salad


1 ½ lb ground beef

1 cup chopped onion

2 T. all purpose flour

1 cup less sodium beef broth

1 cup shredded mozzarella cheese

1 (4.7-oz) pkg scalloped potatoes

2 cups boiling water

⅔ cup milk

1 T. butter


1 (10-oz) pkg chopped romaine lettuce

1 pint grape tomatoes, halved

½ cup balsamic vinaigrette


Preheat oven to 450°F. Cook beef and onion in large skillet over medium heat 8 minutes or until beef is browned and crumbly. Drain and return to skillet. Add flour, and cook, stirring constantly, 2 minutes. Stir in broth; cook until mixture is slightly thickened. Spoon beef mixture into a lightly greased 11- x 7-inch baking dish; sprinkle with cheese. Arrange dry potatoes from box over cheese. Whisk together boiling water, milk, butter, and cheese seasoning packet from box in a bowl. Pour mixture over potatoes. Bake 20 minutes or until potatoes are golden brown and crisp. Toss together all ingredients in a large bowl

Sheet Pan Barbecue Chicken and Sweet Potatoes 

Sheet Pan Barbecue Chicken and Sweet Potatoes 

Sheet Pan Barbecue Chicken and Sweet Potatoes


2 sweet potatoes, peeled and cut into ½ inch chunks

1 head broccoli, cut into large florets

3 T. olive oil

2 tsp chili powder

¾ tsp salt, divided

¾ tsp pepper, divided

1½ lb boneless, skinless chicken breasts

1 cup barbecue sauce

3 T. honey

2 cloves garlic, minced


1 (14-oz) loaf French bread


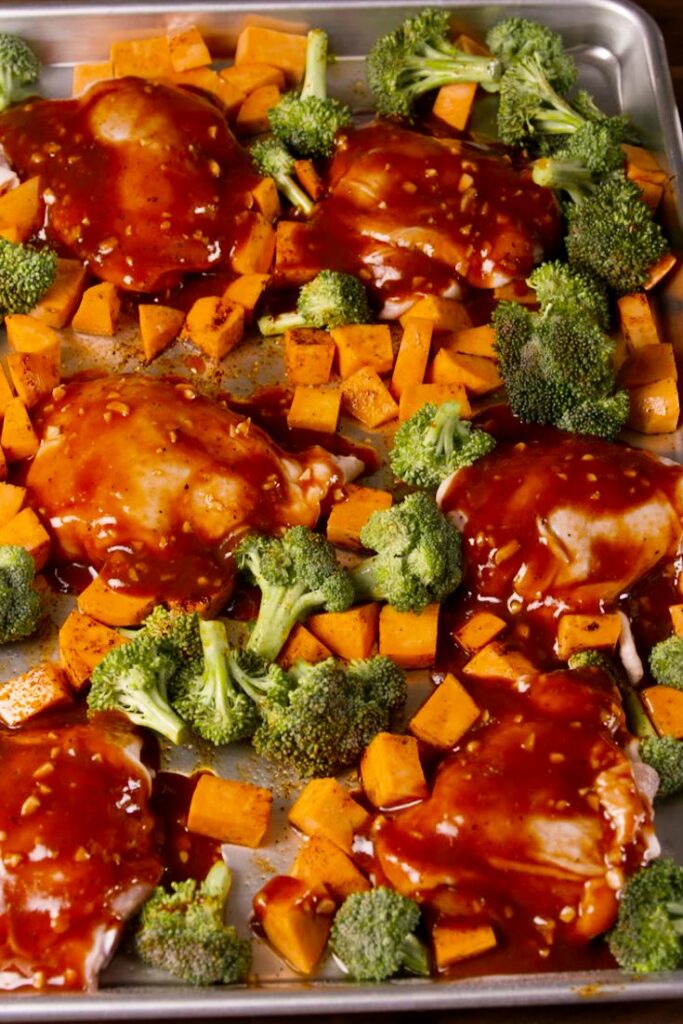
Preheat oven to 425°F. Toss together potatoes, broccoli, oil, chili powder, and ¼ tsp each salt and pepper on a large greased rimmed baking sheet; spread in a single layer. Cut chicken in half crosswise, and pound to an even thickness between plastic wrap using a meat mallet. Arrange chicken among vegetables; sprinkle with ½ tsp each salt and pepper. Stir together barbecue sauce, honey, and garlic; pour over chicken. Bake 25 to 30 minutes or until chicken is done and vegetables are browned and tender.

Just Barely Basil Buttermilk Dressing

Just Barely Basil Buttermilk Dressing

Just Barely Basil Buttermilk Dressing


1/2 C. roughly chopped (1/2 to 1 inch) basil stems (a few errant leaves are fine, too)

1/2 C. buttermilk

1 medium-size garlic clove, grated on a Microplane or very finely minced

2 T. mayonnaise

2 T. plain Greek yogurt

Fine-grain sea salt

Freshly ground black pepper


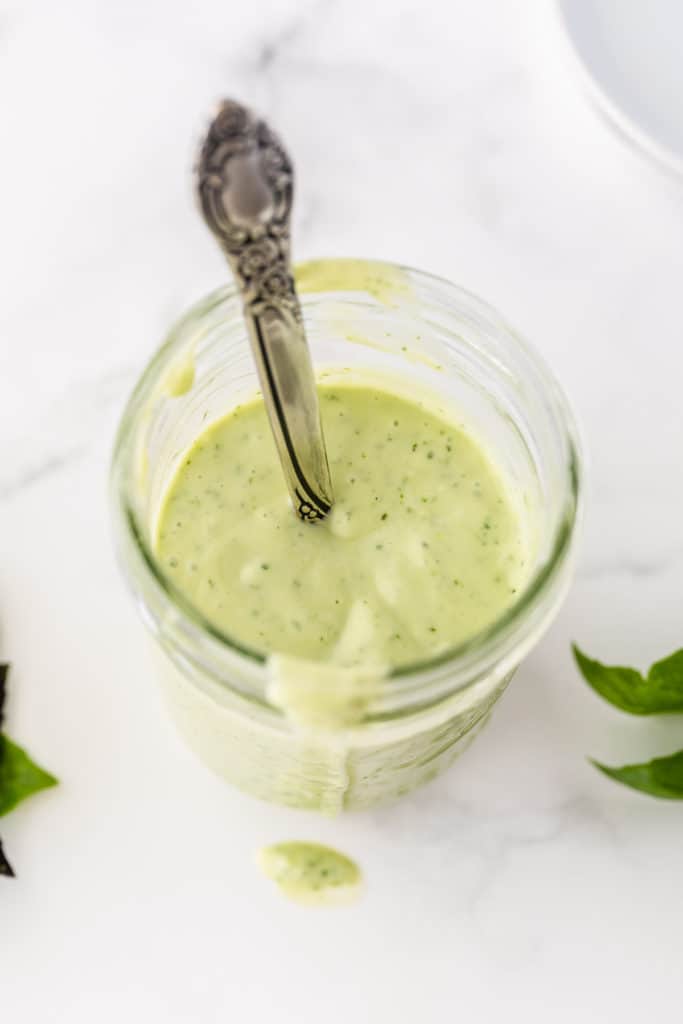
Combine the basil stems and buttermilk in a small bowl and let steep, covered, in the refrigerator for 8 to 12 hours. Strain and discard the basil stems. Combine 1/4 C. of the infused buttermilk, the garlic, mayonnaise, Greek yogurt, a pinch of sea salt, and a few grinds of pepper in a small bowl or glass jar. Shake to combine. Season to taste and thin with extra buttermilk if desired. This dressing will keep up to 3 days in a sealed container in the refrigerator.

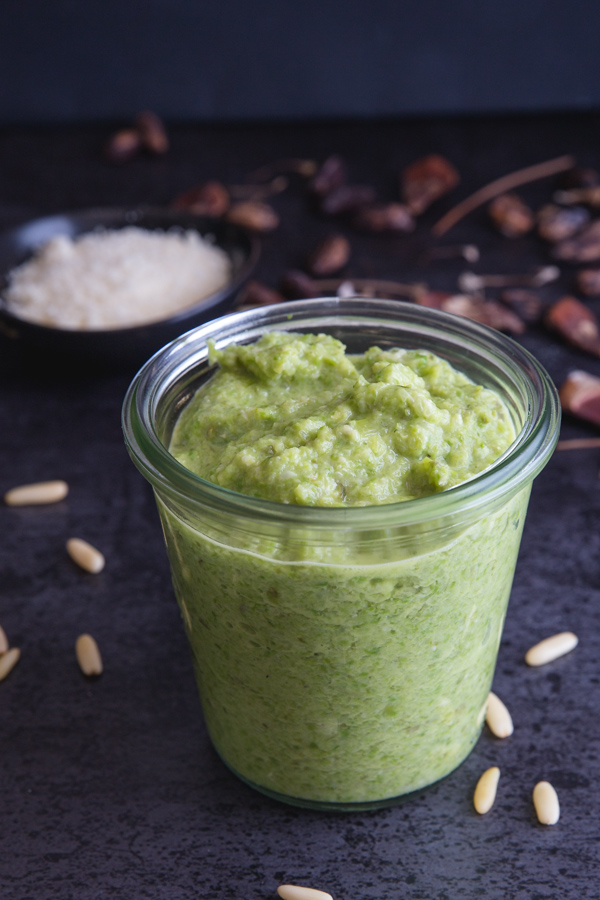
Charred Asparagus End Pesto

Charred Asparagus End Pesto

Charred Asparagus End Pesto


1/4 C. plus 1 T. extra virgin olive oil

1-to 2-inch ends cut from the bottom of 1 bunch of asparagus

1 C. loosely packed fresh shiso or basil leaves

1/1 C. pine nuts, toasted

1 garlic clove, minced

1/j C. finely grated pecorino Romano cheese

1 T. freshly squeezed lemon juice


This recipe is for the ends of middle-of-the-road asparagus: If the ends are extremely woody, they’re best saved for stock. And if the ends don’t seem very woody at all, you might just want to peel the ends of your stalks instead and save those peelings for tempura)! This is a thick pesto, meant for tossing with hot pasta or smearing on sandwiches. I also think it would make an excellent dip (maybe mixed with softened cream cheese). Thin it out with additional olive oil to use it as dressing. Shiso is a Japanese herb in the mint family; I think of it as basil’s Asian cousin (basil is also the best substitute should you not be able to find shiso). Look for shiso in the produce section of Asian grocery stores or at your local farmers market. Since it can sometimes be hard to find, I opt to grow my own supply. If you can find shiso leaves,. they’ll quickly grow roots when their stems are placed in a glass of water on a windowsill. After they do, plant them. I’ve also grown shiso from seeds procured online and from small plants found at my local farmers market – both options work well.  In a medium-size heavy skillet, heat 1 T. of the oil over medium-high heat. Add the asparagus ends to the hot pan, and let them cook, undisturbed, until the side touching the pan chars, 3 to 5 minutes. Move them around a bit to expose another side to the heat, and let them cook, undisturbed, until they are charred on all sides and can be easily pierced with a knife, another 3 to 5 minutes. Remove from the pan and let cool slightly. Using a knife, finely chop the asparagus ends. This is important: If you try to skip this step, the food processor will shred the cooked ends and you’ll have stringy pesto. Add the chopped asparagus ends, shiso, pine nuts, and garlic to a mini food processor and pulse to process all ingredients, scraping down the bowl a couple of times as needed. Then add the cheese and lemon juice and pulse a few more times. Finally, add the rest of the olive oil and process again until smooth. The pesto is at its best when used immediately, so the basil doesn’t discolor, but can be stored in an airtight container in the refrigerator or freezer.
Quick-Pickled Stems

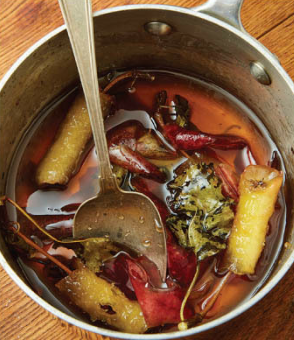
Quick-Pickled Stems

Quick-Pickled Stems

8 to 12 stems from braising greens, cut into 1-inch pieces

1 clove garlic

½ tsp. coriander or mustard seed

½ C. apple cider or white wine vinegar

½ C. water

1 ½ tsp. salt


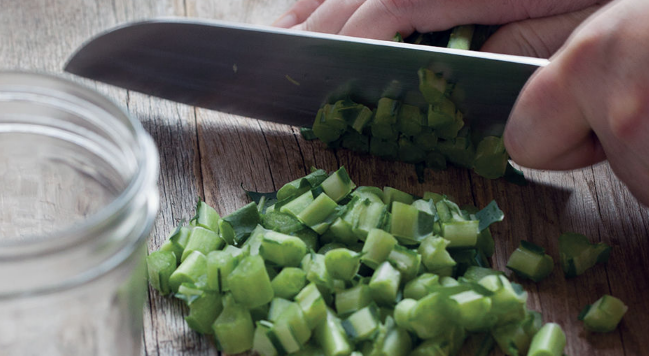
Pack the trimmed stems into a clean pint jar. Add the garlic and coriander or mustard seed. In a small saucepan set over high heat, combine the vinegar, water, and salt. Bring to a boil and stir to dissolve the salt. Pour the brine over the stems. Cover the jar and let cool to room temperature. Tighten the lid and refrigerate for at least 2 days before eating. They’ll keep in the fridge for about 3 weeks.


Apple Scrap Vinegar

Apple Scrap Vinegar

Apple Scrap Vinegar

Stockpile the cores and peels in the freezer until you have enough.


2-3 T. Sugar

2-3 C. filtered or non-chlorinated Water

1 lb. apple cores & peels (peels only if from organically grown apples)


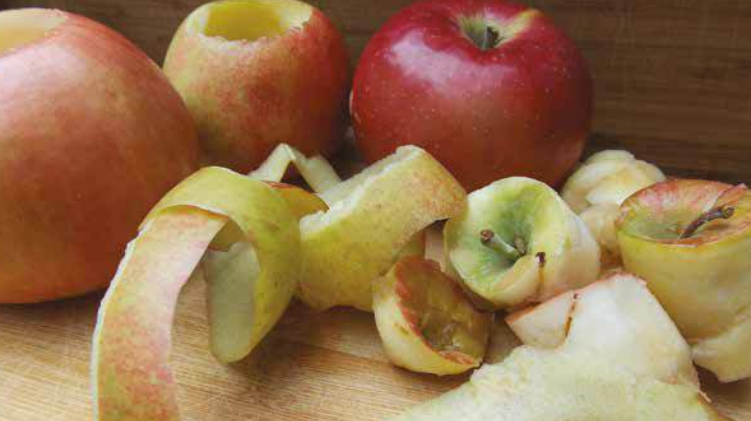
Use 1 T. of the sugar per C. of water. Dissolve the sugar in the water. It is important to use non-chlorinated or filtered water because chlorine could prevent the fermentation process that is essential to making vinegar. Put the apple scraps into a ceramic, glass, or stainless-steel bowl, pot, or crock and pour the sugar water over them. Use enough of the liquid to cover the apples, but don’t worry if they float a bit. Cover with a clean dish towel and let sit at room temperature for 1 week. Every day, stir the ingredients vigorously at least once (more is better). Once fermentation begins, the liquid will froth up when you stir it. The liquid should have started to turn a darker color after one week of steeping and stirring. Strain out the fruit. Keep the liquid at room temperature, stirring once or more each day, for 2 weeks to 1 month. Its smell will shift from lightly alcoholic to vinegary and sour. The bacteria that create vinegar from alcohol require oxygen to do so. That’s why it’s important not to cover the liquid with anything airtight during the process. (FYI, all vinegar starts out as alcohol—it’s what the bacteria that make vinegar eat.) Once the vinegar tastes as strong as you’d like it, transfer it to bottles and screw on covers or cork. The vinegar is fine to use for salad dressings, marinades, and sauces anytime it tastes good to you. But if you want to use your homemade vinegar for safe pickling and canning, it needs to have at least 4.5 percent acetic acid, just like commercial brands do.

Corncob Stock

Corncob Stock

Corncob Stock


4 (2½ pounds) corn on the cob, husked

10 C. water

1 T. black peppercorns, toasted

1 T. coriander seeds, toasted

6 parsley stems

2 celery stalks plus leaves if available

2 bay leaves

1 garlic clove, smashed

½ yellow onion, halved and deeply charred


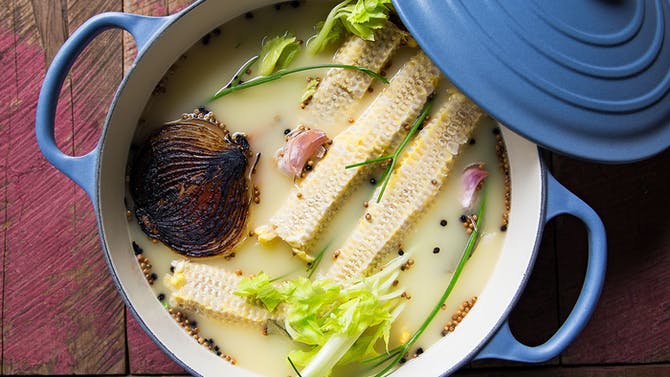
Shave the corn kernels off the cobs and add the cobs to a heavy-duty stock pot. In a blender, blend half of the corn kernels on high and add to the pot. Save the other half of the corn kernels for other uses. Add the remaining ingredients to the pot and bring to a rolling boil over high heat. Once at a boil, lower the heat to a gentle simmer and cook for 2 hours. Strain the stock and allow it to completely cool. Store in the refrigerator for up to 1 week or freeze in small batches and thaw as needed.

Leek Top Cacio e Pepe

Leek Top Cacio e Pepe

Leek Top Cacio e Pepe

1 leek top, split in half (see here) and cut into 6-inch lengths

6 ounces bucatini or spaghetti

3 T. extra virgin olive oil

2 tsp. freshly ground black pepper

1 C. grated Grana Padano or Parmigiano Reggiano cheese


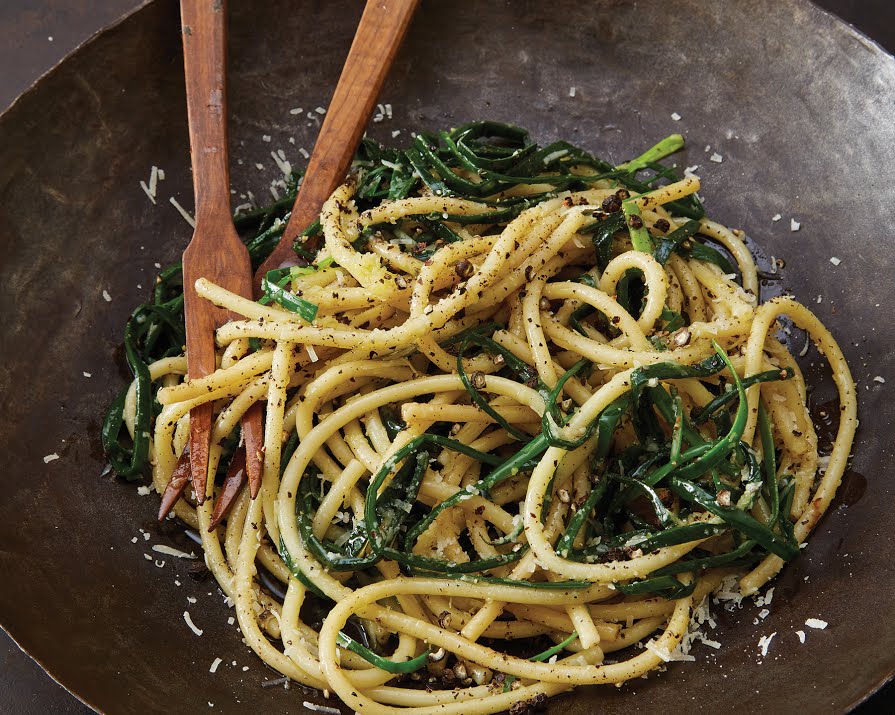
Fill a large pot with salted water (use 2 or 3 three-finger pinches of salt – it should taste like the sea) and bring it to a boil over medium-high heat. Meanwhile, stack a couple of leek lengths on top of one another and make narrow cuts down the length of them, like you’re turning them into linguini. Once you get the hang of this, you can make your stack a little higher. Don’t stress out about it too much; they won’t all look perfect – it’s fine. When the water is boiling, add the pasta and give it a stir. Take note of the instructions on the package; you’ll be subtracting 2 minutes from the cooking time. One minute before the pasta is done (so 3 minutes before the time on the package), add the shredded leek tops. Drain the pasta and leek tops, reserving 1 C. of the cooking water. Return the empty pot to the same burner and turn the heat to medium. Add the olive oil and pepper to the pot; let it sit until it smells fragrant, 30 seconds to 1 minute. Add the drained pasta and leek tops to the pot, and using tongs, toss everything around to coat. Add ¼ C. of the reserved pasta water to the pot, sprinkle on about half of the cheese (you’ll end up with cheese clumps if you dump it all in one pile), and, using the tongs, toss to coat and melt the cheese. Repeat this step with another ¼ C. pasta water and the rest of the cheese. You should now have a silky sauce coating all of the pasta and leek tops (the tops might require a little more tong action to distribute them evenly). If not, add a little more pasta water and toss everything again, then serve and eat immediately.

Roasted Swiss-Chard Stems with Creamy Sesame Dressing

Roasted Swiss-Chard Stems with Creamy Sesame Dressing
Roasted Swiss-Chard Stems with Creamy Sesame Dressing


2 tbs. sesame seeds, toasted

2 tsp. rice vinegar

1/2 tsp. mirin (or ½ tsp. white wine with a pinch of sugar)

1/2 tsp. toasted sesame oil

1½ tsp. tamari or soy sauce

2 tbs. mayonnaise

1½ tsp. full-fat, plain Greek yogurt

Stems from 1 large bunch Swiss chard, leaves reserved for another use

1 tbs. extra-virgin olive oil

Freshly ground black pepper, to taste


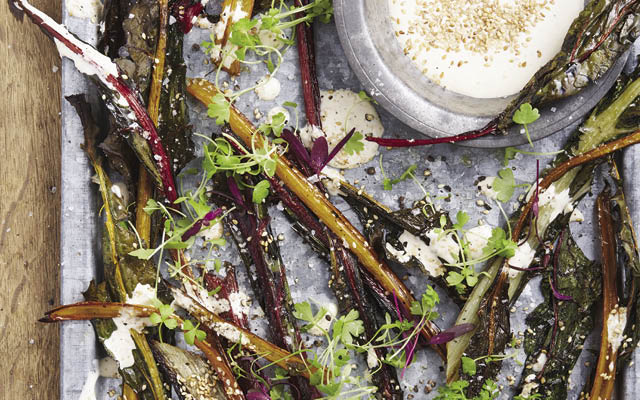
Preheat the oven to 425 degrees F. Crush the toasted sesame seeds with a spice grinder or a mortar and pestle. In a small bowl, whisk together the sesame seeds, rice vinegar, mirin, sesame oil, tamari or soy sauce, mayonnaise, and yogurt. Set aside. Cut the chard stems into 5- to 6-inch lengths. Place them on a baking sheet and drizzle them with olive oil. Gently toss to coat, spread them into a single layer, and lightly sprinkle with pepper. Roast the stems until the centers are tender when pierced with a knife, the edges are starting to char, and any lingering leaf pieces crisp up, about seven to 10 minutes. Divide the roasted stems among plates and drizzle with the sesame dressing. Store any extra stems and dressing separately in the refrigerator for up to five days.

Apple Core Syrup

Apple Core Syrup

Apple Core Syrup


Cores from 5 to 7 apples, no need to remove the seeds (peels if you have them)

1 C. granulated sugar

1/2 C. lightly packed light or dark brown sugar


To make the syrup: Place the cores (and peels, if using), the granulated sugar, and the brown sugar in a medium-size saucepan with 1 C. water. Bring the mixture to a boil over medium-high heat, then reduce the heat, and allow the mixture to simmer, stirring occasionally, until the cores are softened and the syrup smells fragrant, 20 to 30 minutes.  Strain out the cores and return the syrup to the pan to keep it warm with the residual heat until you’re ready to eat. If you’d like it to be thicker, bring it back up to a boil, then reduce the heat, and allow the mixture to simmer until it is reduced and thickened to your liking.

Pineapple Peel and Core Lemonade with Mint

Pineapple Peel and Core Lemonade with Mint

Pineapple Peel and Core Lemonade with Mint


Peel and core from 1 pineapple

3 generously sized mint sprigs

1 C. freshly squeezed lemon juice

1 C. simple syrup


Place the pineapple core and pieces of peel in a medium size pot with 4 C. of water.  Bring to a boil over medium-high heat.  Lower the heat and simmer, covered, for 25 minutes. Remove the pot from the heat, add the mint sprigs, and let the mixture steep, covered, for 25 minutes. Strain the mixture into a pitcher or serving vessel and discard the pineapple core, peel, and mint sprigs. Add the lemon juice to the pineapple-infused water, stir, and slowly start adding simple syrup, tasting as you go, until the lemonade is sweetened to your liking. Refrigerate until chilled. This lemonade is at its best the day it is made, but can be kept for a few days in the refrigerator. Stir before serving. Any remaining simple syrup can be stored in an airtight container in the fridge for a couple of weeks.

Apple Peel Tea

Apple Peel Tea

Apple Peel Tea


The peels and cores of 5 apples

4 C. water

2 1/2 T. brown sugar

2 whole cloves

1 cinnamon stick


Place the apple peels and cores, water, and brown sugar in a medium saucepan. Bring to a full boil, then reduce to a simmer/low boil and add the cloves. Let simmer for one hour. After one hour, turn off the heat, add the cinnamon stick, and let sit for 45 minutes to an hour. You can also taste for sweetness when you add the cinnamon stick, adding more brown sugar if you like a sweeter tea. Pour the tea through a fine strainer, and discard the strained apple mush. The liquid can be stored in a container in the fridge (I generally use a mason jar), and leftovers can be drunk cold, or reheated on the stove or in a microwave.

Parmesan Broth

Parmesan Broth

Parmesan Broth


1 halved head of garlic

1 quartered onion

olive oil, enough to sauté garlic and onion

1 handful of thyme

Sprigs of parsley or celery leaves

1 bay leaf

1 shake of black peppercorns

1 C. of dry white wine

1 pound Parmesan rinds

8 C. of water


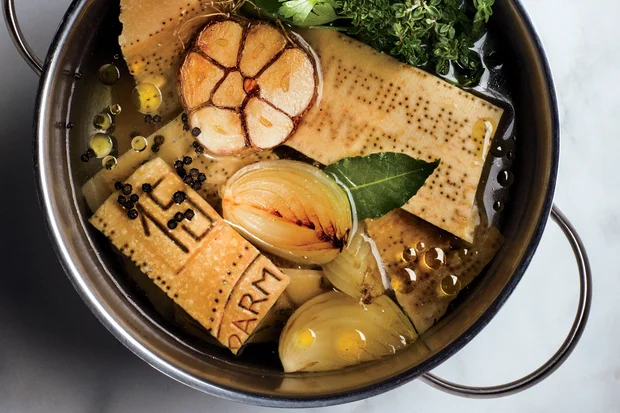
I start by sautéing a halved head of garlic and a quartered onion in some olive oil, along with a handful of thyme, a few sprigs of parsley, a bay leaf, and a shake of black peppercorns. Once the garlic is browned, I add a C. of dry white wine and simmer, scraping the pot to get the brown bits loosened up, until reduced by half. In goes 1 pound Parmesan rinds and 8 C. of water. The whole thing simmers until it tastes robust and has reduced by half, about 2 hours. (stir every now and then—the rinds will stick to the bottom of the pot if you let them.) I strain, and then use the broth in vegetable soups, instant-supper pastas, and beans in need of a boost. Then I start hoarding all over again.