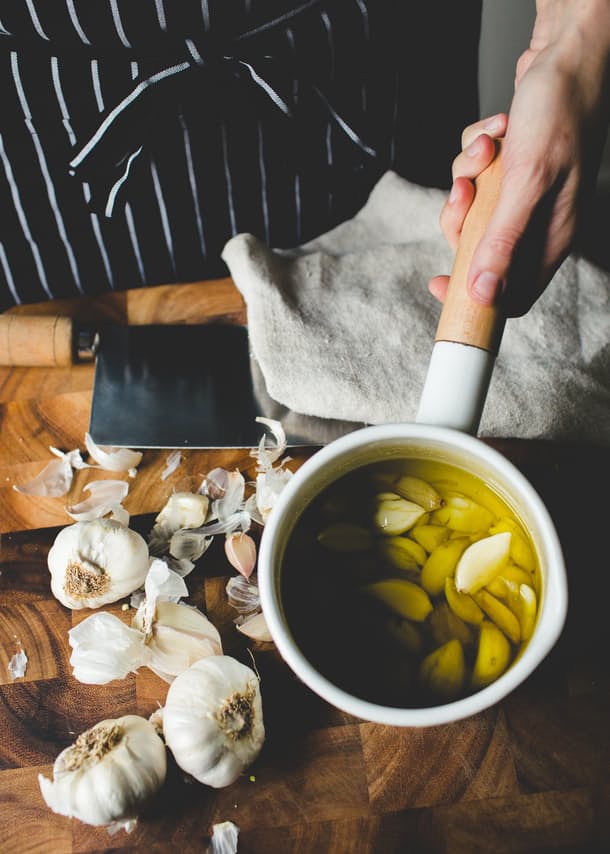
 Peel the cloves from 2 heads (or more) of garlic. Place the cloves in a small saucepan and pour in enough olive oil to cover them, 1/2 to 3/4 C. for 2 heads. Over medium heat bring the oil to just a hint of a simmer, then reduce the heat to as low as it can go. You want to poach the garlic, not simmer it. Cook for about 45 minutes, until the garlic is soft and tender, but not falling apart. Transfer the garlic with a slotted spoon to a clean jar and pour the oil in to cover the cloves.
Cool the mixture to room temperature. Cover the jar tightly and keep refrigerated for several weeks, or freeze for several months. (Keep the cloves covered in oil and be careful about using a clean spoon to dip into the jar). As a variation, add rosemary and/or thyme to the saucepan along with the garlic to cook.
10 Ways To Use Garlic Confit
1.Whip a few cloves and some of the infused oil with vinegar to make a vinaigrette. Toss it with delicate greens.
2.Smash some of the cloves and whisk them with some of the infused oil. Toss the thick garlicky oil with steamed vegetables. (Excellent with asparagus, green beans, snow and snap peas, broccoli, and cauliflower.)
3.Toss roasted or grilled vegetables with a spoonful of the tender garlic.
4.Spread the tender cloves over toasted bread or cheese-smeared crostini. (Goat cheese is a great option.) For a composed hors d’oeuvre, garnish the garlic toasts with chives or any fresh herbs.
5.Layer garlic confit into a sandwich or pizza.
6.Toss garlic confit into a vegetable pasta. (Just pick a vegetable and pair it with garlic confit and pasta. For an easy option, try fresh tomatoes and basil.)
7.Whip the tender cloves into any vegetable puree for sweet garlic flavor. (Try garlic confit with a potato, celery root, cauliflower, winter squash, or sunchoke puree.) A whipped chickpea or cannellini bean puree will also benefit from a spoonful of garlic confit.
8.Make a vegetable and garlic confit salad. Slice the cloves in half and toss them into a tomato, basil, and toasted bread salad. Use some of the oil to sauté corn-off-the-cob just briefly. Toss the corn with sliced or smashed cloves, fresh basil, and feta. (Add zucchini and/or tomatoes to the corn salad if you wish.)
9.Add garlic confit to sauces and soups.
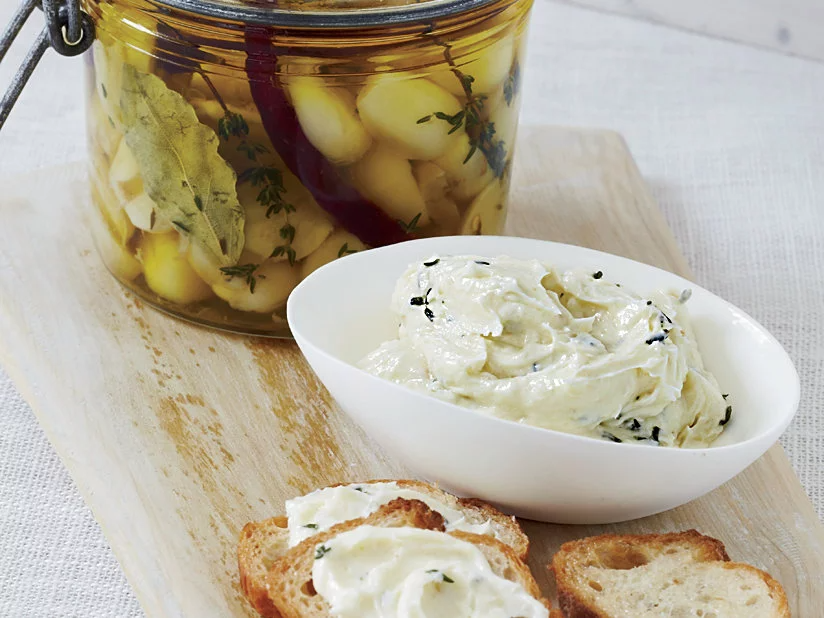
10.Use the back of a fork to break down cloves into a paste. Stir the garlic paste into plain Greek yogurt or ricotta to make a creamy garlic dip or condiment. If you wish, add summer herbs to the mixture or drizzle the top with a good olive oil or chili oil.
A Warning About Botulism: Garlic is an extremely low-acid vegetable. When it is stored improperly in oil (without oxygen) and in warm temperatures (at room temperature), it can produce a very serious toxin that causes the illness botulism. Botulism can be fatal if not treated immediately. It is very important to refrigerate garlic confit, as per the Center for Disease Control. Use a clean jar with a tight seal to store garlic confit; cool the garlic and oil as quickly as possible, and refrigerate it immediately. If you store the preserved garlic properly, it should keep for several months, however, to be completely safe, I recommend only storing it for up to three weeks. If you’re worried, you can also safely freeze garlic confit for several months.
6 heads of garlic, cloves peeled (2 cups)
6 thyme sprigs
3 small bay leaves
3 dried red chiles, such as chiles de arbol
2 cups pure olive oil
Combine all of the ingredients in a medium saucepan and simmer over low heat until the garlic is tender but not browned, about 30 minutes. Let cool. Using a slotted spoon, transfer the garlic, herbs and chiles to three 1/2-pint canning jars. Pour the cooking oil on top, seal and refrigerate for up to 4 months.
 ¼ C. Canola Oil
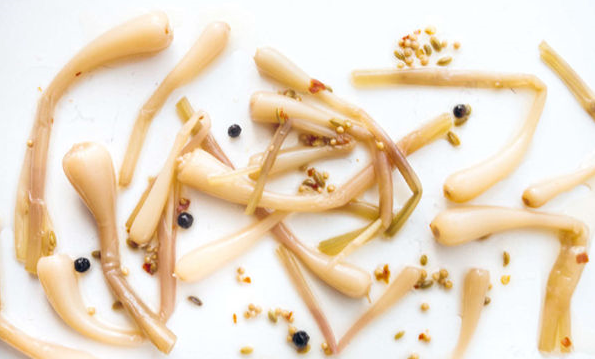
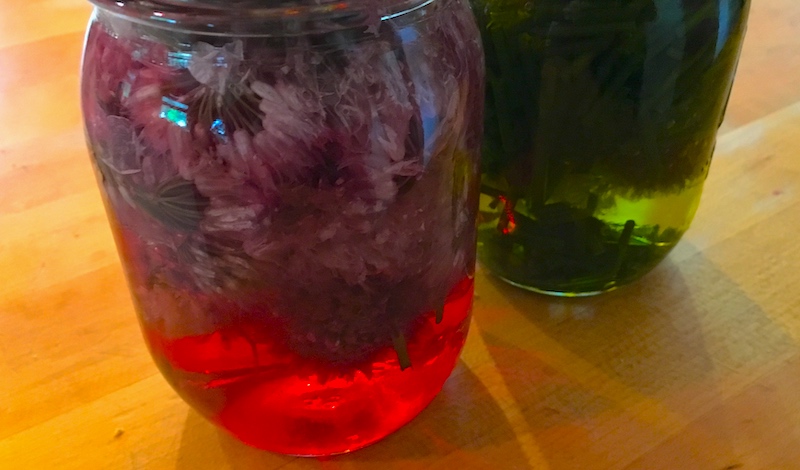 Chive Oil & Chive Blossom Vinegar
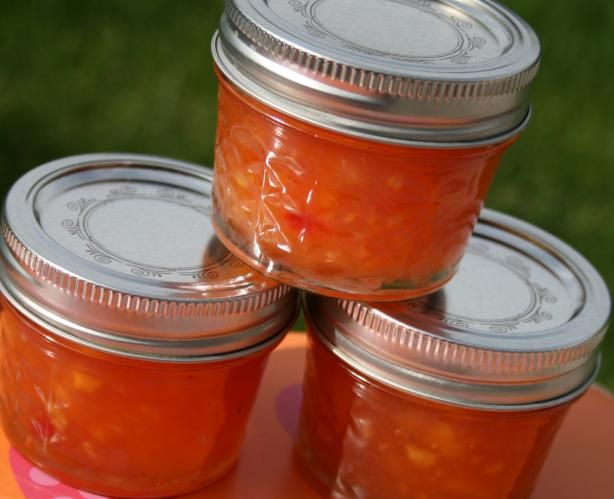
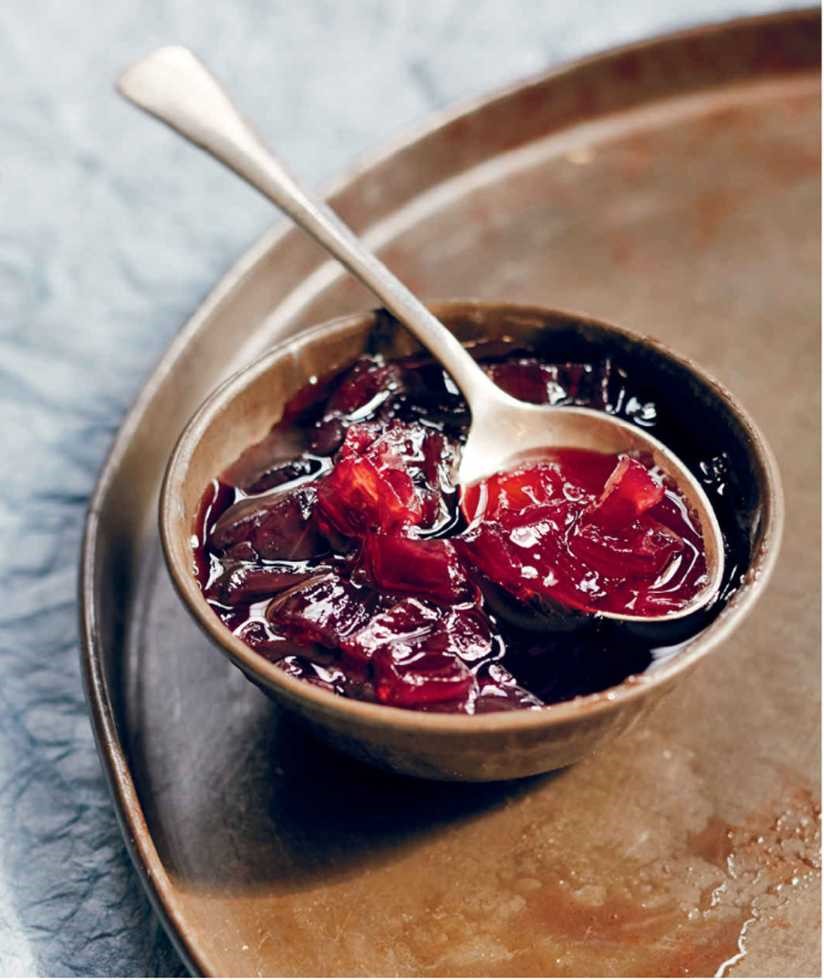
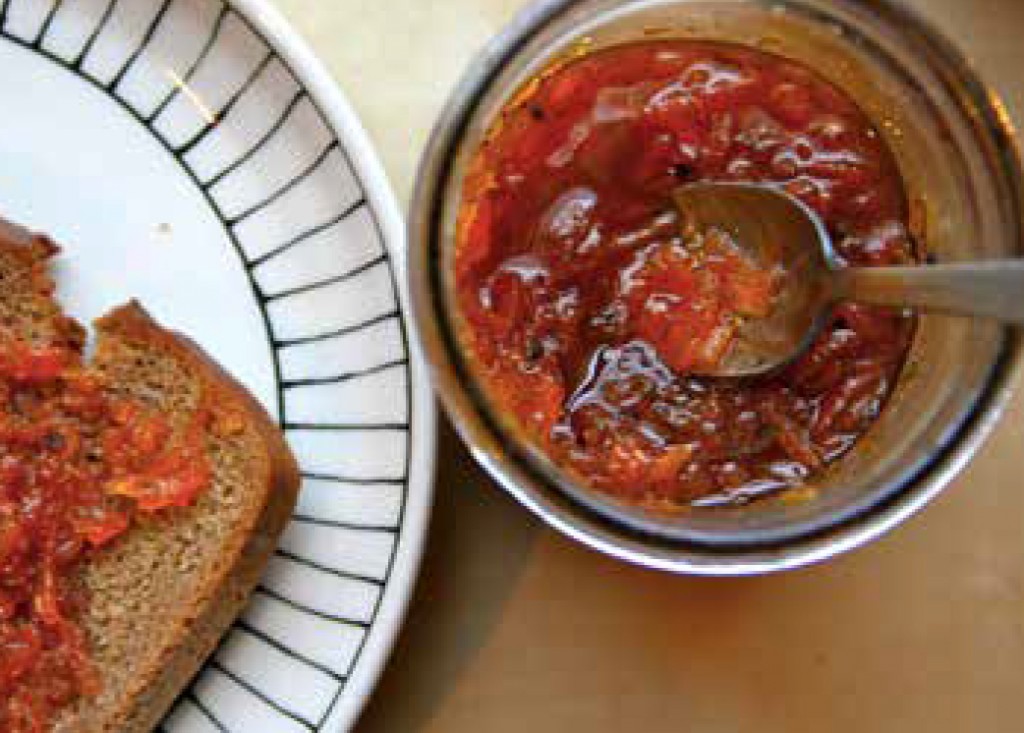
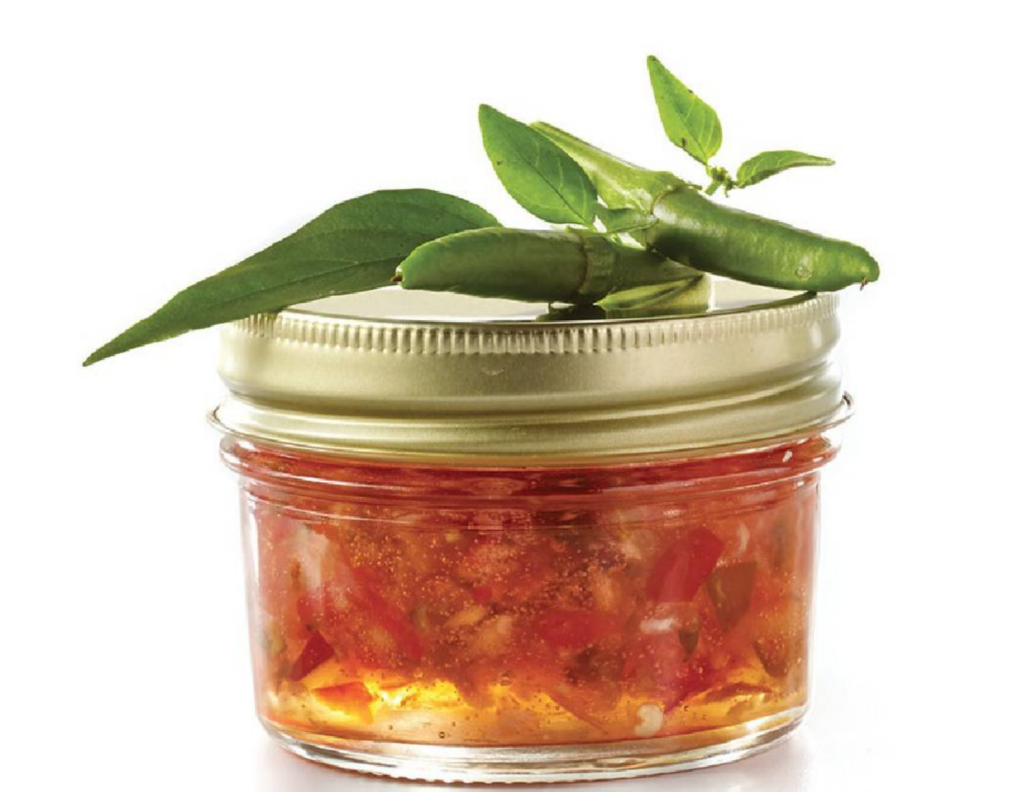 Rhubarb Hot Pepper Jelly
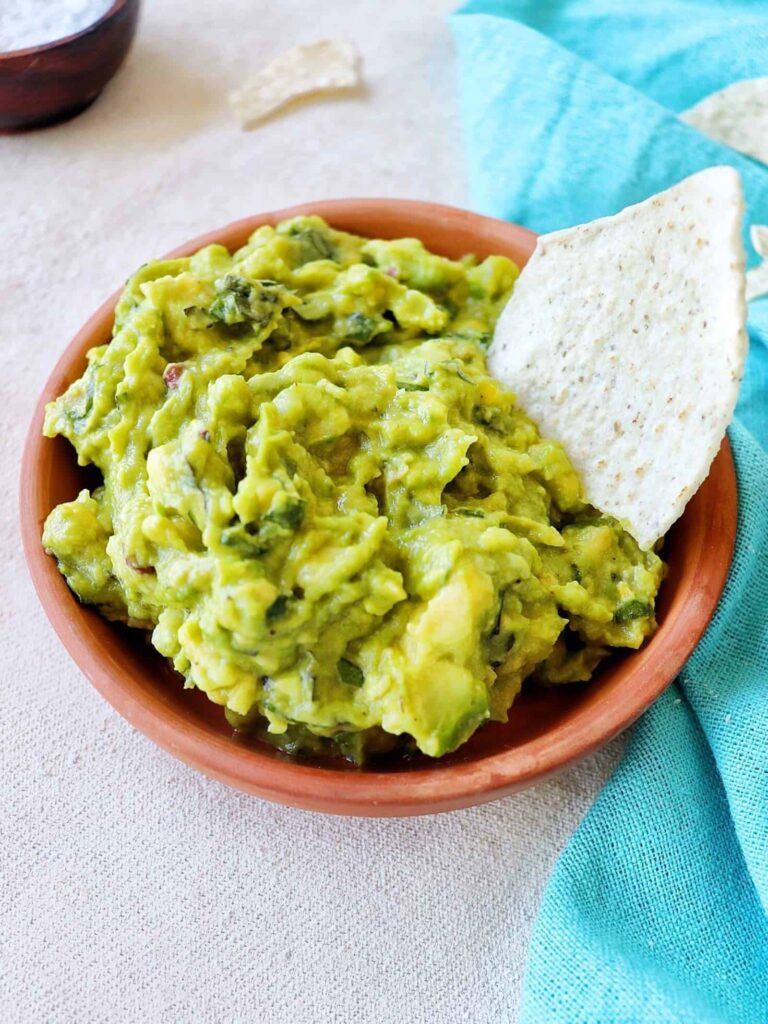 Guacamole with Preserved Lemon