Lasagna Soup with Garlic Knots
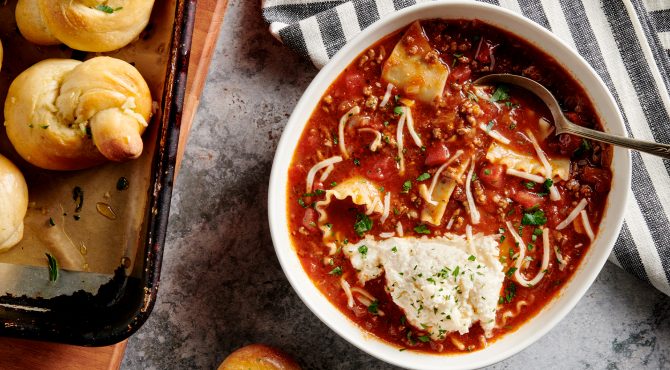
Lasagna Soup with Garlic Knots
1 teaspoon extra virgin
olive oil
1 pound ground beef
8 ounces ground Italian sausage
5 garlic cloves, chopped
1 small white onion, chopped
1 tablespoon dried basil
1 tablespoon dried oregano
1 teaspoon dried marjoram
2 (14.5-ounce) cans Italian-style diced tomatoes
3 tablespoons tomato paste
1 quart beef broth
8 lasagna noodles, broken into small pieces
8 ounces ricotta cheese
4 ounces Parmesan cheese, grated, plus more for serving
4 ounces mozzarella cheese, shredded
Salt and ground black pepper to taste
Chopped fresh parsley, for garnish
For the Garlic Knots:
2 teaspoons instant yeast
½ teaspoon sugar
1 cup warm water (105–110°F)
2½ cups all-purpose flour
1 teaspoon iodized salt
8 tablespoons (1 stick) unsalted butter, melted
4–6 garlic cloves, minced
1 bunch parsley, roughly chopped
Grated Parmesan cheese, for sprinkling
Set the Instant Pot to sauté and heat the olive oil. Add the beef and sausage and cook, stirring often, until browned, 8–10 minutes. Add the garlic and onion and cook until the onion is translucent, 3–4 minutes. Add the basil, oregano, marjoram, tomatoes with their juices, tomato paste, beef broth, and noodles and stir well. Press “cancel,” close the lid, and set to sealing. Cook at high pressure for 20 minutes, then press “cancel” and release the pressure. In a medium bowl, combine the ricotta, Parmesan, and mozzarella and stir until blended. Open the Instant Pot and stir the soup. Give it a taste and season with salt and pepper as desired. Ladle the soup into serving bowls, top with a dollop of the ricotta mixture, and sprinkle with parsley and more Parmesan if desired. For the Garlic Knots: Put the yeast, sugar, and warm water in the bowl of an electric mixer and give it a quick whisk. Set the bowl aside and allow the yeast to bloom, 1–2 minutes. Add the flour and the salt. Using the dough hook, knead the dough for 5 minutes at medium-low speed. If the dough does not form a ball or pull away from the sides of the bowl, add more flour, 1 tablespoon at a time, until a ball is formed. Lift the dough out of the bowl briefly to oil the mixing bowl with olive oil, then return the dough to the bowl. Cover the bowl with a clean, damp towel and set aside to allow the dough to rise to about 1½ times its original size, 50–60 minutes. Preheat the oven to 400 degrees F. Lightly grease a rimmed baking sheet Place the dough on a lightly floured work surface. Cut the dough into 16 pieces of equal size and roll each piece into a long rope. Form each rope into a knot by making an upside-down U, crossing the “legs,” pulling one leg through the opening, and then tucking both underneath. Place the knots on the prepared baking sheet. In a small bowl, stir together the melted butter, garlic, and parsley. Brush each knot with the garlic butter. Bake for 20 minutes. When done baking and still warm, brush with any excess garlic butter and sprinkle with Parmesan.
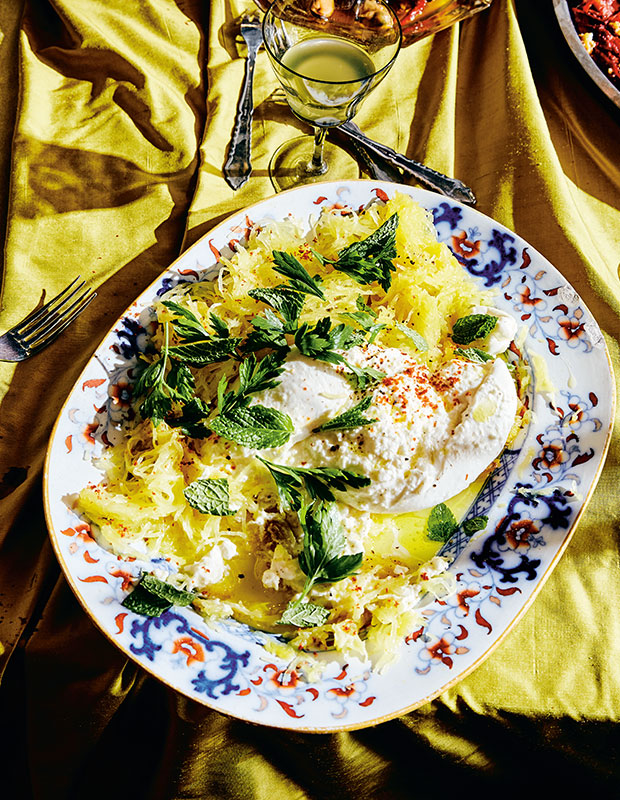 Lemony Spaghetti Squash with Burrata
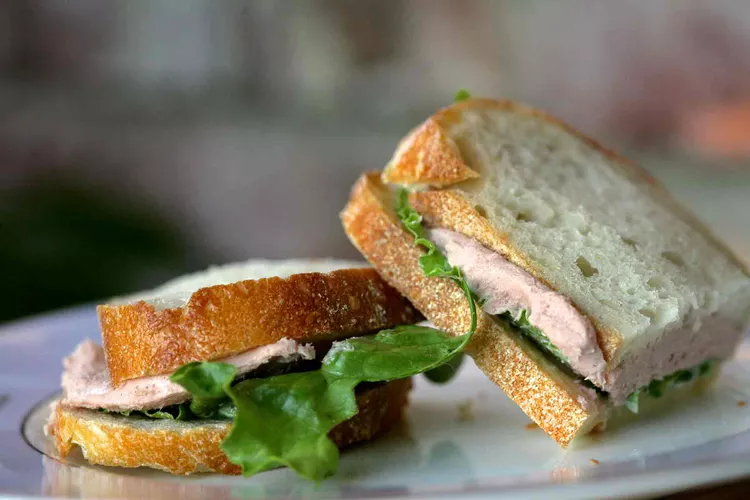 Liverwurst Sandwich Spread
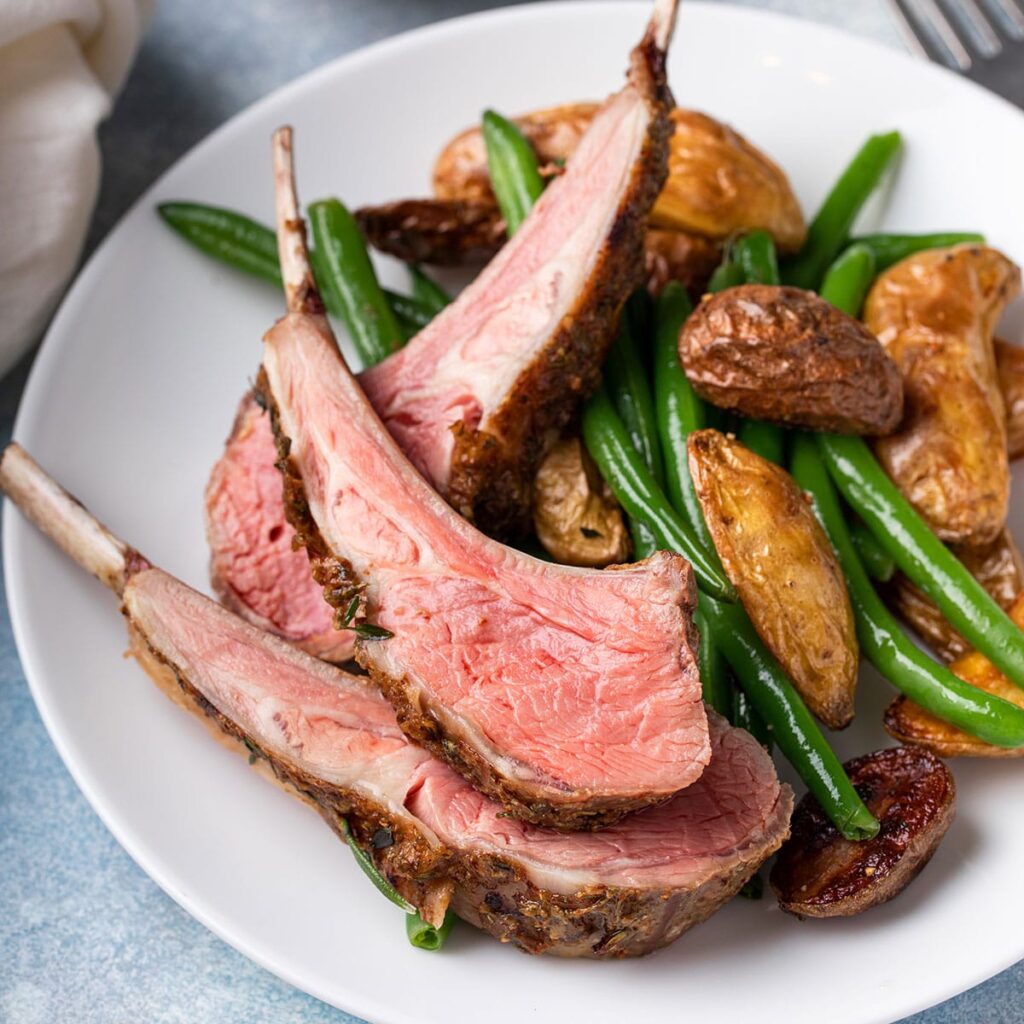 Peruvian Spice Marinated Oregon Lamb Chops
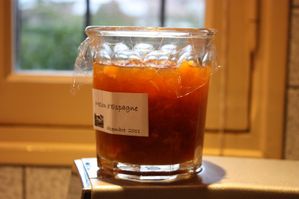 Citron Melon Jam with Orange and Star Anise
 1 stalk green garlic, tender green and tops only, chopped (reserve white parts)
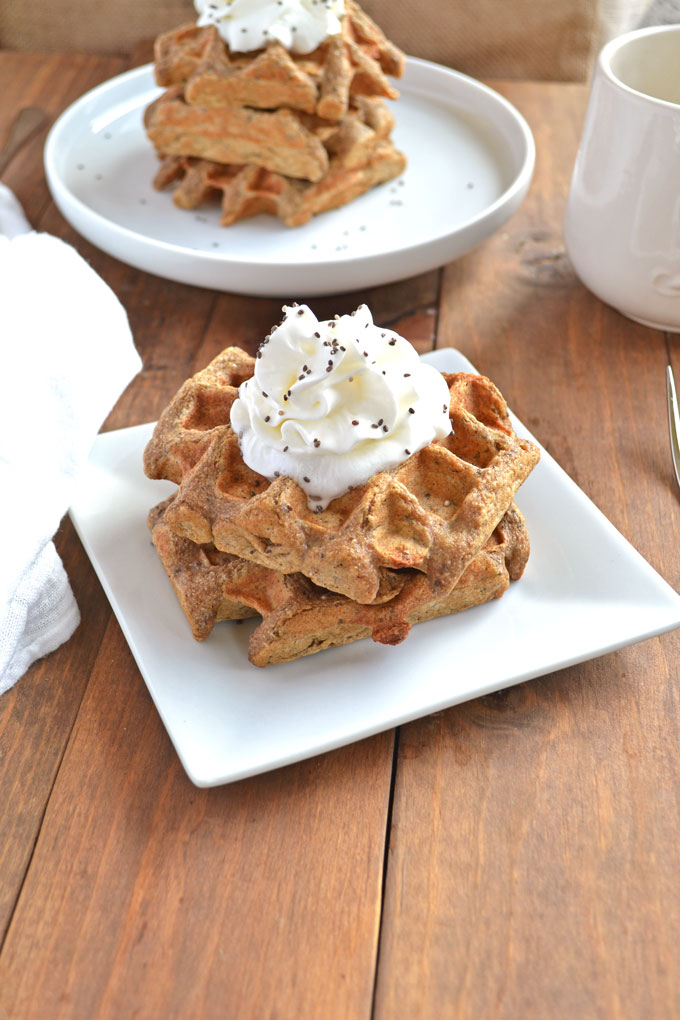 Gingerbread Chia Seed Waffles
 Coconut-Strawberry Fizz
 Dragon Fruit Margarita
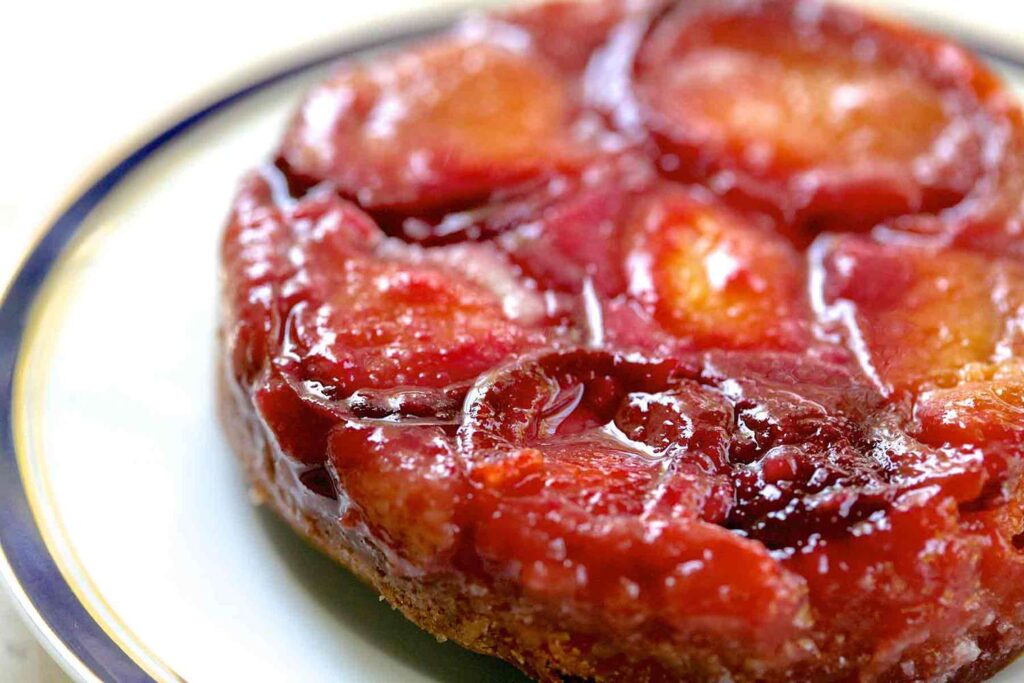 Plum Spice Cake
 Short-cut Bacon Cheddar Rolls


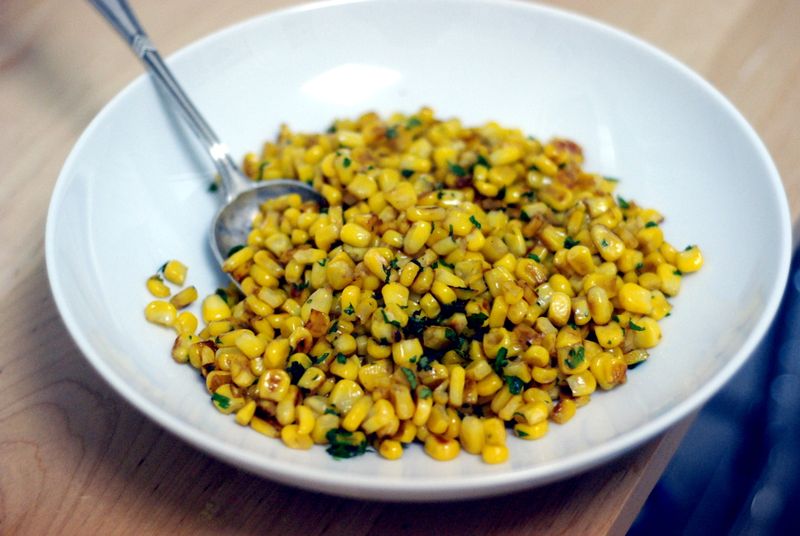 Caramelized Corn with Fresh Mint
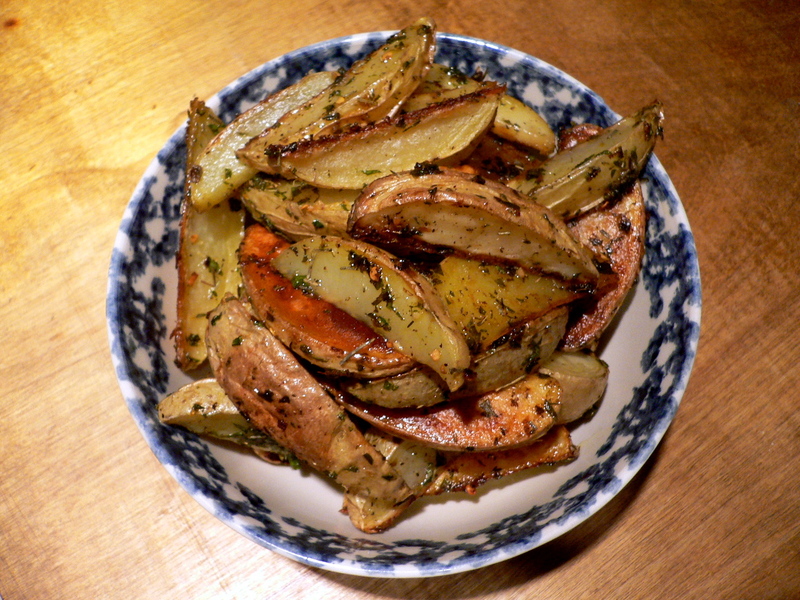 Gremolata Potatoes
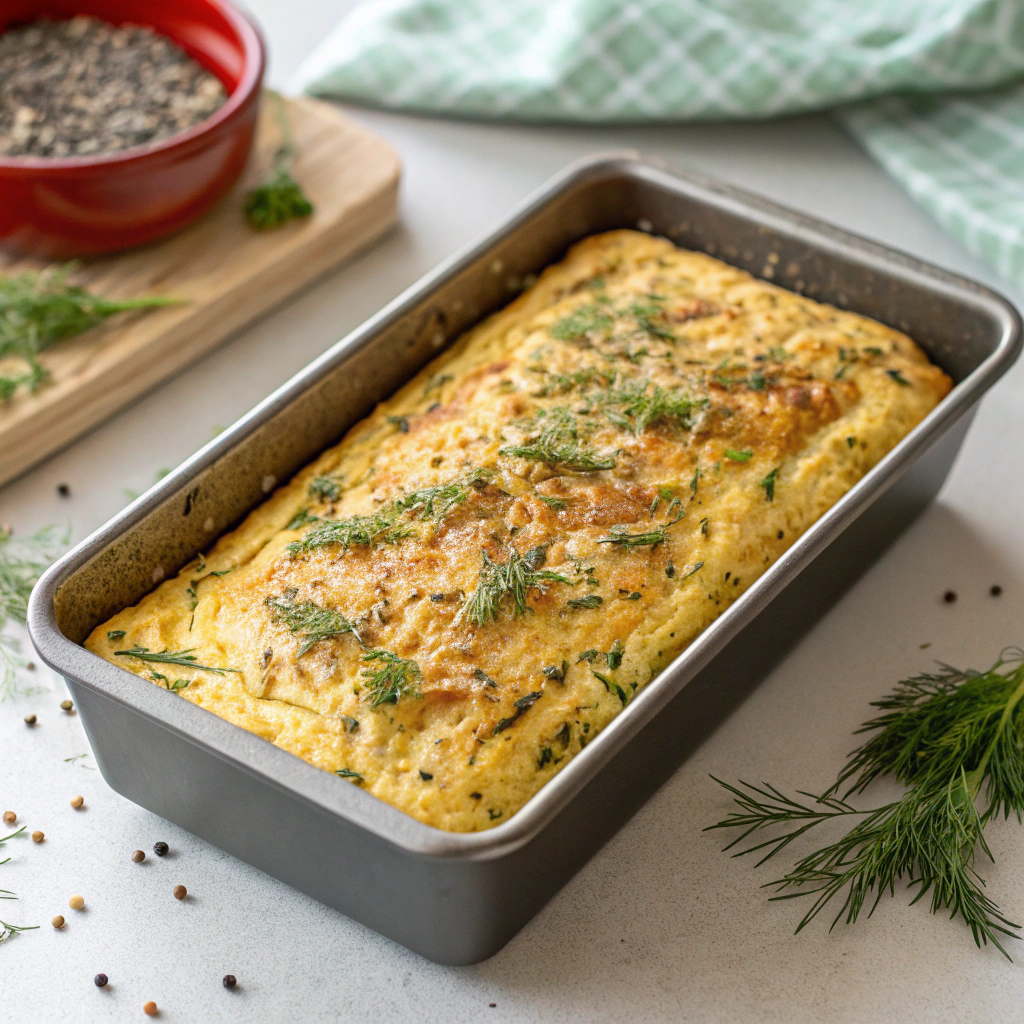 Dill, Sweet Onion and Everything Seasoning Baked Omelet
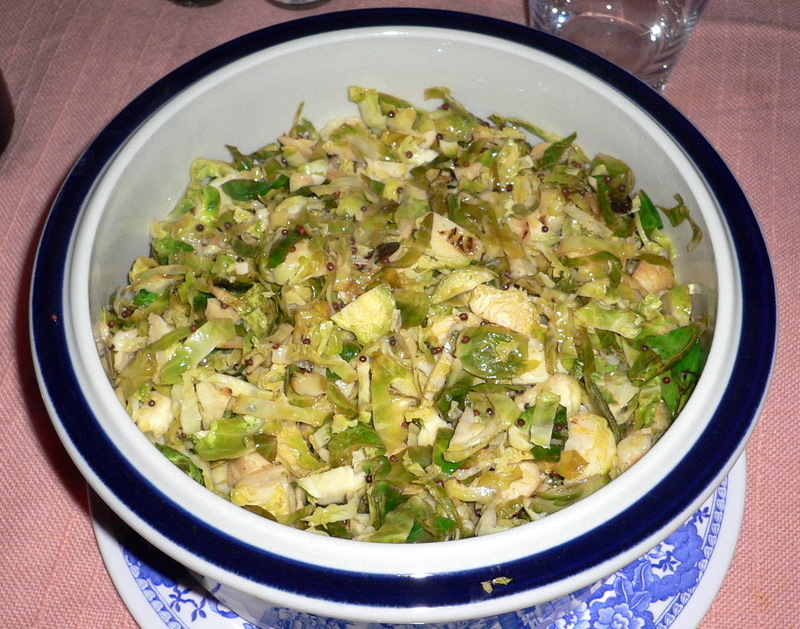 Hashed Brussels Sprouts with Lemon Zest
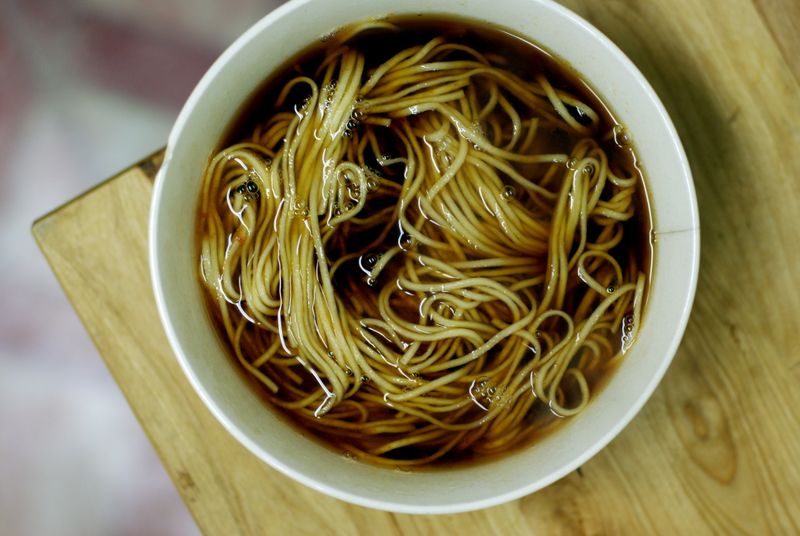 Egg Noodles with Soy Broth
 Forest Witch Tea
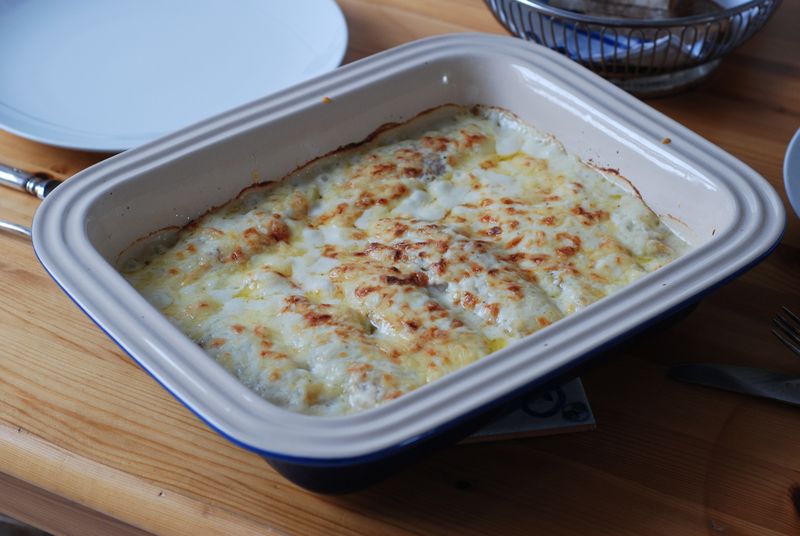 Baked Endives with Ham
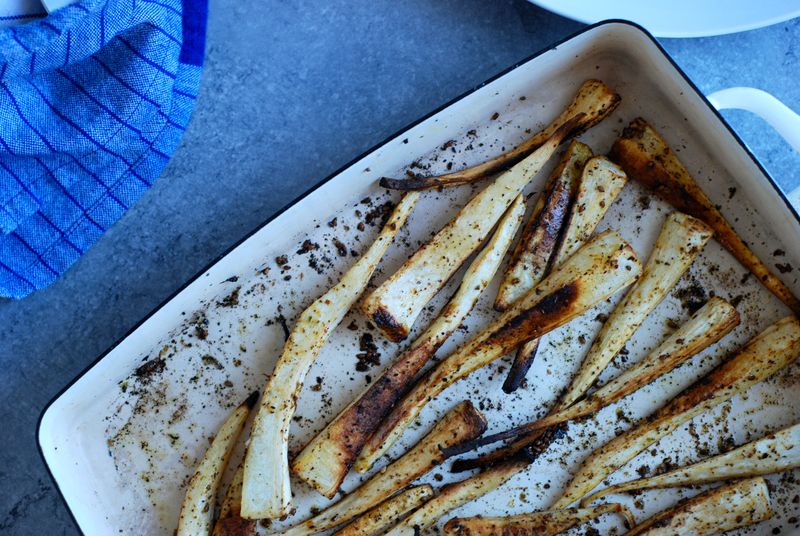 Mindy Fox’s Roasted Parsnips with Za’atar and Aleppo Pepper
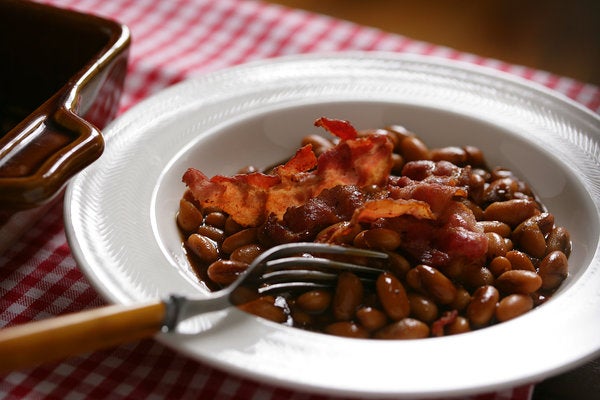 Fake Baked Beans with Crispy Bacon
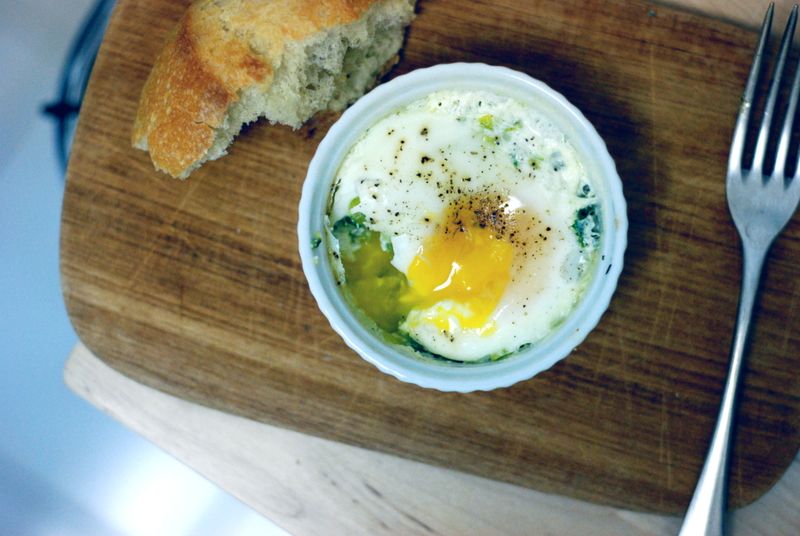 Egg Baked in Cream
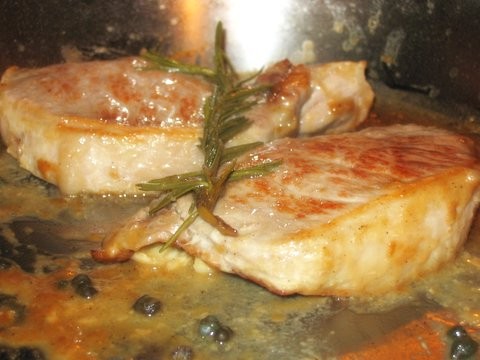 Elizabeth David’s Cotelettes de Porc au Cidre
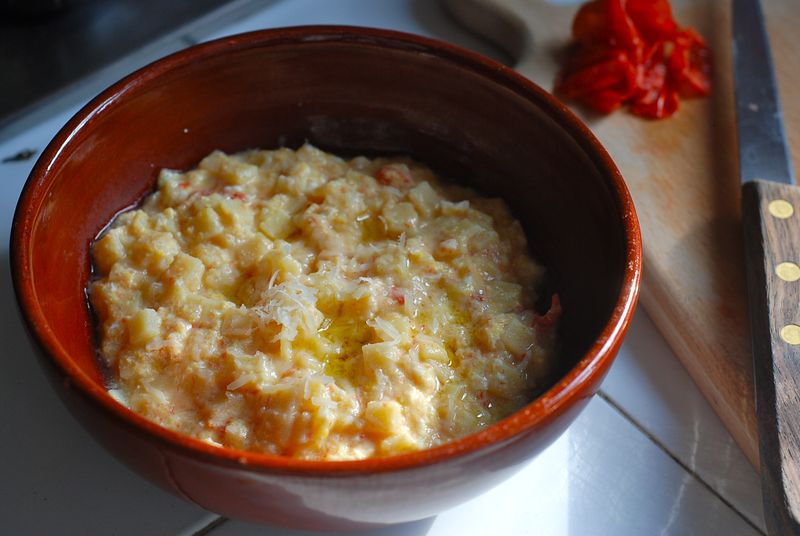 Pastina for Toddler
 Cardamom Pistachio Cookies
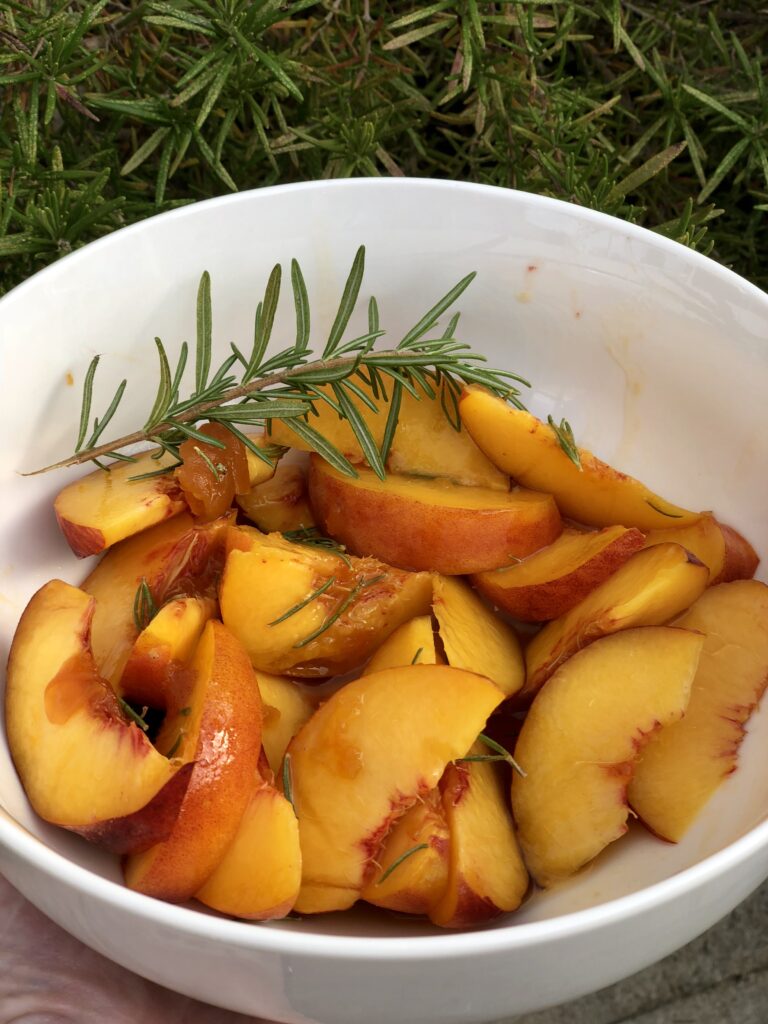 Peach Rosemary Glaze
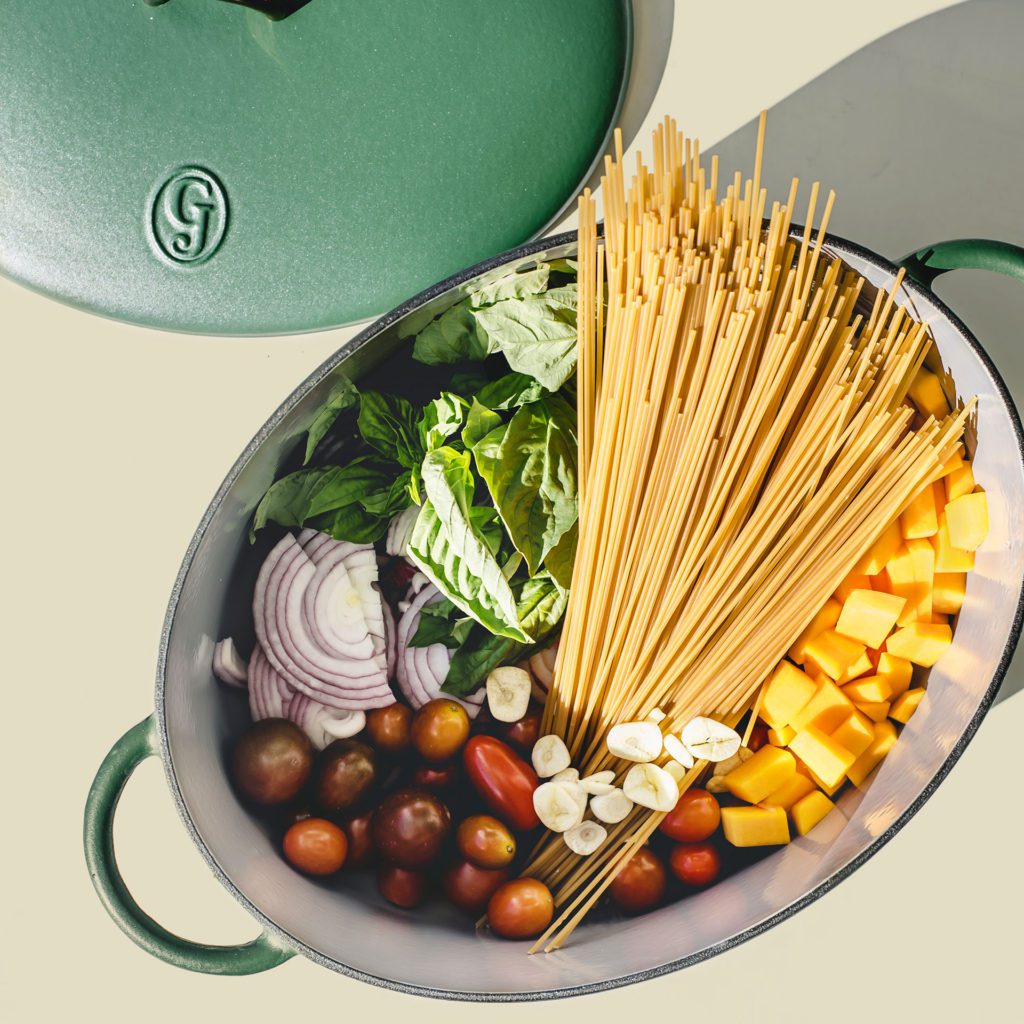 One Pot Pantry Pasta
 Pumpkin Whipped Cream
 Apple Bacon Cobbler
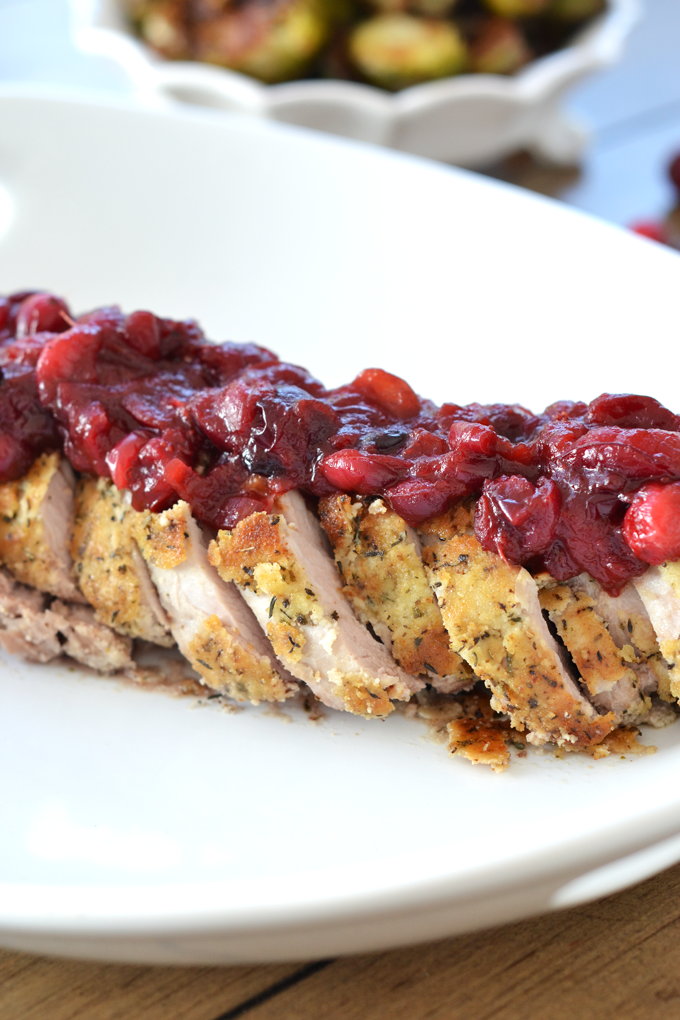 Herb Crusted Pork Tenderloin w Cranberry Chutney
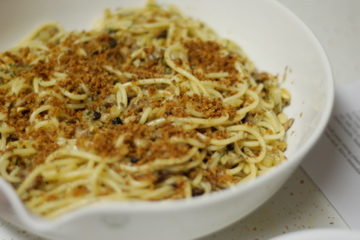 Pasta con le Sarde
 Rice Noodles with Chicken