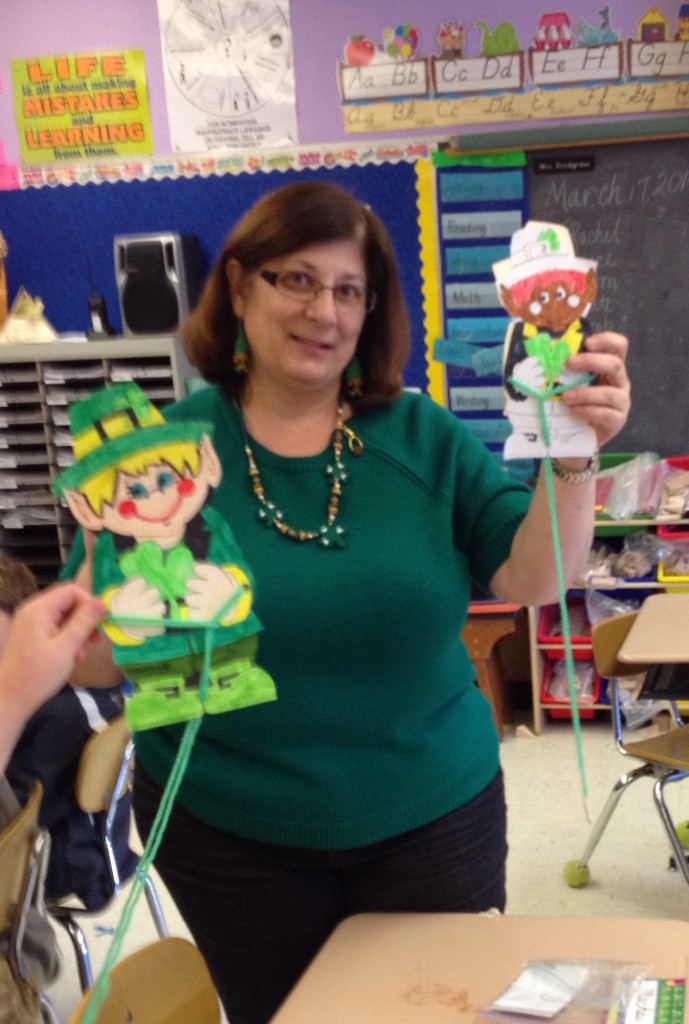
Mrs. Snodgrass, my sons third grade teacher, is amazing. She’s a wonderful person, as well as an inspiring teacher. Although my son is now in 4th grade, I still volunteer in her classroom every week. I am devastated that she retires this year and Laurel will never have the chance to experience Mrs. Snodgrass’ classroom. Â I could go on for paragraphs about her, but ATM I am posting from my phone and will refrain as typing is a pain 😉
This is a St. Patricks day activity she does with her 3rd graders.
You’ll need:
A leprechaun template, ours is about 8-9″ tall and 4-5″ wide
Thin cardboard
Hole Punch
Glue stick
Scissors
Long piece of yarn, ours is about 4-5′ long
3″ piece masking tape
A penny
Crayons, Markers or colored pencils to decorate your leprechaun
Have your child color the leprechaun as desired. Glue to a thin piece if cardboard or stuff paper such as a file folder or heavy card stock. Cut away excess cardboard. (You could print the leprechaun directly onto the heavy cardstock if desired).
Punch a hole on each side of the leprechaun, about midway, making sure the holes are directly across from each other. Punch a third hole at the bottom of the leprechaun, in the center.
Now fold your string in half; one side is the “looped” end, the other is the “strings” end.
Push the looped end through one side hole from the decorated side to the back side.
Pass it across the back of the leprechaun and push it up through the other side hole.
Thread the strings side through the looped end.
Pass the strings end through the bottom hole.
Tape the penny to the strings end, securing both ends to the penny so the string is now basically a complete loop with the penny attached.
The challenge to your child — can you find the leprechauns trick and remove the string from the leprechaun, keeping both string and leprechaun intact? No scissors, tearing, or removing the penny!


1 Comment(s)