Leaf Project

How The Leaves Came Down


I’ll tell you how the leaves came down.

The great Tree to his children said:

“You’re getting sleepy, Yellow and Brown,

Yes, very sleepy, little Red.

It is quite time to go to bed.”


Print poem on large paper, decorate with gathered leaves.

Tags:

  • Digg
  • Del.icio.us
  • StumbleUpon
  • Reddit
  • Twitter
  • RSS
read comments

Leaf Art

6a010535d5b9f8970c0120a5fd056f970c

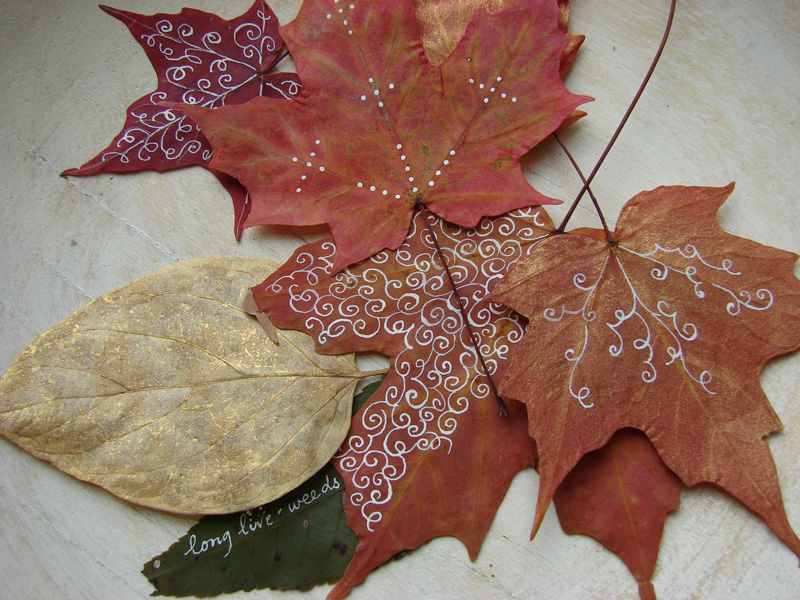
For older children, allow them to use metallic paint pens.  Leaves can be framed…or photographed and framed as a gift. 

For a younger children, allow them to paint on them with a corn syrup and glitter mixture.  The leaves will dry shiny and glittery.

Tags:

  • Digg
  • Del.icio.us
  • StumbleUpon
  • Reddit
  • Twitter
  • RSS
read comments

Fall Leaf Coasters

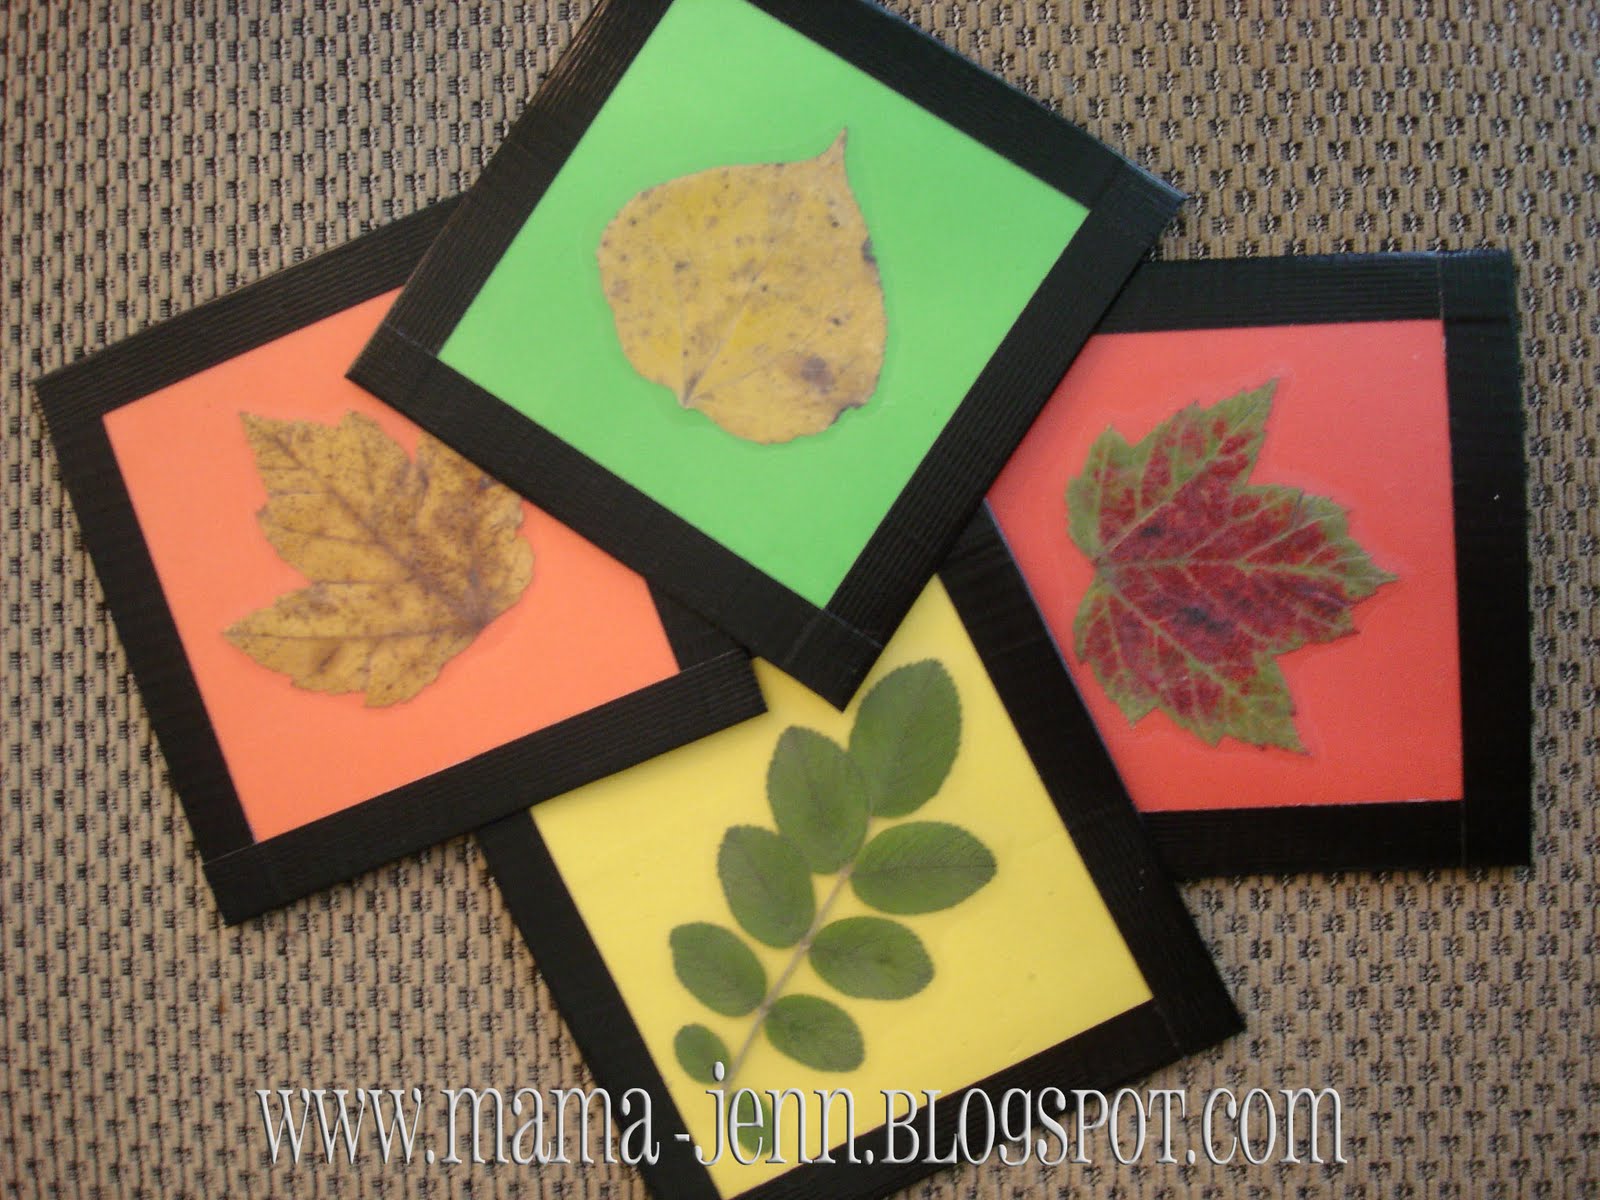
First we gathered leaves from around the neighborhood. We used paper towels and heavy books to flatten them. After a few days we got ready to make our coasters. In addition to the leaves, we used foam (from the Dollar Tree), clear contact paper, and black duct tape.

leaf_coasters

How to Make Them: Cut the foam into 4.5 inch squares. Place the flattened leaf on the foam and cover it with the contact paper. Trim away the excess contact paper so that it is the same size as the foam square. Use the duct tape to wrap around the edges and trim off the excess. It is THAT simple!


Tags:

  • Digg
  • Del.icio.us
  • StumbleUpon
  • Reddit
  • Twitter
  • RSS
read comments

Paper Bag Scarecrow

Brown paper bag (lunch size)
Construction paper
Coffee filter
Tape or glue
Marker
Scissors
Old newspaper or magazines

Fill your paper bag with crumpled up old newpaper or magazines. Fold over an tape shut. From construction paper cut out thin strips of yellow (or any fall color) for your Scarecrow’s hair, and don’t forget to cut out some eyes and a nose. If you want to jazz up your Scarecrow’s hat, cut out a flower to paste on top!  Tape or glue the stips of paper around the top of your bag. Once you are finished secure your Scarecrow’s eyes and nose and draw on a mouth. Glue on your coffee filter hat and put on your flower! If you have some fall colored yarn around the house it would make good scarecrow hair as well!

Tags:

  • Digg
  • Del.icio.us
  • StumbleUpon
  • Reddit
  • Twitter
  • RSS
read comments

Caterpillar Numbers


Print out caterpillars with differing numbers of circles in the body; if desired, write the number of the circles on each card.  Provide circle stickers (such as the kind sold in the office supply section for garage sale stickers) to be placed in each circle.  Encourage counting, work on number recognition.

Tags:

  • Digg
  • Del.icio.us
  • StumbleUpon
  • Reddit
  • Twitter
  • RSS
read comments

Coiled Paper Basket

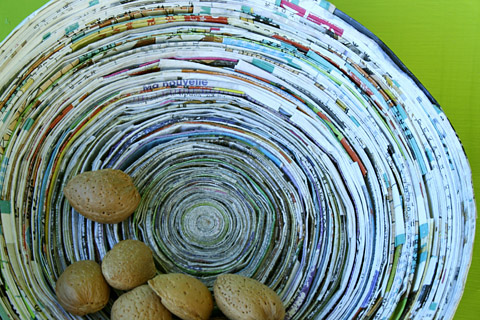
Magazines can be recycled into coiled paper baskets that are reminiscent of wood’s concentric rings or turned wood. Using a magazine and 1 pint of rice glue, you can make a fruit bowl, a pencil holder or a basket for trinkets.


To make a fruit bowl, you will need a magazine with medium-thick paper. Cut vertical strips about 1 inch wide. Make 1 pint of rice glue or use white glue slightly thinned with water.


With a paintbrush, coat one strip of paper with glue. To make strips thicker, glue a second strip over the first one. Apply another coat of glue and fold the strip into thirds. Add a final coat of glue and roll into a coil. This “core” will form the center of your bowl.


Repeat the process with additional strips of paper, wrapping them successively around the initial core. The circle will gradually get bigger. Once you have formed a coiled paper base, line a salad bowl or other object with parchment paper (to avoid sticking). Place your coiled base on the bowl, and continue gluing strips to make the sides of your basket. If necessary, pull the strips taut before they dry. Set to dry on a radiator or in the sun.


You can vary the shape of your baskets by coiling the first strip of paper around a rectangular or oval piece of cardboard. To make a pencil holder, “stack” the strips around a base to form a closed cylinder.

Tags:

  • Digg
  • Del.icio.us
  • StumbleUpon
  • Reddit
  • Twitter
  • RSS
read comments

National Aviation Day


Orville-Wright-Seated-in-Airplane


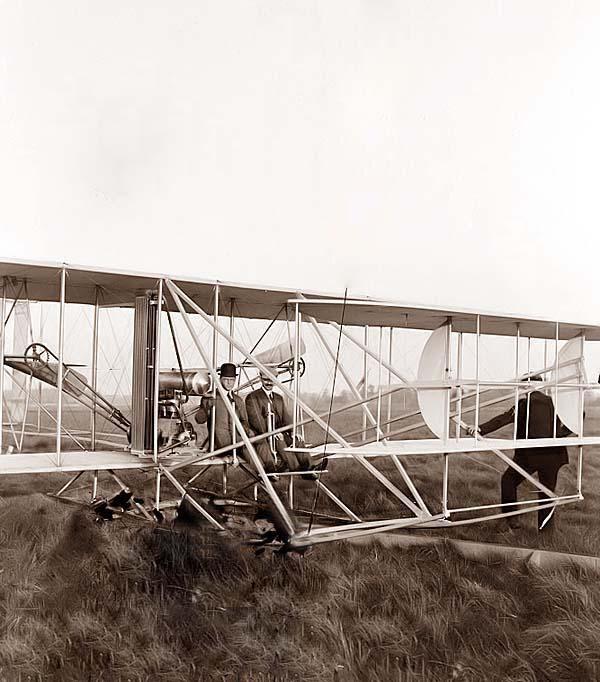
National Aviation Day is in honor of the birthday of aviator Orville Wright. This special day was created by a presidential proclamation by U.S. President Franklin D. Roosevelt in 1939. This day was selected, as it is Orville Wright’s birthday. (August 19, 1871)


The Wright brothers, Orville and Wilbur, were pioneer aviators in the United States.  Orville was the first person to successfully fly an airplane. His first flight was December 17, 1903 at Kitty Hawk, North Carolina. This inaugural flight was soon to change the skies forever.


Draw a picture of what it might look like to be looking out an airplane window.

Make a collage using magazine pictures relating to airplanes.

Make your own paper airplanes!

Try one or more of these aviation related crafts.


Other Things To Do:


Ask if anyone has ever been on an airplane and have them explain it. If they haven’t been on one, have them tell what they think it might be like.

Name some things that can fly.

Go to an airport.

Make a dramatic play area to look like the inside of an airplane.

Take a walk and count any airplanes that fly overhead.

Learn more about aviation.

Tags:

  • Digg
  • Del.icio.us
  • StumbleUpon
  • Reddit
  • Twitter
  • RSS
read comments

Rice Glue

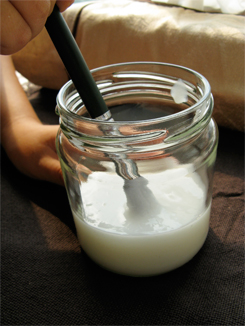
In Asia, rice glue is a well-known product. This extremely resistant adhesive can be used to glue all types of paper. It is used in traditional bookbinding and luxury cardboard products: papers bonded with rice glue are considered tear-proof. Though white when moist, rice glue becomes transparent as it dries.


In 1/3 liter (1 1/3 cups) of water, cook 7 oz of rice or rice flour (Rice flour can be found in Asian food stores. Powdered laundry starch can also be used) over low heat. You can also use leftover rice that has already been cooked. When the rice is overcooked, the starch it naturally contains will dilute in the water. The liquid thickens and whitens. Add a little water if necessary and reheat the mix.


Filter the glue and let it cool. You can save the overcooked rice to make more glue at a later date. Store the glue in a cool environment in a well-sealed container, such as a jelly jar, and it will last one week or longer. Shake before using. You can protect collages or drawings with a coat of this glue.

Tags:

  • Digg
  • Del.icio.us
  • StumbleUpon
  • Reddit
  • Twitter
  • RSS
read comments
 Page 16 of 103  « First  ... « 14  15  16  17  18 » ...  Last »