Crayon Rubbings
Â
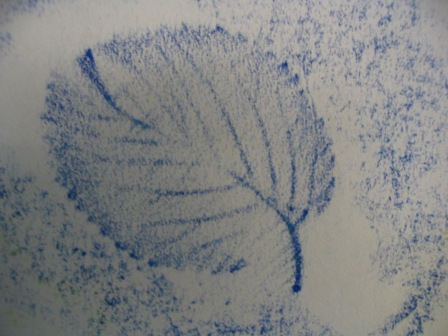
1. Give your child a piece of paper and a crayon. Show him how to lay the paper over something rough (like a large rock) and hold it in place.
2. Now take the paper wrapping off the crayon, and let your child rub it back and forth on the paper, using the side of the crayon, not the tip. See how the texture of the rock shows up on the paper?
3. Let your child loose in the backyard or park. What other textures can he find? What does the bark of a tree look like? How about a wood fence? The sidewalk has yet another texture. Let him put all his textures on one piece of paper to make a colorful collage!
Â
Â
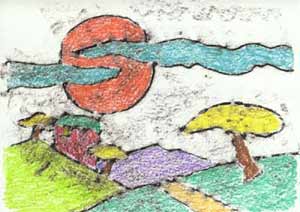
Students love process. A process is a unique way of producing a visual image that is not just drawing or painting directly on paper. This project involves drawing an image using school glue, then using the resultant image as a textural base for making crayon rubbings.
Â
Â
Extended:
Â
Grades 3 through 8.
Â
To develop and promote an awareness of how textural qualities can be transferred by the process of crayon rubbing.
Â
1.Sketch an image on the drawing paper using ordinary pencil.
2.Trace over the pencil lines with school glue using a squeeze bottle type dispenser. The glue lines should be rounded.
3.Put the image in a safe place to dry (usually for 24 hours).
4.After the glue lines are dry, place a clean sheet of drawing paper over it and hold it tightly in place.
5.Using the side of a crayon, begin rubbing it over the surface of the clean paper.
6.Continue working until the image underneath is clearly reproduced on the top sheet.
Â
Each crayon rubbing should clearly show the image of the underlying glue drawing. Â Color can be added for increased interest.


