Halloween Monster Treat Bags
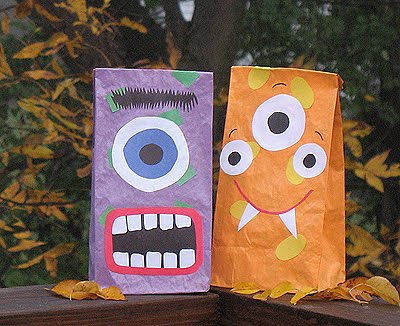
Monster crafts are such fun, they allow you and your kids to be so creative! These treat bags are no exception.
Â
Because the paint takes a little while to dry, you can either buy already colored bags, use white bags, or just skip the color all together. Another option is to paint them ahead of time. I used construction paper for the facial features. You can certainly paint yours on, but that means more drying time. You can also use felt or craft foam. The supplies I used to make these bags are generally things that most moms that craft with their kids will already have on hand. If you don’t have any of these items, they are inexpensive and can be found at discount department stores such as WalMart or Kmart.  I used a glue stick for this project because it doesn’t leave lumps and bumps under the construction paper like liquid glue can. You can certainly use white craft glue or school glue for this, just smooth it out with your finger before pressing the item onto the bag. I used a glaze coat on these because paint not only looks dull, but does run the risk of being scraped off. It’s optional though, and certainly not necessary for the finished product.
Â
brown paper lunch bag
construction paper
glue stick
scissors
black marker
acrylic craft paint
spray glaze or acrylic sealer (optional)
Â
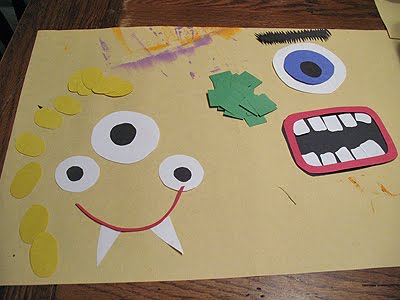
Paint bag whatever color you like. Stand them up and let then dry. Add another coat and let dry again. While bag is drying, cut facial features out of construction paper. You can use your imagination to make some fun eyes, mouths, and hair. Cut polka dots, squares, stripes, or any other type of decoration you would like to use for your monster.
Â
Using your glue stick, decorate the bag using the stripes, squares, or polka dots. Be sure to cover the entire piece of construction paper with glue before pressing on to the bag so that none of the corners stick up. Fold down the top of the bag so that you don’t accidentally glue your facial features too high. Use a glue stick to put facial features together before gluing them to the bag. For example, glue the blacks of the eyes to the whites, glue teeth to mouth, etc. Next, glue the facial features to the bag. Use a marker to add thin eyebrows. Let everything dry, then if you like, add a coat of sealer spray. Let dry again and fill with treats. You can punch a hole through the top of the bag and tie with ribbon if you like.


